However, by using terminal emulators like “Termux” the rootless installation of Kali Linux on Android is possible.
In this post, we will demonstrate the:
- Prerequisite: Install Termux on Android
- Rootless Installation of Kali Linux in Termux on Android
- Conclusion
Prerequisite: Install Termux on Android
Android is a Linux-based mobile OS. So, it can run and support Linux commands by using emulator terminals. The Termux is a well-liked mobile terminal emulator that enables us to execute Linux commands. For rootless installation of Kali Linux (Nethunter) on Android, the user must have a terminal emulator. For this purpose, we will install and use the “Termux” emulator.
To install the Termux on an Android device, go through the mentioned procedure.
Step 1: Download Termux APK File
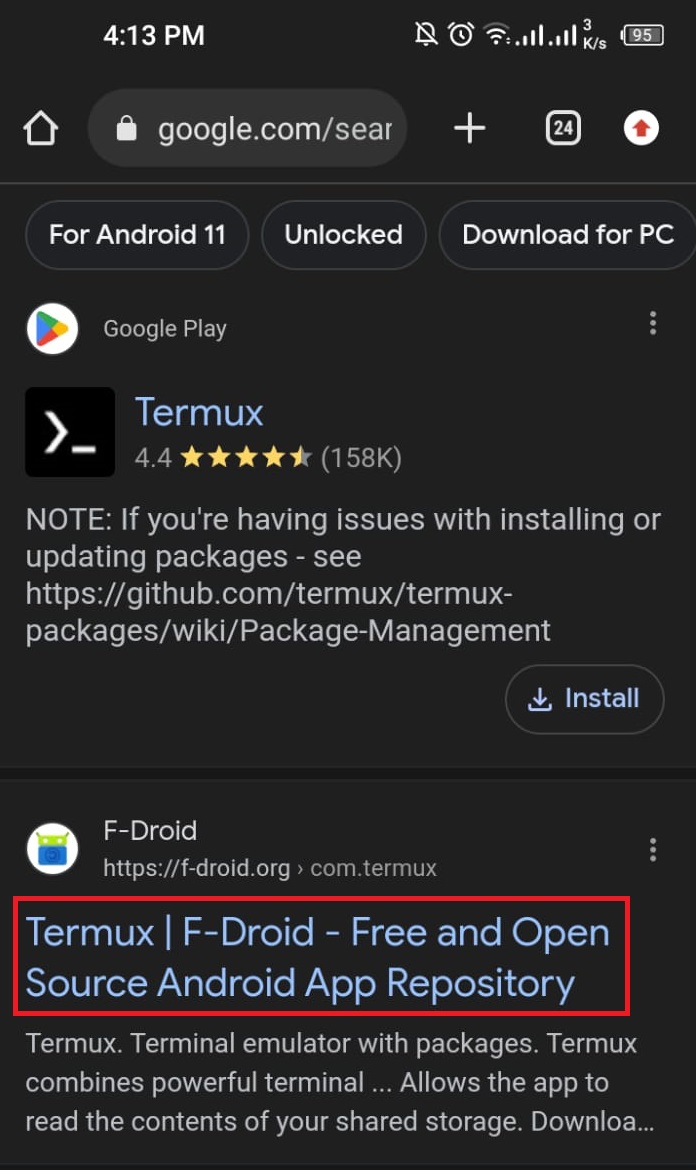
First, open the Chrome browser on an Android device and make the search for “Termux”. Then, open the “F-Droid” official website to download Termux APK:
However, Google’s official Play Store app also enables us to install the Termux app. But still, to install an updated version of Termux, it is recommended to install the Termux using an APK file.
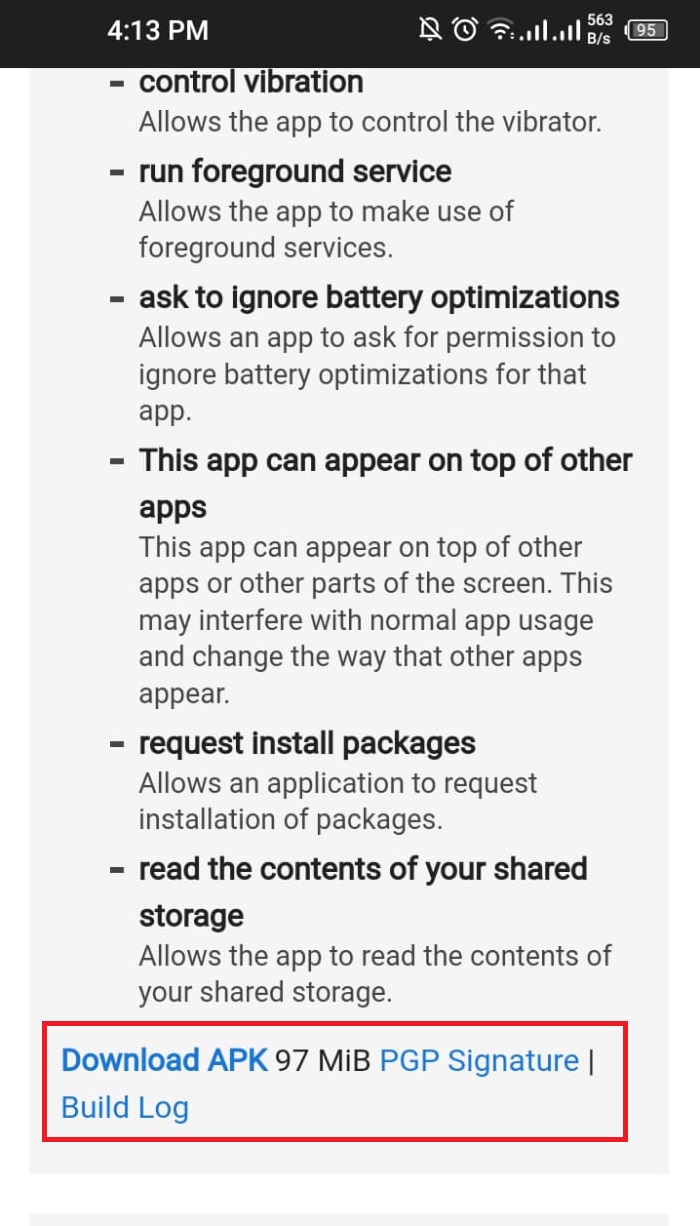
From the next screen, move to the end and hit the “Download APK” link to download Termux APK:
Step 2: Install Termux
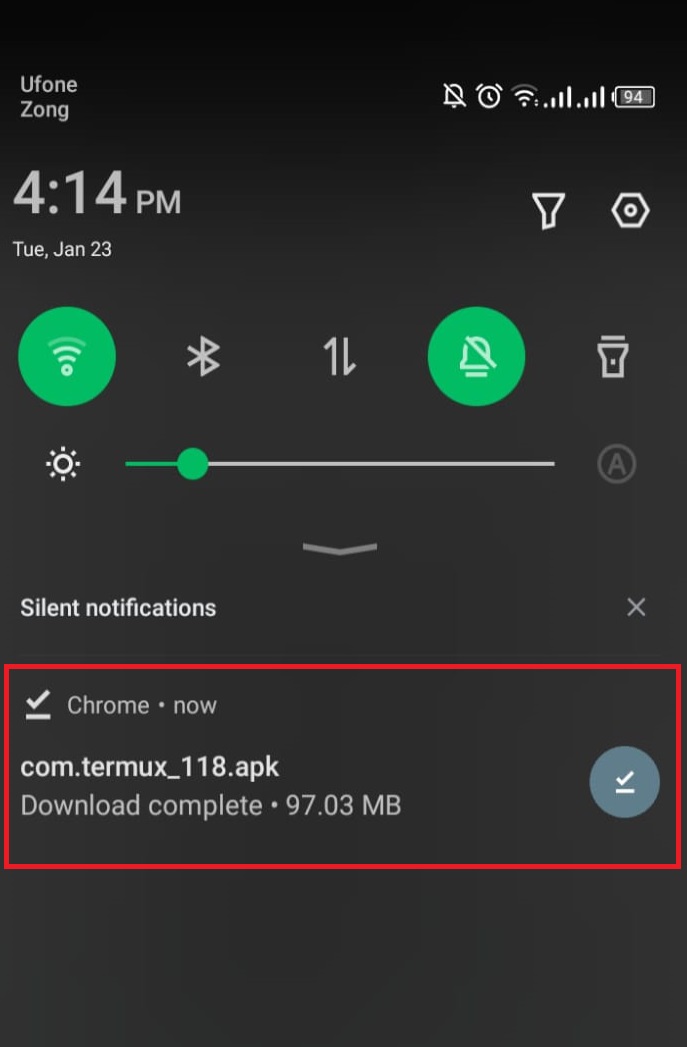
Here, you can see the Termux APK is downloaded. Now, click on the APK file and install the Termux:
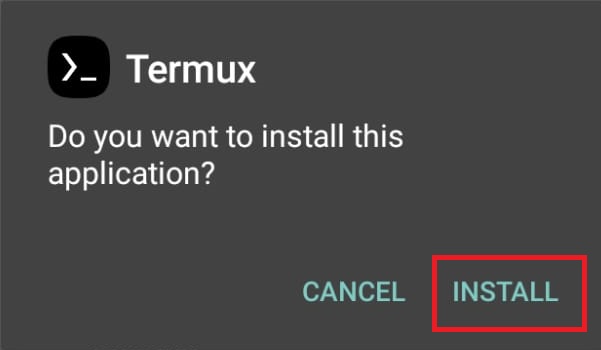
The mobile package manager will pop up the Termux installation box. Tap on the “INSTALL” button to install the Termux:
Step 3: Set Permissions
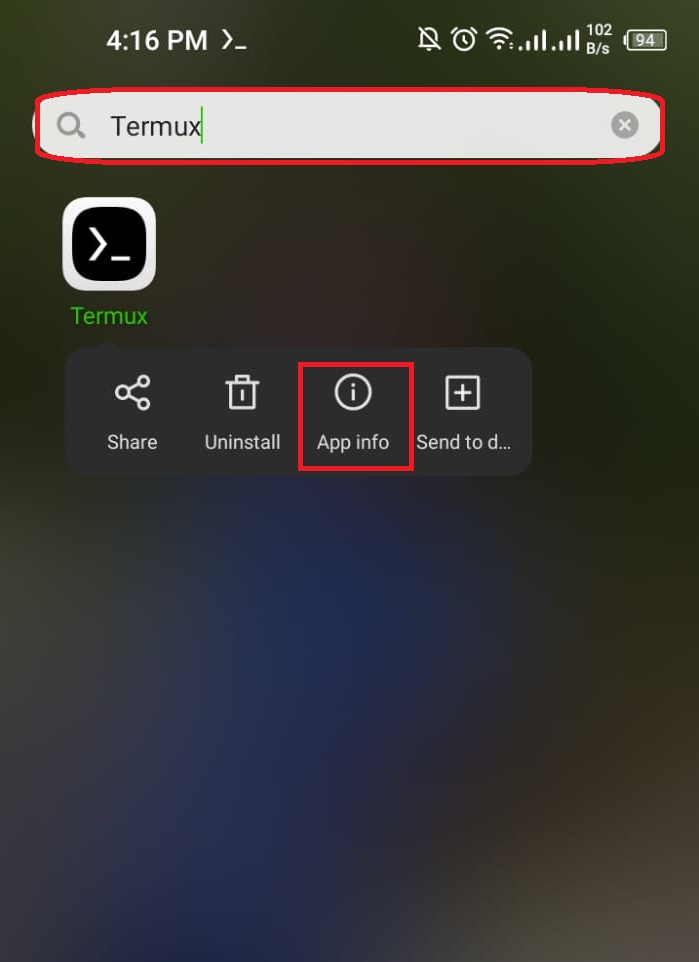
After installing the emulator, the user needs to grant some essential permission to the Termux. To do so, search for the Termux in the applications search bar, tap and hold the Termux icon. After that, choose “App info” to open application info settings:
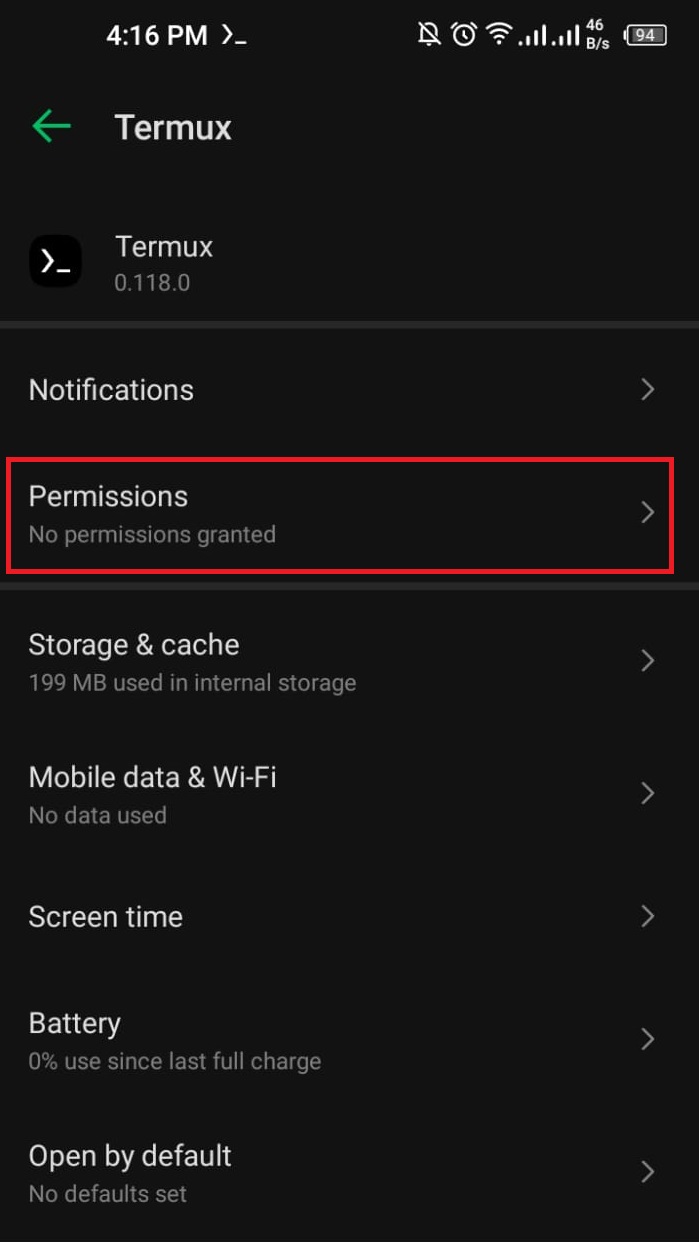
From the next screen, click on the “Permissions” option to grant essential permissions to Termux:
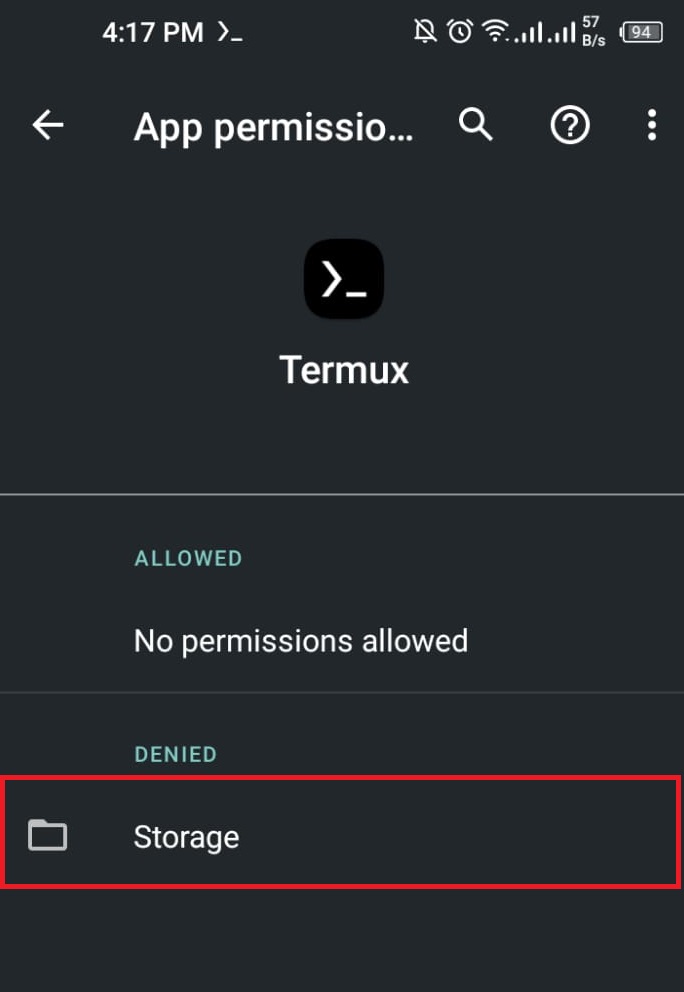
Select the “Storage” option to permit Termux to use the device storage:
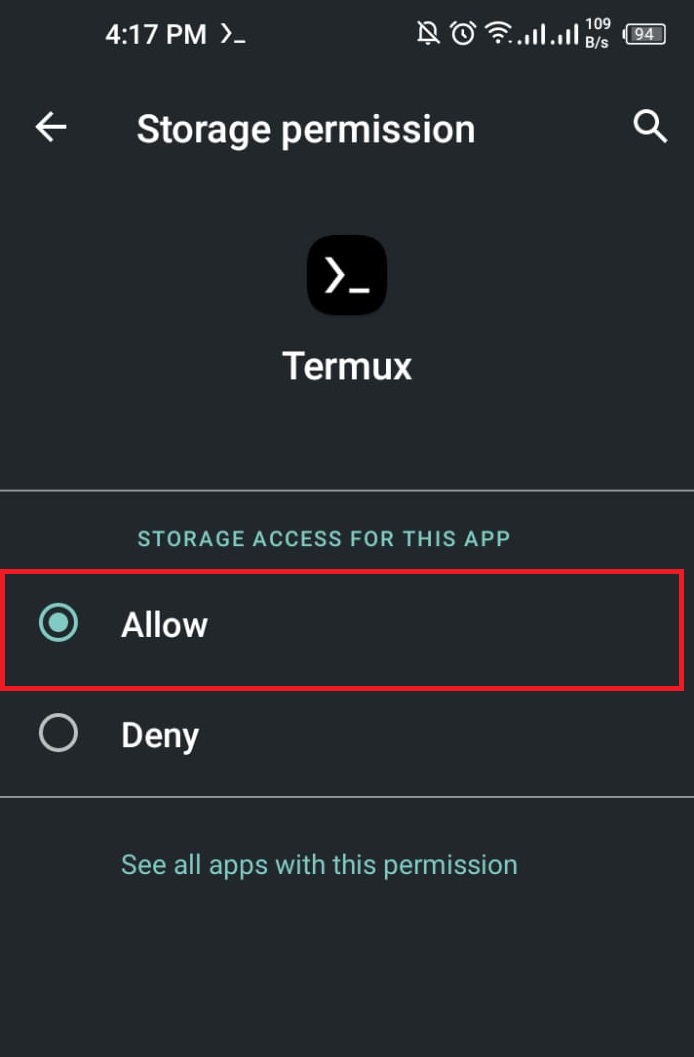
Mark the “Allow” radio button to grant the permission:
Step 4: Update Termux Repository
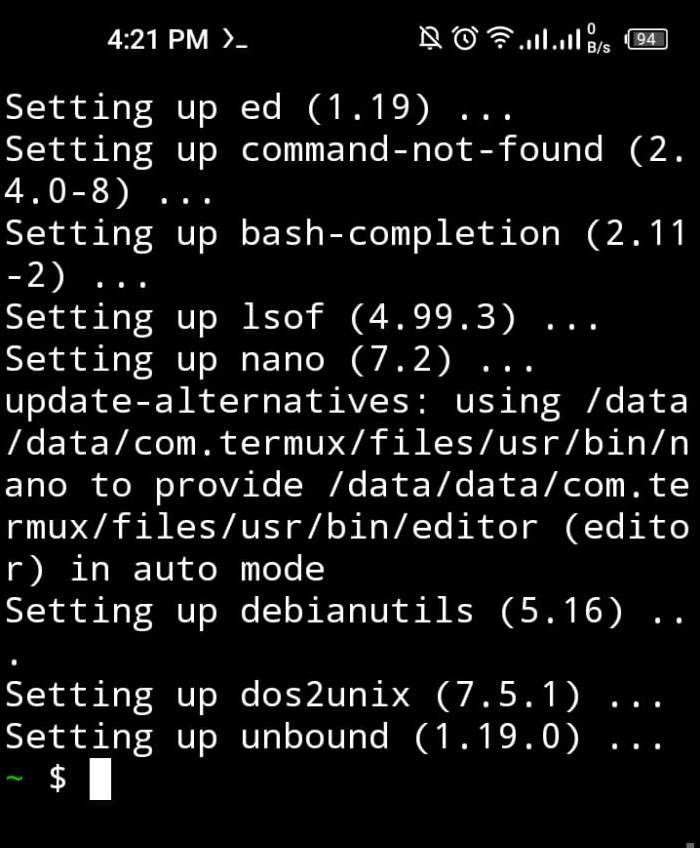
Lastly, update the Termux repository. For this purpose, first open up the Termux on an Android device and execute the “pkg update” command with root privileges:
Updating the Termux repository will require some permissions. Approximately, five to six times Termux will ask for permission. Keep granting the required permission by pressing the “Y” key:
The above output shows that the Termux is successfully installed and updated. Now, to install the Kali Linux on an Android device without root privileges, follow the below section.
Rootless Installation of Kali Linux in Termux on Android?
On Android, the complete Kali Linux OS cannot be directly installed. However, to use Kali Linux on Android, users can install and use the Kali Nethunter package in Termux without root. The Kali Nethunter is an Android version of Kali Linux OS that is universally used by cybersecurity students for ethical hacking, security management, and testing purposes.
To install and run Nethunter(Kali Linux) in the Termux terminal emulator with root privileges, the user must have at least 4GB RAM and 6GB internal storage on an Android device.
After that, take a look at the following steps to install Kali in Termux without root.
Step 1: Install “wget” Command
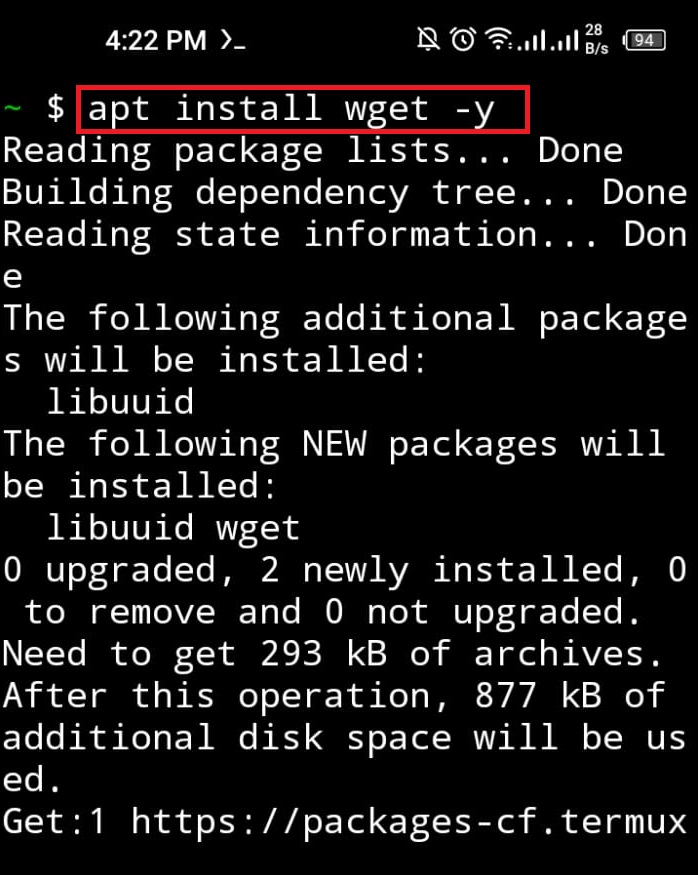
To install the Nethunter installation script from an online source, the user needs to have the “wget” command on an Android device. To install the “wget” Linux utility, utilize the “apt install wget” command:
Here, the “-y” option is utilized to allocate the additional device space to install the “wget” command:
Step 2: Download Nethunter (Kali Linux) Installer Script
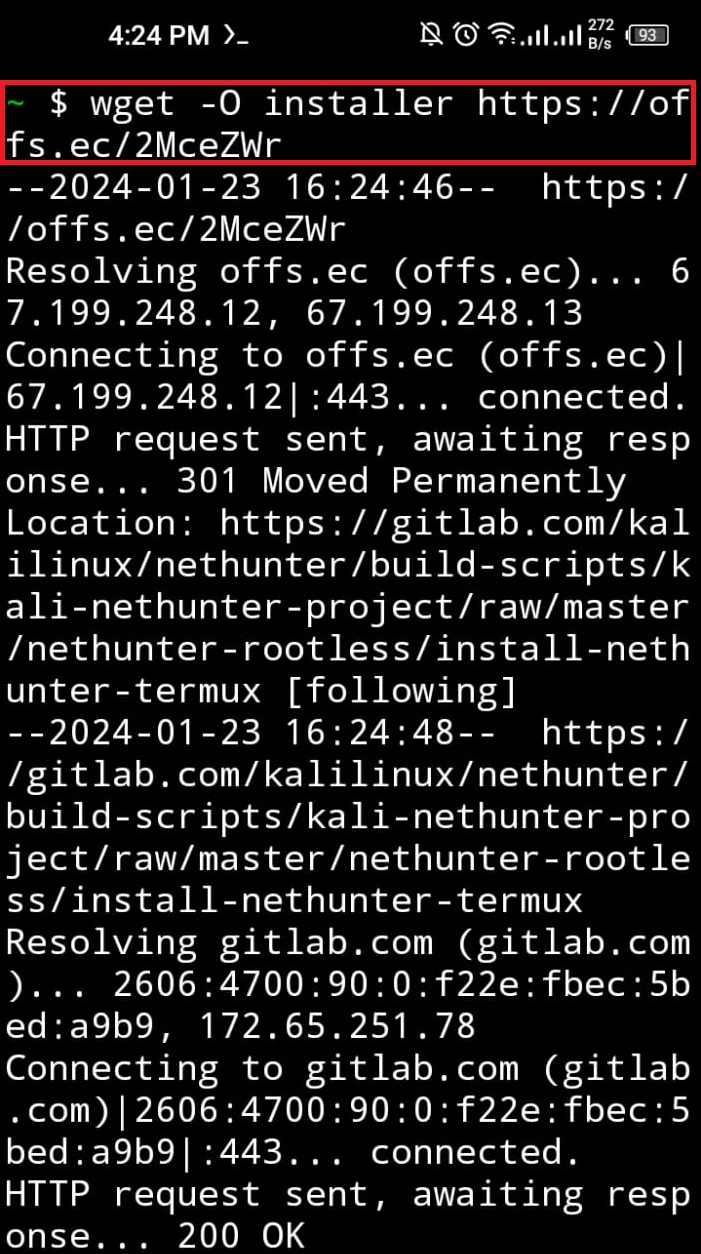
After completing the “wget” command installation, download the “Nethunter” installer script using the below command:
In the given command, the “-O” option is used to rename the Nethunter script. Here, we have set its name as “installer”:
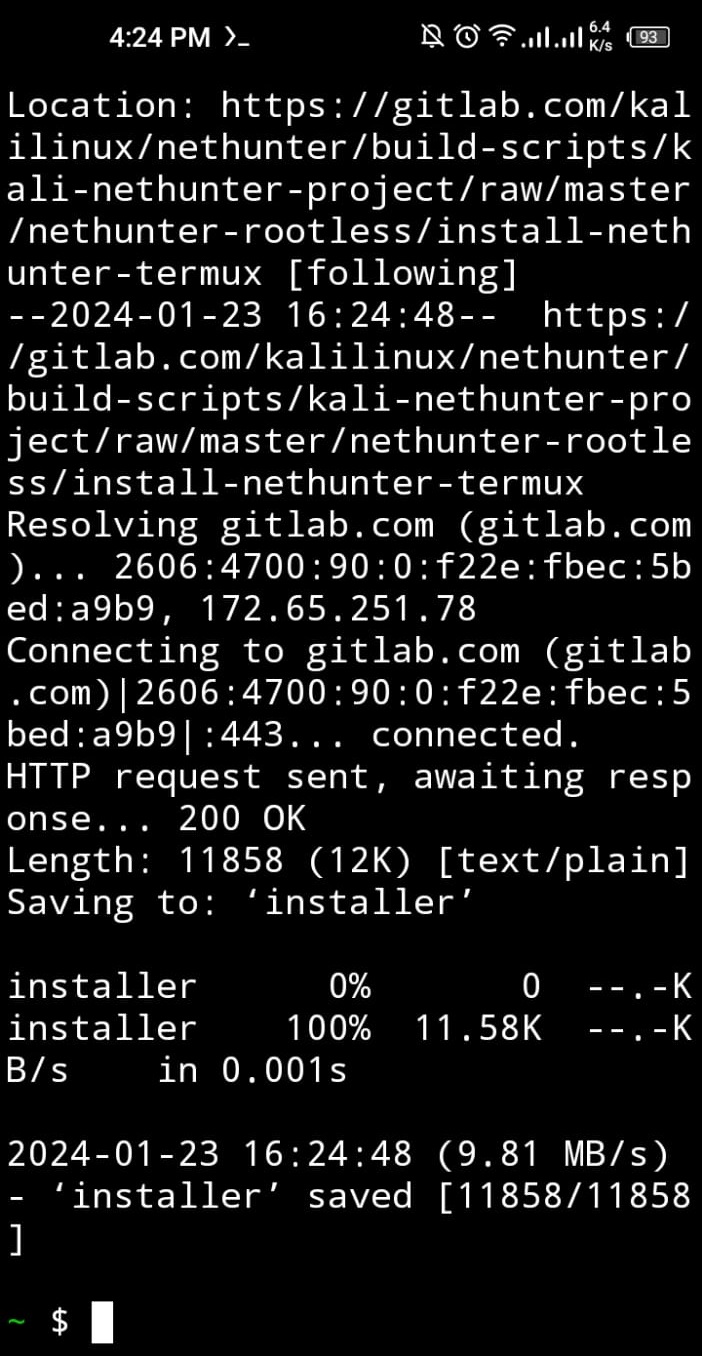
Here, you can see we have downloaded the Kali installation script:
Step 3: Set Nethunter Installer Permissions
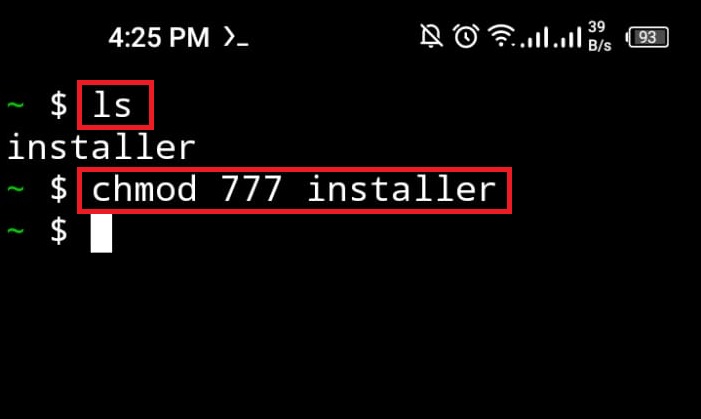
For confirmation, run the “ls” to check if the script is downloaded or not:
The below result shows that the “installer” Nethunter script is effectively downloaded. To make the “installer” file executable, execute the “chmod” command with “777” code. This code will allocate all the permissions(read, write, and executable) to the file:
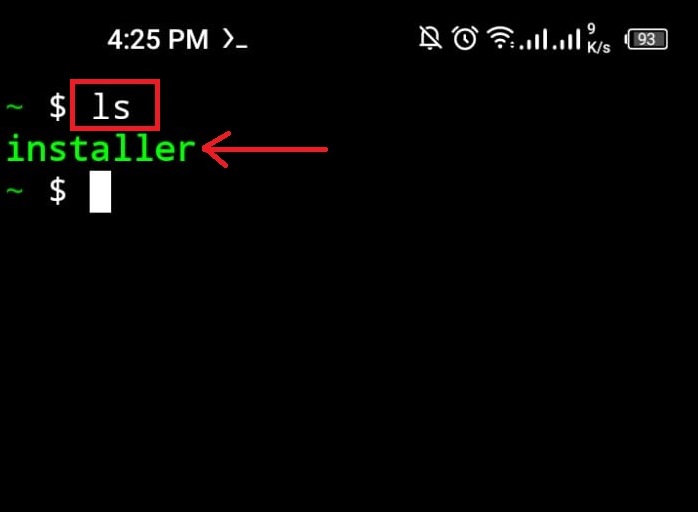
Again, check out the files of the current directly and verify whether the “installer” file is executable or not:
In the given output the “Green” color of the file indicates that we have set the file permissions as executable:
Step 4: Install Kali Nethunter
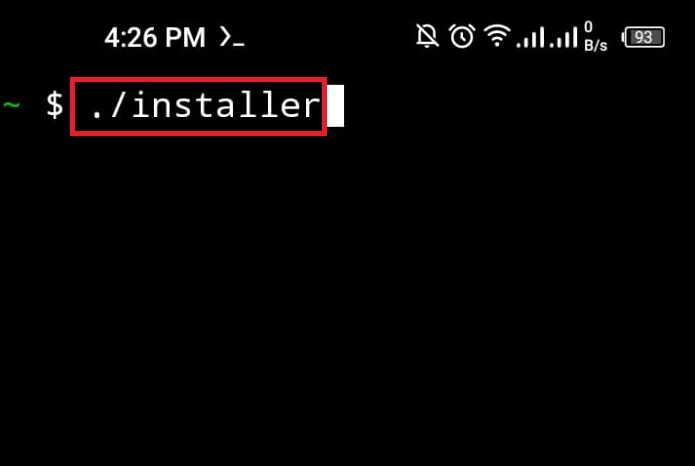
To install the Kali Linux (Nethunter) in Termux on Android, execute the “installer” script file by using the given command:
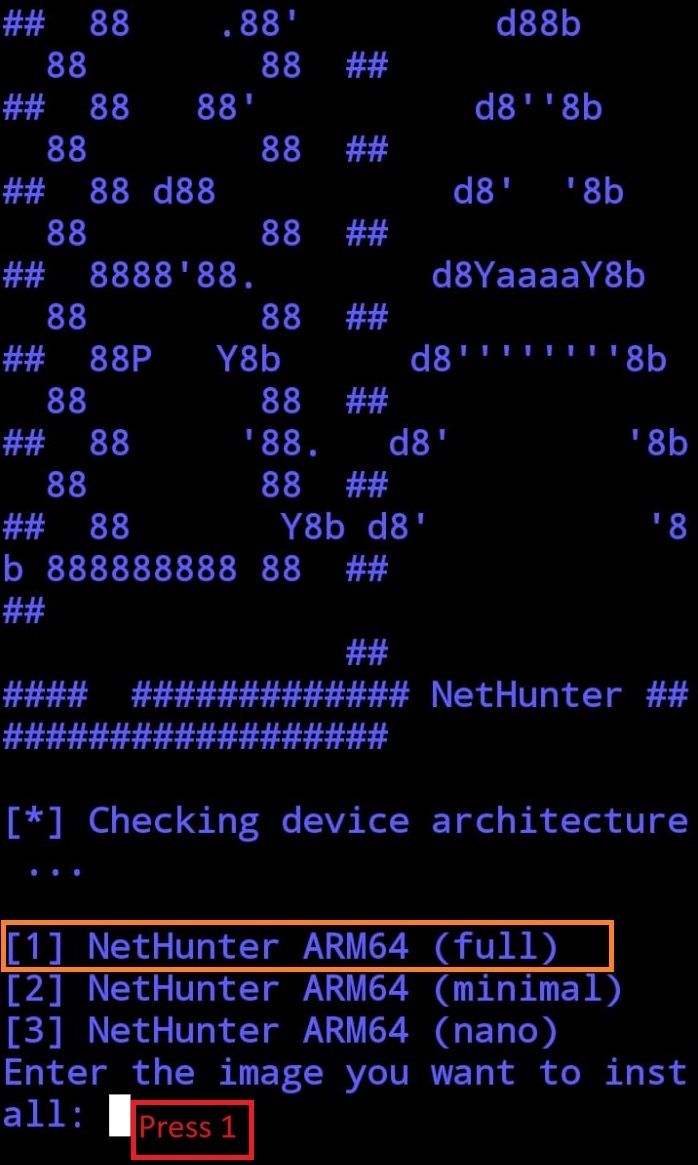
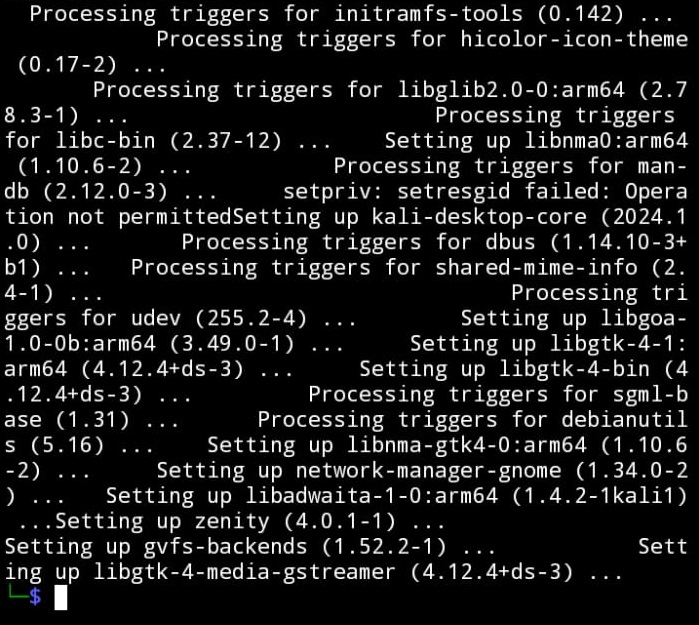
Upon doing so, the Kali Linux rootless installation will be started in Termux. The installation process will ask you to either install Kali’s full, minimal, or nano version. To fully install the Kali, type“1” and press Enter:
Step 5: Launch Kali
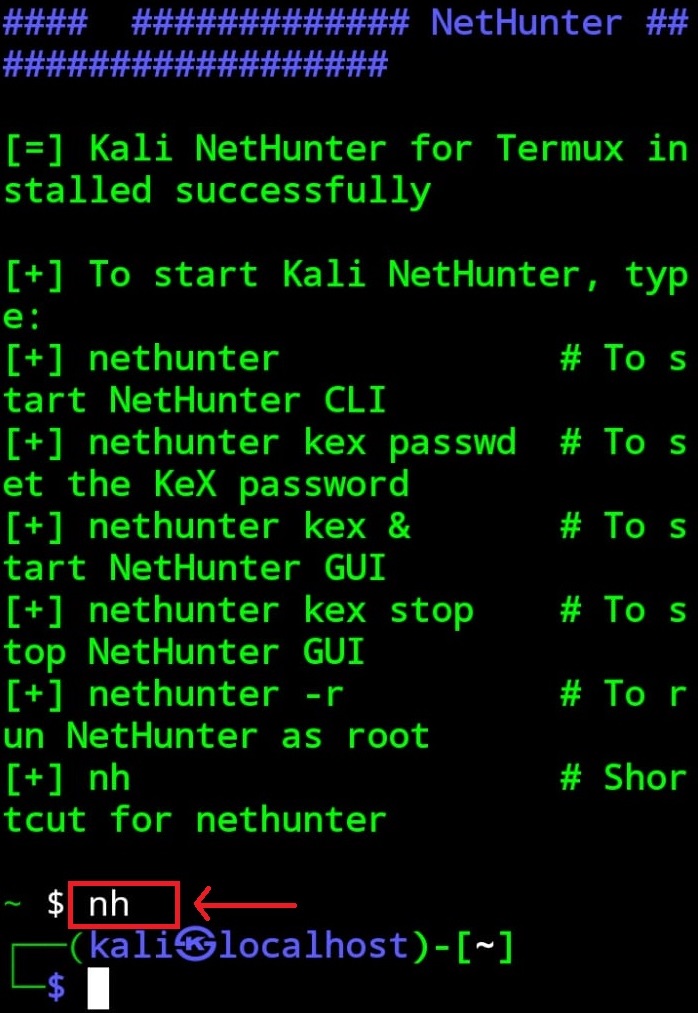
Here, you can see the Kali Nethunter tool is installed successfully and a list of Kali Nethunter commands will display on the screen that will be used to start the Kali Linux terminal. To launch Kali in Termux, either execute the “nh” or “nethunter” command:
The below result indicates that rootless installation of Kali Linux on Android is effectively completed:
Step 6: Update Kali’s Repository
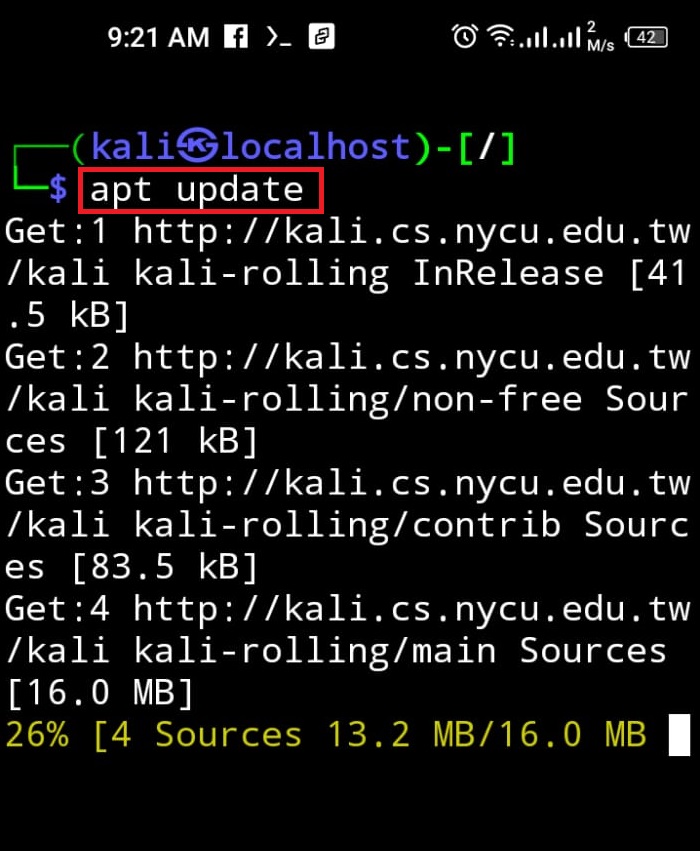
After that, update Kali’s official repository through the “apt update” command:
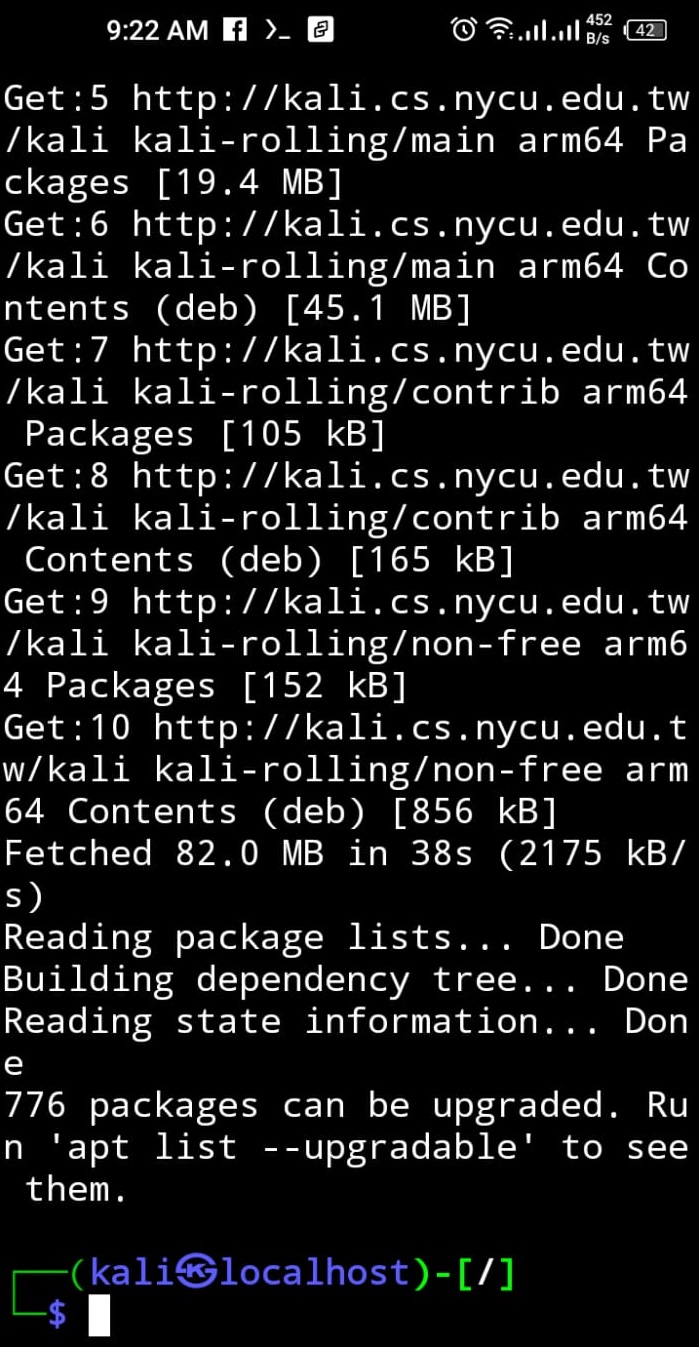
Here, Kali’s repository is updated, and “776” packages are required to be upgraded:
Step 7: Run Upgrade Command
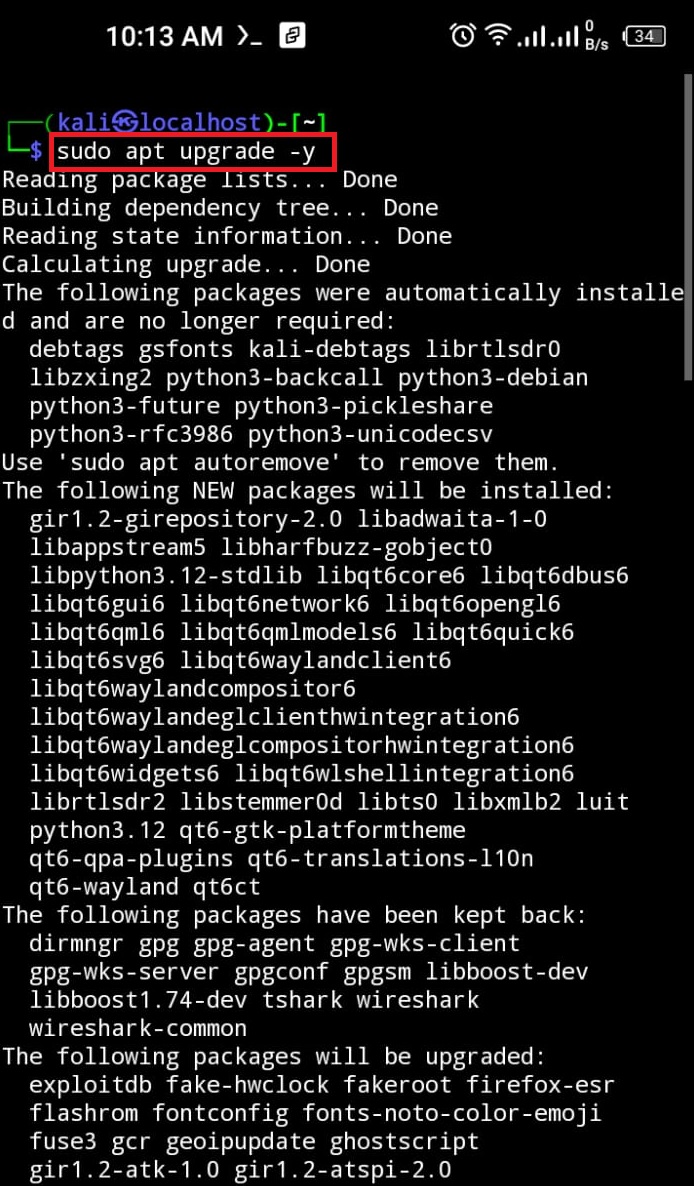
To upgrade Kali’s packages, execute the “apt upgrade” command. This command may require “sudo” user privileges to make changes in Kali’s repository:
Here, the “-y” option will enable the process to use the extra device space to install the packages:
Note: While updating the repository and upgrading Kali’s packages on Android devices, users may encounter errors and are unable to execute the update and upgrade commands. This error can occur due to different reasons such as Kali being unable to file source URLs for package installation or Kali not having access to the device’s internet.
To tackle these problems, go through our linked “Fix update && upgrade Command Error” article.
Step 8: Exit Kali Nethunter
In order to exit the Kali Nethunter terminal, simply run the “exit” command. If the exit command does not work, utilize the “CTRL+C” or “CTRL+Z” key:
We have covered the technique for rootless installation of Kali Linux in Termux.
Conclusion
To install Kali Linux without root in Termux, first install the Termux terminal emulator on the device. After that, install the Nethunter (Kali’s Android Version) installer script using the “wget -O installer https://offs.ec/2MceZWr” command. Then, run the script in Termux without root. This command will ask you to either install Kali’s full version, nano version, or minimal version. To install the full version, press “1”. This will install the Kali Linux without root in Termux on Android.

