This study will illustrate:
How to Pull/Download Docker Images from Docker Hub?
To pull or download the Docker image from Docker Hub, follow the below-provided steps:
- Navigate to Docker Hub.
- Search and choose the particular Docker image.
- Pull the Docker image in the local repository using the “docker pull <image-name>” command.
- Verify changes.
Step 1: Redirect to Docker Hub
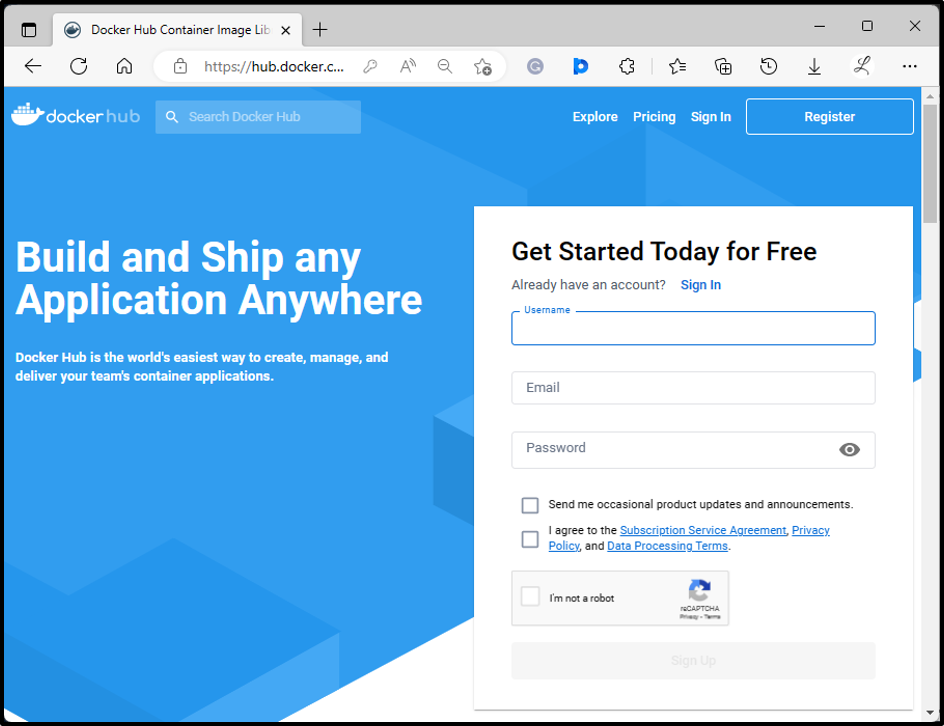
First, navigate to Docker Hub, and sign in to your account by providing your email or username and password. If you do not already have a Docker Hub account, then register yourself to create a new account:
Step 2: Search for Docker Image
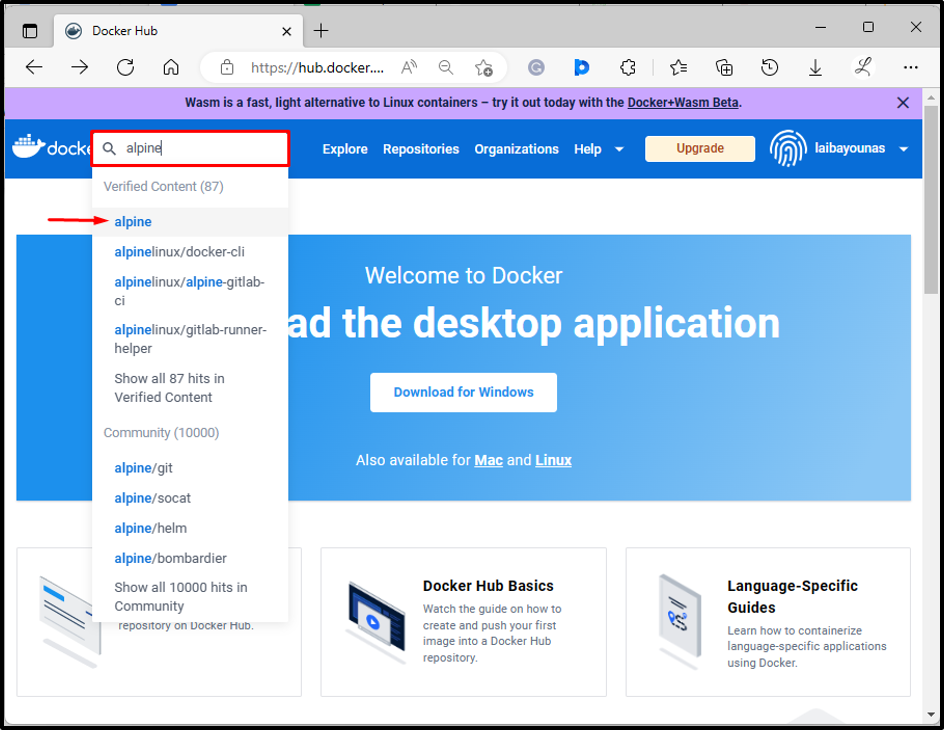
Then, search for the desired Docker image in the search box. For instance, we have searched for “alpine” Docker images:
Step 3: Copy the “pull” Command
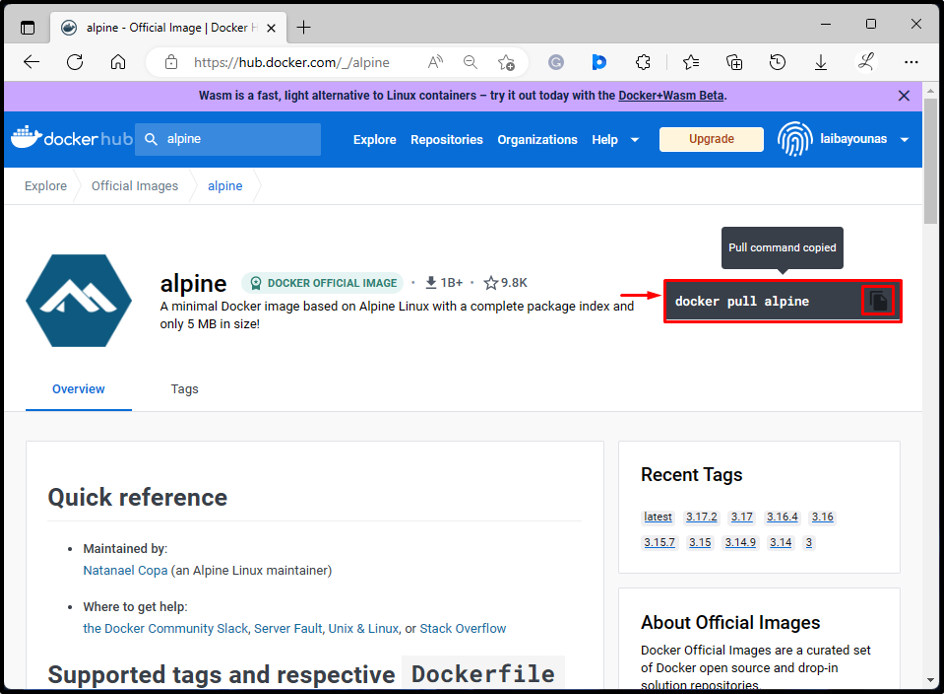
After that, the “alpine” image will be opened. Copy the below-highlighted pull command:
Step 4: Pull Docker Image
Now, execute the selected command in the Windows terminal to pull the Docker image into the local repository:
According to the below screenshot, the Docker image has been downloaded to the local repository:
Step 5: Verification
Lastly, verify whether the desired image has been pulled or not using the following command:
The pulled Docker image i.e., “alpine” can be seen in the below screenshot:
How to Push/Upload Docker Images to Docker Hub?
To push or upload the Docker image to Docker Hub, check out the provided instructions:
- Log in to your Docker Hub account in the Windows terminal.
- Select the particular local image.
- Tag the selected image.
- Push the image to Docker Hub using the “docker push <user-name>/<image-name>:<tag>” command.
- Verify the image on Docker Hub.
Step 1: Log in to Docker Hub Using Command Line
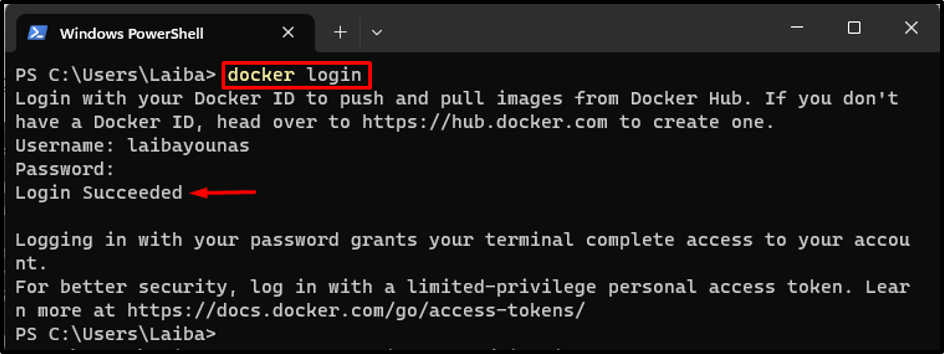
First, open a particular Windows terminal and run the provided command to log in to your Docker Hub account by providing the credentials:
Step 2: View Local Docker Images
Then, list all the local Docker images:
In the below output, all the available local Docker images can be seen. Choose the desired image that you want to push to Docker Hub. For instance, we have selected the “linuximg” image:
Step 3: Tag Selected Image
For pushing a Docker image to Docker Hub, it is important to tag that particular image first. Utilize the “docker tag <source-image> <username>/<target-image>:<tag>” command to tag the selected image:
Step 4: Verify Tagged Image
To ensure that the selected image has been tagged or not, run the given-below command:
It can be seen that the desired image has been tagged successfully, i.e., “laibayounas/linuximg”:
Step 5: Push Image to Docker Hub
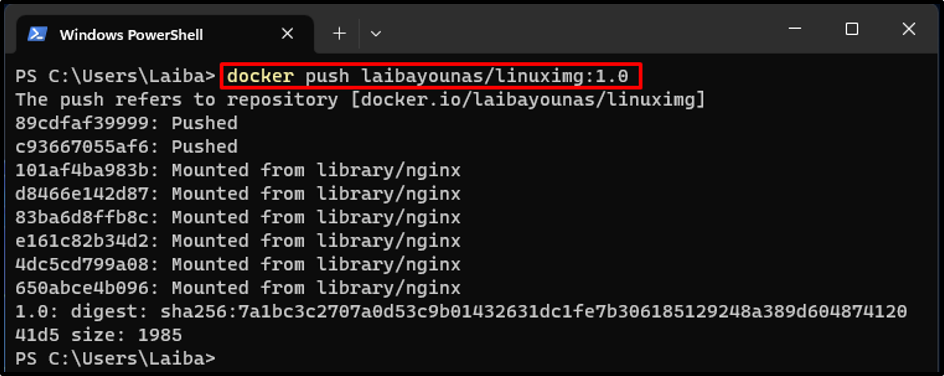
Now, utilize the “docker push” command to upload the image to the Docker Hub:
The below output indicates that the image has been pushed to the Docker Hub:
Step 6: Verify Changes on Docker Hub
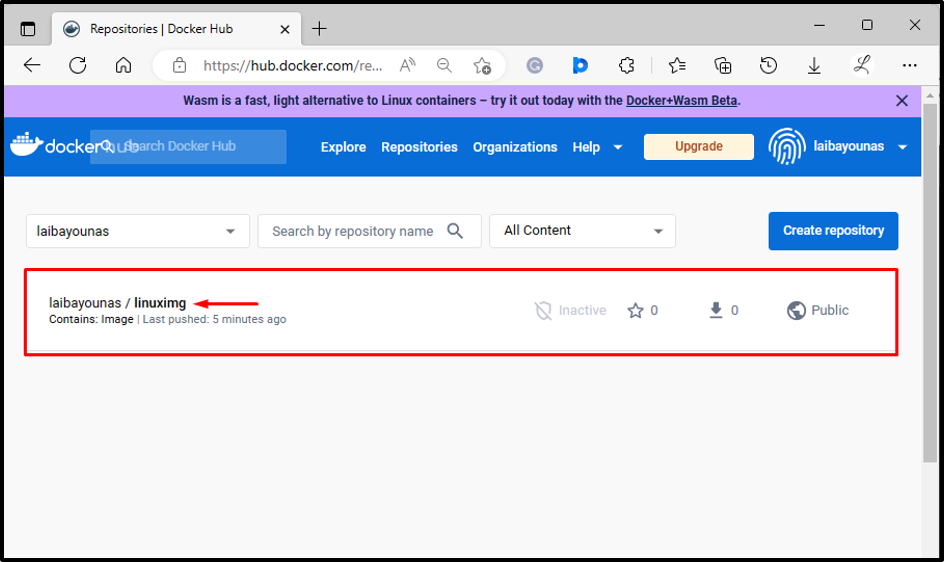
Lastly, ensure that the image has been pushed to the Docker Hub or not:
In the above-highlighted part, the desired local image can be seen in the Docker Hub.
Conclusion
To pull the image from Docker Hub, first, redirect to the Docker Hub and choose the desired Docker image. Then, execute the “docker pull <image-name>” command in the Windows terminal and verify the changes. To push the local image to the Docker Hub, first, login to your Docker Hub account through the command line. Next, choose the desired local image and tag it. Then, run the “docker push <user-name>/<image-name>:<tag>” command and ensure changes on Docker Hub. This blog explained the method to push and pull Docker images to Docker Hub.

