This post will explain:
- What is a Progress bar?
- Method 1: How to Create a Progress Bar by Utilizing an HTML Tag?
- Method 2: How to Create a Progress Bar by Utilizing the CSS Properties?
What is a Progress bar?
A progress bar is utilized for representing a graphical control element that is used for conceptualizing the status of an enhanced computer operation.
Method 1: How to Create a Progress Bar by Utilizing an HTML Tag?
To make a progress bar with the help of HTML, look at the instructions below.
Step 1: Create a div Container
First, create a div container using the “<div>” tag and specify a class with a name according to your choice.
Step 2: Add Heading
Insert a heading with the help of the “<h1>” tag and add text for the heading in between the heading tag.
Step 3: Create Progress Bar
Now, add a “<progress>” tag for creating the progress bar. Also, specify a “value” of the progress bar that is in progress, and the “max” attribute is utilized for setting the maximum size of the progress bar:
It can be observed that we have successfully created a progress bar:

Method 2: How to Create a Progress Bar by Utilizing the CSS Properties?
To create a progress bar with CSS, try out the mentioned procedure.
Step 1: Make a div Container
First of all, make a div container by using the “<div>” tag. Also, add a class with a specific name inside the <div> opening tag.
Step 2: Create Another div Container
Next, create another <div> container in between the first div container:
Step 3: Access div Container Class
Access the div container class with the help of the dot selector and the class name as “.progressbar-div” and apply the mentioned properties:
border-radius: 10px;
padding: 3px;
margin: 50px;
background-color: rgb(12, 4, 2);
}
Here:
- “border-radius” property defines the radius of the element corner outer border edge. Users can set a single radius for making circular corners.
- “padding” specifies the space inside the defined border around the element.
- “margin” property specifies a space outside of the defined boundary.
- “background-color” is utilized for setting a color for the element’s background.
Step 4: Make a Progress bar
Access the inner div container and style it as follows:
background-color: rgb(210, 233, 5);
width: 50%;
height: 30px;
border-radius: 12px;
}
In the above-code block:
- The “width” property is utilized for setting the size of the element horizontally.
- Next, “height” is utilized for allocating the height of the element.
- “border-radius” property used for creating the rounded corners.
Output
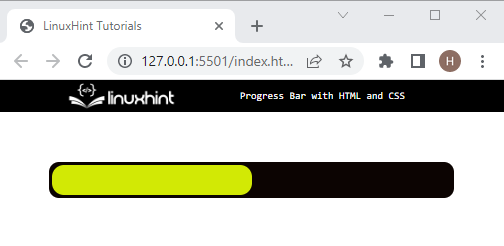
That was all about creating the progress bar with HTML and CSS.
Conclusion
To create a progress bar with the HTML and CSS, first, create a nested div container and add the “<progress>” element. Then, style the first div container by applying the CSS properties, including “border-radius”, “padding”, “margin”, “background”, and “color”. Next, style the inner div to make a progress bar by using the “width”, “height”, and “border-radius”. This post explained making the progress bar with HTML and CSS.