The onChange event occurs when the element value is modified, it is mostly used for data validation to check whether the input field is empty. It calls the function that gets the selected option value and passes data to the function as a parameter. It minimizes the effort and time of developers and also makes interactive looks for websites. This article demonstrates the step-by-step instructions to pass parameters on onChange of HTML select.
How to Pass Parameters on onChange of HTML Select?
The onChange event listener calls the function which receives a parameter. It tells which option is selected and displays it on the screen using an alert box. Below there are various steps for passing parameters on onChange.
Step 1: Insert HTML Code
Start with creating a parent div element and utilize “<select>” and “<option>” tags. In these tags, provide value to each option as below:
<h2>Select Value Getter</h2>
Select Level of Fiverr id:
<select id="Levels" onChange="selector(this)"style="padding:5px; border-radius: 7px">
<option value="basic">Level 1</option>
<option value="Intermediate">Level 2</option>
<option value="Advance">Top Rated Seller</option>
</select>
</div>
In the above code snippet,
-
- The “id” is a unique identity that helps to select that HTML element and the “value” is the data that each option holds.
- The “onChange” calls the function name selector and passes the selected option value as a parameter.
- The “style” allows users to add inline CSS properties for better visualization.
After executing the above code webpage looks like this:
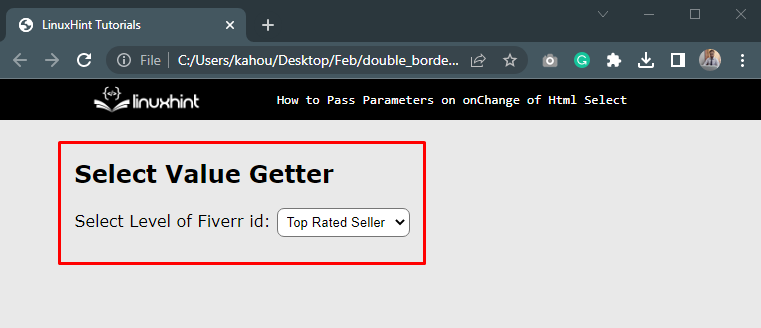
The output shows the view of the webpage.
Step 2: Add JavaScript Part
Add a script tag in the HTML file and create a function with the same name that is provided as a value to the “onChange” event listener:
function selector(val)
{ }
</script>
Step 3: Adding Functionality
In this step, create two variables “lname” and “lvalue”. The “lname” takes the selected index and searches every option and extends or prints on the screen when it matches. On the other hand, “lvalue” simply stores the value of the selected option. They got information about the selected option via the argument that the function is taking from the select field:
function selector(val)
{
var lname = Levels.options[Levels.selectedIndex].innerHTML;
var lvalue = Levels.value;
alert("Selected Option is : " + lname + " And its Level is : " + lvalue);
}
</script>
After executing the above code webpage looks like this:
The output illustrates that the selected option value is passed as a parameter to the “selector” function and displays the value in the alert box. That’s all about passing the parameters with the help of the “onChange” attribute.
Conclusion
To pass parameters on the “onChange” of HTML, select the function which is called by the “onChange” event listener, and store the value of the selected option. When the element’s value changes, the onChange event listener triggers an action. This article has successfully demonstrated using the onChange method to pass parameters.