CSS is a basic programming language that permits its users to apply various styles, including “font style”, “border-style”, “margin”, “padding” and many more on webpages. CSS overriding is a process of predicting the priority of an element or CSS styling by the browser. More specifically, overriding one class on another CSS class refers to the overriding of styling in CSS. In other words, the previously styled element is again styled by another class.
This post will explain the method for overriding the properties of one CSS class using other CSS class.
How to Override the Properties of a CSS Class Using Another CSS Class?
To override the property of one CSS class by utilizing the other CSS class, try out the provided instructions.
Step 1: Create a div Container
First, create a “<div>” element and assign it a class by a specific name.
Step 2: Add Heading
Next, insert a heading by utilizing the “<h1>” tag in between the “div” tags.
Step 3: Add Paragraph
Add a paragraph tag “<p>” along with the “class” attribute. The “class” is assigned with two consecutive values, “font-style” and “my-content”. Then, add the text in between the paragraph tags:
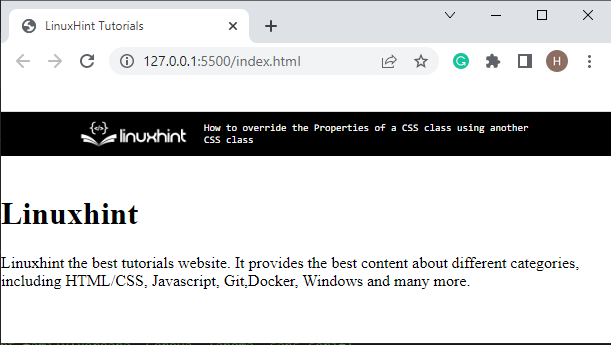
<h1 >Linuxhint</h1 >
<p class="font-style my-content" > Linuxhint the best tutorials website. It provides the best content about different categories, including HTML/CSS, Javascript, Git,Docker, Windows and many more.
</p >
</div >
Output
Step 4: Style Heading
To style the heading, first, access the heading by tag name “h1” and apply the below-listed properties:
font-style: italic;
color: solid blue;
text-align: center;
}
Here:
-
- “font-style” property is utilized to specify italic font style to the text.
- “color” is used for specifying the color of the text.
- “text-align” is used for setting the alignment of the text horizontally.
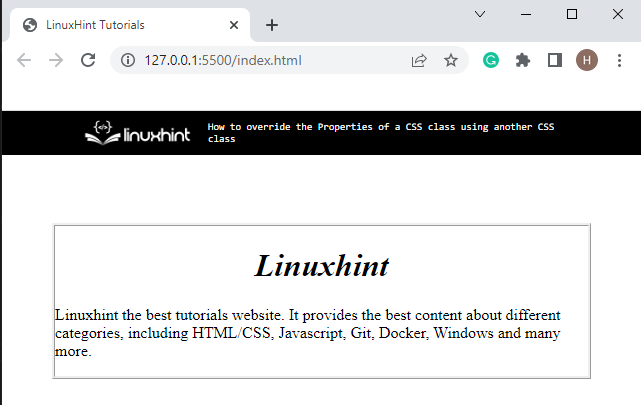
Step 5: Style “div” Element
After that, style the “div” element by accessing the class “.linuxhint-content” and apply the “margin” and “border-style” properties to it. The “margin” is used to add the space around the defined element, and the “border-style” is utilized to define the border style as ridge:
margin: 50px;
border-style: ridge;
}
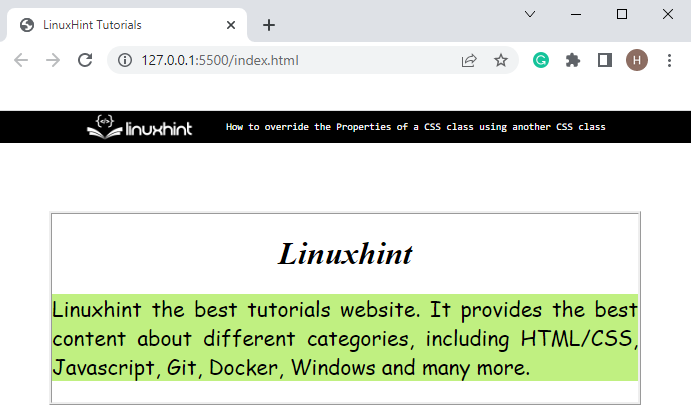
Step 6: Style First Class of “<p>” Tag
First, access the “<p>” element using the class “.font-style”. Here, apply the below-mentioned properties:
background-color: rgb(192, 240, 129) !important;
font-family: 'Mansalva', cursive !important;
font-size: 130%;
}
The explanation of the above-given snippet is as follows:
-
- “background-color” property specifies the background color of the element.
- “!important” is a rule in CSS that is utilized to override or prioritize one property over another.
- “font-family” property allocates the font for an element:
Step 7: Style “<p>” Element Using Second Class
Access the another assigned class “.my-content” of “<p>” element and apply the “font-family” and “background-color” properties with different values:
font-family:Verdana, Geneva, Tahoma, sans-serif;
background-color: powderblue;
}
It can be noticed that there is no effect on output and browser prioritize the properties of first class:

You have learned how to override the properties of a CSS class using another CSS.
Conclusion
To override the property of a CSS class using another CSS class, the “!important” rule is utilized. The “!important” comes after the property value used to add more importance to a value or override the value of another class. This post has demonstrated the method to override one CSS class to another class.