To program an ESP32 board with MicroPython we need an IDE that can burn code to the microcontroller. Here in this guide, we will be covering the complete installation procedure of Thonny IDE in macOS and uploading our very first program of LED blinking in ESP32 board using MicroPython.
What is MicroPython
MicroPython is written in C and its a software implementation for Python 3 mainly targeting embedded system applications. However, it cannot fully run the Python 3 standard libraries. MicroPython is a variant of Python and specifically designed for embedded systems. Difference between MicroPython and Python programming language is that MicroPython works under constraint conditions. That is why MicroPython doesn’t fully support Python standard programming libraries.
Let’s proceed to setting up Thonny IDE on a Mac:
- Downloading Thonny IDE in macOS
- Installing Thonny IDE in macOS
- Installing MicroPython Firmware to ESP32 in macOS
- Programing ESP32 Using MicroPython in macOS
- Running the Uploaded Script in ESP32 Using Thonny IDE
1: Downloading Thonny IDE in macOS
For downloading Thonny IDE follow the given instructions.
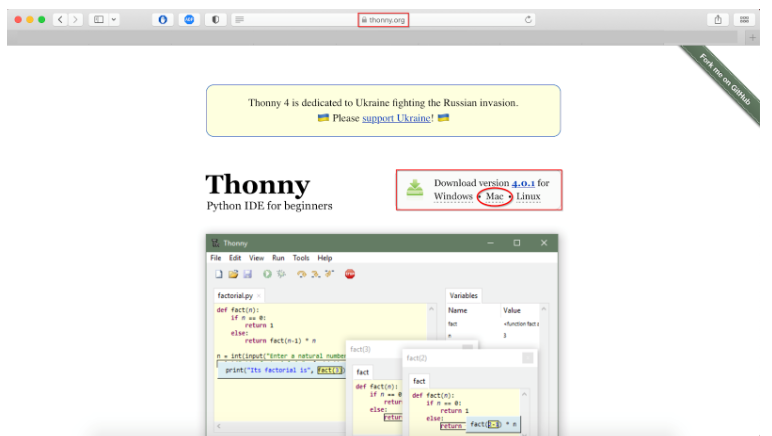
Step 1: Go to thonny.org, select Thonny IDE version for Mac.
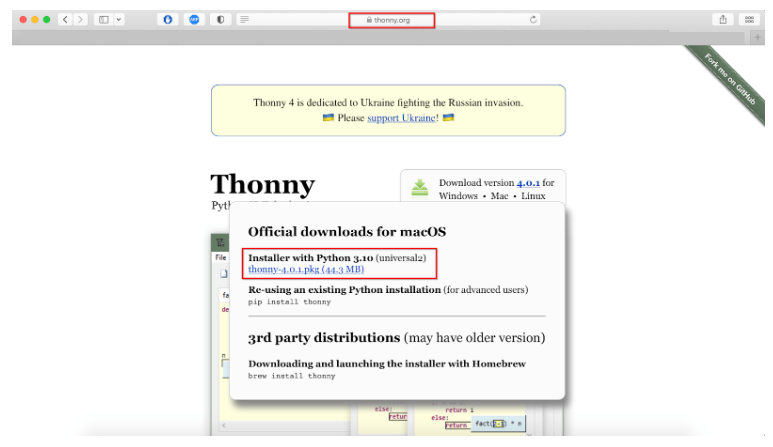
 Step 2: Select installer with Python 3.X and wait until the download is complete.
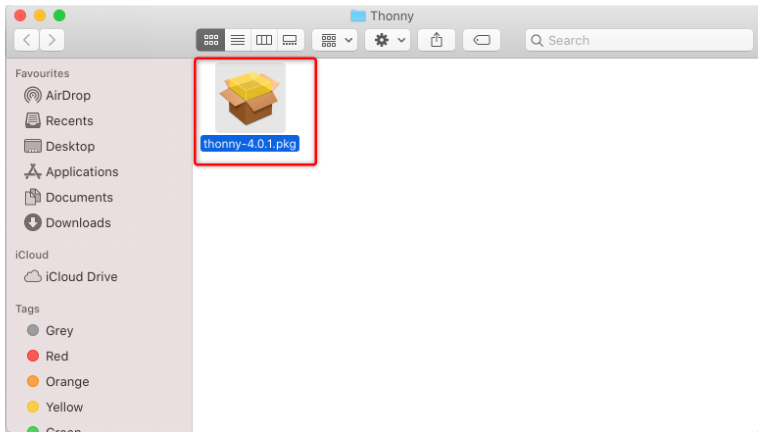
Step 3: After downloading the following package file can be seen in the download directory.
We have downloaded Thonny IDE now we will move towards the installation part.
2: Installing Thonny IDE in macOS
For installation of Thonny IDE, its package file needs to be run. Below given steps will guide you on Thonny IDE installation.
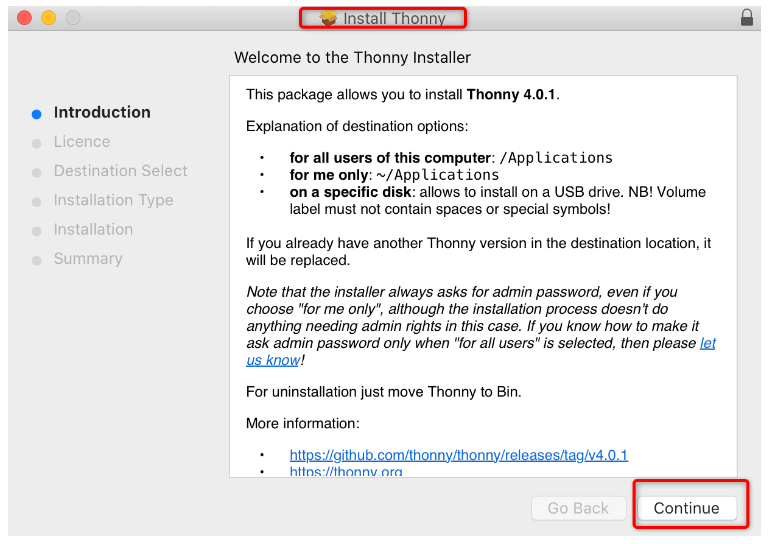
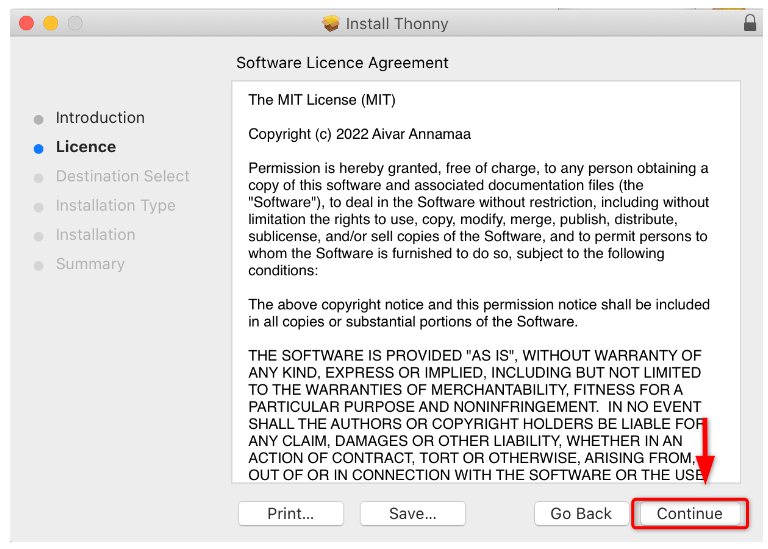
Step 1: Double click the package file installation window will open like shown in below given image. Click Continue.
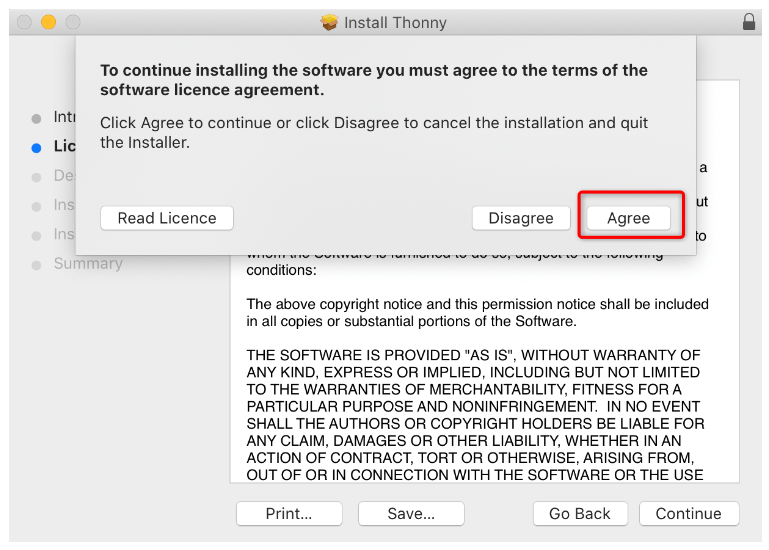
Step 2: Allow permission for license by clicking the Continue button.
Step 3: Click Agree to continue.
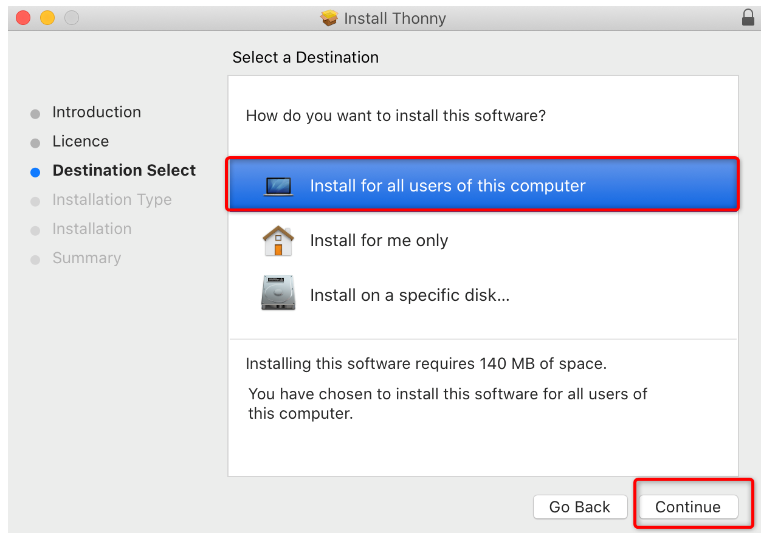
 Step 4: Select destination for installer files. It can be only for you or installed on the whole system so other users can also access. So, we will continue with the first option.
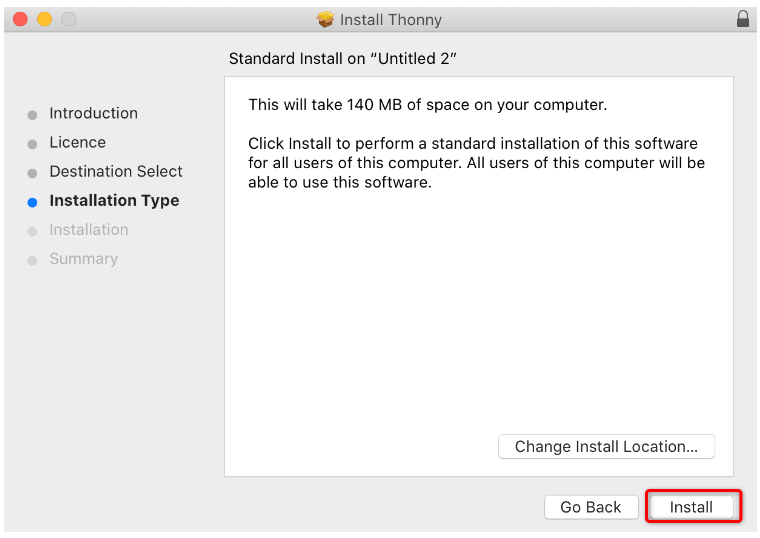
Step 5: To start the installation procedure, click Install.
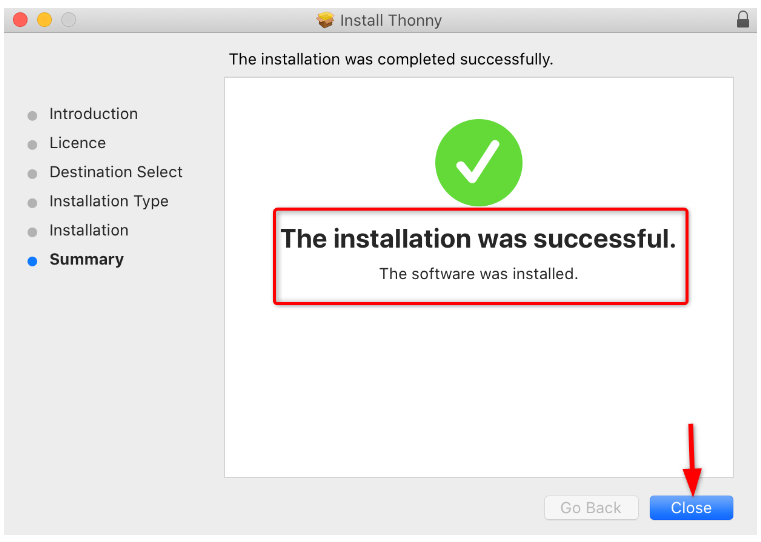
Step 6: After successful installation click Close.
Step 7: Now installation of Thonny IDE is completed to connect ESP32 board with Mac, we can configure it with ESP32.
Step 8: Open Thonny IDE from application list. Following window will appear:
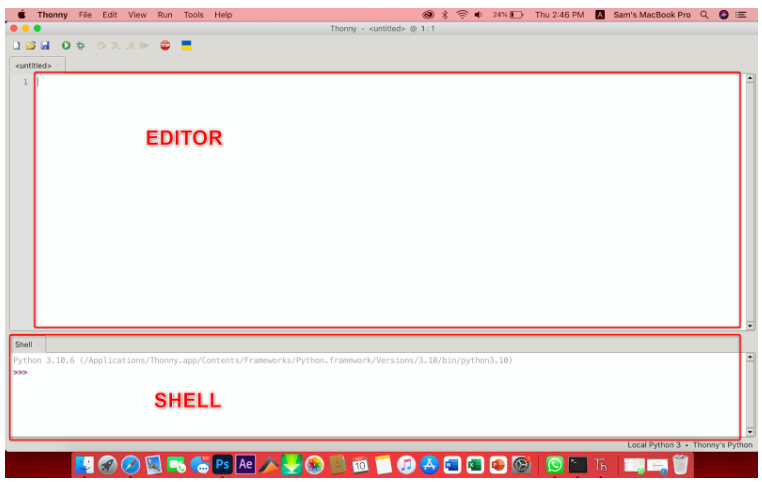
Here we can see two windows Editor and Shell/Terminal.
Editor: Editor contains all the .py files here we can create multiple project files.
Shell: MicroPython contains the commands which are executed immediately independent of other files or libraries in the terminal. Shell/Terminal also shows us information about executed commands, board condition, syntax error and messages.
We have successfully installed Thonny IDE now to program ESP32 boards with MicroPython. We will flash ESP32 with MicroPython firmware.
3: Installing MicroPython Firmware to ESP32 in macOS
By default, MicroPython is not flashed into the ESP32 board. So, the first thing before starting programming ESP32 boards is to flash/upload the firmware on ESP32.
There are different methods we can use but we will continue with a tool of Thonny IDE that allows you to quickly install MicroPython in an ESP32 board.
Two steps are involved in installing the MicroPython Firmware to ESP32 using Thonny IDE:
3.1: Downloading MicroPython Firmware
MicroPython firmware can be downloaded from their official site or by using a quick Google search. To complete the download procedure, stick to the instructions listed below.
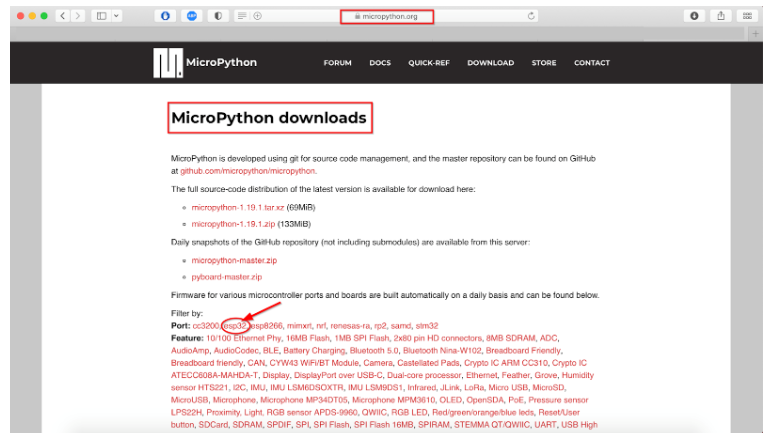
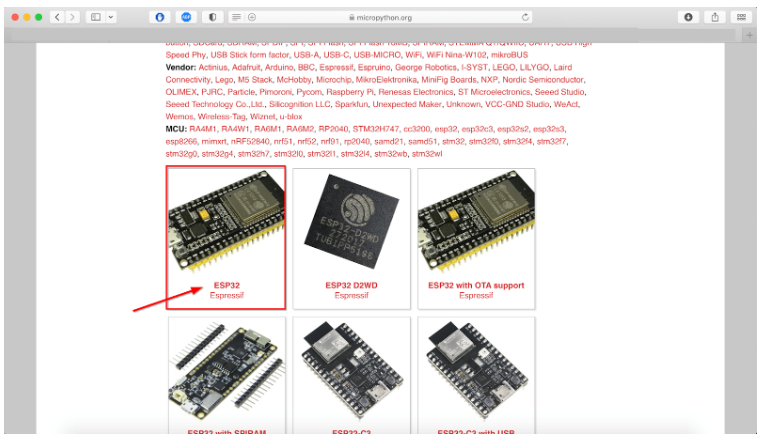
Step 1: Go to the MicroPython Firmware Download page. Select the board for which we need to download firmware.
Step 2: Select the ESP32 board you are using here we have ESP32 DEVKIT V1 DOIT.
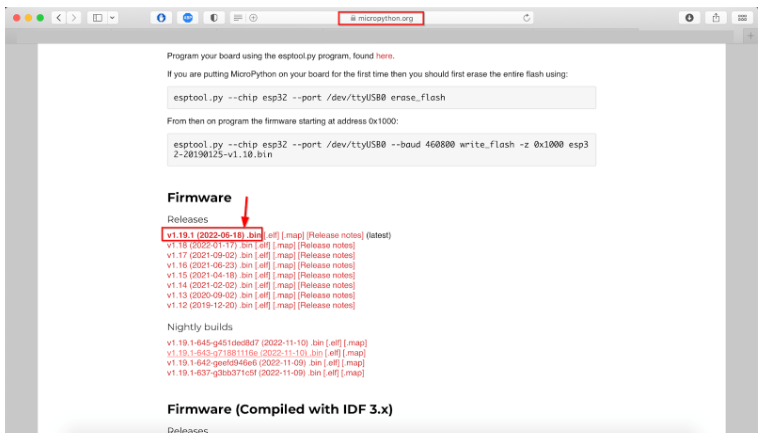
Step 3: Following window will appear. Download the latest release for firmware and make sure not to download the nightly builds version as they are for advanced programmers.
3.2: Flashing MicroPython Firmware Using Thonny IDE
As of now we have downloaded MicroPython firmware. Now we will install it on the ESP32 board using the Thonny IDE tool. Follow below mentioned steps:
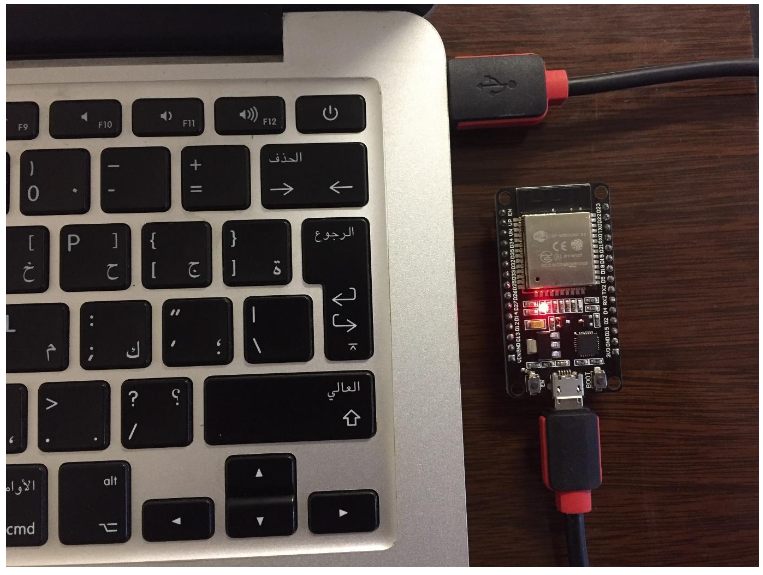
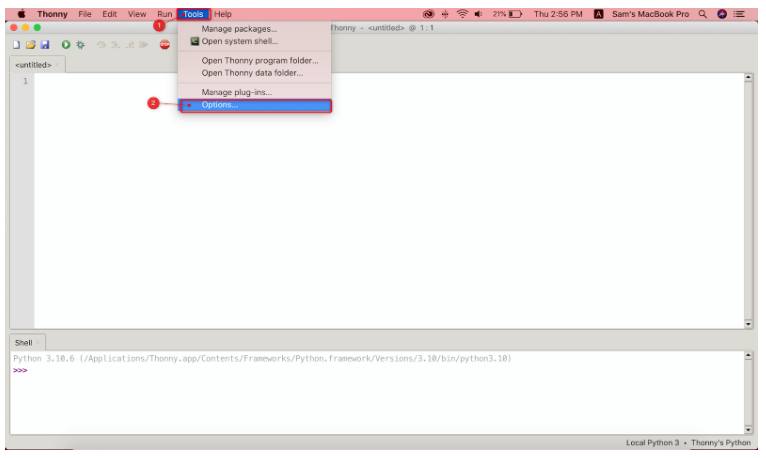
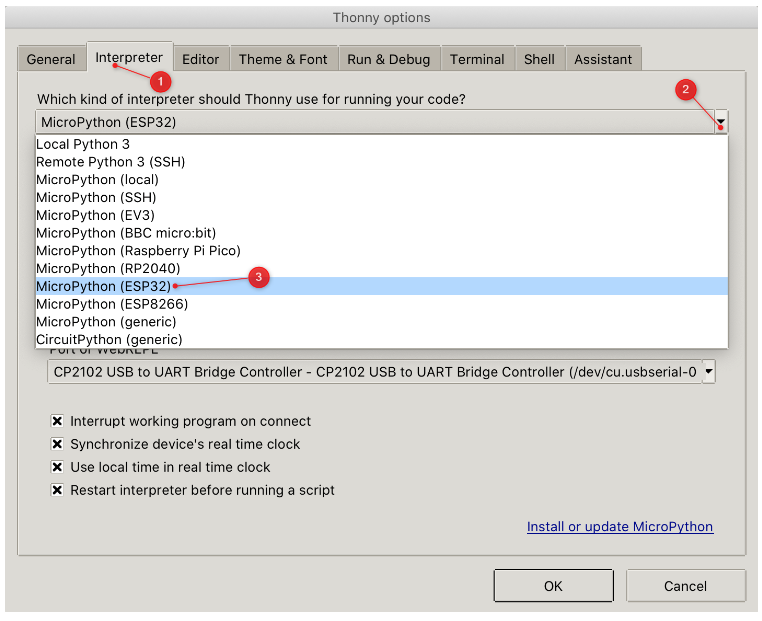
Step 1: Connect ESP32 board with Mac and open Thonny IDE. Go to: Tools>Options:
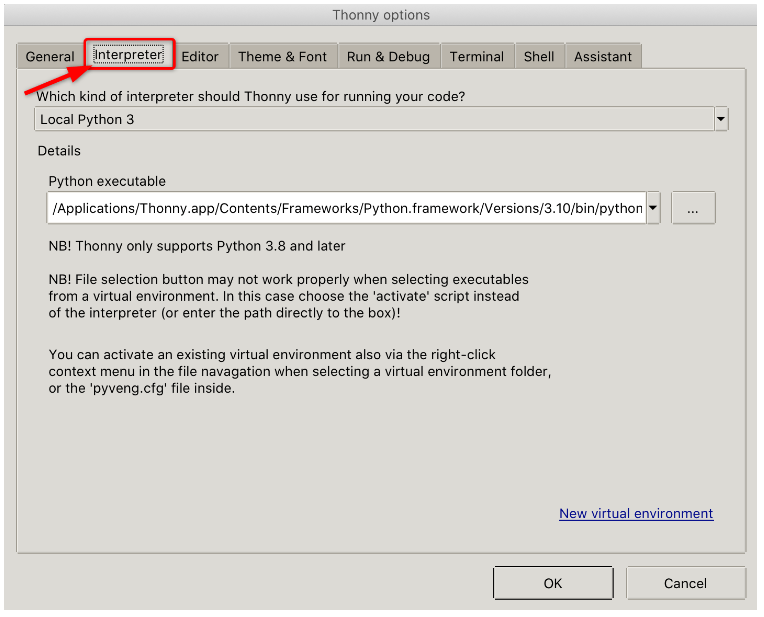
Step 2: A new window will open here select Interpreter.
Step 3: Select the board you are using. Here in our case the ESP32 board is connected.
Step 4: After selecting the board now select the COM port at which ESP32 is connected.
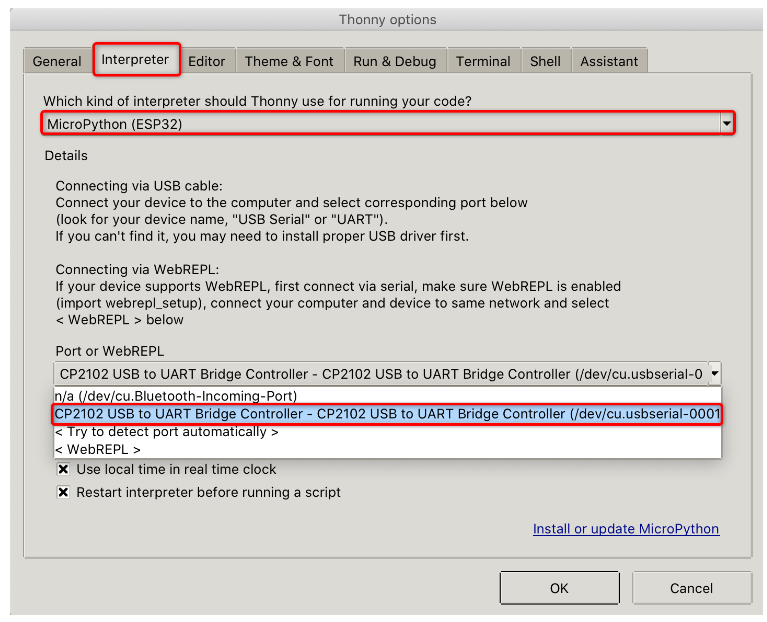
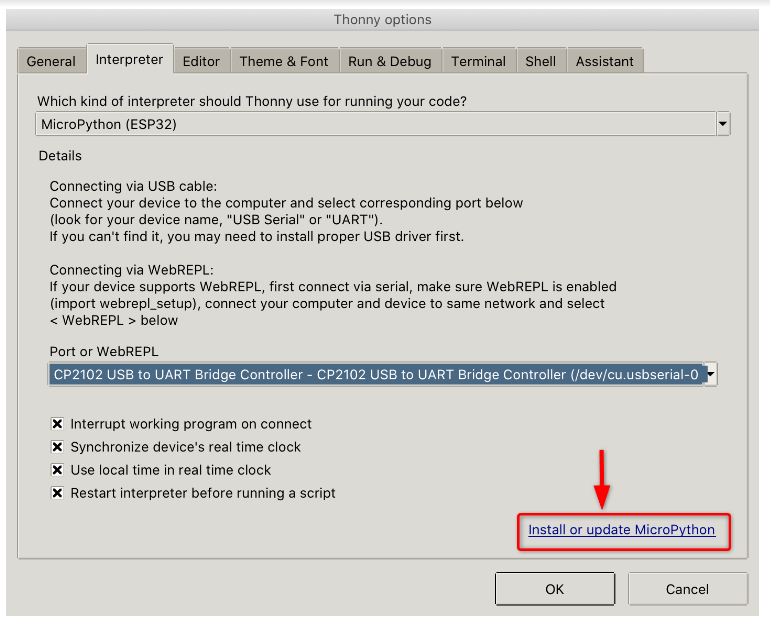
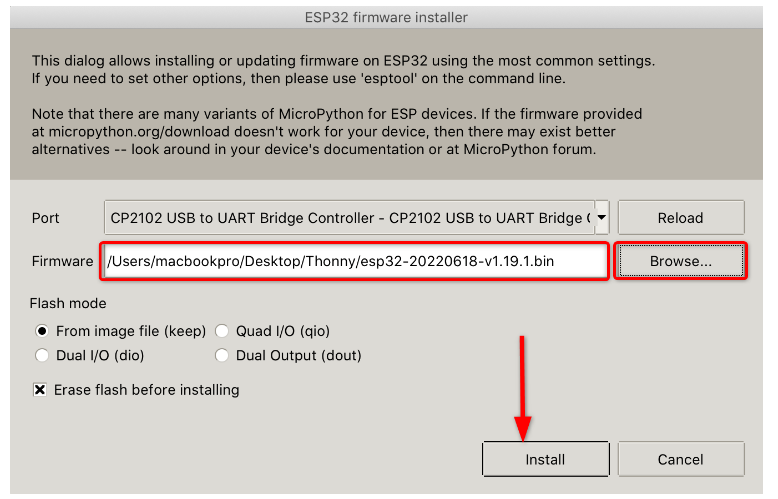
Step 5: After selecting the board and COM port click Install or update MicroPython.
Step 6: Now confirm the COM port.
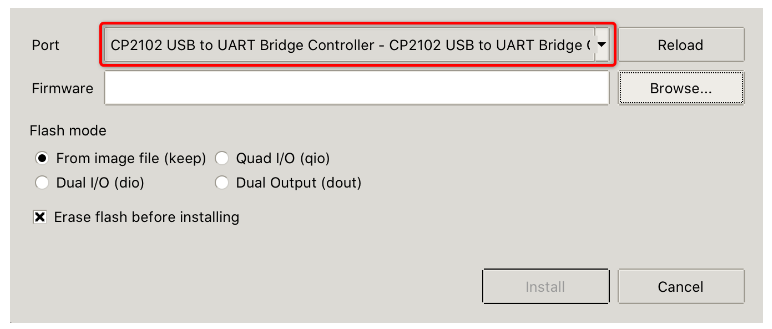
Step 7: Next select the MicroPython firmware file for ESP32 we just downloaded by clicking the Browse button.

Click install to begin firmware installation in ESP32 board.
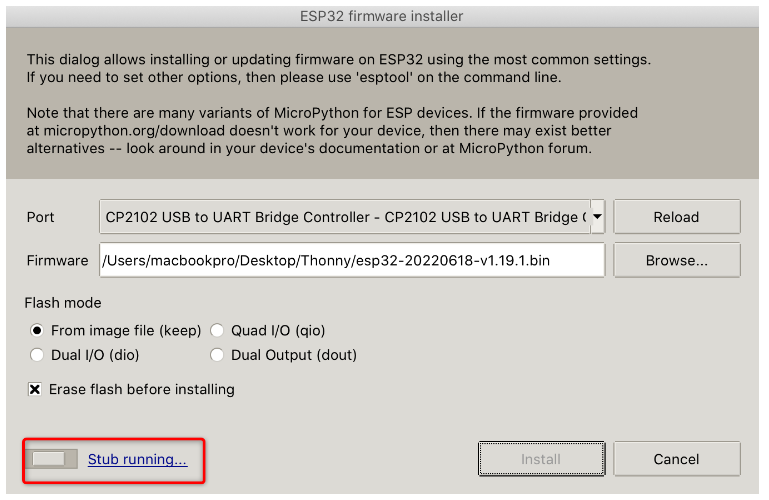
Step 8: Now we can see MicroPython firmware is Started flashing into ESP32 board. Don’t disconnect the ESP32 board from the Mac.
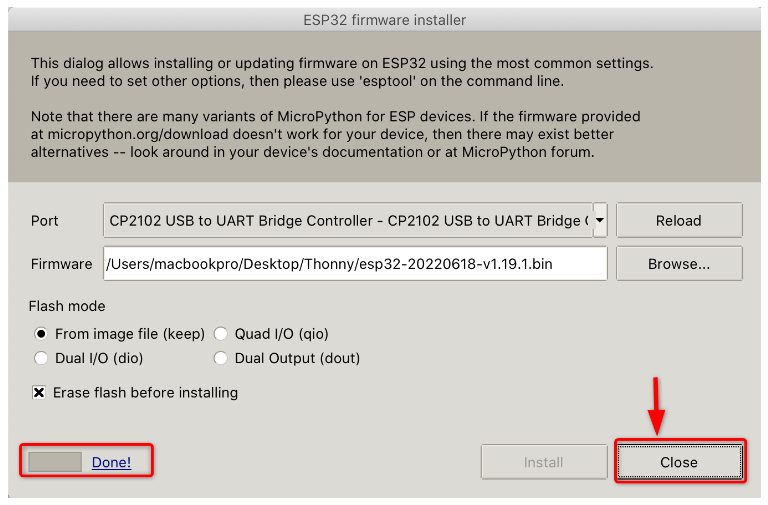
Step 9: After the installation of firmware, close the window.
Step 10: After the successful installation type help() in shell/terminal to confirm installation. On successful installation the below highlighted message will appear.

Now ESP32 is ready to be programmed with MicroPython using Thonny IDE.
4: Program ESP32 Using MicroPython in macOS
Now as installation is completed, we will test the MicroPython code with ESP32 board using Thonny IDE. Follow below steps:
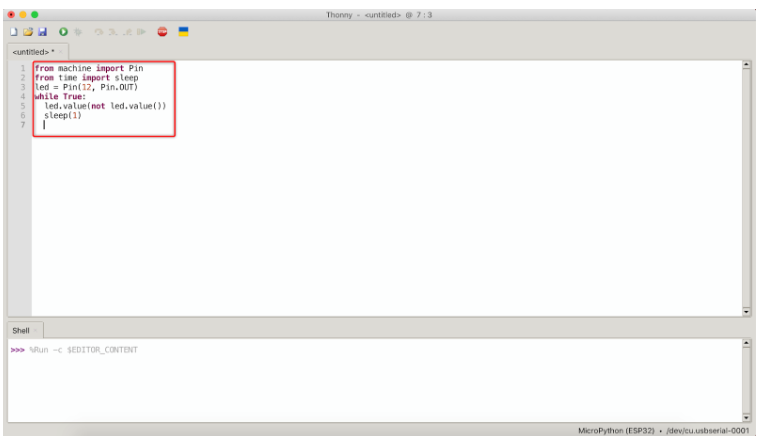
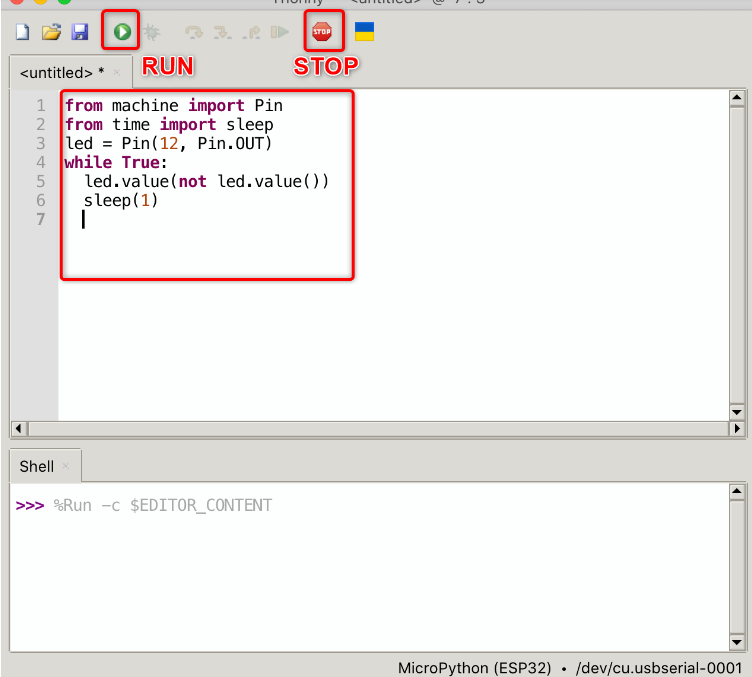
Step 1: Open a new file in Thonny IDE editor type the below code.
from time import sleep
led = Pin(12, Pin.OUT)
while True:
led.value(not led.value())
sleep(1)
This code will blink the LED connected to pin 12 of ESP32 with delay of 1 sec.
Step 2: Before we can run the file, we need to save it to the ESP32 board. Go to: File>Save. Then Select MicroPython device.
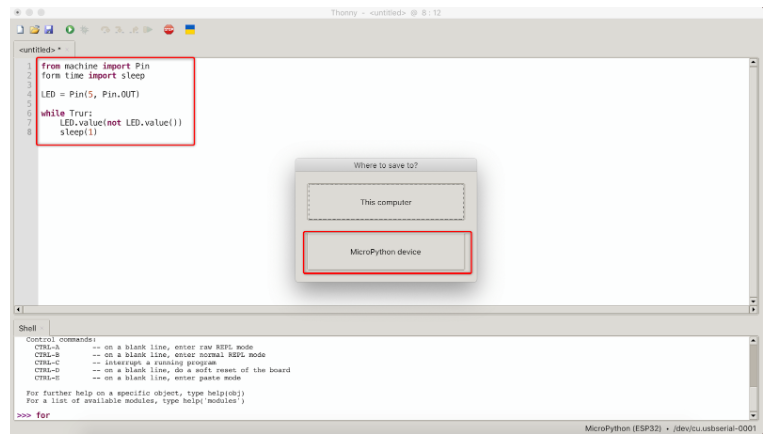
Step 3: Save the file with name main.py and click OK.

Our first MicroPython file is successfully created now we will upload it to the ESP32 board and see the result.
5: Running the Uploaded Script in ESP32 Using Thonny IDE
To test the file, we just save click the Run button at top or press F5 to start running the uploaded code in ESP32 and to stop the program click the Stop/Restart button as shown below or press Ctrl+F2.
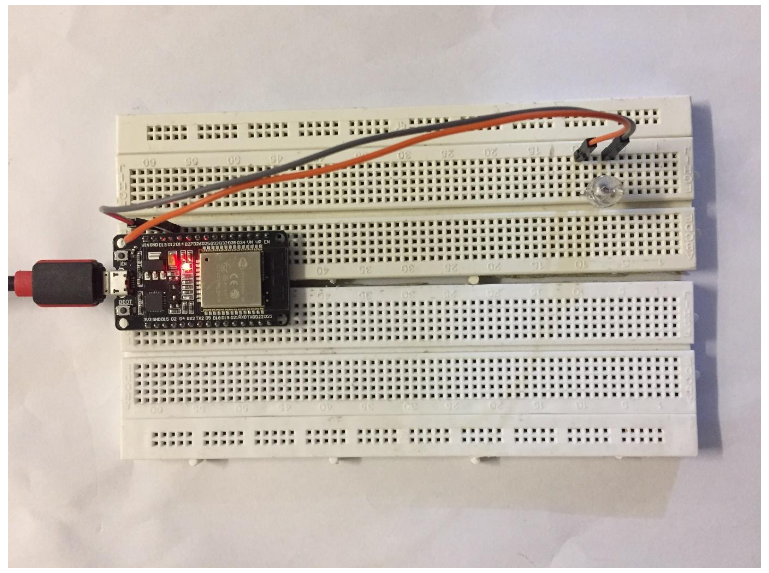
A LED will start blinking. The LED will turn ON for 1 sec.

The LED will stop for 1 sec. This cycle continues until the script is stopped.
We have successfully tested the Thonny IDE working with an ESP32 board using the MicroPython code.
Conclusion
MicroPython is a subset of Python language and designed for embedded systems. It’s not exactly the same as Python, however it still supports multiple libraries and can control GPIO pins of different microcontrollers. To program ESP32 with MicroPython an IDE is required. This guide covers the Thonny IDE installation with ESP32 board in macOS.