This guide demonstrates how to add a logo image and an h1 heading on the same line using:
Method 1: Use of Flexbox Layout
The “Flexbox” layout is the most recommended method to display multiple elements on the same line. It changes the size of the residing elements according to screen size i.e., it helps to make responsive layouts.
For instance, assign a class to the parent div and add the logo/image and “<h1>” tag inside it:
Next, select the div by accessing its class name “nav” and then select the “img” element residing in it. After that, display the image and text on the same line and add the following CSS properties:
display: flex;
background-color: black;
color: white;
align-items: center;
}
.nav img {
margin: 0 30px;
}
The explanation of above used CSS properties is as follows:
- First, set the “flex” value to the “display” property to create a flexbox layout. After that, assign the “center” value using CSS “align-items” property.
- Next, use “color” and “background-color” properties to create a better visualization effect.
- In the end, select the residing logo image and apply the “margin” property to create a space between the heading text and the logo image. It is used to enhance the visibility factor.
After executing the above code, the webpage looks like this:
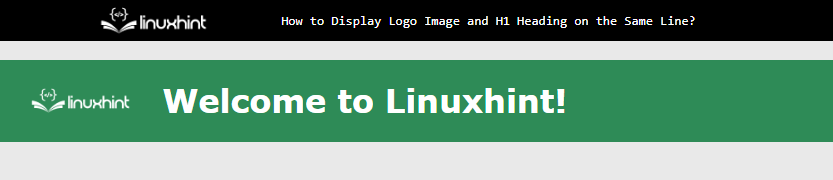
The above output displays that the logo image is placed along with the text on the same line.
Method 2: Use of “display” Property
The CSS “display” property can also be utilized for displaying the logo image and heading text on the same line. To accomplish this, the display property is set to “inline-block”:
background-color: sandybrown;
}
.nav img, .nav h1
{
display: inline-block;
vertical-align: middle;
margin: 5px 30px;
}
The explanation of the above code is mentioned below:
- First, the “background-color” property sets the background color to “sandybrown” for the parent div.
- Then, select the “img” and “h1” tags residing inside the “nav” class.
- After that, apply the “display” property having a value of “inline-block”. This makes elements appear on the same line.
- In the end, use “vertical-align” and “margin” properties to enhance the visibility factor.
After executing the above code, the webpage looks like this:
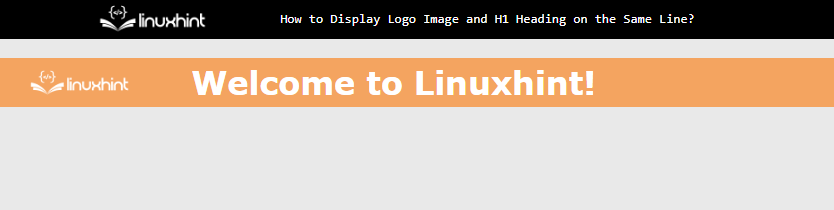
The above output illustrates that the same result appears after using the “display” property.
Method 3: Use of “float” Property
The CSS “float” property can also be utilized to set an image and heading text on the same line. For instance, assign the left value to the “float” property. It makes the upcoming “<h1>” tag data appear in front of the logo/image:
background-color: dodgerblue;
vertical-align: middle;
}
.nav img {
float: left;
margin: 5px 30px;
}
In the above code snippet, the “margin” adds extra space between the image and the parent div border from all sides. The “vertical-align” property makes the child element appear in the middle of the parent div:
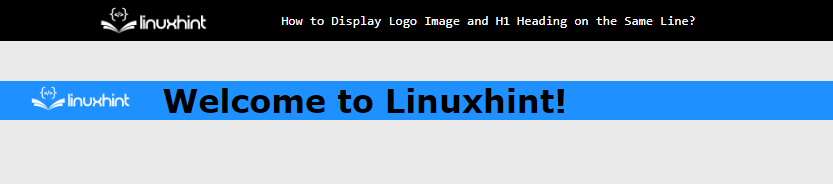
The output displays that the logo and text appear on the same line when the file is rendered on the screen.
Method 4: Use of “position” Property
The “position” property can also be utilized to display the elements on the same line. To perform different values of position, set parent class and image element as shown below:
background-color: orangered;
position: relative;
}
.nav img {
position: absolute;
left: 50px;
top: 7px;
}
.nav h1 {
margin-left: 15%;
}
The explanation of the above code is as follows:
- First, set the “position” property to “relative” for the parent class. After that, assign the “absolute” value for the image to create a link between both of the elements.
- Then, use the “left” and “top” properties to align the image according to the website design.
- In the end, select the “h1” element and assign it a margin of “15%” from the left direction.
After executing the above code, the webpage looks like this:
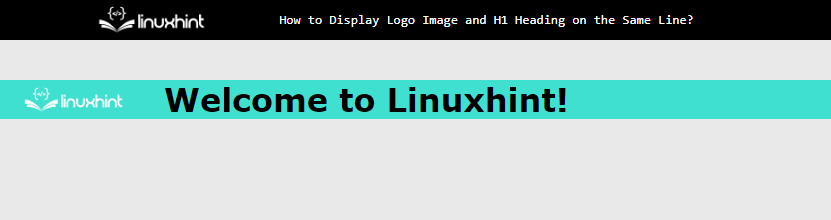
The output shows that the image and heading text are placed on the same line side by side using the “position” property.
Conclusion
To set the logo/image and h1 heading on the same line, use the “flexbox” layout, “display”, “float”, and “position” properties. The “flexbox” layout sets the display of the parent div to “flex”. The “display” property is used to set an “inline-block” for child elements. In the same way, the “float” and “position” properties can also be utilized to set the logo/image and h1 heading on the same line. This article has successfully demonstrated how to insert the logo/image and h1 heading text on the same line.