To avoid this, the website developer can put a “type” limit on the type of files the user can upload. Hence, while creating such forms and elements through HTML, where the users are asked to insert files, it must be ensured that the file format has been restricted to only the file type required for that operation. This is done easily through the “<input type=”file”>” tag in HTML.
Limiting the File Format Using Input Type File
File formats can be limited or restricted by adding the “input” tag with the “type” attribute and setting the type attribute equal to “file”, and then adding the “accept” attribute in the same tag to define the file format.
Example: Limiting Files to Different Formats
Let’s add a simple example to restrict the file type in the input fields:
<input type="file" accept=".html,.xhtml" /><br>
<h2> Insert Images Only </h2>
<input type="file" accept="image/*" /><br>
<h2> Insert mp3 Files Only </h2>
<input type="file" accept=".mp3" /><br>
<h2> Insert PDF Files Only </h2>
<input type="file" accept=".pdf" /><br>
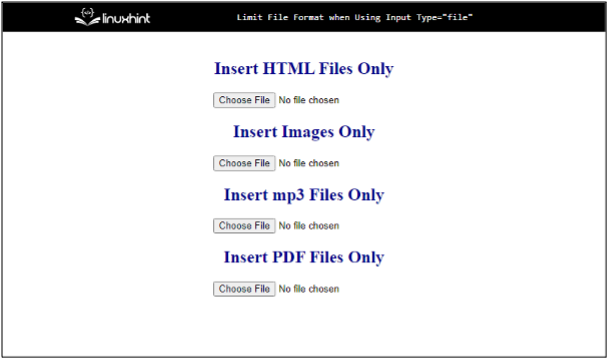
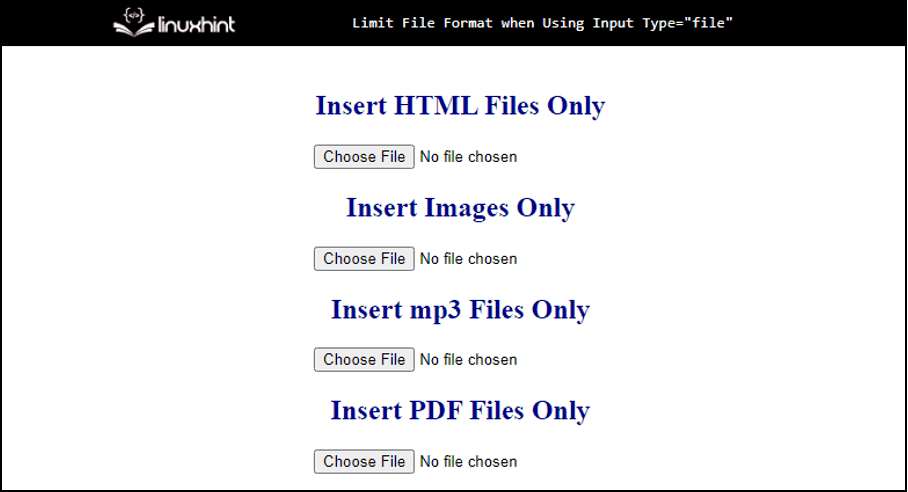
In the above code snippet, there is are simple <h2> headings to specify the file type format to be added as the input and after each heading, there are the input tags with the “accept” attribute to specify the file format:
- In the first tag, there are “.html” and “.xhtml” specified as the file type in the “accept” The user will only be able to select “.html” and “.xhtml” files from the system. In fact, files with all the other file types will not be displayed to the user while browsing from the system.
- Similarly, the “image/*” will not let the user enter any file format other than the images.
- “.mp3” will allow the user to select “.mp3” audio files only.
- “.pdf” will let the user browse and insert only PDF files from the system.
This will display the following results:
Let’s see how it works by selecting one of the created input fields:
In the above figure, we selected the “Choose file” button that was created by restricting the file type to pdf only. This displays or browses only the pdf formatted files from the system.
In this way, file formats are restricted where input fields are created in HTML.
Conclusion
Limiting the file formats in HTML only requires adding an <input type=”file”> tag and specifying the file format in the accept attribute. The file formats are specified in the accept attribute, and this restricts the user from browsing and selecting the files only of the defined file format. This article has enough information to learn how to use the <input type=”file”> tag to limit the file format.


