persistence so that you can save files on the drive and then run Kali from the
USB drive. It is one of a series of tutorials which will help you setup the proper environment
for using Kali Linux and then show you how to use it’s tools.
The tutorials in the series include:
- Installing Kali Linux as a VM
- Creating a Kali Linux Live USB drive
- Configuring Kali Linux
- Package Management with Kali Linux
- Setting up a Kali Linux test lab
- Using the Kali Linux tools
Objectives
By the end of this session you will be able to create: a USB drive running Kali Live Linux; a partition for persistence on the USB drive; a file system on the new partition; and persistent files on the USB drive.
Downloading Kali Linux
How to download Kali Linux is explained in the tutorial ‘Installing Kali Linux as a VM’, the first in this series. The images can be found here: https://www.kali.org/downloads/.
I will be using the latest (as of March 2020) Kali Linux 64-bit (Live) version,kali-linux-2020.1-live-amd64.iso. I have downloaded it here:
Verifying the Download
How to verify the Kali Linux ISO is also explained in the tutorial ‘Installing Kali Linux as a VM’. To do this run the following:
The output should look something like this:
The resulting SHA256 signature should match the signature displayed in the sha256sum column on the official download page for the image.
Bootable Live USB Drive
The quickest way to get up and running with Kali Linux is to run it live from a USB drive. This method has several advantages:
- It’s non-destructive as it makes no changes to the host system’s hard drive
- It’s portable so you can carry it with you and have it running in minutes on an available system
- It’s potentially persistent so that data can be saved on the UDB drive
To create a bootable USB drive you will need a verified copy of the ISO image of the latest Kali build and a USB drive, a minimum 8GB in size. Creating a bootable Kali Linux USB drive is fairly easy. Once you’ve downloaded and verified your Kali ISO file, use one of the following commands:
- In Linux login as root and use the dd command
- In Windows use one of the GUI tools, unetbootin or rufus
I will be using the first method on MX Linux.
Mount the USB Drive
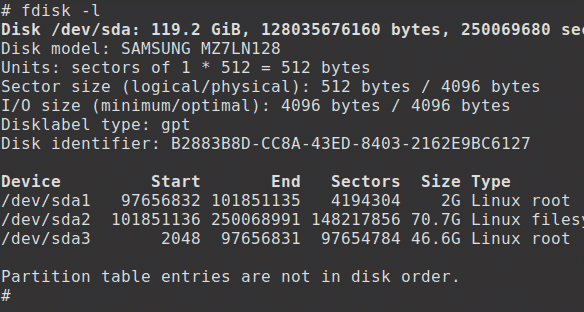
Log into root (or use sudo) and check the list of disk drives before inserting the USB drive:
For one disk this will return something like:
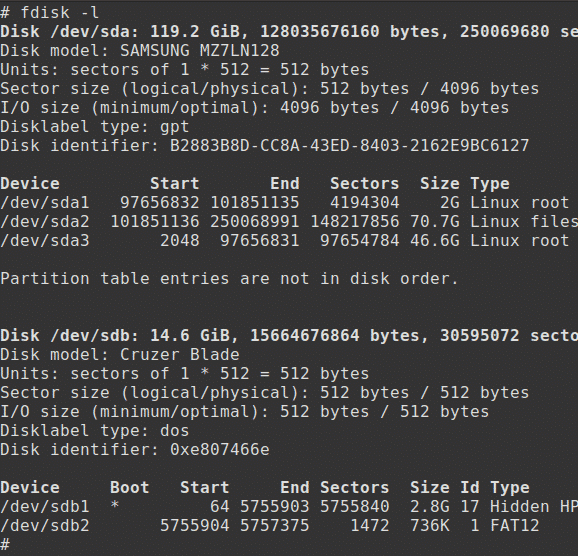
Now insert the USB drive and run the command again:
This will return something similar to:
Here the USB drive is mounted as /dev/sdb.
Create the USB Drive
To create the bootable USB drive, change to the directory containing the ISO and run the dd command. This will take between 5 an 10 minutes.
WARNING: Although this process is very easy, be careful as you easily overwrite a disk drive if you specify an incorrect path. Double-check what you’re doing before you do it, it’ll be too late afterwards. The command dd is not known as disk destroyer for nothing!
# dd status=progress if=kali-linux-2020.1-live-amd64 of=/dev/sdb bs=512k
Test the USB Drive
To test the bootable USB drive, reboot the machine.
Add Persistence
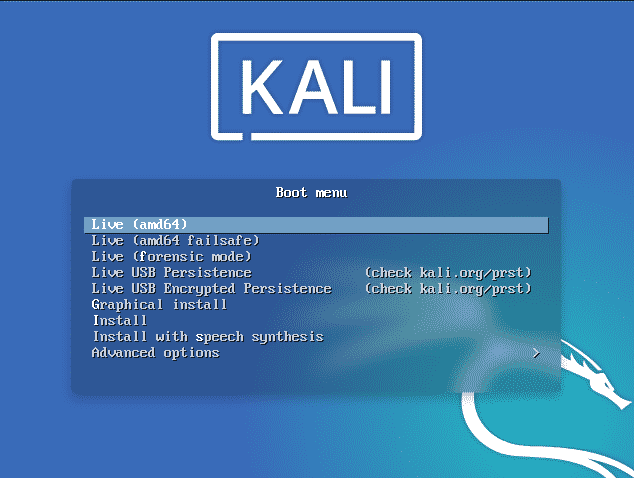
The Kali Linux Live USB drive has an option, option 4, on the boot menu which enables the use of persistence, the preservation of data on the USB drive across reboots of Kali Live. This can be very useful as changes to files can be saved even when booting from different systems.
Here we setup the Kali Linux Live USB drive to supprt persistence. We will assume that:
- the user is root
- the USB drive is /dev/sdb
- the USB drive has a capacity of at least 8GB. The Kali Linux image takes just over 3GB and a new partition of about 4.5GB is required to store persistent data
- a separate Linux system is running, it cannot be a Kali Live USB drive
To add persistence, first boot into a Linux system and insert the Kali Live USB drive. Here I will be using MX Linux.
Show Disks
First insert the USB drive and display the disk details:
Edit Disk
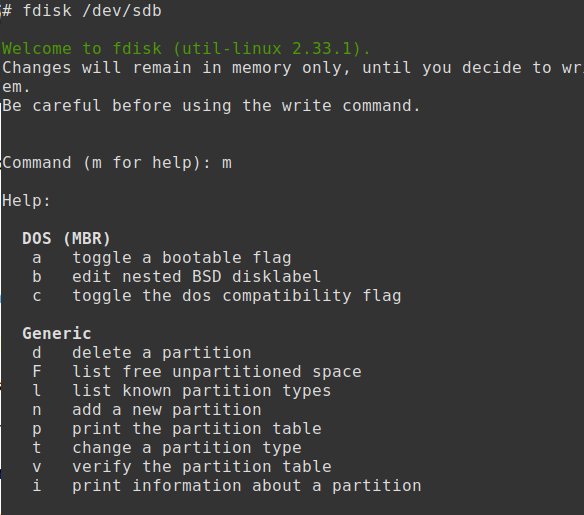
Enter the following command:
Then to show the help screen enter m at the command prompt:
Create Partition
To create the new partition enter n:
Note that the defaults are shown in brackets.
Press return for a primary partition (default p).
Press return for the partition number (default 3).
Press return to accept the default for the first sector.
Enter a size of +4.5G and press return.
To display the partion table enter p.
Save Partition Table
To finish and write the new partition table to disc, enter w:
List the available disk partitions with:
You can also check with:
Create Filesystem
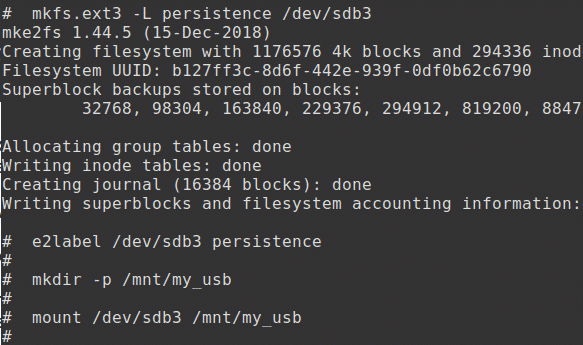
The next step is to create an ext3 file system on the partition and label it persistence. This may take a few minutes:
# e2label /dev/sdb3 persistence
Create a mount point and mount the new partition:
# mount /dev/sdb3 /mnt/my_usb
Create File
Display the mounted partition:
Then create the configuration file to enable persistence:
Finally, unmount the partition:
Testing Persistence
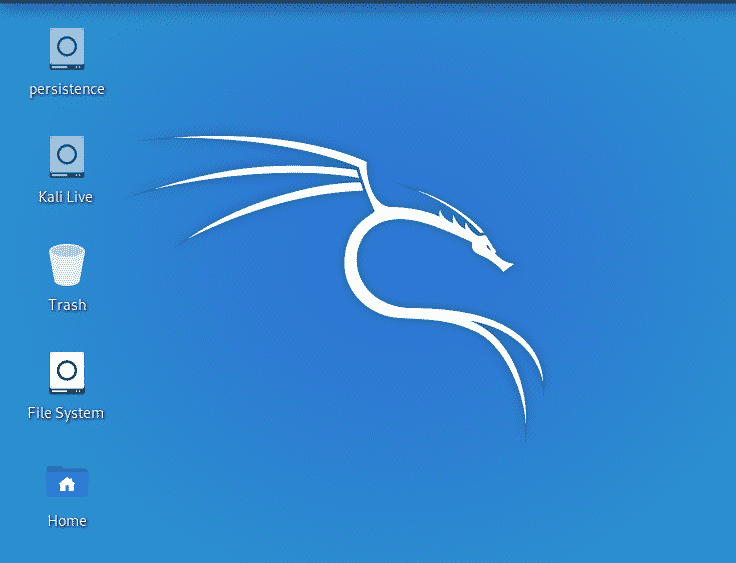
To test persistence, boot from the Kali Live Linux USB drive.
Now choose not the first but the 4th option.
Open a terminal window and enter:
Save the following text in the new file myfile:
$ ls
$ cat myfile
Now, shutdown the system and remove the USB drive.
To test that persistence is working, reboot from Kali Live Linux USB, open a terminal and enter:
If the USB drive was correctly configured, the file will be displayed.
Conclusion
In this tutorial we have looked at how to create and test a persistent Kali Live Linux USB drive.
Next Steps
I hope you will put the knowledge gained here to good use and attempt to create and test your own USB drive. Then I suggest that you move on to the next part of this series, Configuring Kali Linux.


