These operating systems are often referred to as distributions and each distribution is a flavor that has been catered to meet the interests of a specific set of users. One such great alternative is the Peppermint OS distribution, an extremely lightweight Lubuntu based Linux distribution that makes use of the LXDE desktop environment.
Hence, the topic of our discussion in this article is how one can install Peppermint OS on VirtualBox
Prerequisites
Before we move onto the process of installing Peppermint OS on our VirtualBox, we first need to set up our system and download the required applications. The first thing users need to make sure is that virtualization is turned on in their systems. To check this, open the BIOS Settings and go to System Configuration. Over here, you can see if Virtualization Technology is disabled or enabled. If it is indeed disabled, move the cursor to it and hit the enter key. Now simply select the enabled option and then restart your system.
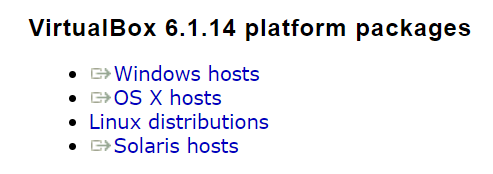
After enabling virtualization, we need to download VirtualBox, a virtualization software used to host and run operating systems alongside your default one. It is available for all three Windows, Linux, and Mac OS platforms.
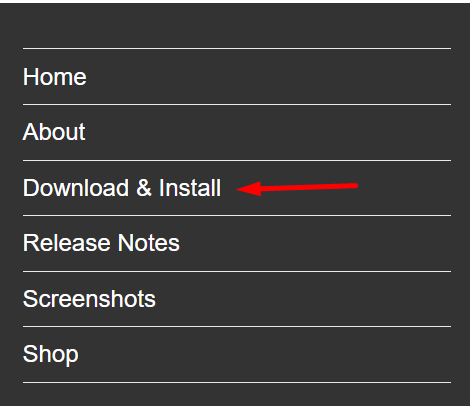
Another thing that is required is the Peppermint OS Disk Image File. This can be downloaded by going to its official website and opening the Download and Install section.
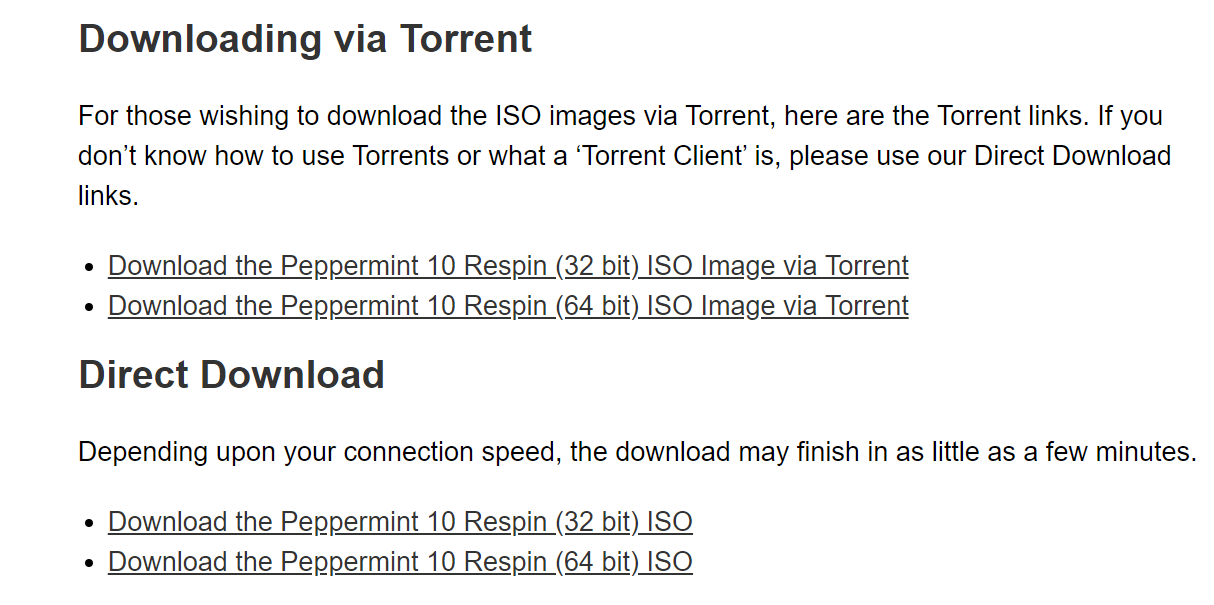
It offers multiple ways for users to download their iso file. Choose the one that suits you best.
After downloading the Image file, we need to conduct an integrity check which can simply be done by running the following command into the terminal:
If your result is the same as the one given below, then the download was successful.
Setting Up Your Virtual Machine
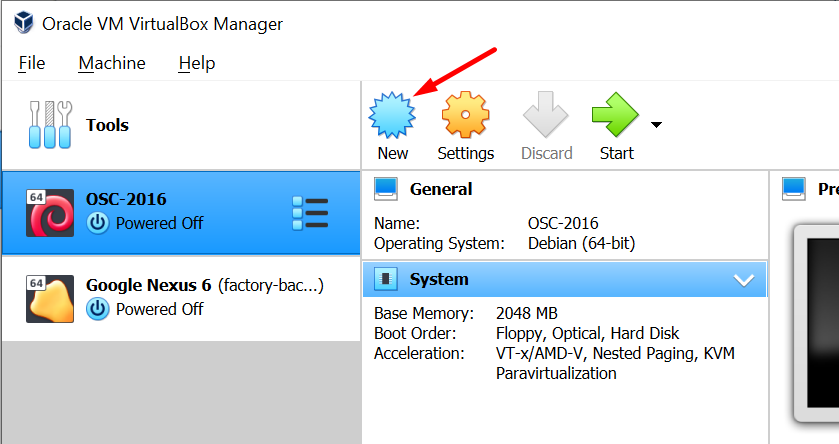
Now, open up VirtualBox and hit the New button at the top to create a new virtual machine.
This will open a prompt asking you to name your virtual machine, set your base folder, the type, and version of the operating system that you will be using. It should be similar to the following:
Do note, if you are using a 32-bit version, then choose the Ubuntu 32-bit option in the version section.
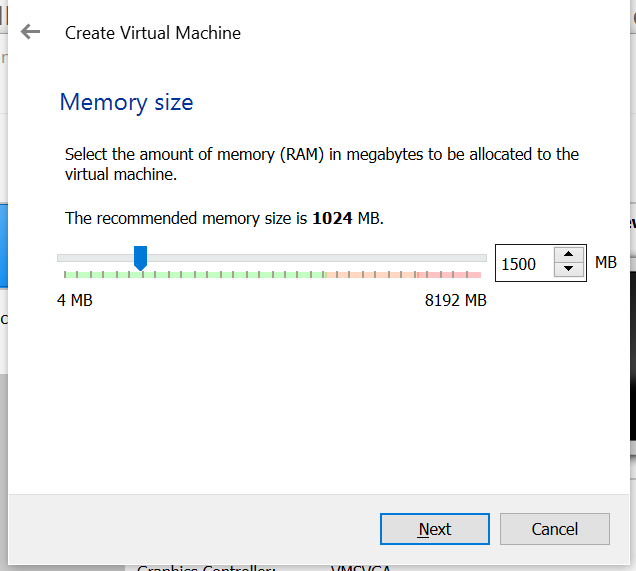
After clicking Next, it will then ask you to set the amount of RAM that you want to allocate to this VM. The minimum system requirement to run Peppermint OS is 512 MB but we will be allocating it around 1500MB, so it runs much more smoothly.
Click on Next and you will be directed to the type of Hard disk you want for your VM. Choose the Create a virtual hard disk now option and click on Next.
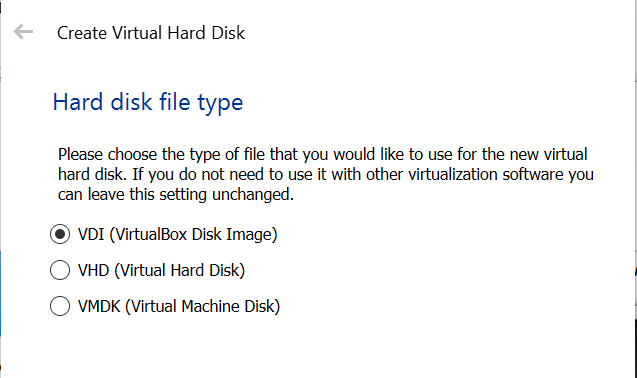
In the next prompt, keep it as VDI and move ahead by clicking Next.
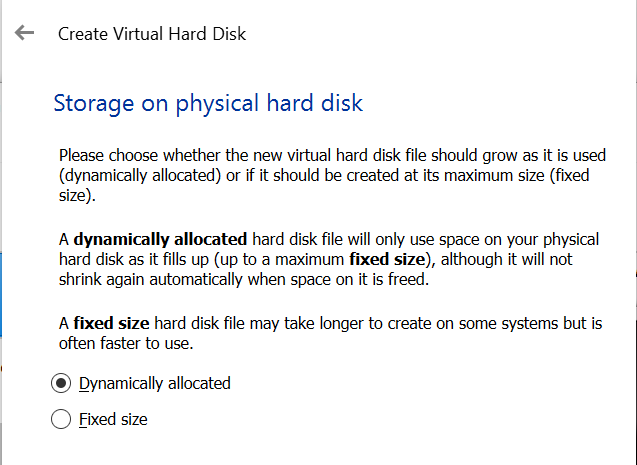
In the next prompt, it will ask you whether you want the storage of your hard disk to be dynamically allocated or of fixed size. The main difference between the two is that dynamically allocated disks only use the amount of data that you have on your disk while fixed disks will use the complete space that you have specified. It is much better to use dynamically allocated as your storage in my opinion, but some people prefer the fixed drive as it is often faster to use.
Finally, specify the amount of memory that you want to give to your VM. It is better to give at least 10 GB of disk space to your Peppermint OS virtual machine.
After this, click on Create and your VM should be setup.
Adding Peppermint OS to Virtual Machine
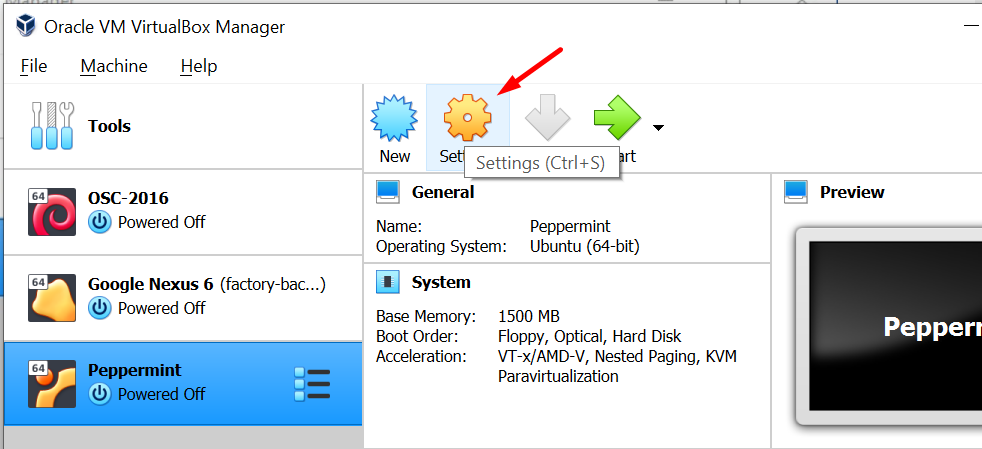
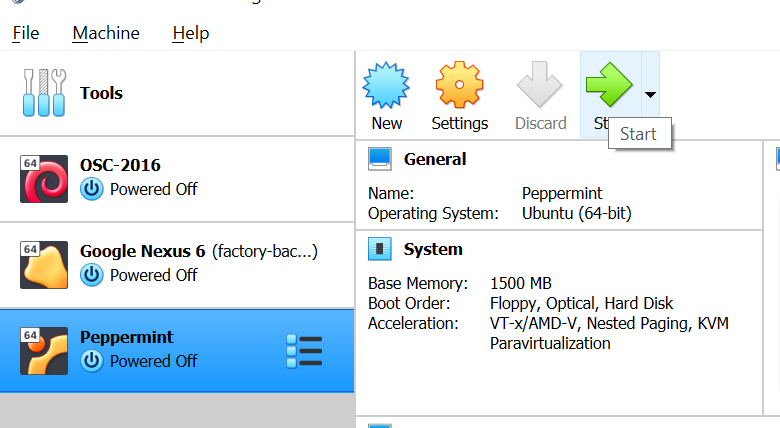
After setting up your virtual machine, you will be directed to the main menu where you should click on the Settings button.
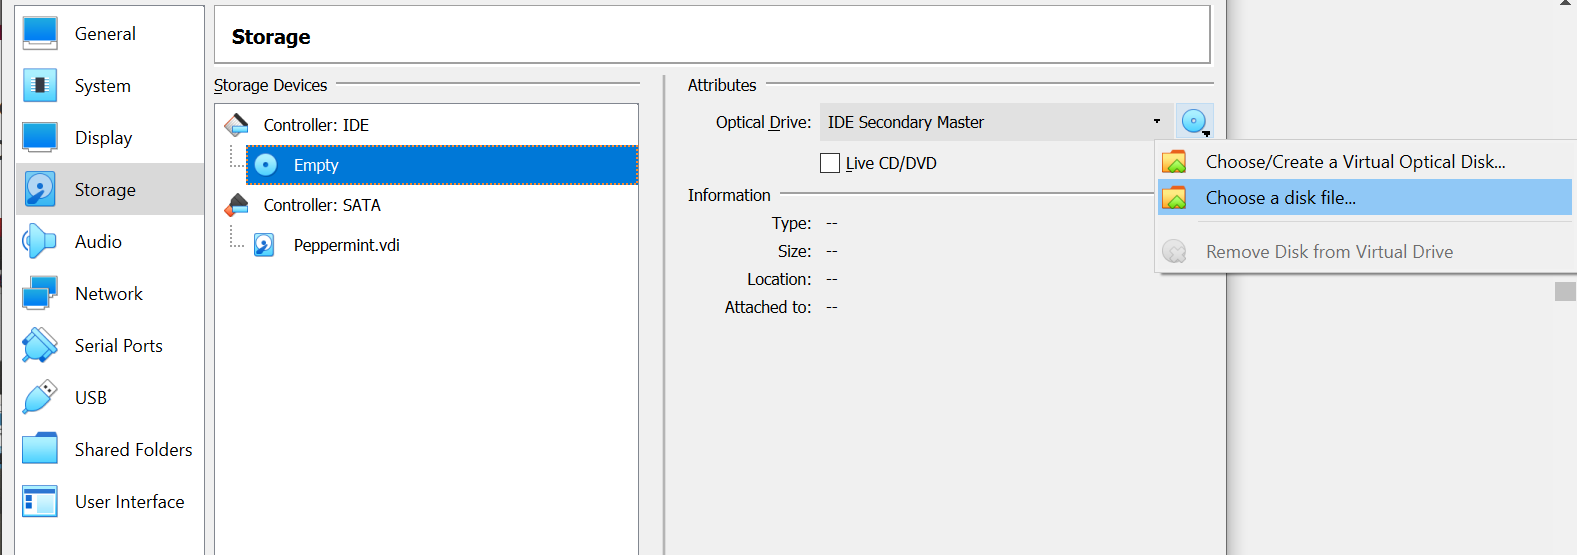
Over here, open the Storage section and then click on Empty under the Controller IDE. Next, click on the CD icon next to the Optical Drive and select the Choose a disk file option. Insert the Peppermint iso file that you downloaded here.
It will look something like the following:
After this, click on OK and you will once again be directed to the main menu. Finally, click on the Start Button to start the Peppermint OS boot menu.
Installing Peppermint OS
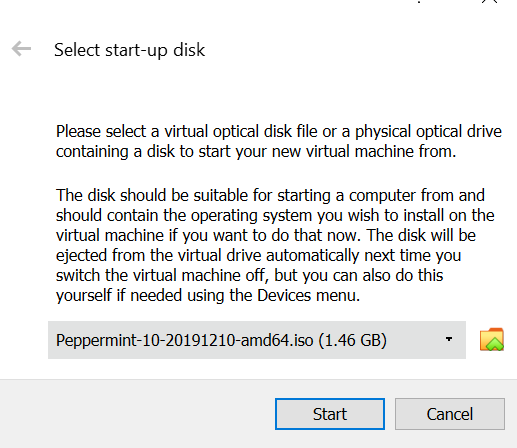
After clicking on Start, it will ask you to select the start-up disk which would be the iso file that you set up before.
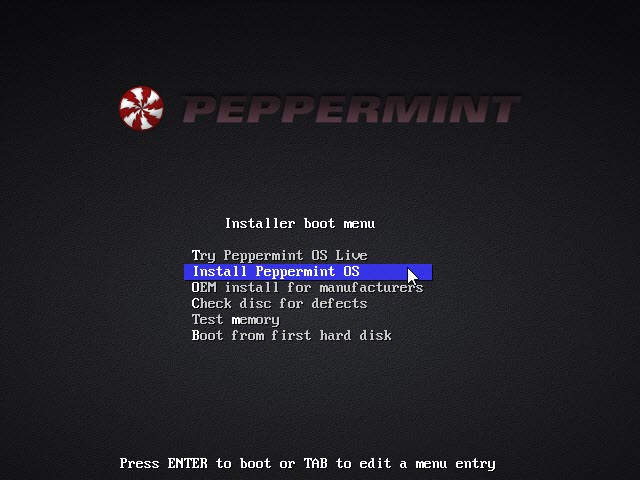
Next, it will provide you with an installation menu having multiple different options. For users that are still not sure about Peppermint, I recommend choosing the Try Peppermint OS as a Live option. We will be going ahead and selecting the Install Peppermint OS option.
It will then take a few minutes to start up the installation process. Once it does, it will ask you to choose the standard language for your system as well as the keyboard.
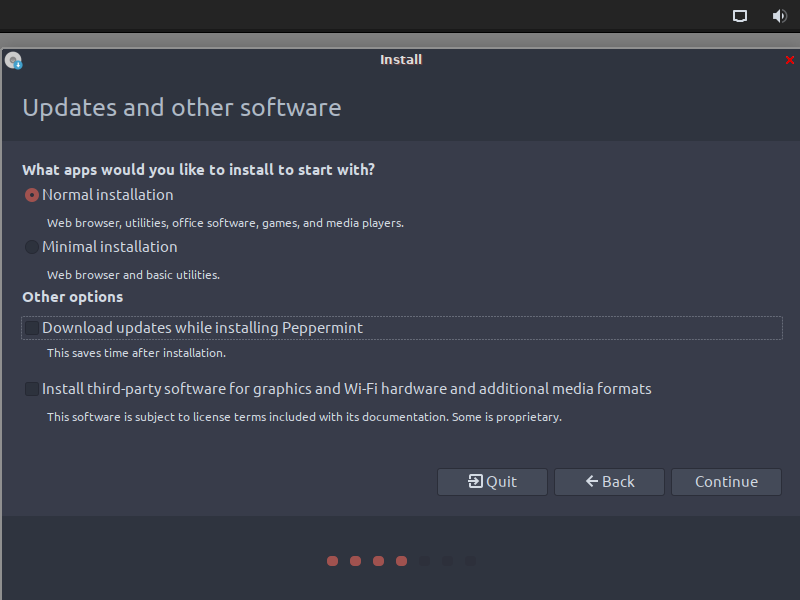
After this, it will ask you the applications you want to install along with a few other options like downloading updates and installing third-party software. Choose whichever option suits you best. Selecting the other options, however, will make the installation process longer so do keep that in mind.
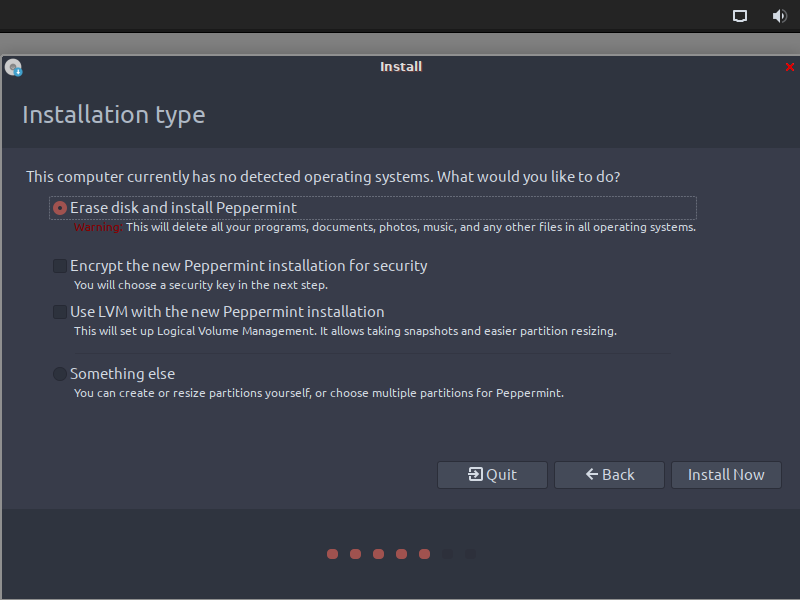
After selecting the applications, you will then be asked to specify the installation type. For virtual machines, I recommend going with the default option – Erase disk and install Peppermint.
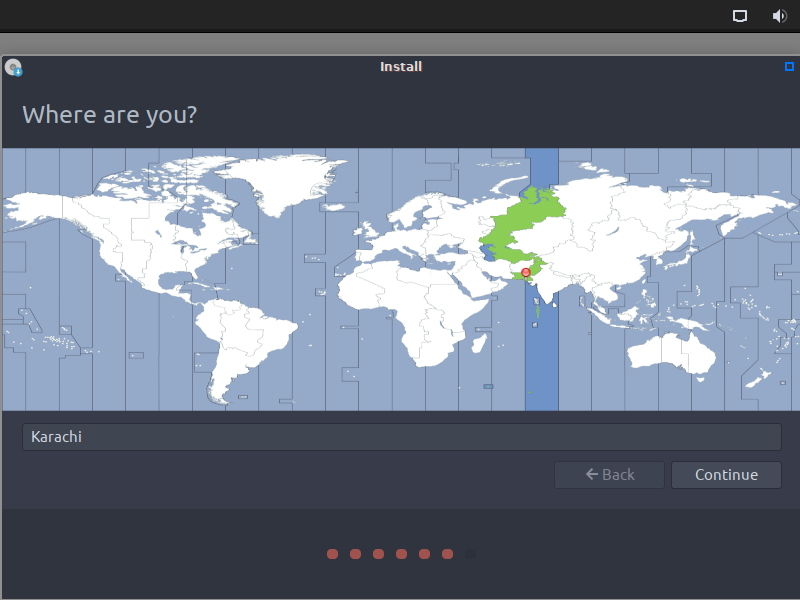
After this, it will ask you to set up your location which if you are already connected to the internet, the Peppermint installer will automatically set it up.
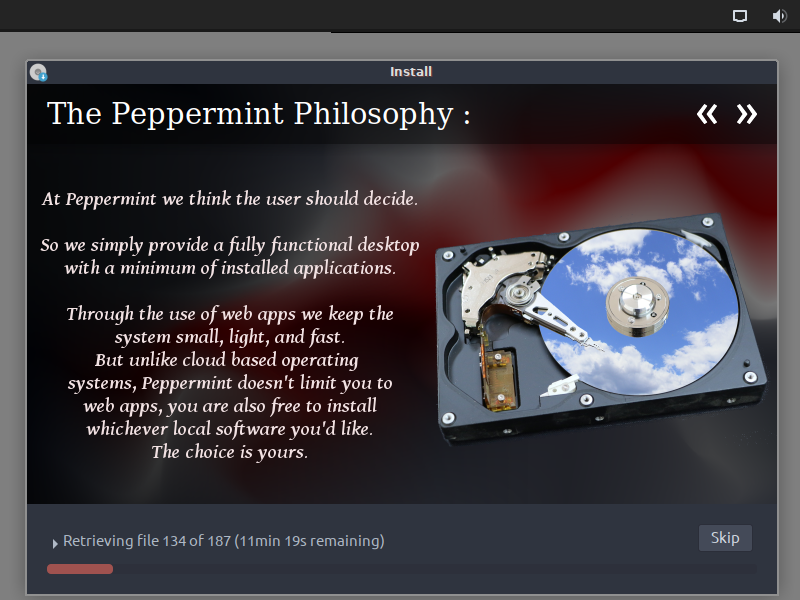
After setting your username and password for your system, click on Continue to start your installation process which may take a few minutes to complete.
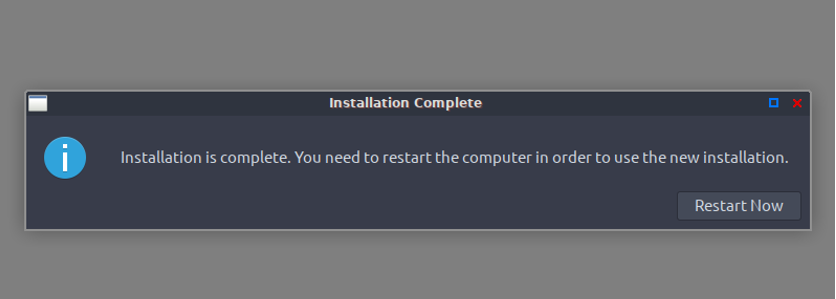
After the installation process is complete, it will then ask you to restart your Peppermint OS in your VirtualBox.
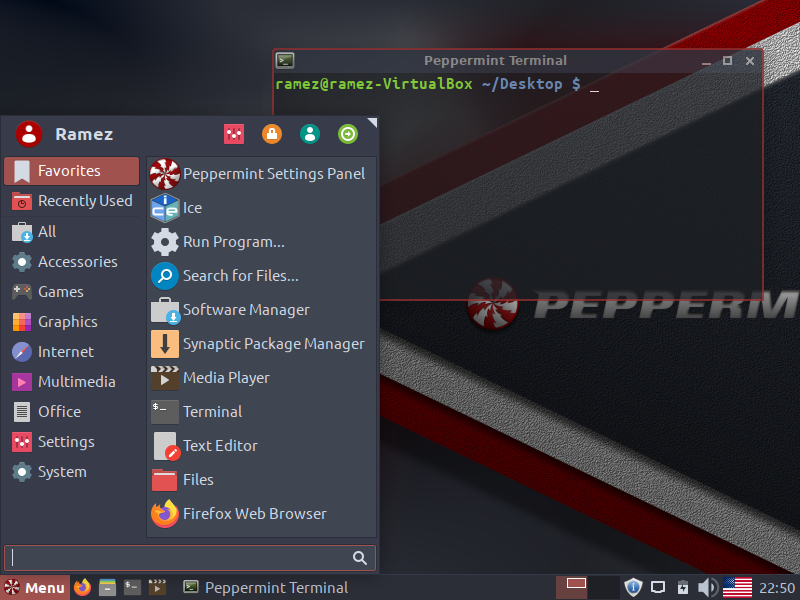
Voila! Peppermint OS has been installed on VirtualBox.
Why Peppermint OS?
Peppermint OS is an extremely lightweight and stable operating system, having a wonderful performance to top it off. Peppermint OS has the LXDE desktop environment as its default which is great for systems with low specs. It integrates all the great things from other Linux distributions and is a solid choice for having as your main operating system.

