
Apache web server is a free and open source cross-platform web server tool. It is fast, secure, reliable and highly customizable to meet the requirements of the users. It’s one of the most secure, efficient and widely adopted web servers that provides HTTP services to its users.
This article will guide you how you can install Apache server and setup Virtual Hosts on Ubuntu 22.04.
How to Install and Configure Apache Server on Ubuntu 22.04
In order to install Apache server on Ubuntu server on Ubuntu 22.04, you will need to perform the below mentioned steps:
Step 1: First, update the apt packages using the following command:
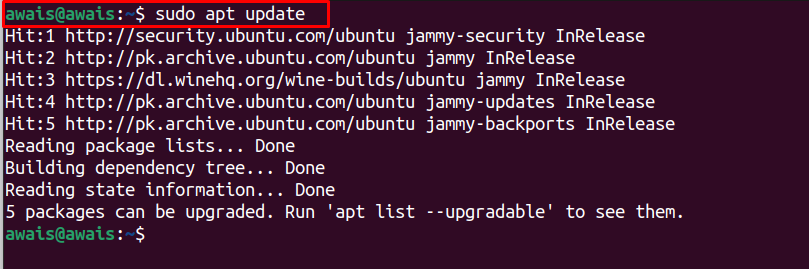
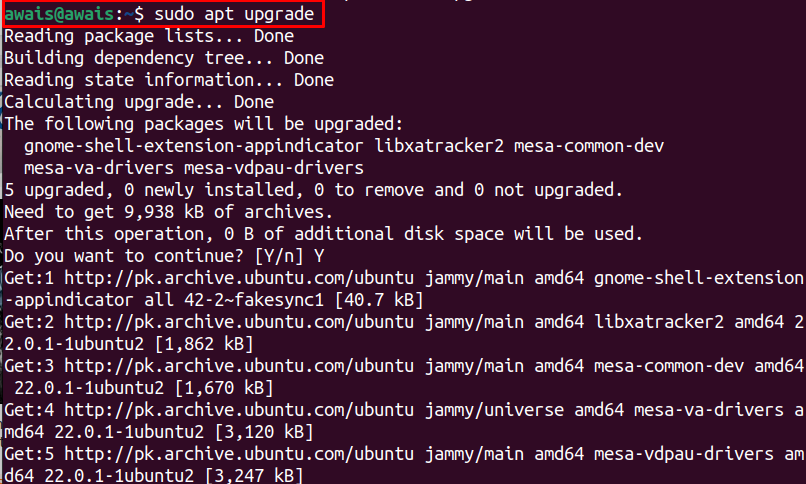
Then run the following command to install the packages if required:
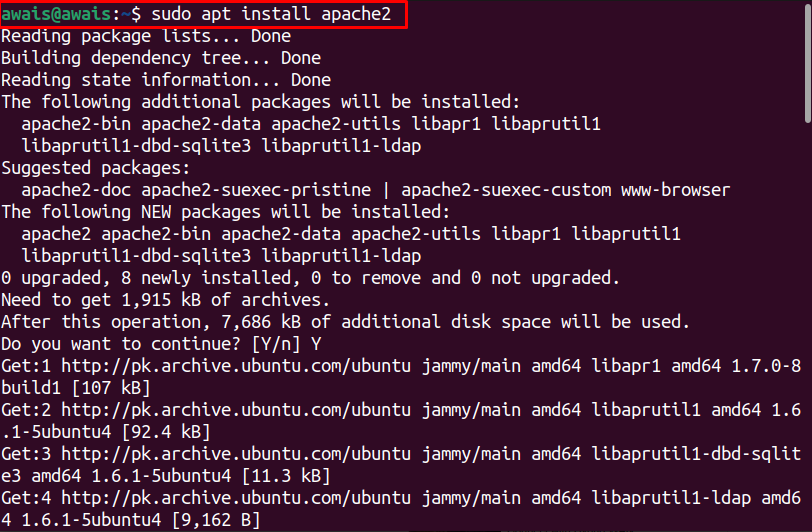
Step 2: Now, install Apache server using the following installation command in the terminal.
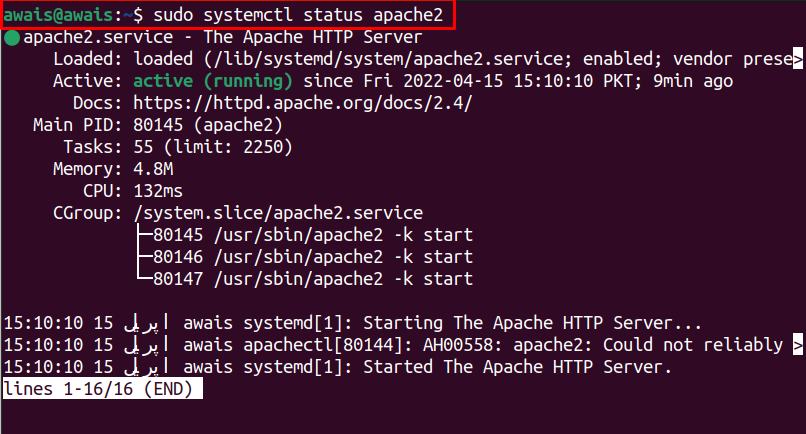
Step 3: To verify the status of Apache on Ubuntu 22.04, you can use the following command.
Step 4: After running the Apache on Ubuntu 22.04, you will be required to enable the Firewall setting for Apache server and to do this first switch to the root user:
And then allow access:

Step 5: You can also verify the firewall changes using the following command:

Step 6: Next, you have to check whether your Apache is working and for that go to your browser tab and enter the host address of your Ubuntu.
You can find the host address using the following command :

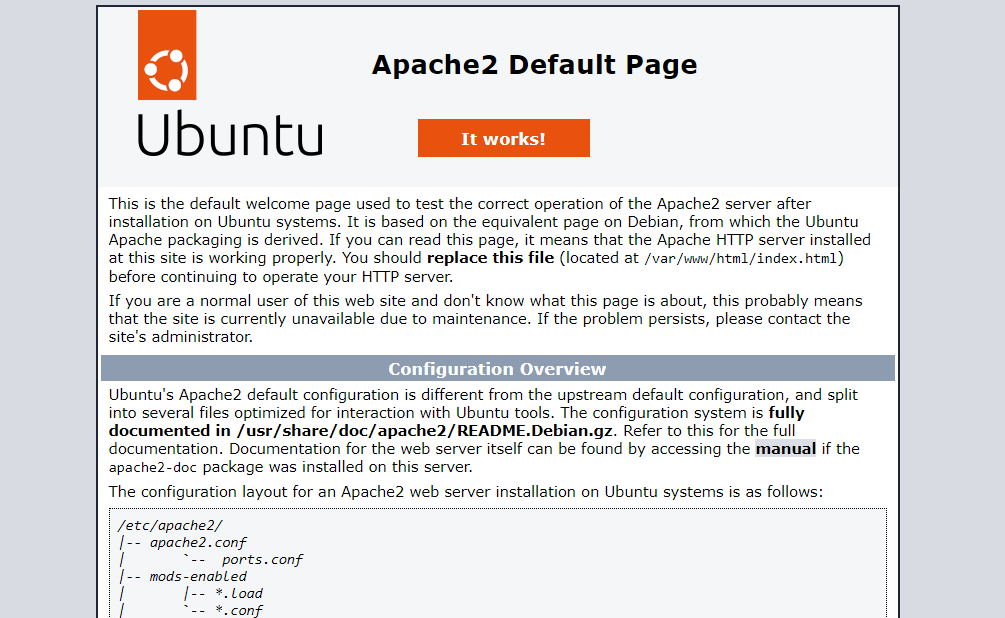
This confirms that your Apache service is running fine.
How to Setup a Virtual Hosts on Ubuntu 22.04
Now, you will need to set up a virtual host on Ubuntu 22.04 using the Apache server. By default, the Apache includes a test virtual host whenever you install it on your system. If you want to upload your content you will need to open the Apache configuration file which is placed in the “/var/www/html” directory. This works well for a single site but it won’t be a good option for someone who wants to develop multiple websites.
To enable the feature of creating multiple websites, you will be required to create a directory in the “/var/www” folder with your domain name which you have to set according to your choice. The syntax will look like this as shown below.
![]()
In the above screenshot, “mawaixweb.com” is the domain name which you will have to choose by yourself.
Note: In the following section the domain name “mawaixweb.com” will be used. Change it according to your configuration.
Now, create an index.html page inside your domain using the following command.
In out case the “[domain_name]” is “mawaixweb.com”, so command will be:
Paste the following script into the “index.html” file.
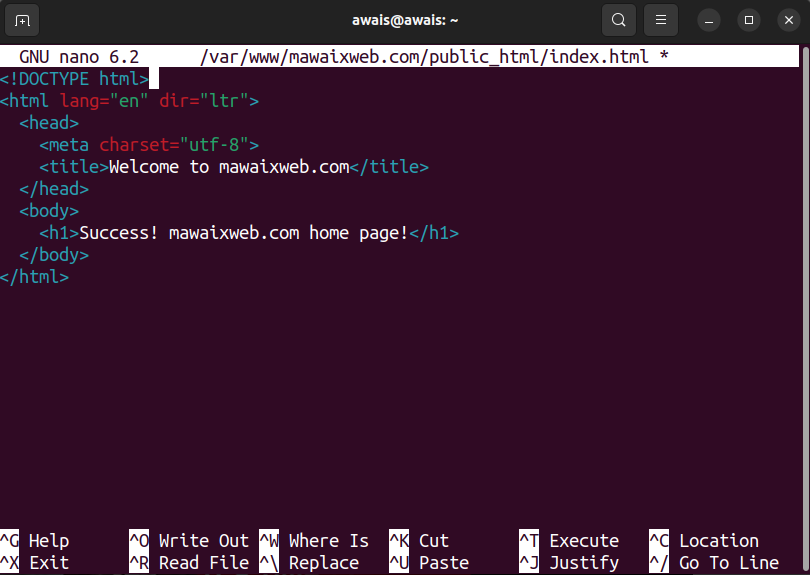
You can alter the code according to your preferences. Now, use Ctrl+X and press Y to save the file and then press enter to go back to the command-line.
Now provide ownership to the directory using the following command.
![]()
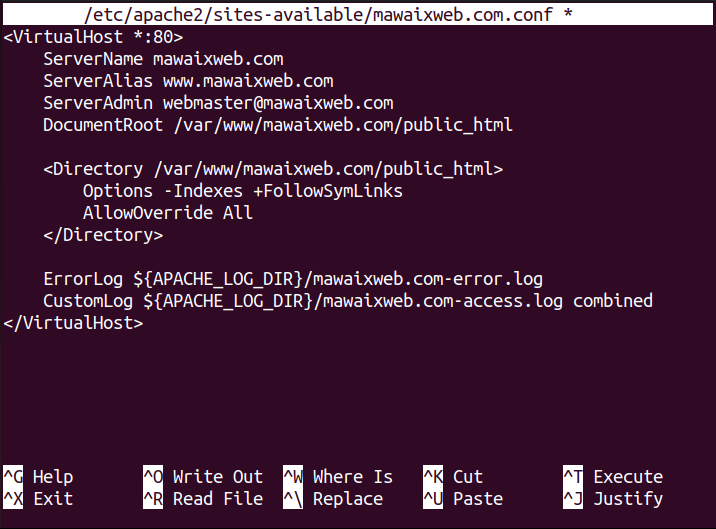
Now, to create a virtual host file, open your domain configuration file using the following command:
Then paste the below text and change the “domain_name” accordingly:
ServerName [domain_name]
ServerAlias [www.domain_name]
ServerAdmin webmaster@[domain_name]
DocumentRoot /var/www/[domain_name]/public_html
<Directory /var/www/[domain_name]/public_html>
Options -Indexes +FollowSymLinks
AllowOverride All
</Directory>
ErrorLog ${APACHE_LOG_DIR}/domain_name-error.log
CustomLog ${APACHE_LOG_DIR}/domain_name-access.log combined
</VirtualHost>
Save the file and close it.
Now, enable the file using a2ensite tool using the following command.

Disable the default site “000-default.conf” using the below-given command:

Once the above steps are finished restart or reload the apache service using the following command.

Now, go to your browser and type the address ”http://domain_name”.

That’s it, Virtual host is up and ready on Ubuntu 22.04.
Conclusion
Apache web server is an open-source cross platform that allows users to develop different websites with ease using the secure and reliable web server system. The above guide will help you in setting up an Apache Server on Ubuntu 22.04 and once it’s completed, you can then easily set up a Virtual Host that includes your personal website link.