This source-code editor supports the various programming languages such as TypeScript, Node.js, and JavaScript and rich extensions for C, C++, Java, Python, PHP, etc. That’s why installing and using the Visual Studio Code is good to increase productivity. This tutorial will explain the various methods to install the Visual Studio Code on Pop!_OS.
How to Install the Visual Studio Code on Pop!_OS
We divided this section into multiple parts to explain the various methods to install the Visual Studio Code.
Using the Default Repository
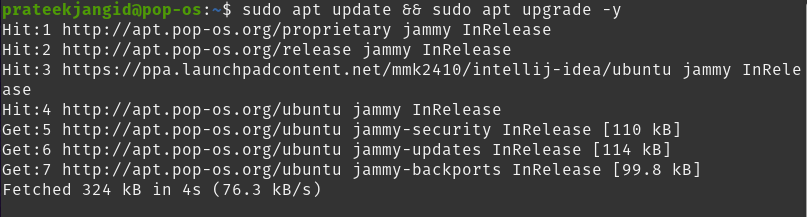
As usual, run the following command first to update all available packages and the current bug fixes:
Once you update the system as per the currently available update, run the following command to install the VSCode:

The version is usually up-to-date but it sometimes needs to catch up to the available version of the Microsoft APT repository.
Using the Microsoft APT Repository
By default, the software packages are pre-installed in all Linux distributions. If not, install the custom software packages using the following command:
![]()

To verify the authenticity of the installation package, import the Microsoft GPG key through the following commands:
sudo gpg --dearmor
sudo tee /usr/share/keyrings/vscode.gpg
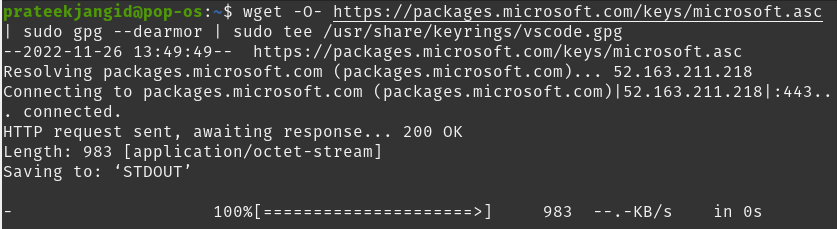
Now, use the following command to import the Microsoft Visual Source repository:


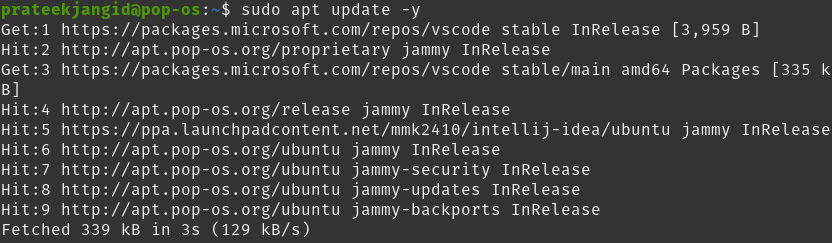
You should update the package manager source list after adding the source repositories.
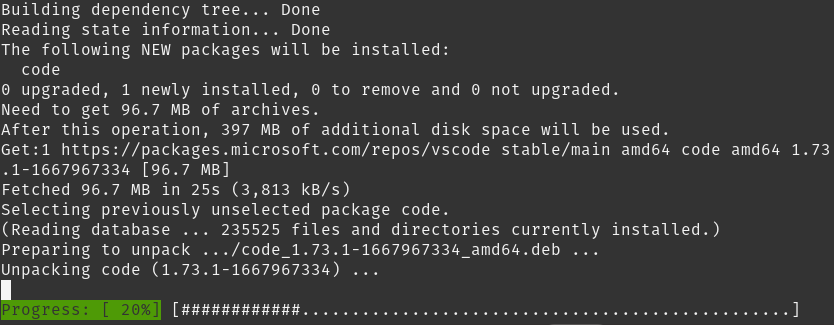
Now, you can install the Visual Code Studio with the following command:
When working with the latest stable version of Visual Code and official repositories, the VSCode Version that is installed using the previous procedure is always up-to-date.
Using the Snap Packages
Canonical’s Snapcraft Store offers an official VS Code package. If your system doesn’t contain the Snap, run the following command:

After installing the snap, you can easily install the VSCode using the following command:
![]()
Using the GUI Approach
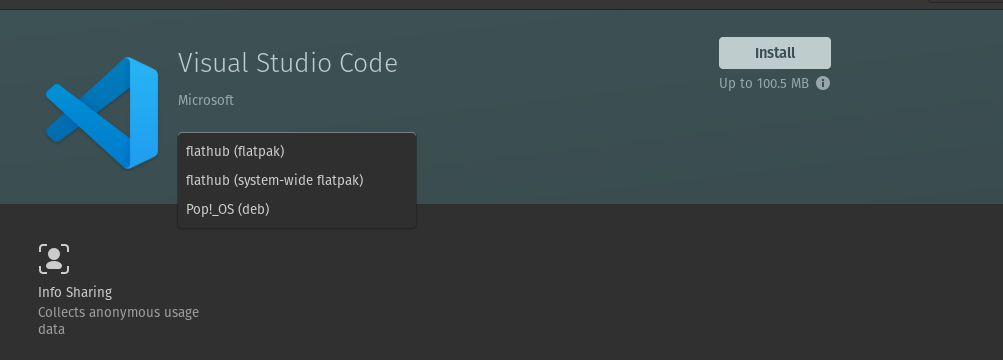
First, open the Pop!_OS Shop from the application menu and search for “VSCode” in the search box.

Click on the appearing icon of Visual Studio Code. You can see three options to install the VSCode.
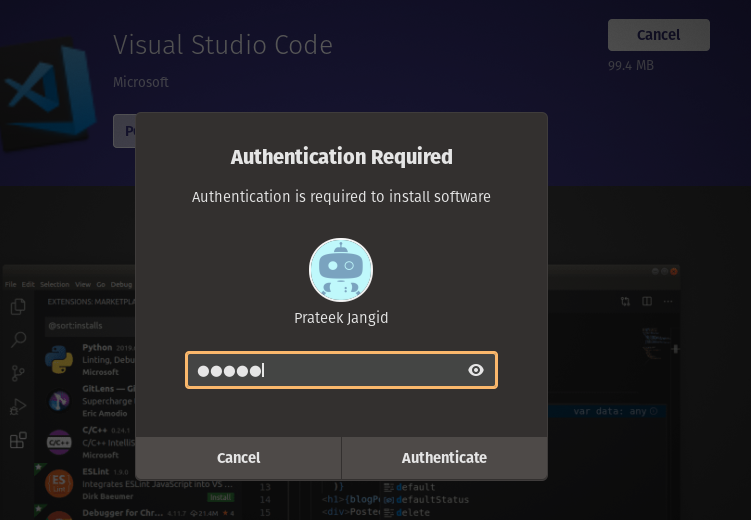
Enter your authentication password and press Enter to start the installation process.
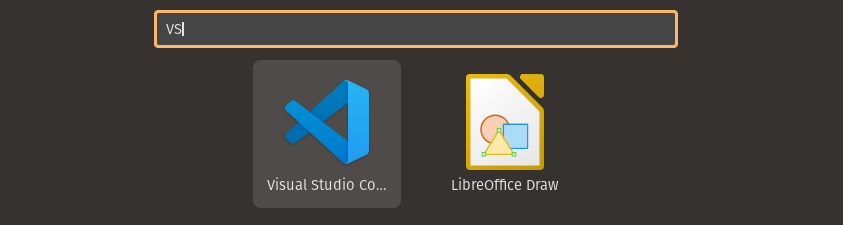
Your VSCode will be successfully installed in your system and visible in your Applications menu.
Launch the Visual Studio Code in Pop!_OS
After installing the VS Code, you can run the following command in the terminal to launch the VSCode:
![]()
You can also open the VSCode through the GUI. Use the search box in the application menu to find the Visual Studio Code.
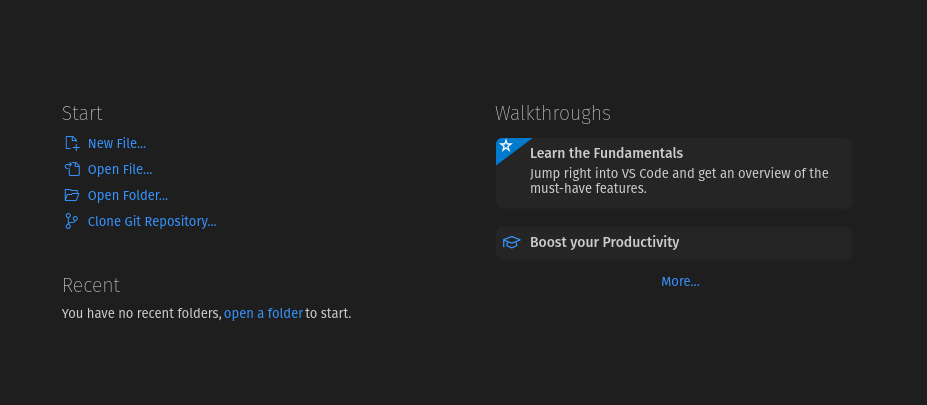
You will see the screen like in the following image. Its default theme is dark. You can also change it from the right side, configure it accordingly, and click on “Mark as Done”.
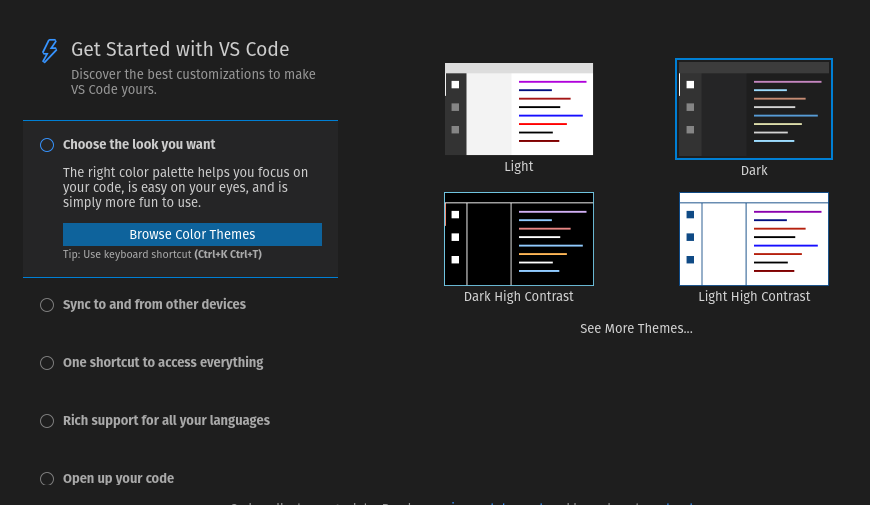
Finally, your VSCode is ready to work.
Conclusion
Microsoft’s Visual Studio Code is a lightweight and excellent IDE editor to handle the various programming languages. In this tutorial, we used the simple approaches to install the Visual Studio Code on OS 22.04. Out of all the mentioned approaches, we recommend you to use the GUI method since it is easier.