
It simplifies the creation of MySQL databases through an EER diagram, which is subsequently used to produce SQL scripts and modify and run SQL queries and scripts. Additionally, Workbench facilitates the conversion of several RDBMS solutions to MySQL. So this guide will explain different methods to install MySQL Workbench on Pop!_OS, an Ubuntu-based distro.
How To Install MySQL Workbench on Pop!_OS
Let’s start the process by updating the system through the following commands:
If your system does not contain the snap utility, then please run the following command to install it:
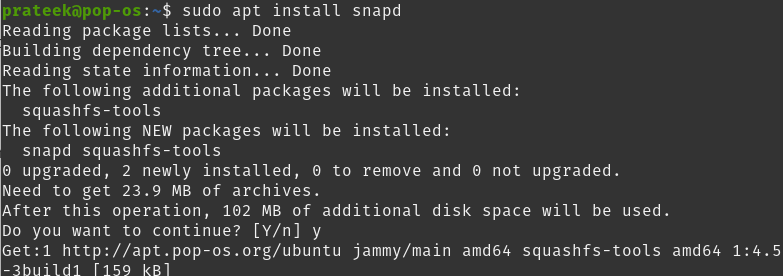
Now, run the following command to install the MySQL Workbench Community through the Snap package:

Set Up the MySQL Server
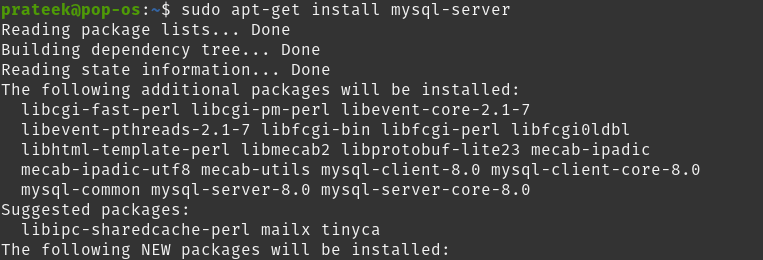
After installing the Workbench, you can now install and set up the MySQL server in the system using the following command:
You can verify the status of the MySQL service to verify whether it is working or not:

If you want to know more about configuring the MySQL server, you can check out our guide.
Conclusion
This article discussed the simple ways to install the MySQL Workbench on Pop!_OS without getting any errors. We have used the Snap package approach to install the Workbench. Moreover, we explained the way to check out the status of MySQL and the method to configure it easily.