VirtualBox is a popular open-source multi-platform virtualization application developed by Oracle. VirtualBox is used for installing and running multiple operating systems at the same time inside of a virtually created machine. Mostly, VirtualBox is used for testing and development purposes.
Installing VirtualBox on Ubuntu 20.04
This tutorial covers the following two methods for installing VirtualBox on Ubuntu 20.04:
- From the official Ubuntu APT package repository
- From the official Oracle repositories
Method 1: Install VirtualBox Using the APT Package Repository
In this method, we will install VirtualBox using the APT package repository of Ubuntu. The benefit of installing VirtualBox using this method is that this method makes it very easy and quick to install. The negative side of this method is that it does not update when a new version is released.
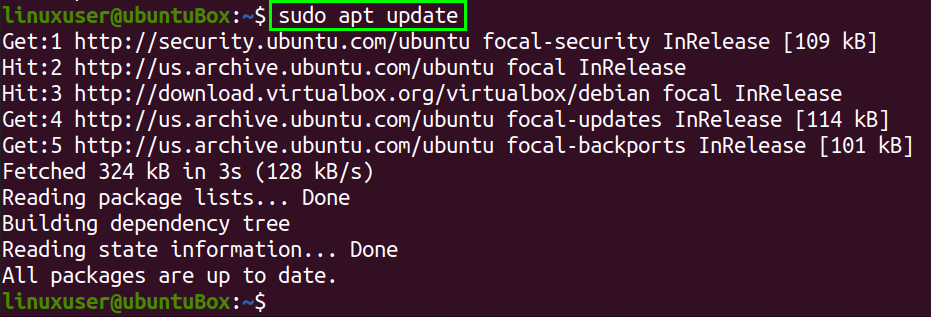
To install VirtualBox via the APT package repository, first, update the system’s package repository by issuing the following command.
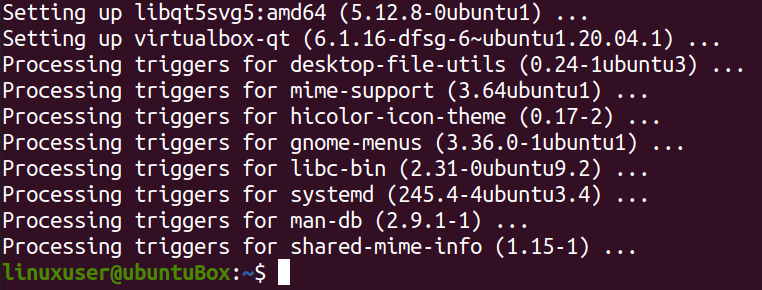
After updating the system’s APT cache repository, install VirtualBox using the command given below.

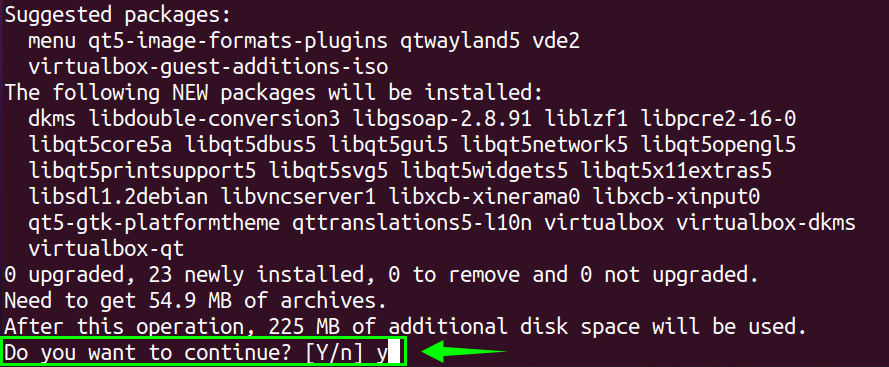
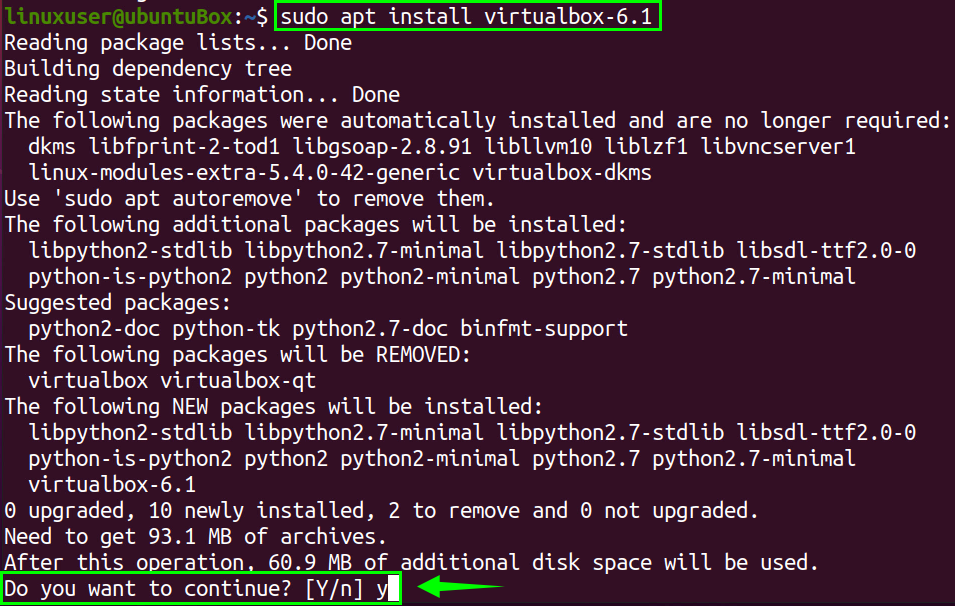
You may be prompted for permission to take additional disk space to install VirtualBox. Type “Y/y” and hit “Enter” to continue the process.
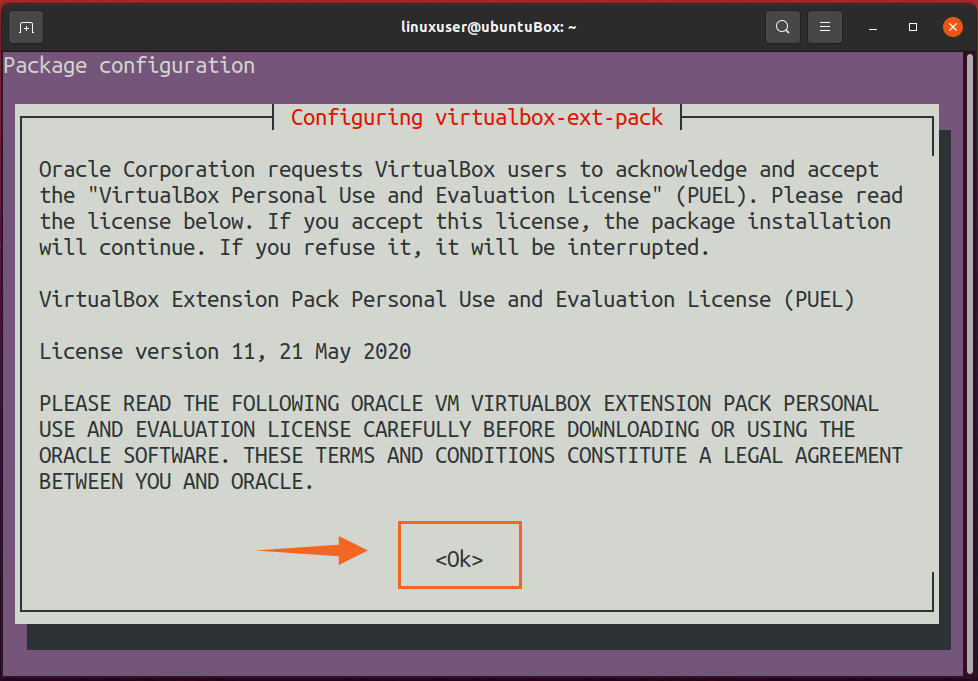
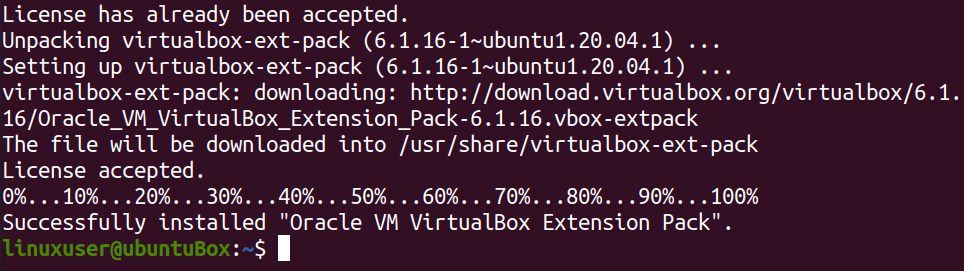
After completing the installation of VirtualBox, you can install the extension package for VirtualBox if you need it to support USB devices, connect the host webcam, control a virtual machine remotely, and more features like this. To install the extension package, issue the following command.

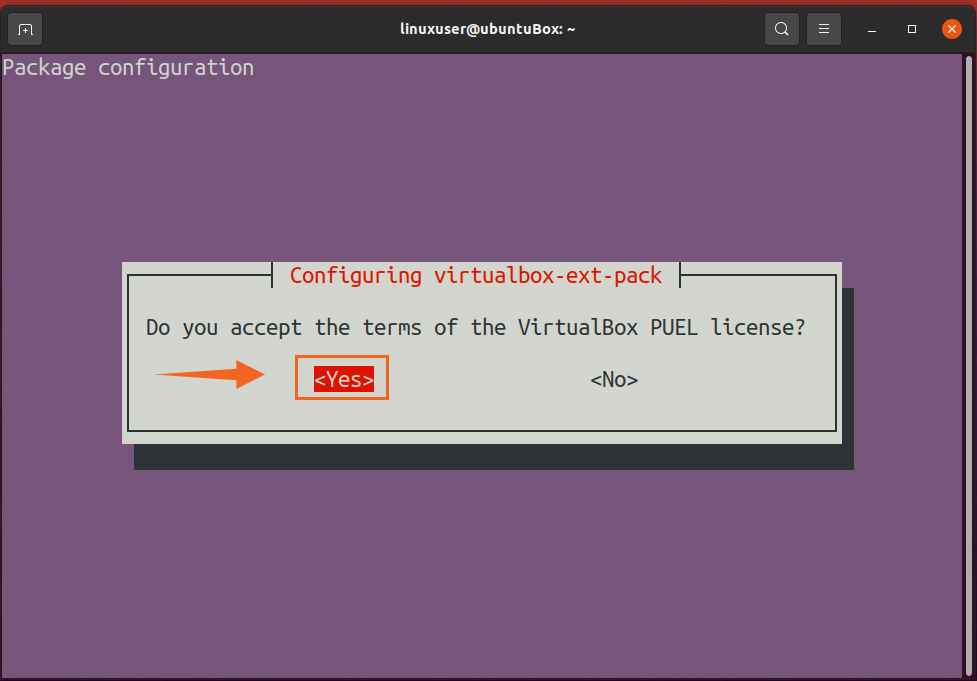
In the VirtualBox Extension Pack Configuration window, read and accept the license by selecting “Ok.”
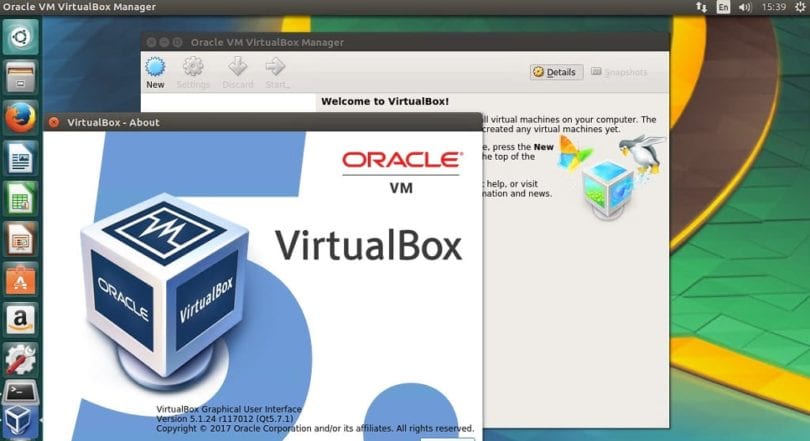
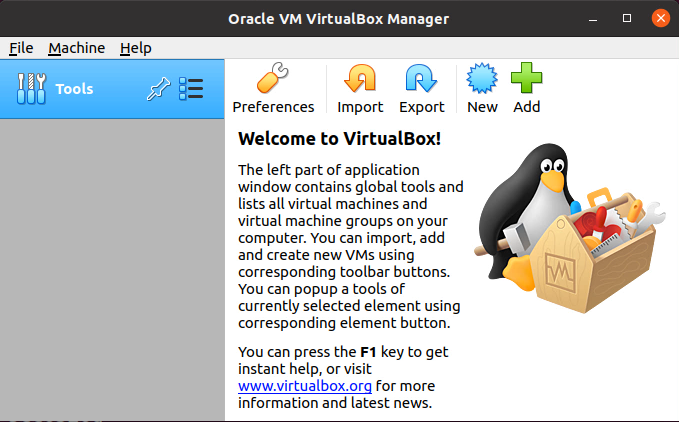
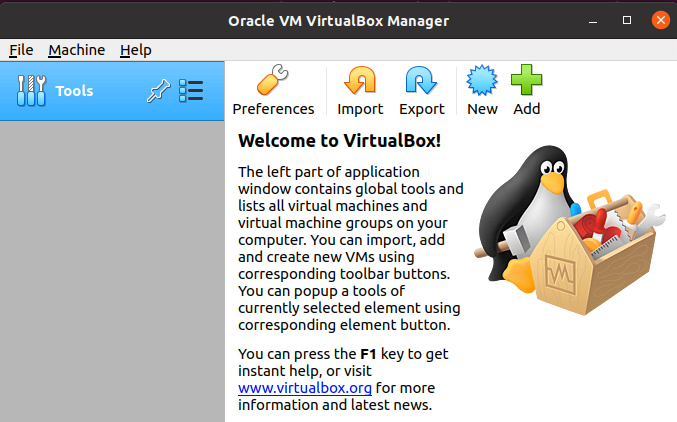
Once the extension pack has been installed, you can start using VirtualBox by searching for “VirtualBox” in the “Applications” menu and clicking on the VirtualBox icon.
Now, the latest stable version of VirtualBox should be installed on your Ubuntu 20.04 LTS system.
Method 2: Install VirtualBox from the Oracle Repositories
In this method, we will install VirtualBox from the Oracle repositories. The benefit of installing VirtualBox using this method is that it will automatically update when a new updated version of VirtualBox is released. The only negative to this method is that it is a bit lengthy and difficult to install VirtualBox in this manner. But you already know that you only have to perform the installation process once, so the initial lengthier installation will save you time in the long-run. So, let us begin installing the latest version of VirtualBox on Ubuntu 20.04 LTS.
Step 1: Import GPG keys
First, import and add the GPG repository keys to your system by issuing the following command in your terminal.

After adding the GPG keys, add the APT repository of VirtualBox to your system, as well.
Step 2: Add APT Repository of VirtualBox
To add the APT repository of VirtualBox, issue the command provided below.

Once the GPG keys and repository of VirtualBox have been added successfully to the system’s sources list, you can now install the latest version of VirtualBox on your Ubuntu system.
Step 3: Update System Package Repository
Next, update the APT cache repository using the following command.
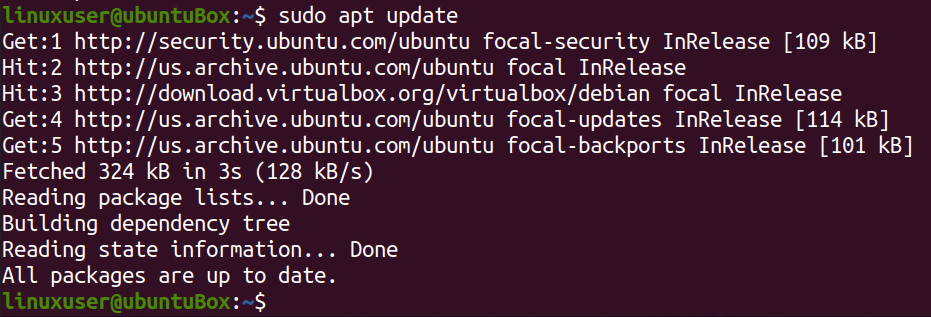
In the image above, you can see that the update process has shown the added VirtualBox repositories.
Step 4: Install Latest Version of VirtualBox
Install the latest version of VirtualBox by entering the command given below.

You can also install your desired version of VirtualBox by typing the above command without providing the version number and hitting the “Tab” key on your keyboard. By using this technique, you will be able to see all the available versions of VirtualBox, and then you can type the version of your choice. A demonstration of this process is provided below.
First, issue the following command.
Next, hit the “Tab” key on your keyboard after typing the above command.
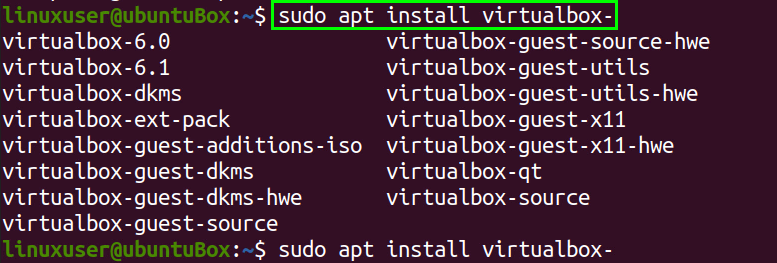
You can see that the output has shown all the available versions of VirtualBox. Select the version you prefer and add it to the command in the following format.
Finally, hit “Enter.”

You have now installed your desired version of VirtualBox onto your Ubuntu 20.04 LTS system.
Step 5: Start VirtualBox
Go to “Activities” and search for “VirtualBox.” From the results, select the VirtualBox icon.
Now, you should have the latest version of VirtualBox installed and running on your Ubuntu 20.04 system.
Conclusion
This article explained the two most effective methods for installing VirtualBox on an Ubuntu 20.04 LTS system. One of these methods uses the APT package repository, which is easy to install. The second method uses the Oracle repository, and the version of VirtualBox installed using this method will be upgraded automatically when a new version is released.