In this article, I am going to show you how to install Ubuntu Server 20.04 LTS on Raspberry Pi 4 and install Ubuntu GNOME 3 desktop environment on it. So, let’s get started.
Things You Will Need:
To try this article, you need the following things:
- A Raspberry Pi 4 single-board computer – 4GB or 8GB version.
- A USB Type-C power adapter for Raspberry Pi 4.
- A 32GB or higher capacity microSD card.
- A card reader for flashing Ubuntu 20.04 LTS image on the microSD card.
- A computer/laptop for flashing the microSD card.
- A keyboard and a mouse.
- A monitor.
- A micro-HDMI to HDMI cable.
- Wi-Fi or wired network for connecting the Raspberry Pi to the internet.
Downloading Ubuntu 20.04 LTS for Raspberry Pi:
To install Ubuntu 20.04 LTS on Raspberry Pi 4, you need to download the Ubuntu Server 20.04 LTS image for Raspberry Pi.
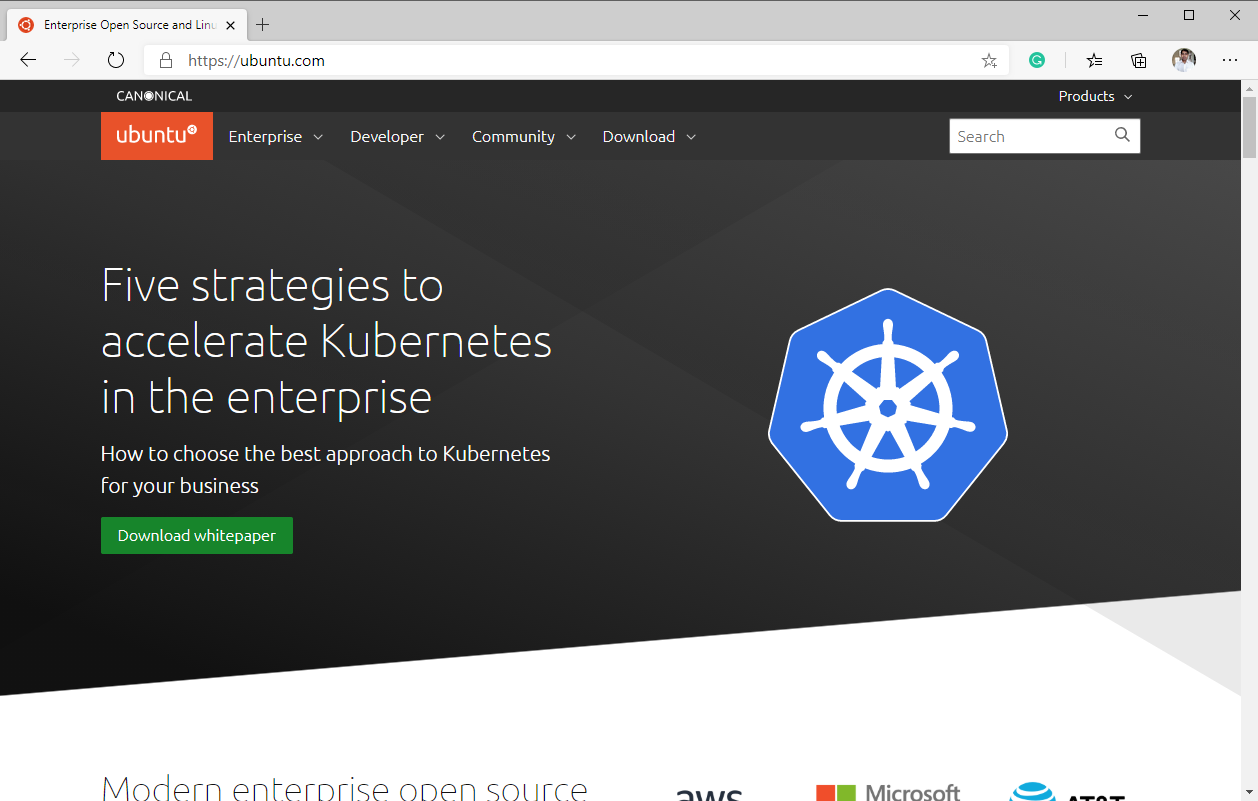
The Ubuntu Server 20.04 LTS Raspberry Pi image is available on the official website of Ubuntu.
Visit the official website of Ubuntu from your favorite web browser.
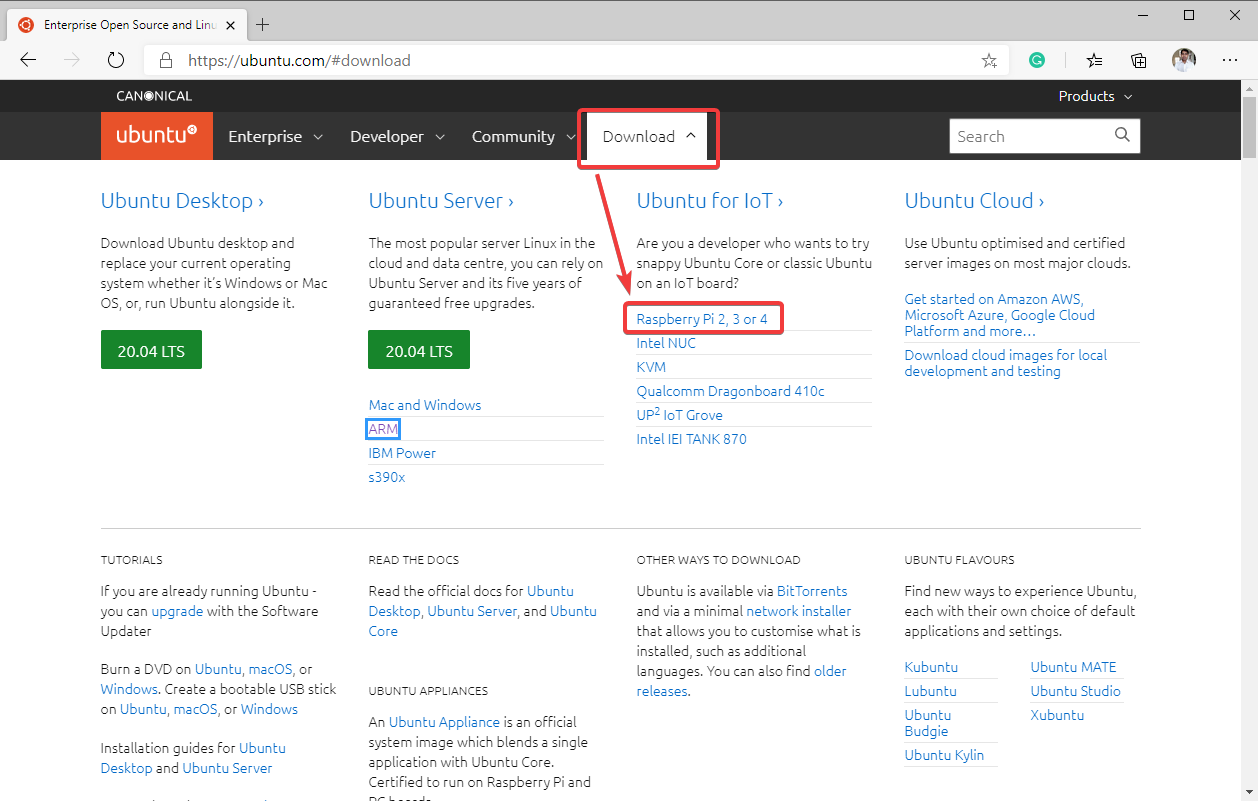
Once the page loads, click on Download and click on Raspberry Pi 2, 3, or 4 from the Ubuntu for the IoT section as marked in the screenshot below.
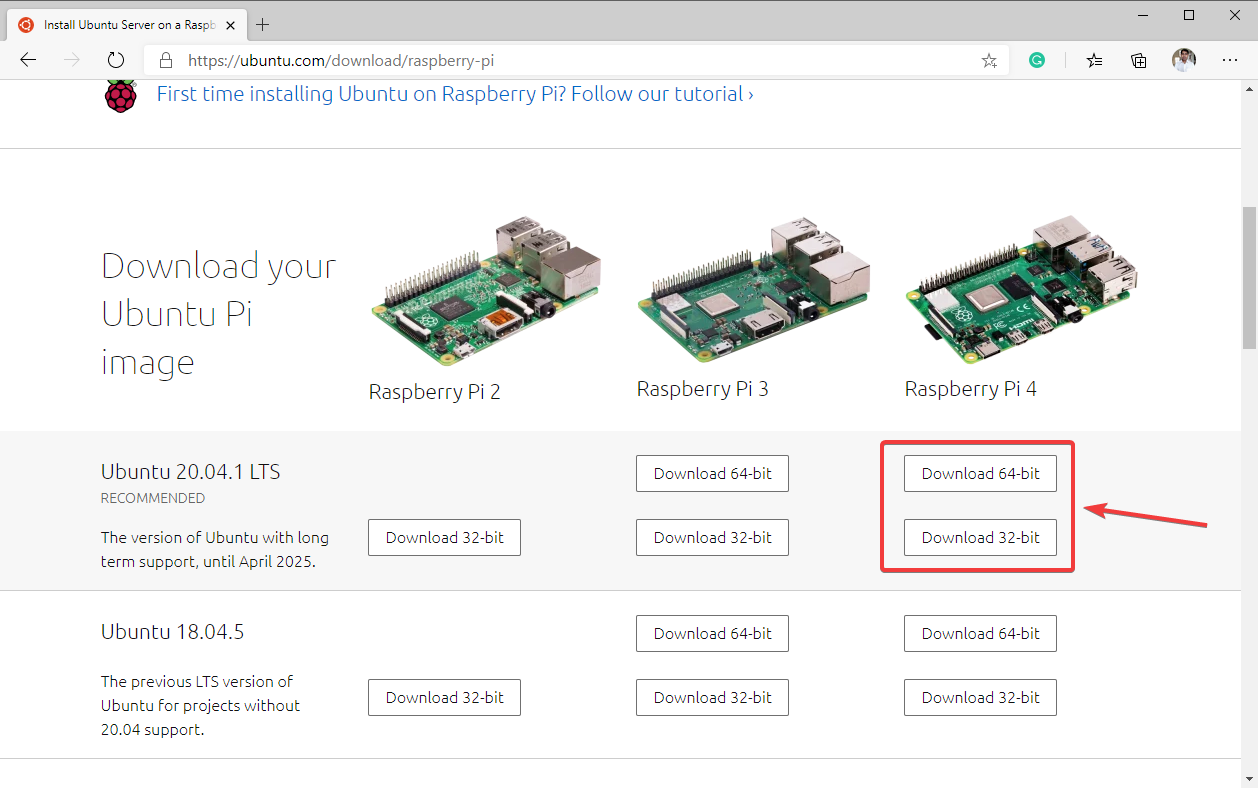
Once the page loads, scroll down a little bit and click on either the Download 64-bit or Download 32-bit button from the Ubuntu 20.04.1 LTS section as marked in the screenshot below.
If you’re using the 2GB or 4GB version of Raspberry Pi 4, then download the 32-bit Ubuntu 20.04 LTS image.
If you’re using the 8GB version of Raspberry Pi 4, then download the 64-bit Ubuntu 20.04 LTS image. Otherwise, you won’t be able to use the full 8GB RAM of your Raspberry Pi 4. A 32-bit operating system can address only 4GB of RAM.
Your browser should start downloading the Ubuntu Server 20.04 LTS image for Raspberry Pi shortly.
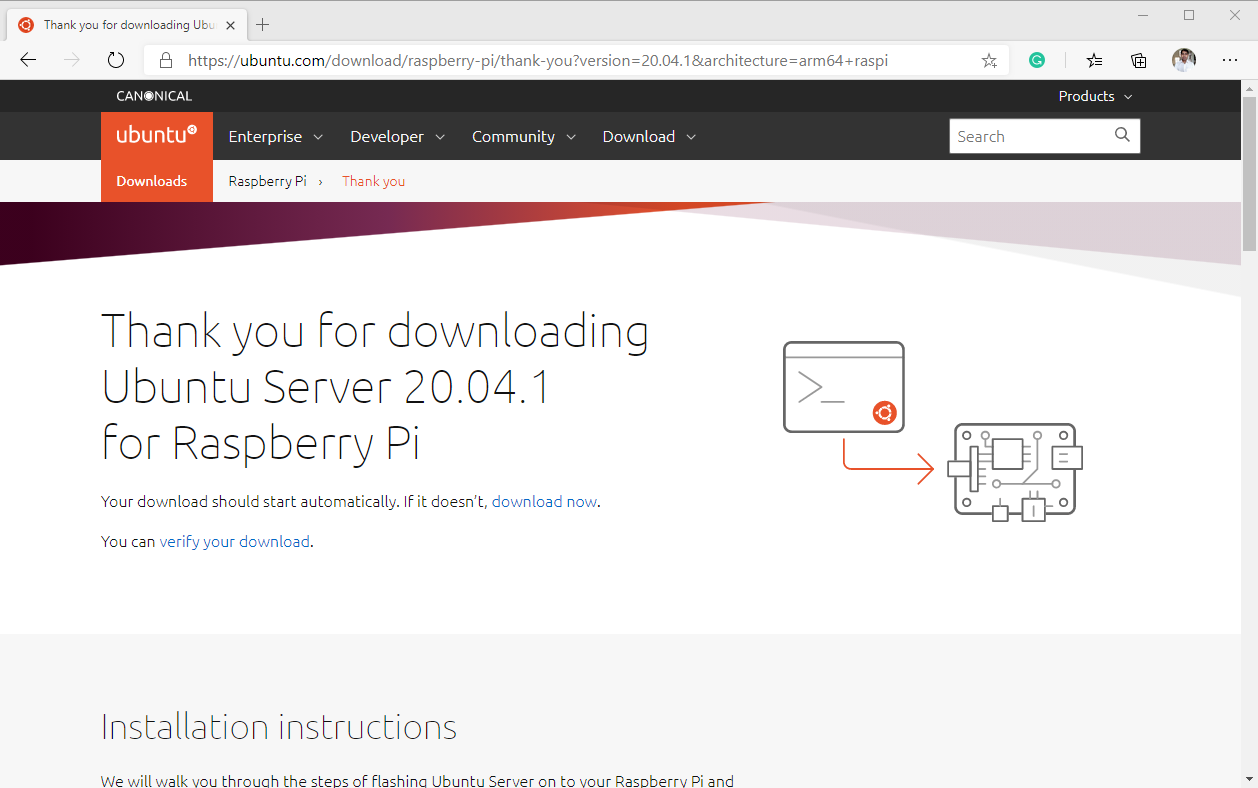
Once your browser prompts you to save the Ubuntu Server 20.04 LTS image for Raspberry Pi, select the location where you want to save the image, and click on Save.
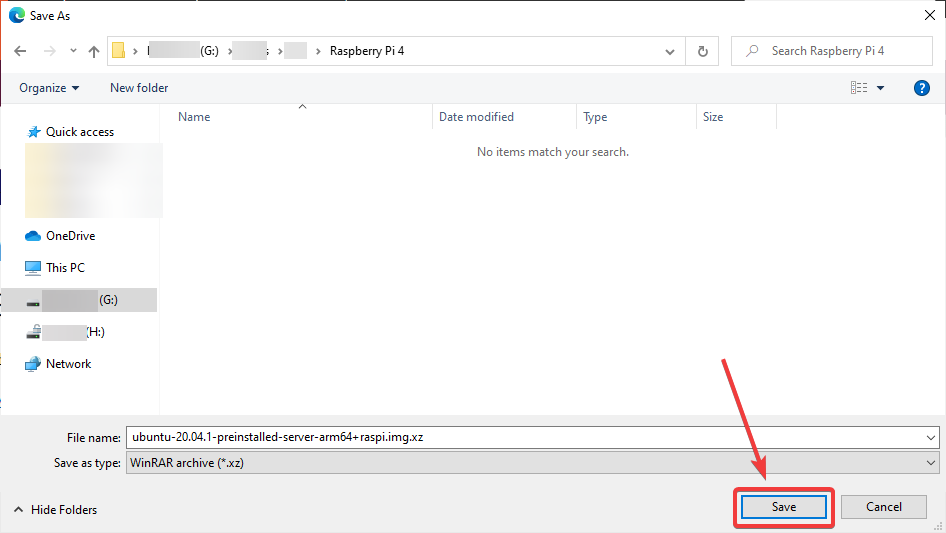
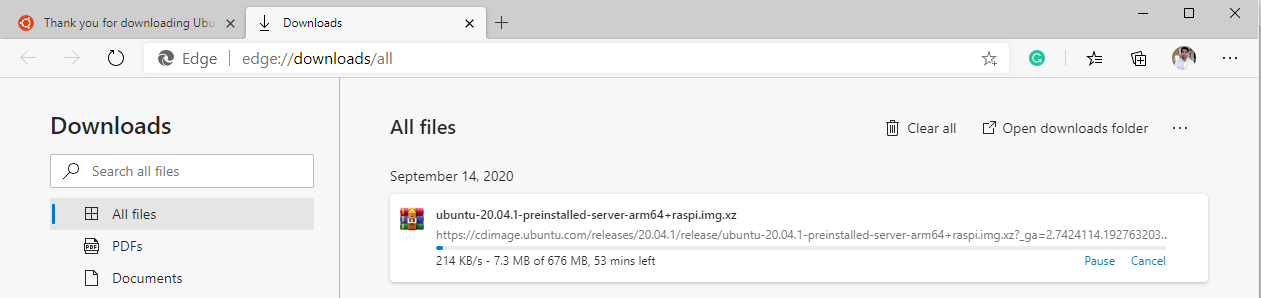
Your browser should start downloading the Ubuntu 20.04 LTS image for Raspberry Pi. It may take a while to complete depending on the speed of your internet connection.
Flashing Ubuntu 20.04 LTS Image to the MicroSD Card:
Once the Ubuntu 20.04 LTS image for Raspberry Pi is downloaded, you can flash it on a microSD card and boot Raspberry Pi 4 from the microSD card.
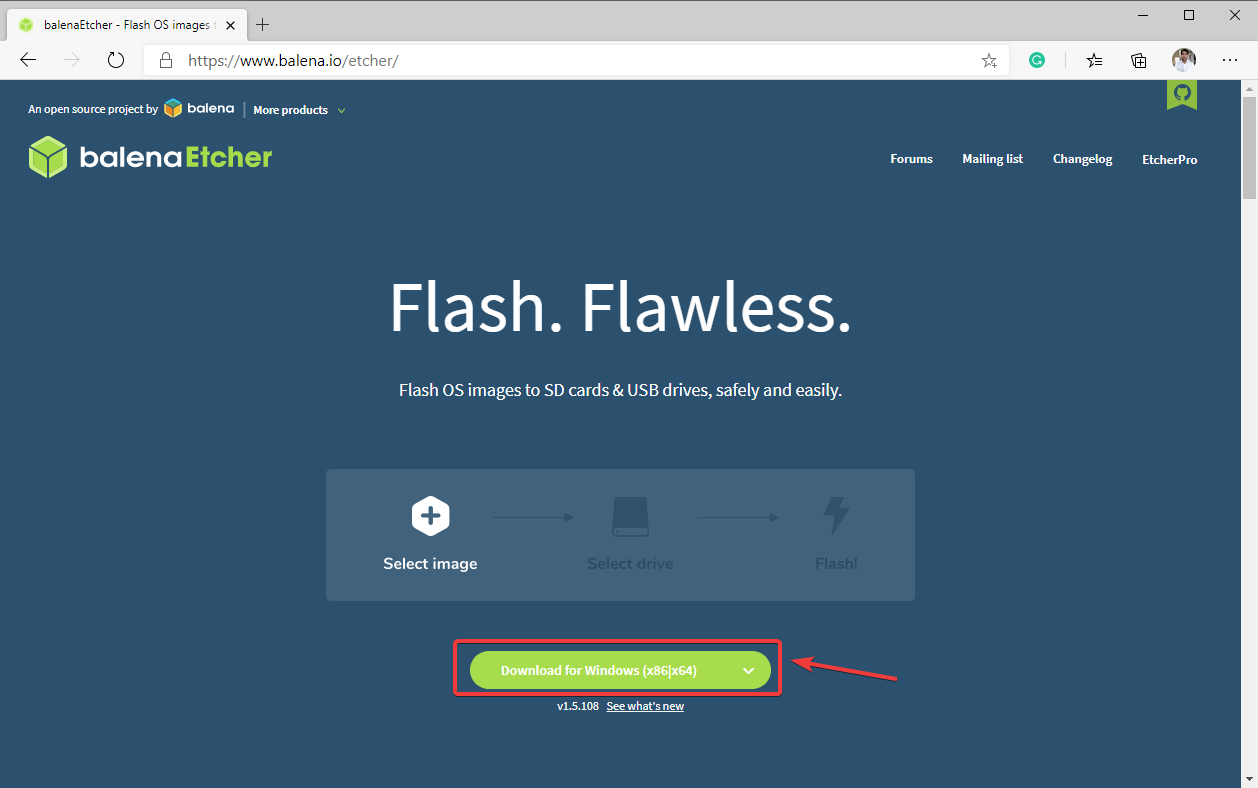
For flashing the Ubuntu 20.04 LTS image on the microSD card, you can use many programs. In this article, I will use the Balena Etcher. You can download Etcher from the official website of Balena Etcher.
Visit the official website of Balena Etcher and you can download Etcher for your operating system from there.
If you need any assistance on installing Balena Etcher on Linux, read my article Install Etcher on Linux.
Once you have Balena Etcher installed on your computer, insert the microSD card on your computer and run Balena Etcher.

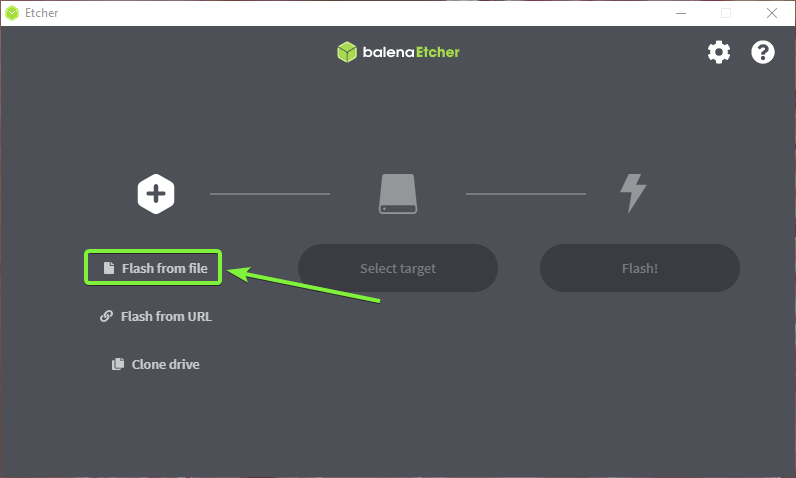
Once Etcher starts, click on Flash from file as marked in the screenshot below.
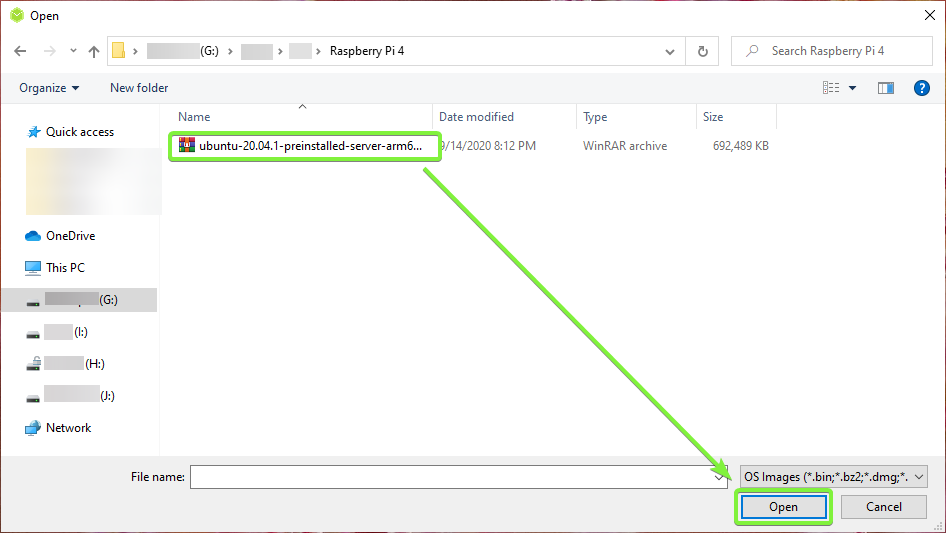
A file picker window should be opened. Select the Ubuntu 20.04 LTS Raspberry Pi image that you have just downloaded and click on Open.
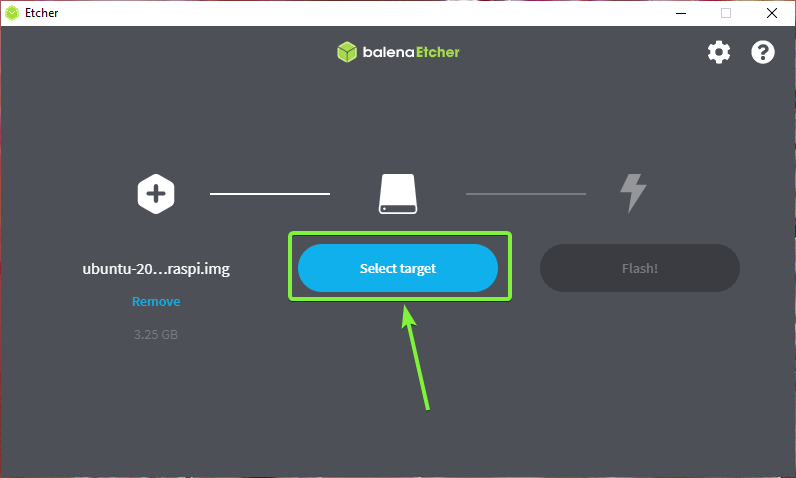
Click on Select target.
Check the microSD card from the list and click on Select as marked in the screenshot below.

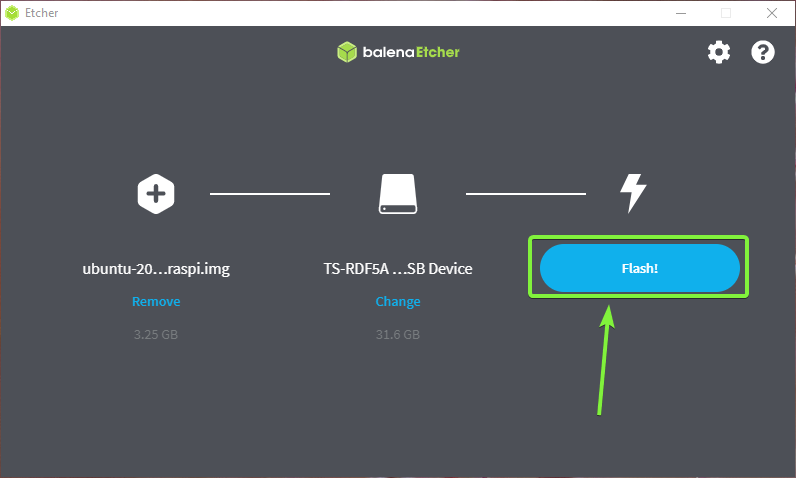
Your microSD card should be selected. Click on Flash! to start flashing the Ubuntu 20.04 LTS Raspberry Pi image to the microSD card.
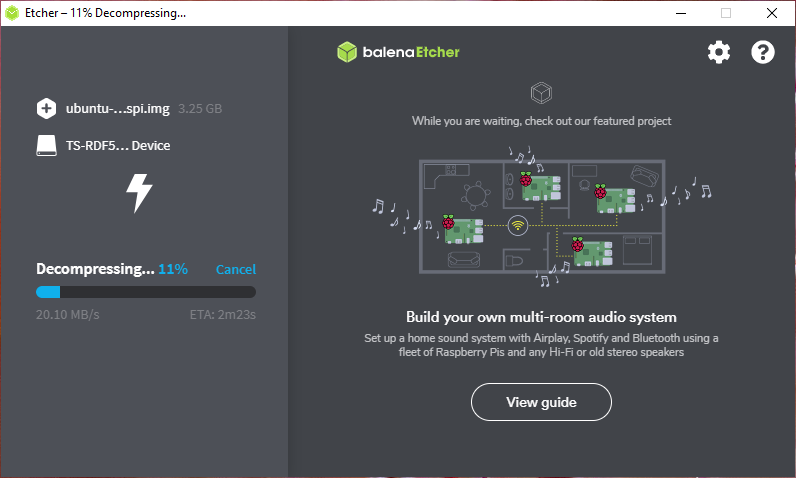
The Ubuntu 20.04 LTS Raspberry Pi image is being decompressed.
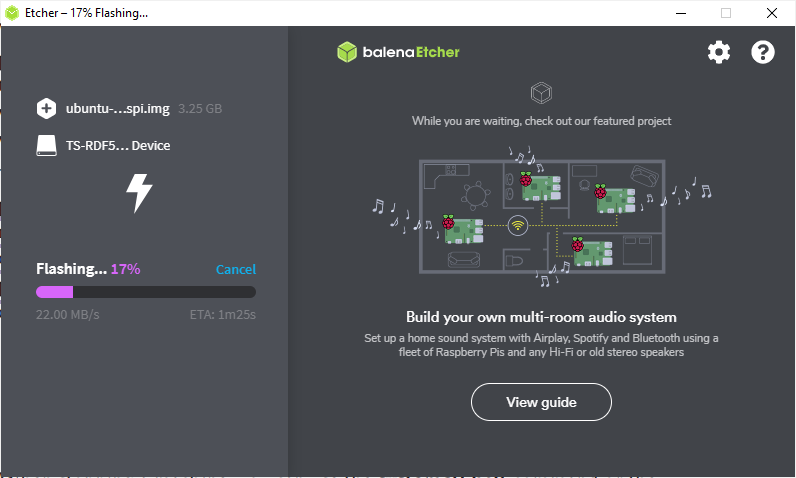
The Ubuntu 20.04 LTS Raspberry Pi image is being flashed to the microSD card. It may take a while to complete.
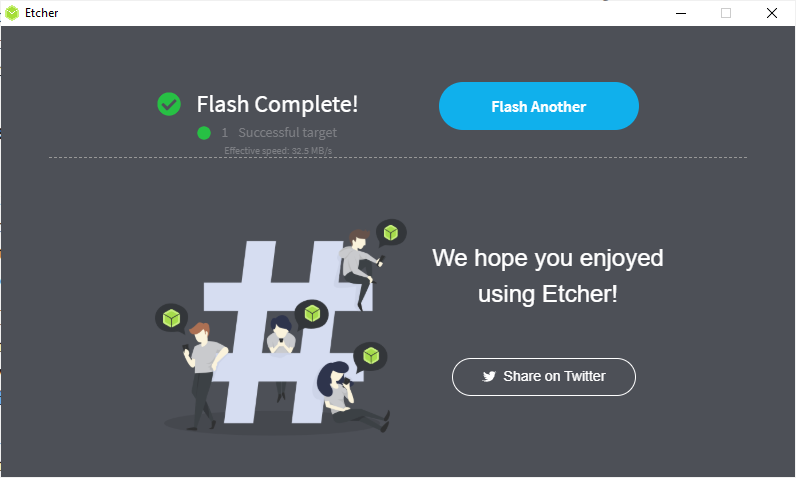
At this point, the Ubuntu 20.04 LTS Raspberry Pi image should be flashed on the microSD card. You can close Etcher and eject the microSD card from your computer.
Powering on the Raspberry Pi 4:
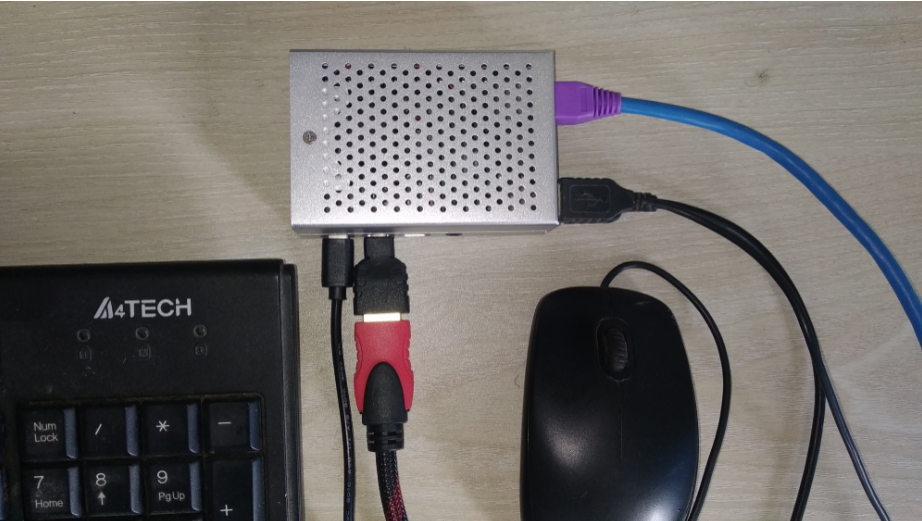
Insert the microSD card you have just flashed with the Ubuntu 20.04 LTS Raspberry Pi image to the microSD card slot of your Raspberry Pi 4. Then, connect a USB keyboard, a USB mouse, and a micro HDMI cable of your monitor to your Raspberry Pi 4.
If you can, connect a network cable to the Ethernet port of your Raspberry Pi 4. So that it can connect to the internet straight away. If you don’t have any way to use a wired network (cable), don’t worry. I will show you how to use the built-in Wi-Fi interface of Raspberry Pi 4 to connect to a Wi-Fi network in a later section of this article.
Finally, connect the USB Type-C power cable to your Raspberry Pi 4 and power it on.
Ubuntu Server 20.04 LTS is being booted from the microSD card installed on the Raspberry Pi 4.
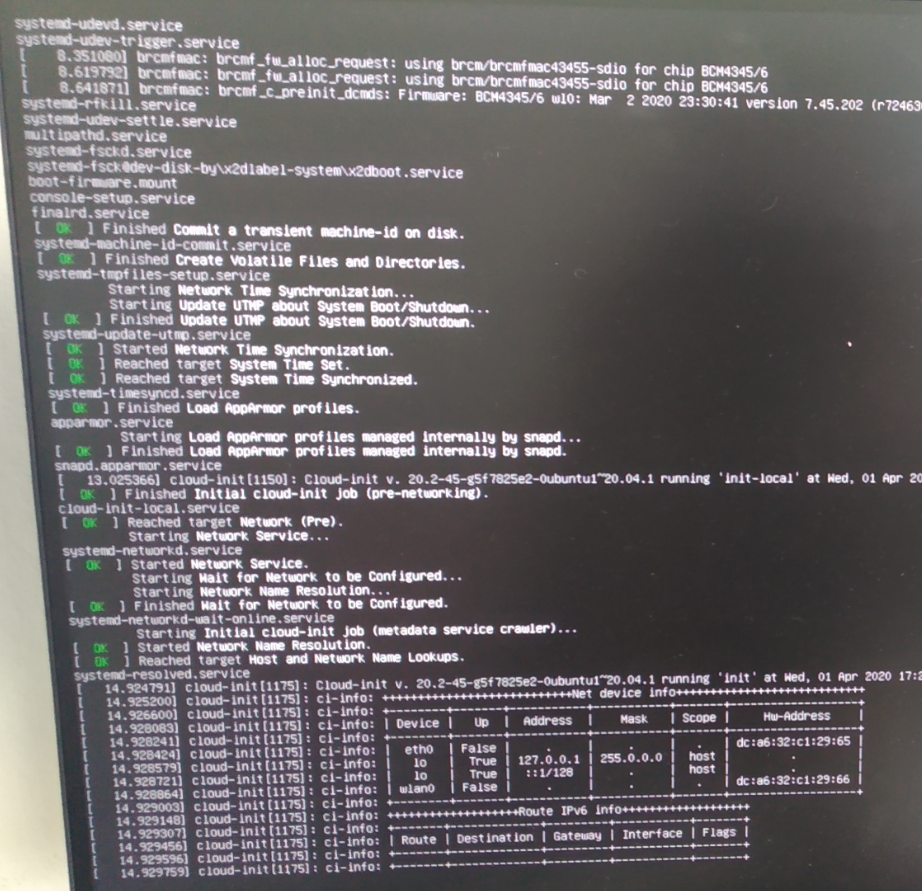
After a while, you should see the headless login prompt of Ubuntu Server 20.04 LTS.
The default username is ubuntu and the password is ubuntu. You may not be able to login with this credential instantly the first time you boot Ubuntu 20.04 LTS on Raspberry Pi 4. This is because cloud-init will need a few minutes to configure the default username and password. So, if login fails with the default username ubuntu and password ubuntu, try again after a few seconds.

Once you log in, you will be asked to enter your current password. Type in ubuntu and press <Enter>.

Ubuntu 20.04 LTS will ask you to enter a new password. Type in a new password and press <Enter>.

Retype the password and press <Enter>.
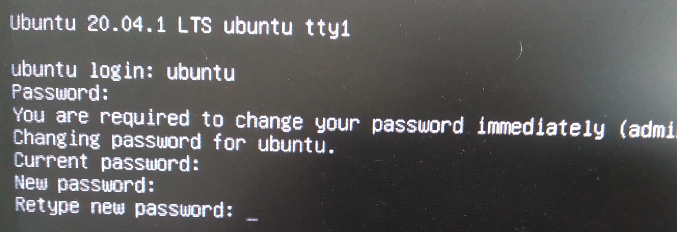
The default password ubuntu should be changed to your desired password and you should be logged in to the command prompt of Ubuntu Server 20.04 LTS.

Connecting Raspberry Pi 4 to the Internet:
To install Ubuntu GNOME 3 desktop environment, we will have to download a lot of packages from the internet. So, internet connectivity is very important.
If you have connected your Raspberry Pi 4 to a wired network, then it should automatically configure the network interface via the DHCP server of your home network.
If you want to connect the Raspberry Pi 4 to a wireless network (Wi-Fi), then you have to do some manual configuration.
The wireless network configuration shown in this article is temporary. It won’t survive a reboot and you will have to manually connect to the Wi-Fi network every time you boot Ubuntu 20.04 LTS. I have done it like this because when Ubuntu GNOME 3 desktop environment is installed, it will use the Network Manager for managing network connections. We can use the graphical user interface to connect to the Wi-Fi network very easily. Configuring the wireless network interface permanently may cause problems later in the graphical desktop environment.
To configure the Wi-Fi network interface, create a new configuration file /etc/wpa_supplicant.conf as follows:
![]()
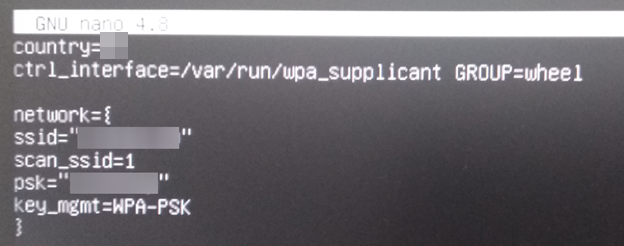
Type in the following lines in the wpa_supplicant.conf configuration file.
ctrl_interface=DIR=/var/run/wpa_supplicant GROUP=wheel
update_config=1
network={
ssid="Your Wi-Fi SSID"
scan_ssid=1
psk="Your Wi-Fi Password"
key_mgmt=WPA-PSK
}
NOTE: Make sure to change the SSID and PSK to the SSID and password of the Wi-Fi network you’re trying to connect. Also, change the 2 character country code from the US to your own country if you’re living outside the USA. To know your country code, check the Alpha-2 Code section of the table on Wikipedia.
Once you’re done, press <Ctrl> + X followed by Y and <Enter> to save the wpa_supplicant.conf configuration file
Once the wpa_supplicant.conf file is created, connect to the Wi-Fi network with the following command:

You should be connected to the Wi-Fi network.

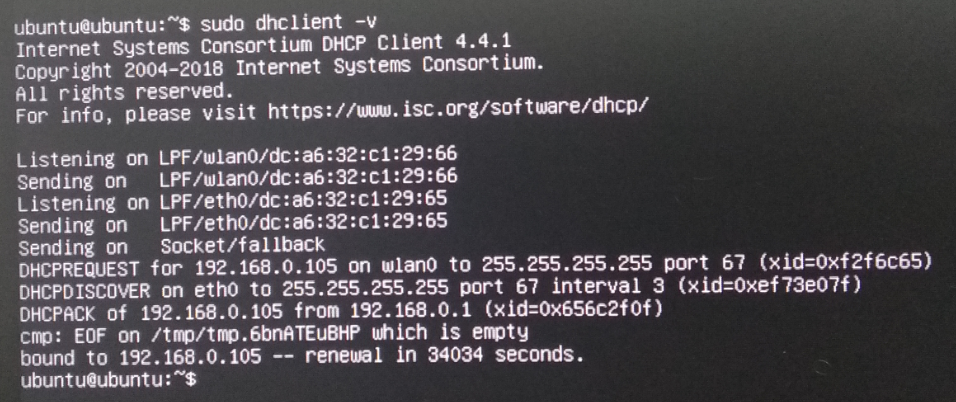
Run the dhclient program as follows to assign an IP address to the Wi-Fi network interface wlan0 via the DHCP server of your home network.
![]()
As you can see, the IP address 192.168.0.105 is assigned to the Wi-Fi network interface wlan0.
Try to ping google.com as follows:

As you can see, the ping requests are successful. It means my Raspberry Pi 4 is connected to the internet.

Upgrading Ubuntu 20.04 LTS Packages:
Before installing Ubuntu GNOME 3 desktop environment, it’s a good idea to update all the existing packages of your Ubuntu 20.04 LTS operating system.
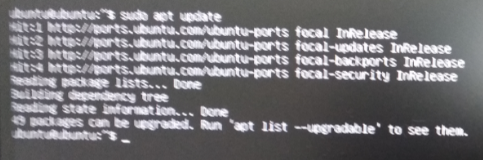
First, update the APT package repository cache with the following command:

The APT package repository cache should be updated.
To update all the existing packages, run the following command:

To confirm the upgrade, press Y and then press <Enter>.

The APT package manager will download all the required packages from the internet and install them. It may take a while to complete.

At this point, the upgrade should be completed.

For the changes to take effect, reboot the Raspberry Pi 4 with the following command:
![]()
Installing Ubuntu Desktop on the Raspberry Pi 4:
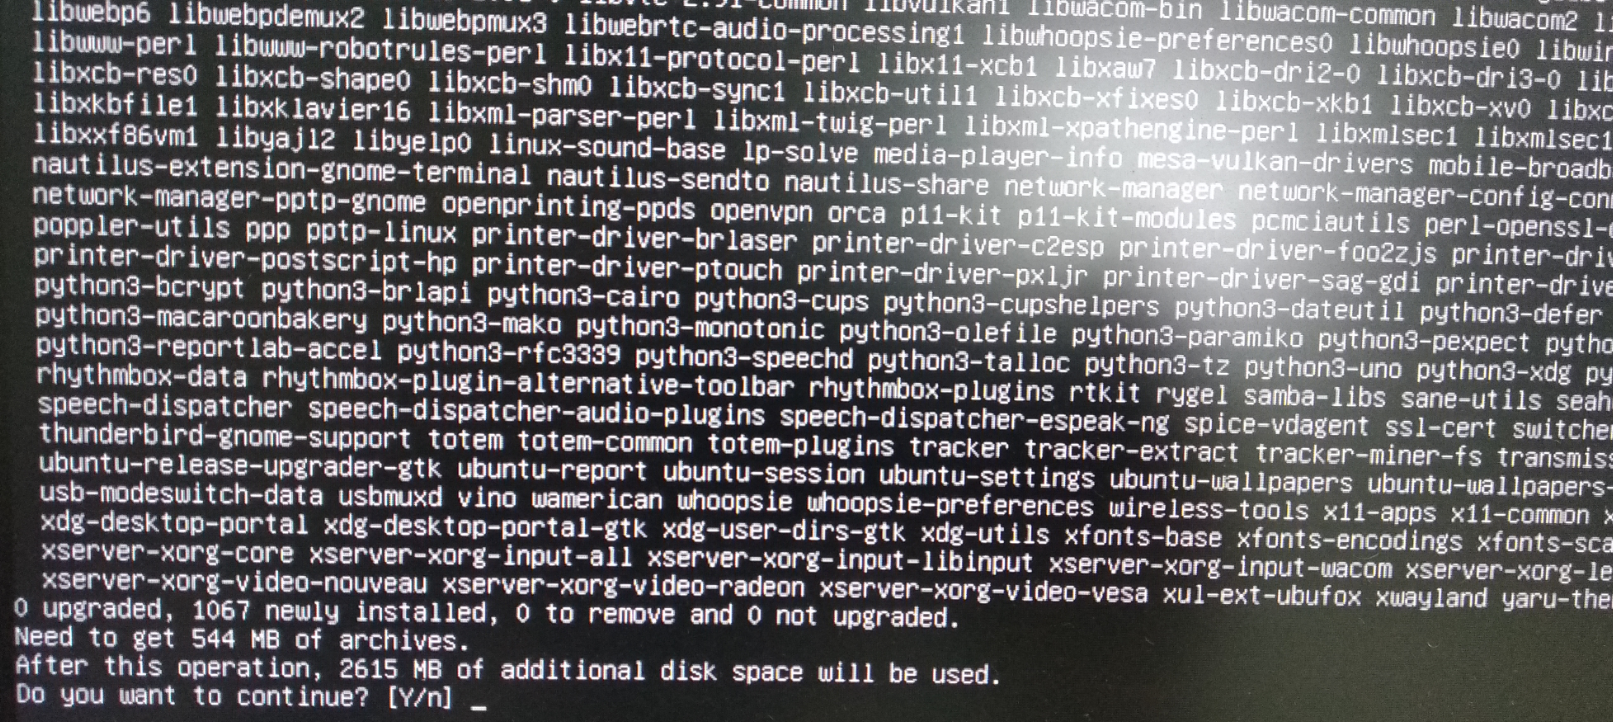
Once your Raspberry Pi 4 boots, you can install the Ubuntu GNOME 3 desktop environment with the following command:
![]()
To confirm the installation, press Y and then press <Enter>.
The APT package manager will download all the required packages from the internet. It may take a while.
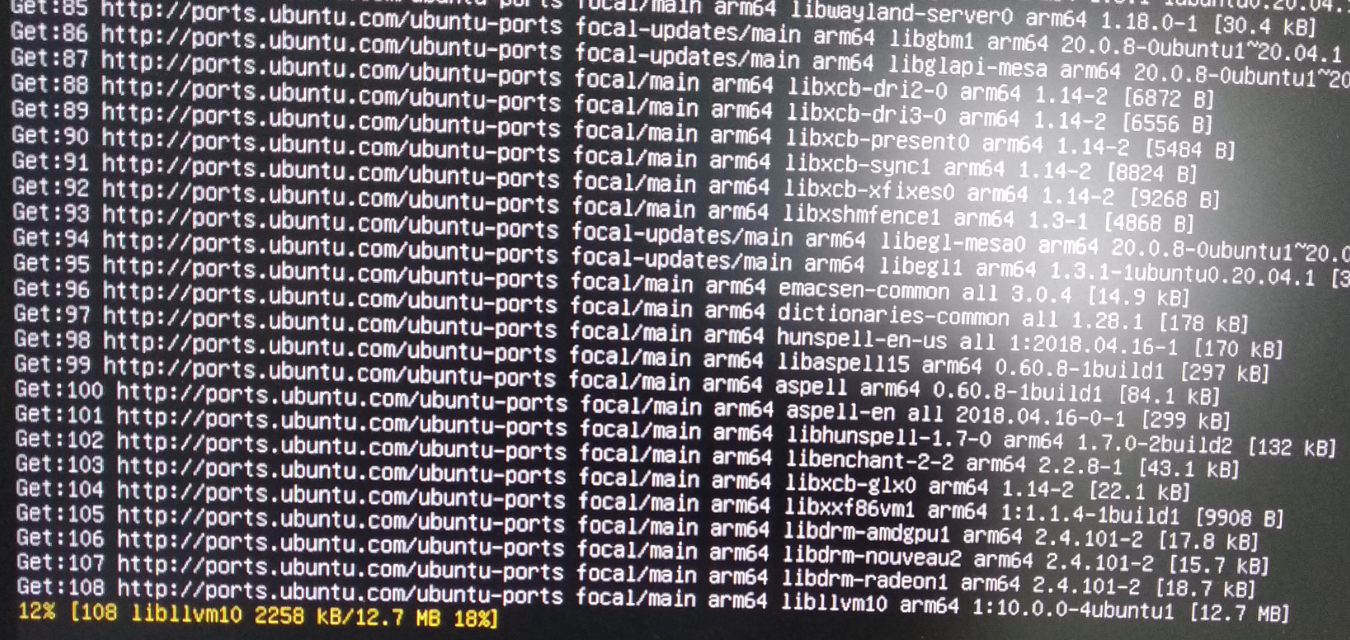
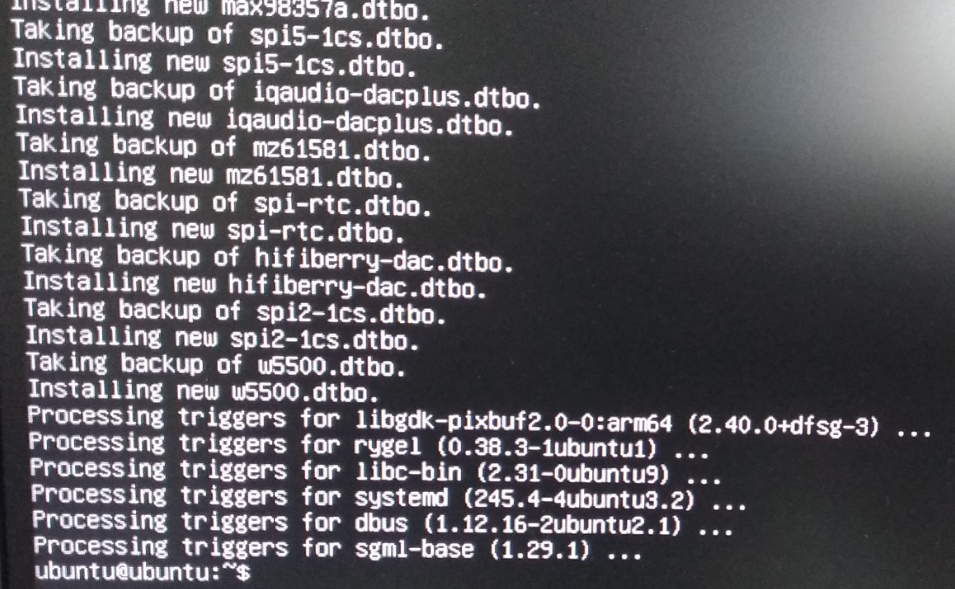
Once the packages are downloaded, the APT package manager will install them one by one. It may take a while as well.

At this point, the installation is completed.
For the changes to take effect, reboot your Raspberry Pi 4 with the following command:
![]()
Overview of Ubuntu Desktop 20.04 LTS on Raspberry Pi 4:
Once the GNOME 3 desktop environment is installed on your Ubuntu 20.04 LTS, the GDM3 (GNOME Display Manager 3) should show up automatically. You can log in to your Ubuntu Desktop 20.04 LTS from here.

Once you log in, the Ubuntu GNOME 3 desktop environment should be displayed. You can use it like you normally use the Ubuntu Desktop 20.04 LTS.
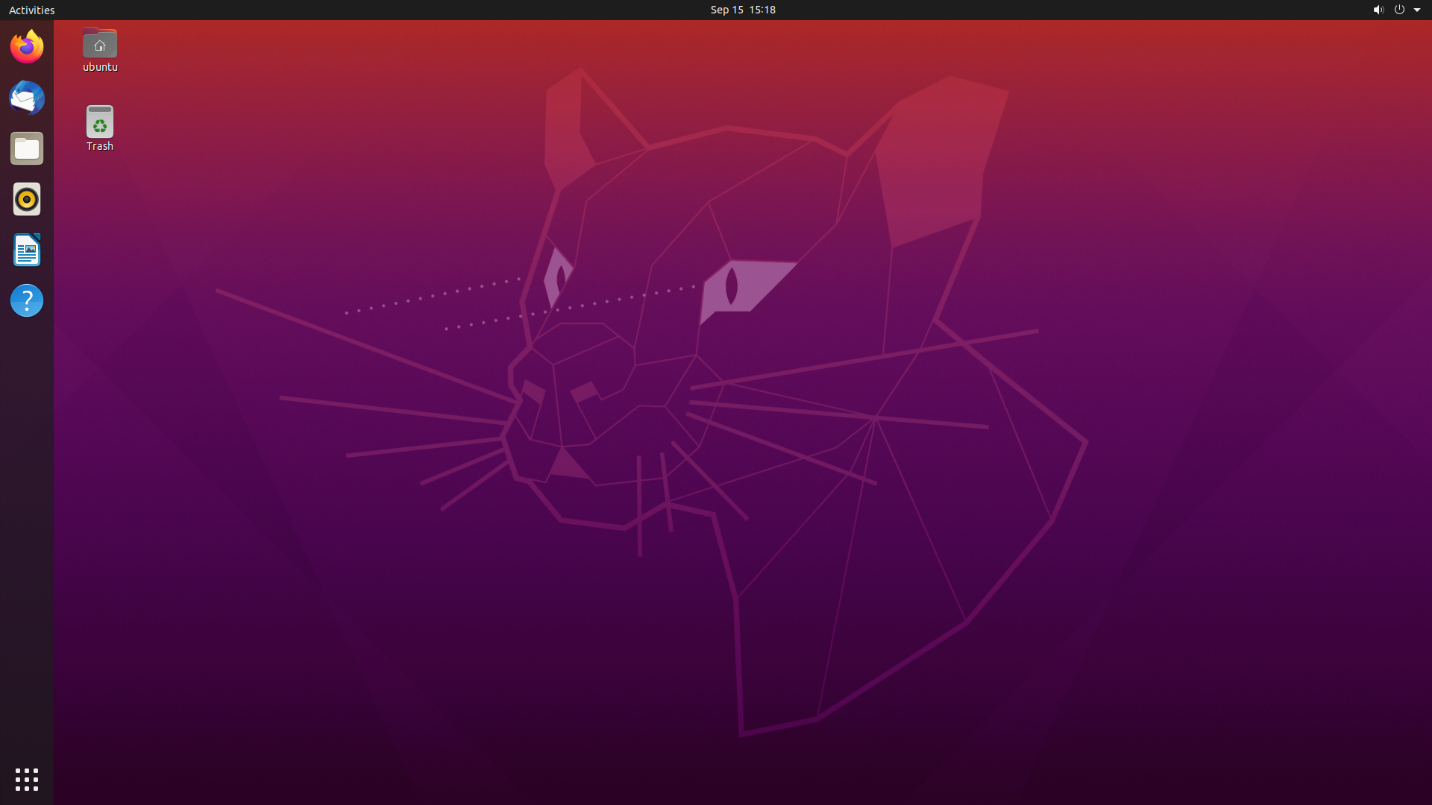
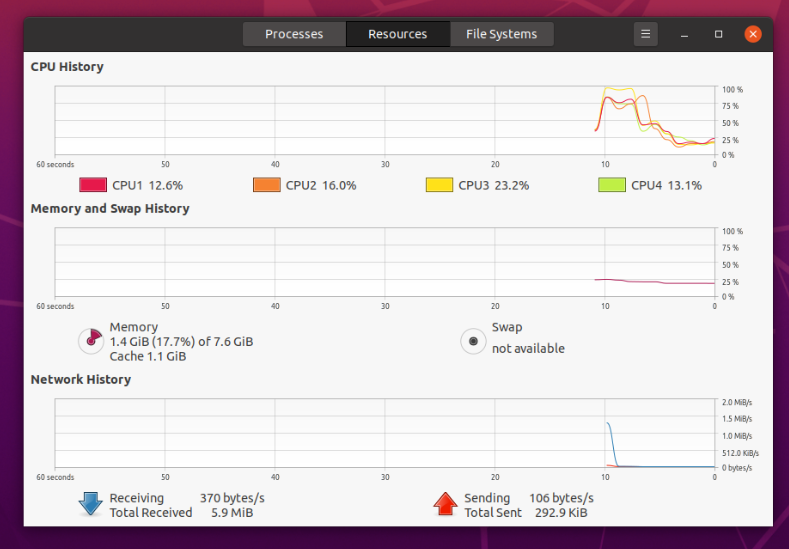
As you can see, Ubuntu Desktop 20.04 LTS on Raspberry Pi 4 takes about 1.4 GiB of RAM to run. Even if you buy the 4GB RAM version of the Raspberry Pi 4, you should still have plenty of RAM for multitasking.
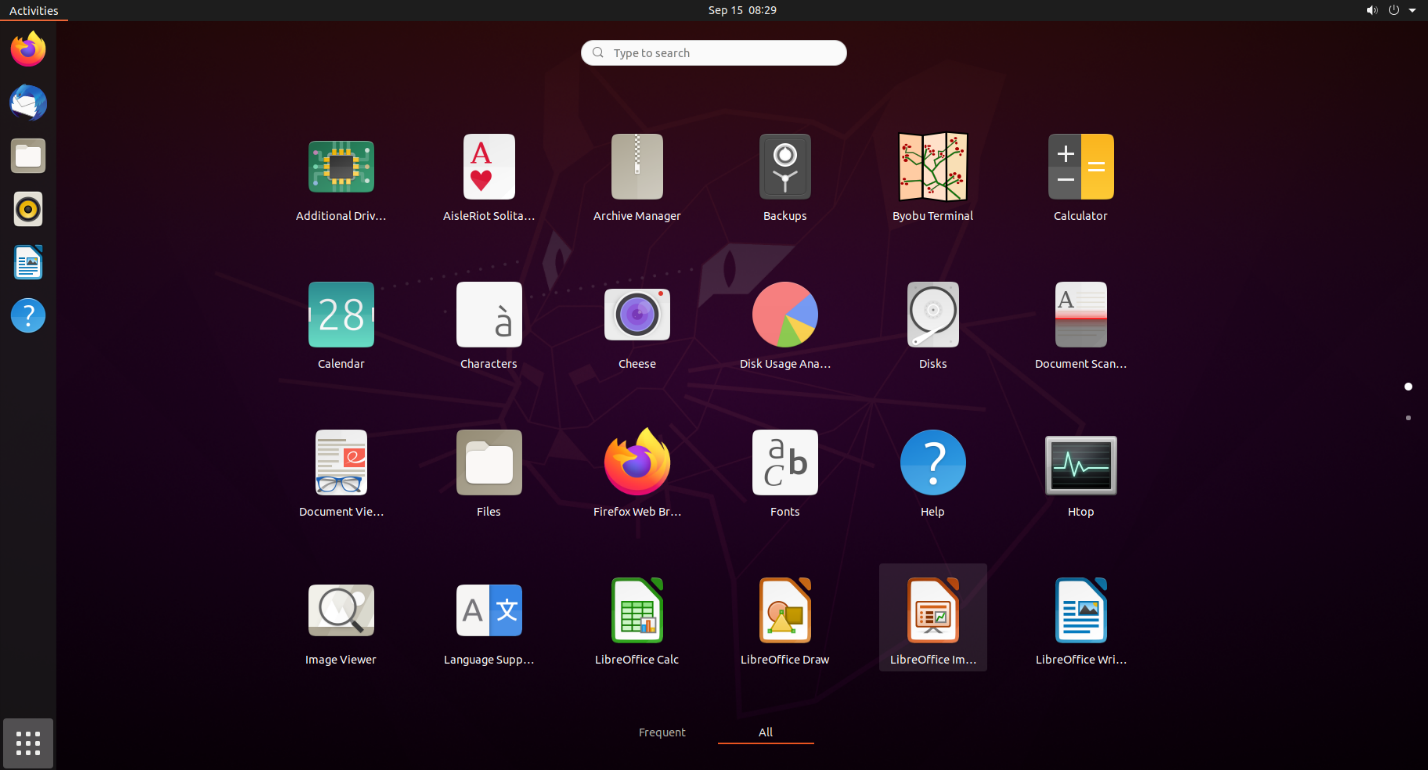
The Application Menu of Ubuntu Desktop 20.04 LTS running on the Raspberry Pi 4.
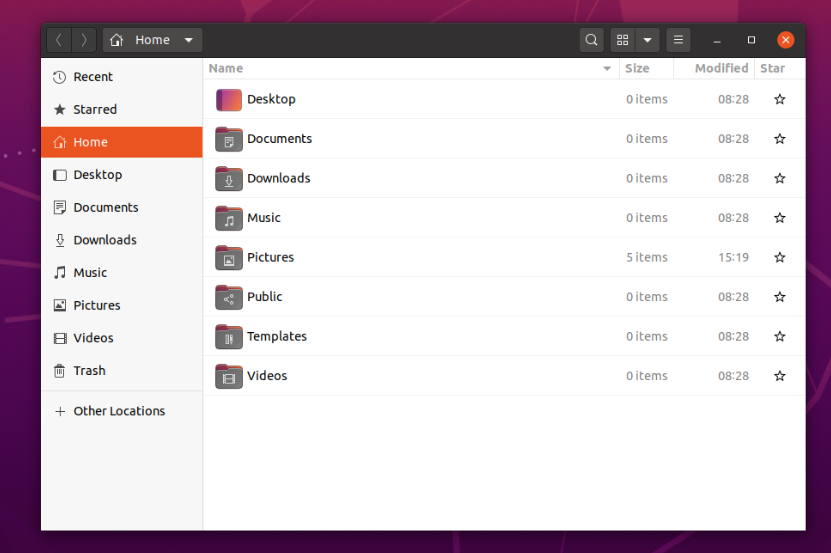
Nautilus file manager of Ubuntu Desktop 20.04 LTS running on the Raspberry Pi 4.
Firefox web browser of Ubuntu Desktop 20.04 LTS running on the Raspberry Pi 4.

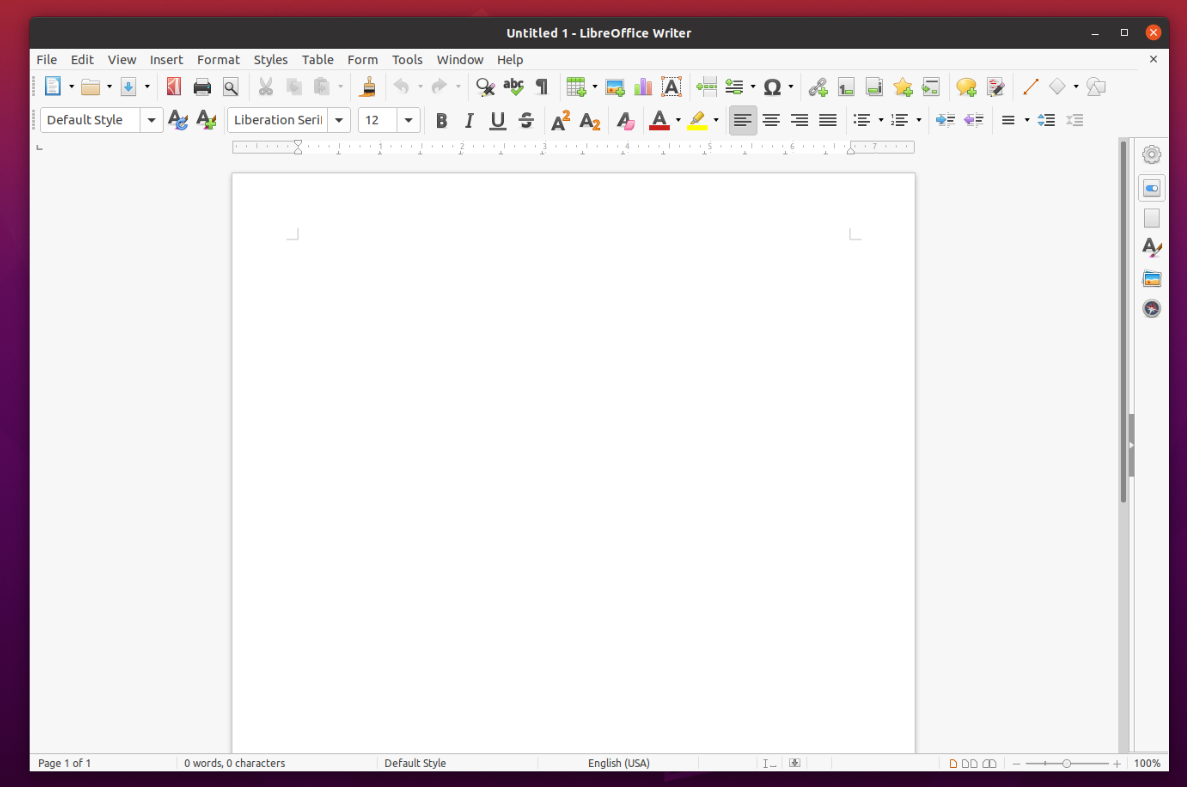
LibreOffice Writer of Ubuntu Desktop 20.04 LTS running on the Raspberry Pi 4.
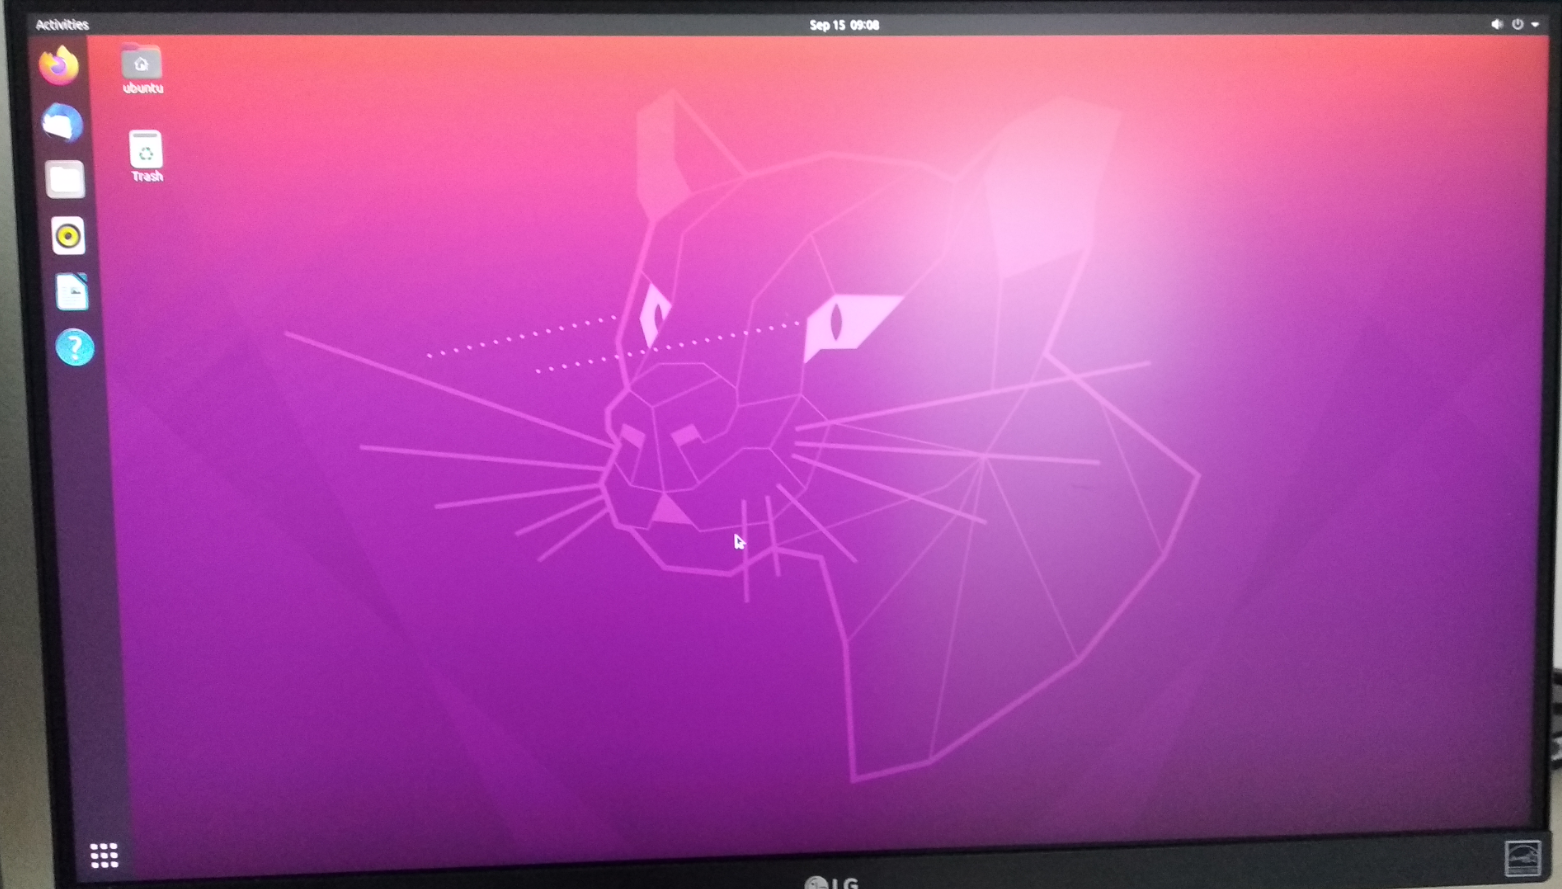
Fixed – Edges of the Monitor is Black/Invisible:
In some monitors, you may see a black excluded area on the top, bottom, left, or right of the monitor.
On my monitor, there are excluded black regions on the top and bottom of the monitor by default. This happens when overscan is enabled. It is enabled by default. To fix this problem, you have to disable overscan.

To disable overscan, open the configuration file /boot/firmware/config.txt with the nano text editor as follows:

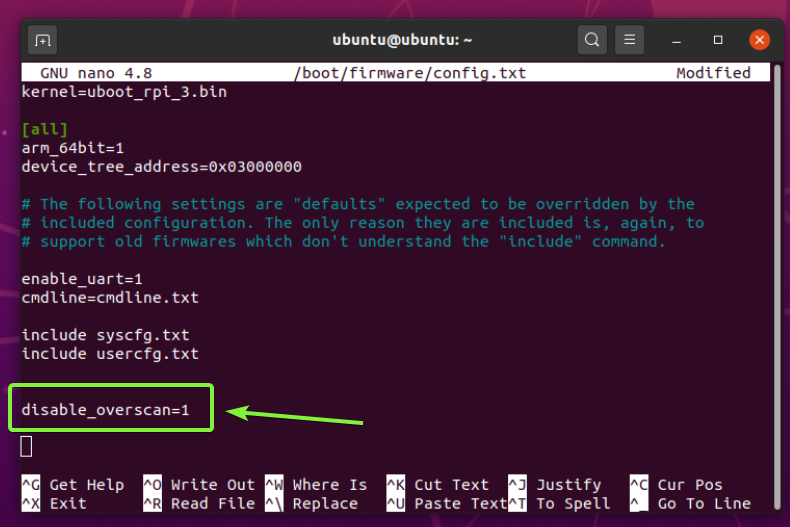
Add the line disable_overscan=1 at the end of the config.txt file as marked in the screenshot below.
Once you’re done, press <Ctrl> + X followed by Y and <Enter> to save the config.txt file.
For the changes to take effect, reboot your Raspberry Pi 4 with the following command:

The black excluded regions should be gone.
Conclusion:
In this article, I have shown you how to install Ubuntu Server 20.04 LTS on Raspberry Pi 4. I have also shown you how to install the Ubuntu Desktop on the Raspberry Pi 4. The Ubuntu Desktop 20.04 LTS runs smoothly on the Raspberry Pi 4. I could use all the preinstalled applications (like LibreOffice Writer, Firefox, Nautilus, GNOME Terminal, etc.) without any issues. Sometimes there are some screen blackouts and tearing issues. But if you move the mouse cursor or minimize and maximize any program, it is fixed right away. I don’t know the source of this problem. But this did not cause me any usability issue as it is very easy to fix. Hopefully, this problem will be fixed in a future update of Ubuntu for Raspberry Pi. Overall, it was an awesome experience running Ubuntu Desktop 20.04 LTS on the Raspberry Pi 4.