
DSM 7, the operating system of Synology NAS has a Docker container management app which is the “Container Manager”. You can also use it to manage the Docker containers, networks, and other Docker stuff.
Synology’s Container Manager and Portainer have different features and user interfaces (UIs). You can use the one you like the most.
In this article, we will show you how to install Portainer on the DSM 7 operating system of your Synology NAS.
Topic of Contents:
- Installing Docker on Synology NAS
- Creating a Data Folder for Portainer
- Creating a Task to Install Portainer on Synology NAS
- Installing Portainer on Synology NAS
- Checking If Portainer Is Installed on Synology NAS
- Accessing the Installed Portainer on Synology NAS
- Removing the Portainer Installation Task from Synology NAS
- Conclusion
Installing Docker on Synology NAS
For Portainer to work, you must have the Docker installed on your Synology NAS. You can install Docker on Synology NAS from the “Package Center” app of the DSM operating system.
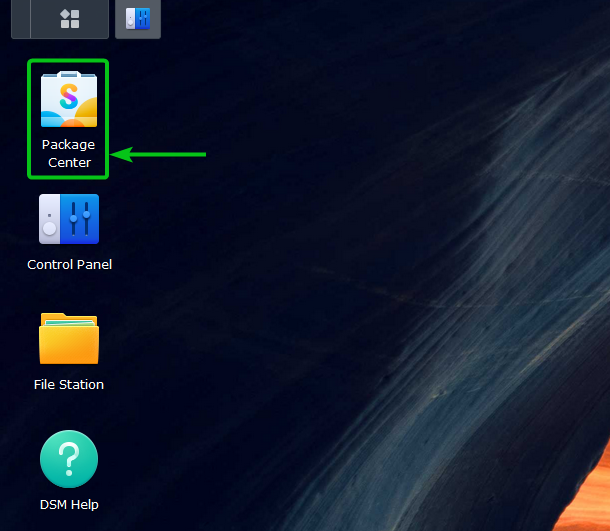
To open the “Package Center” app, click on the “Package Center” icon.
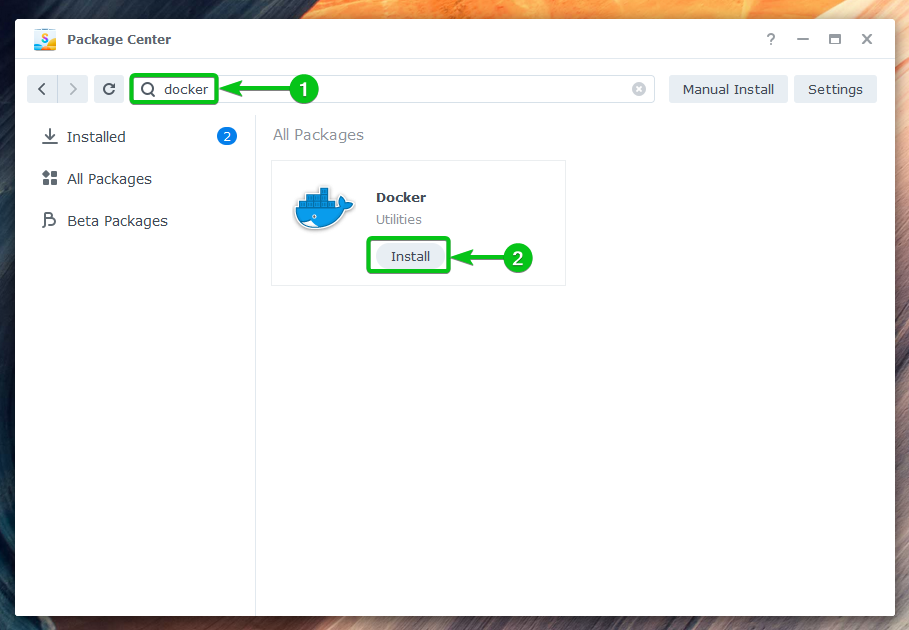
Search for docker[1] and the Docker app should be listed. Click on “Install” to install Docker on your Synology NAS[2].
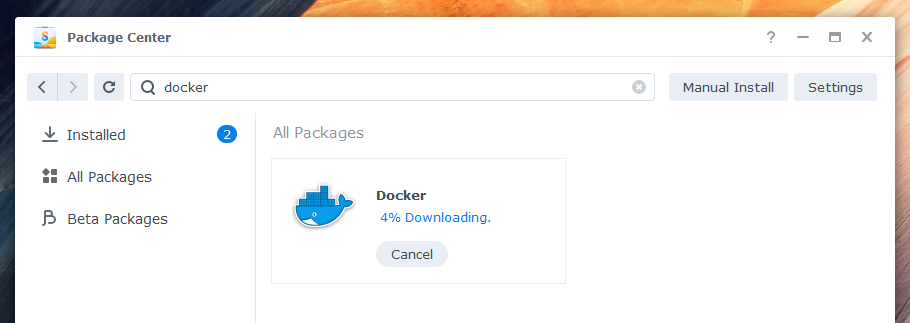
Docker is being downloaded and installed on the Synology NAS. It takes a while to complete.
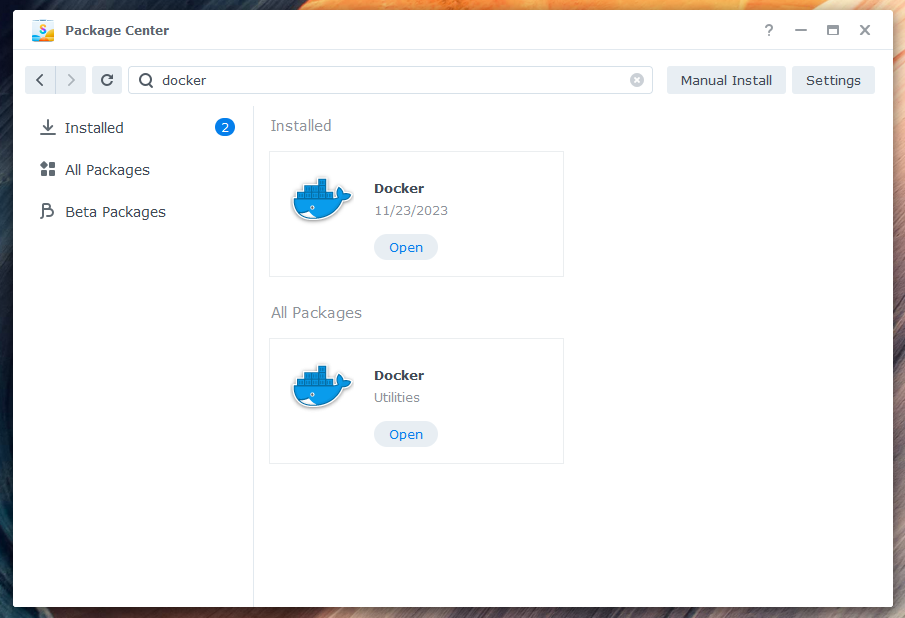
Docker should be installed at this point.
Creating a Data Folder for Portainer
You have to create a folder where Portainer can store its data.
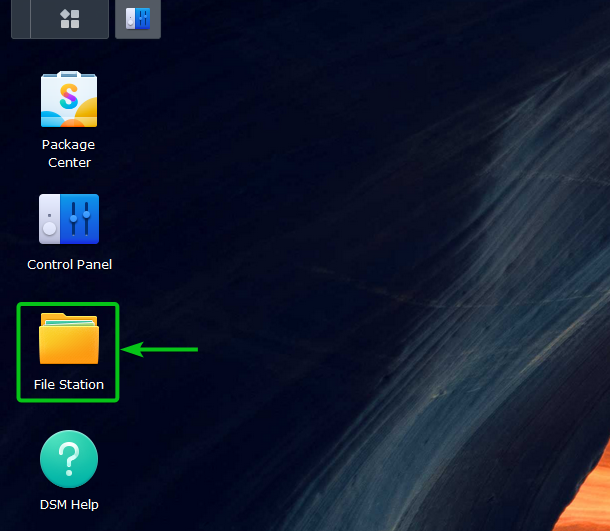
First, open the “File Station” app.
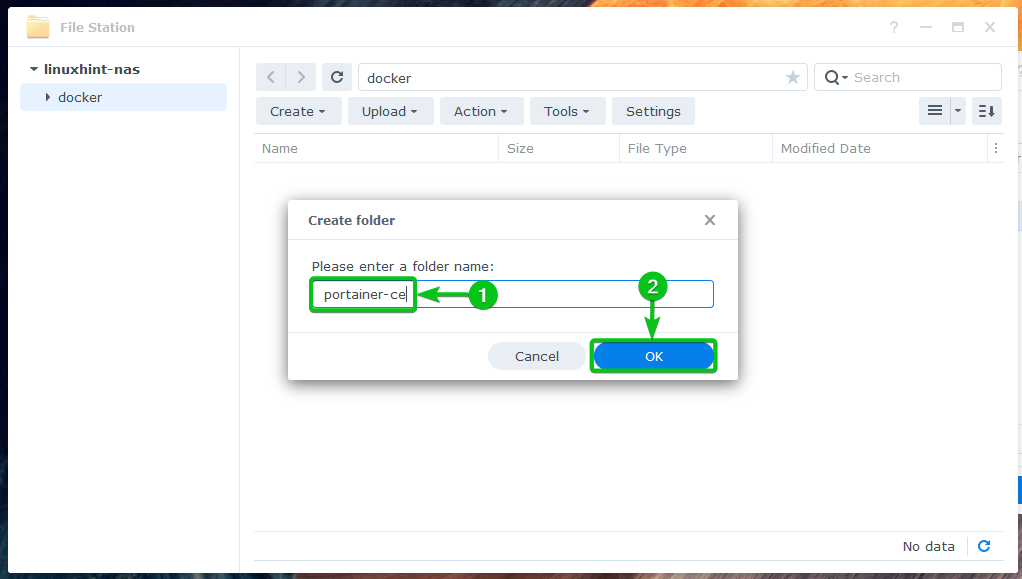
Navigate to the docker shared folder[1] and click on Create > Create folder[2].

Type in “portainer-ce” as the folder name[1] and click on “OK”[2].
NOTE: Portainer has two versions: Community Edition (CE) and Enterprise Edition (EE). We will show you how to install the Portainer Community Edition (CE) in this article. If you want to install the Portainer Enterprise Edition (EE), replace “portainer-ce” with “portainer-ee” from now on.
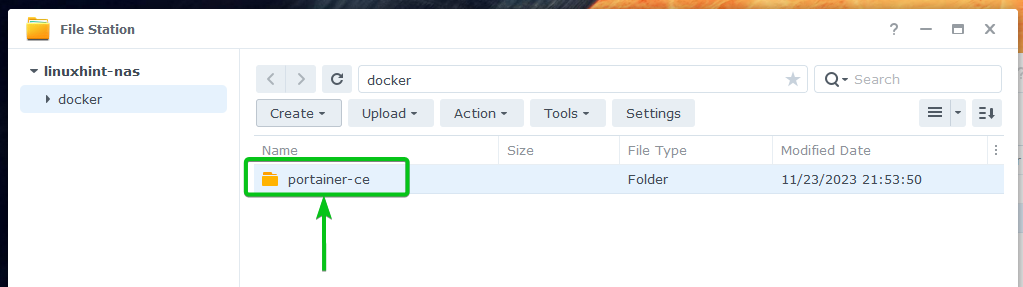
A data folder for Portainer should be created.
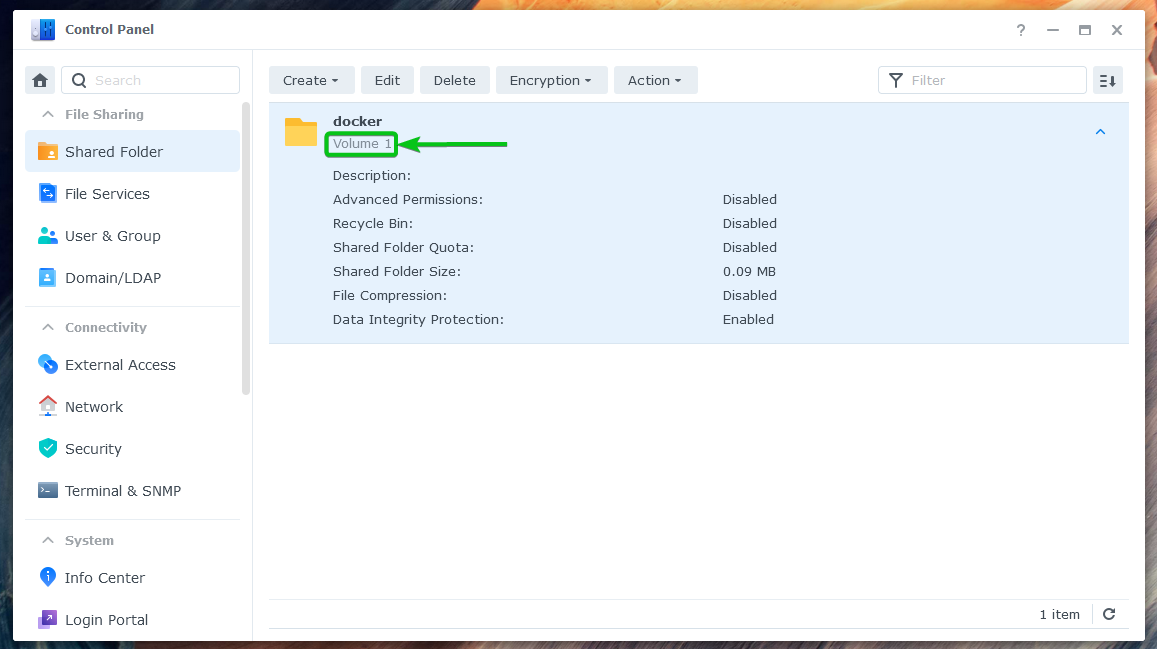
You need to know the full path of the Portainer data folder that you just created to install Portainer on your Synology NAS. In our case, the docker shared folder is created in Volume 1. So, “/volume1/docker/portainer-ce” is the full path of the Portainer data folder in our case.
You can find the volume that the docker shared folder is using on your Synology NAS from Control Panel > Shared Folder.
Creating a Task to Install Portainer on Synology NAS
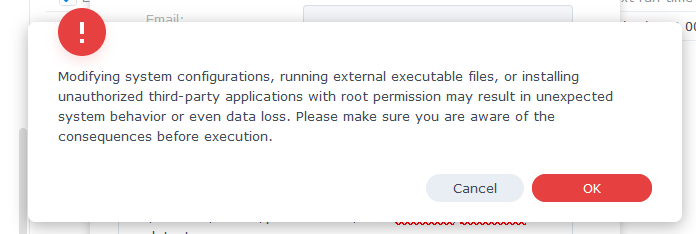
The Portainer installation command has to be run on the Synology NAS with root/admin privileges. The only way to do that without the SSH/Terminal access on Synology NAS is to use the Task Scheduler.
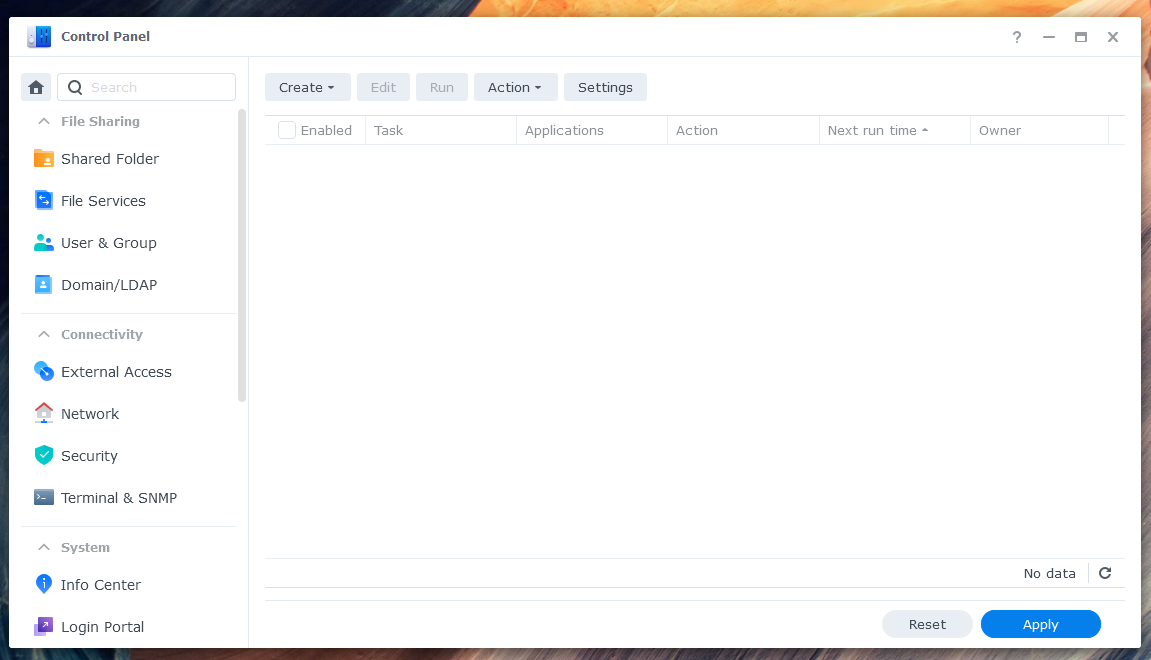
You can open the Task Scheduler from the Control Panel app of the DSM operating system of your Synology NAS.
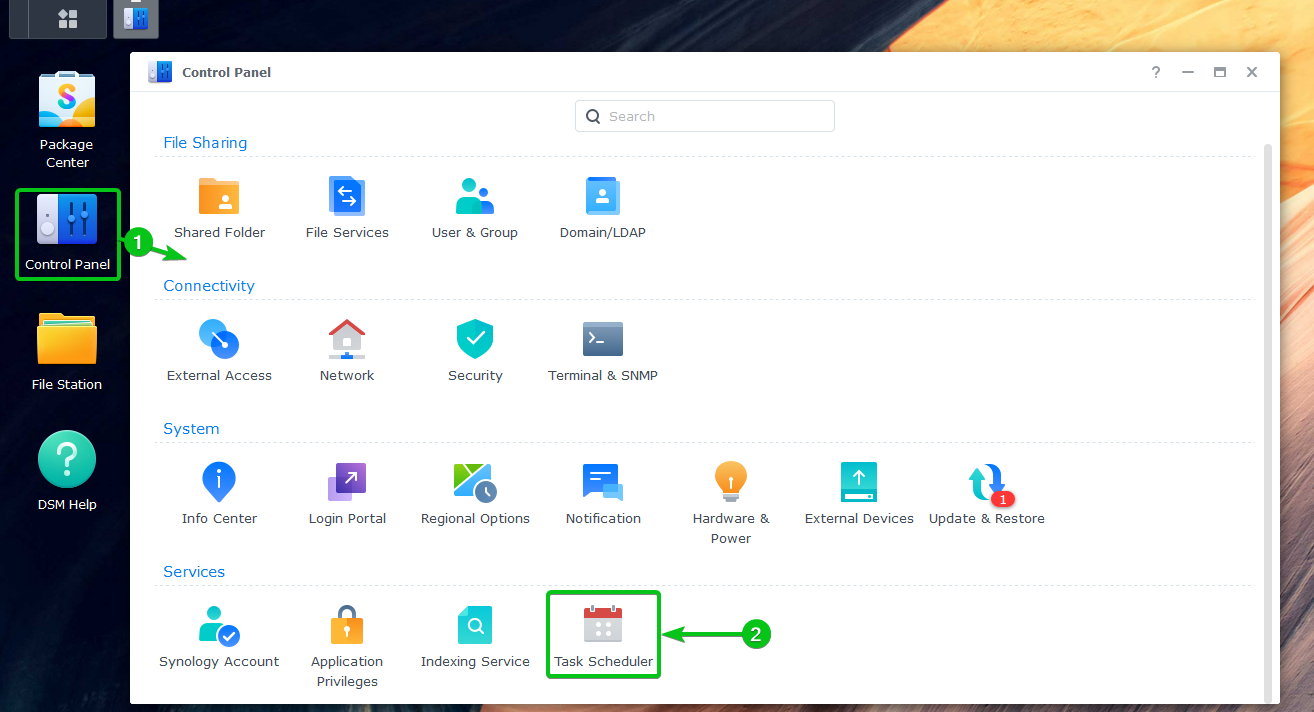
To create a new task, click on Create > Scheduled Task > User-defined script.

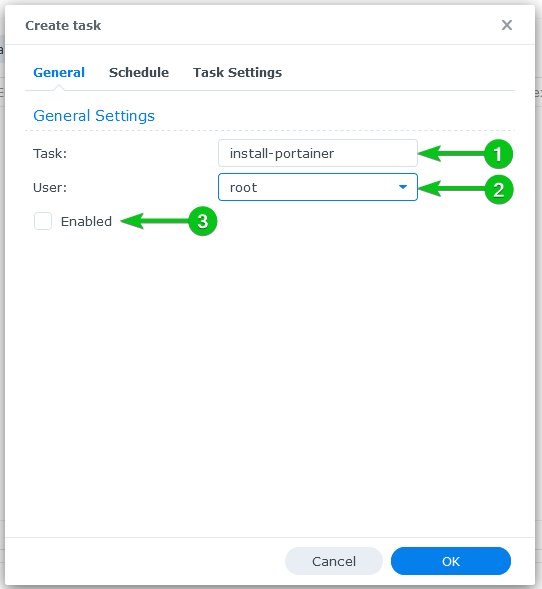
In the “General” tab, type in “install-portainer” as the Task name[1], select “root” from the User dropdown menu[2], and make sure to uncheck “Enabled”[3].
Navigate to the “Schedule” tab, select “Run” on the following date[1], and select “Do not repeat” from the marked dropdown menu[2].

Navigate to the “Task Settings” tab and type in the following command in the “User-defined script” section[1]. Once you’re done, click on “OK”[2].
NOTE: Make sure to replace the Portainer data folder path “/volume1/docker/portainer-ce” with yours in the given command.

Click on “OK”.
A new “install-portainer” task should be created.

Installing Portainer on Synology NAS
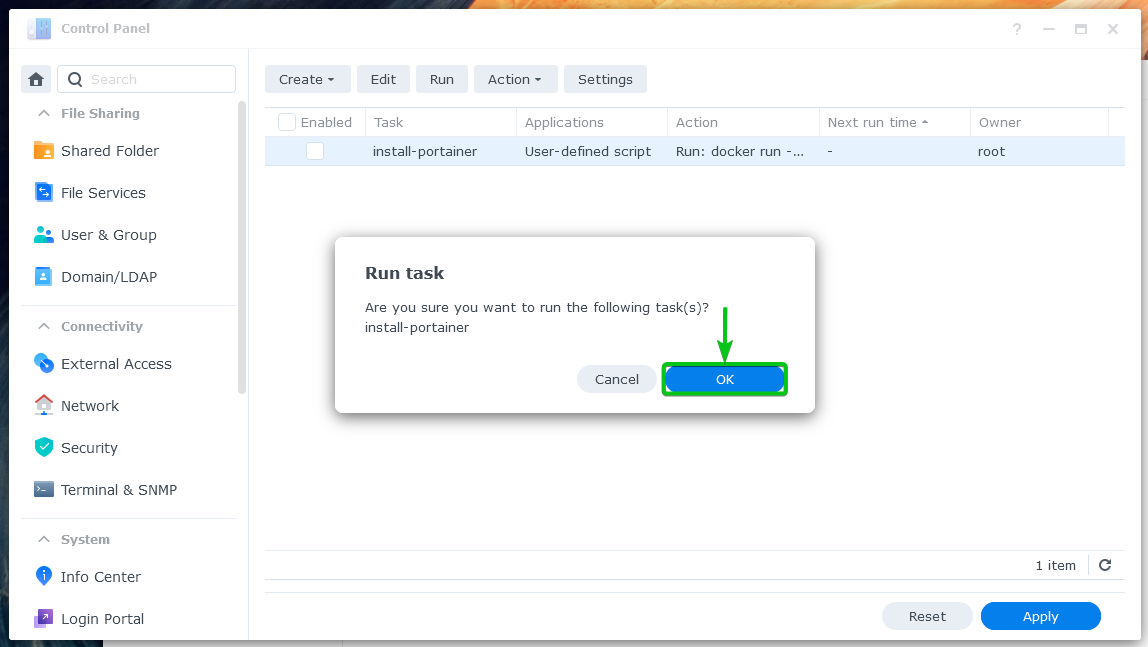
To install Portainer on the Synology NAS, select the “install-portainer” task from Control Panel > Task Scheduler and click on “Run”.

Click on “OK”.
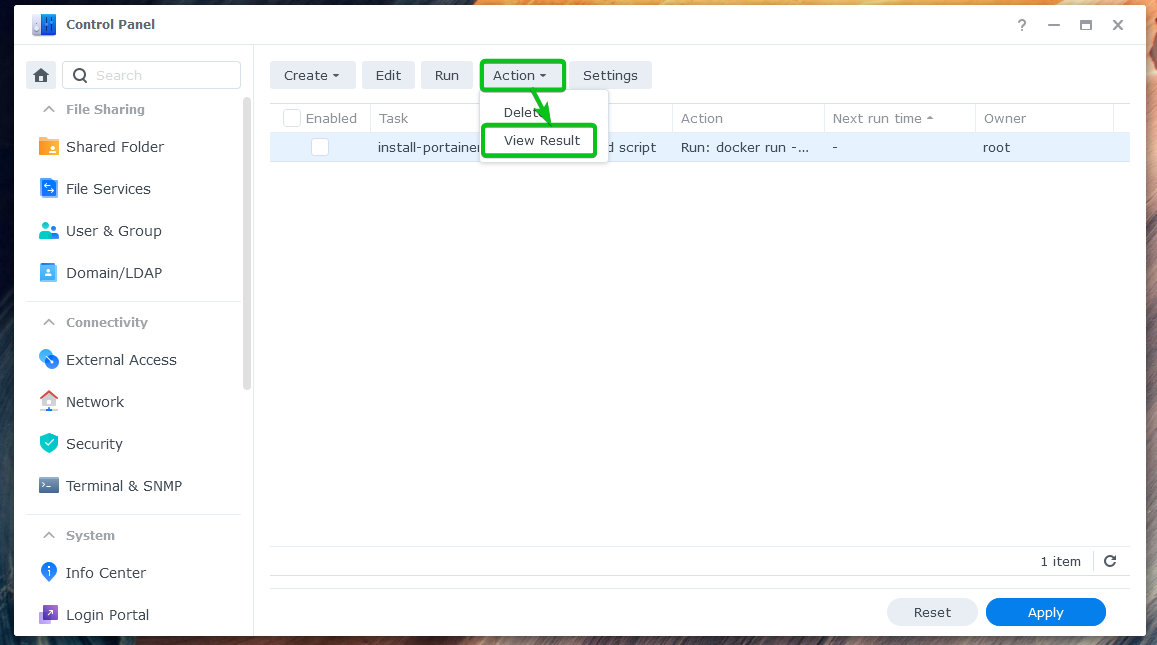
To check the status of the “install-portainer” task, select it and click on Action > View Result.
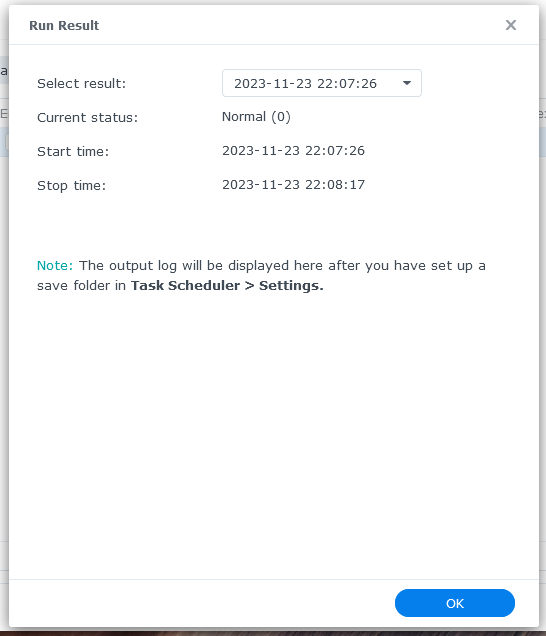
As you can see, the task ran without any issues. Click on “OK” to close the run result.
Checking If Portainer Is Installed on Synology NAS
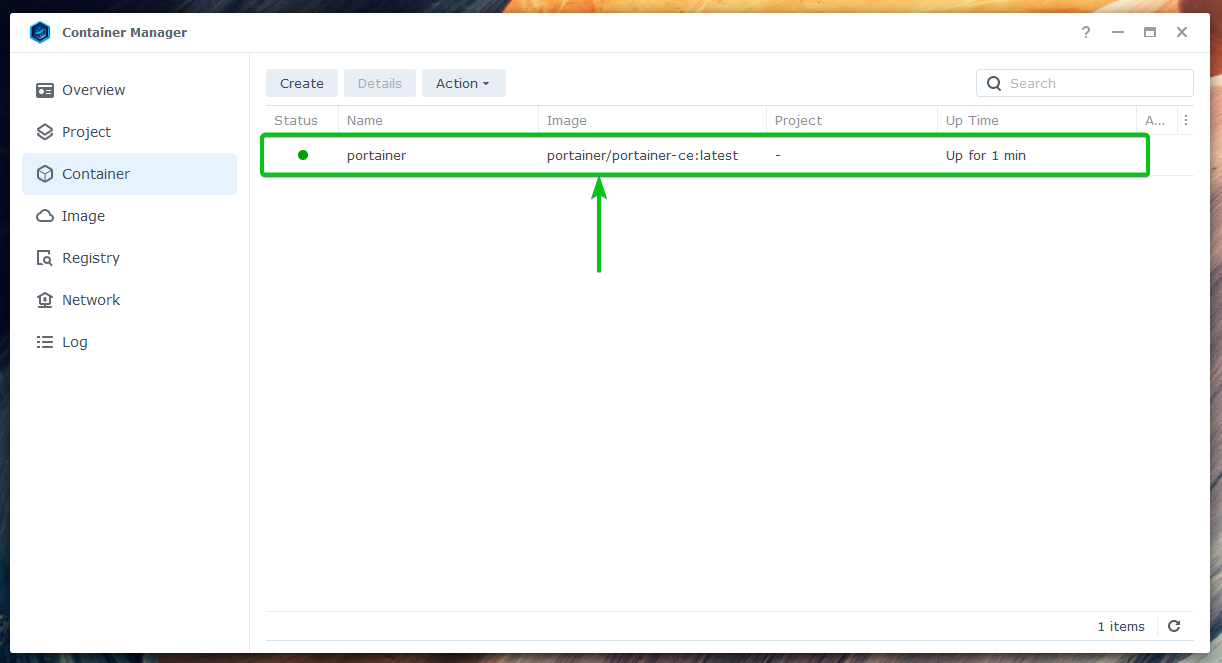
To check if Portainer is installed correctly, open the “Container Manager” app from the DSM operating system of your Synology NAS.

Once the “Container Manager” app is opened, navigate to the “Container” section and you should see that a new container portainer is created and it’s running.
Accessing the Installed Portainer on Synology NAS
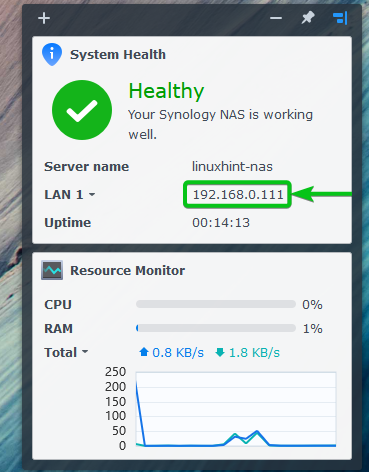
To access Portainer, you need to know the IP address of your Synology NAS. In our case, the IP address of our Synology NAS is 192.168.0.111.
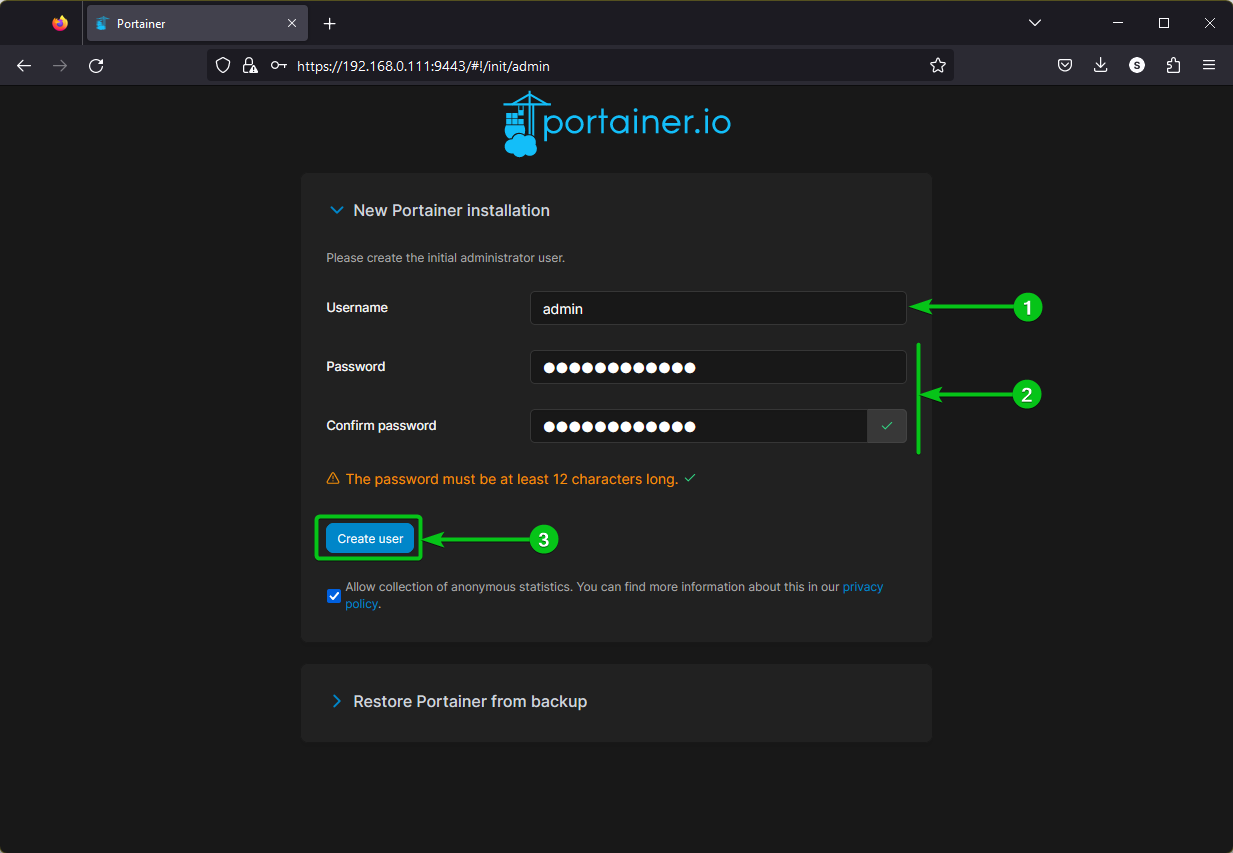
Now, visit https://192.168.0.111:9443 from a web browser and you should see the Portainer initial user creation wizard.
Type in the Portainer login username[1], a password that you want to set for the user[2], and click on “Create user”[3].
NOTE: Make sure to replace the IP address of 192.168.0.111 with the IP address of your Synology NAS.
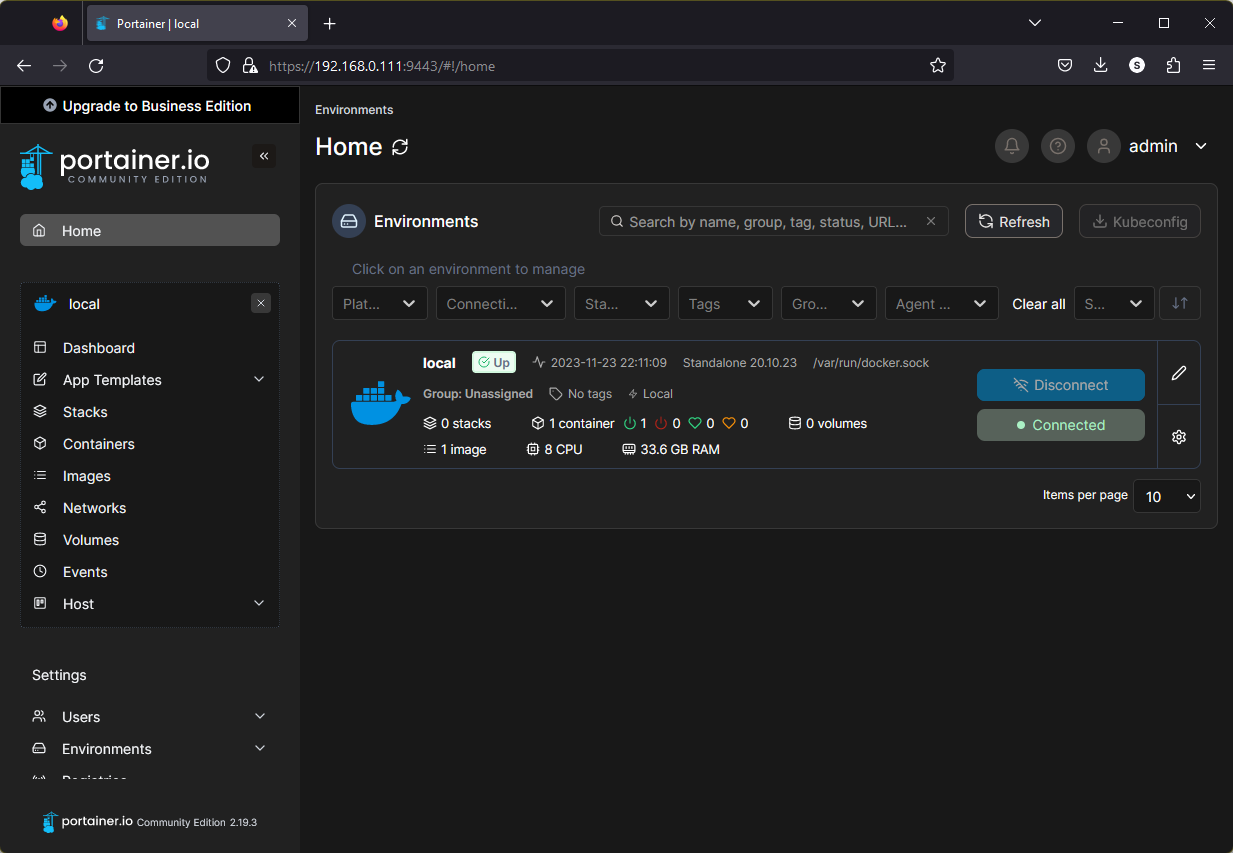
A Portainer login user should be created and you should be logged in to Portainer web UI.

You can manage your Docker containers from the Portainer web UI.
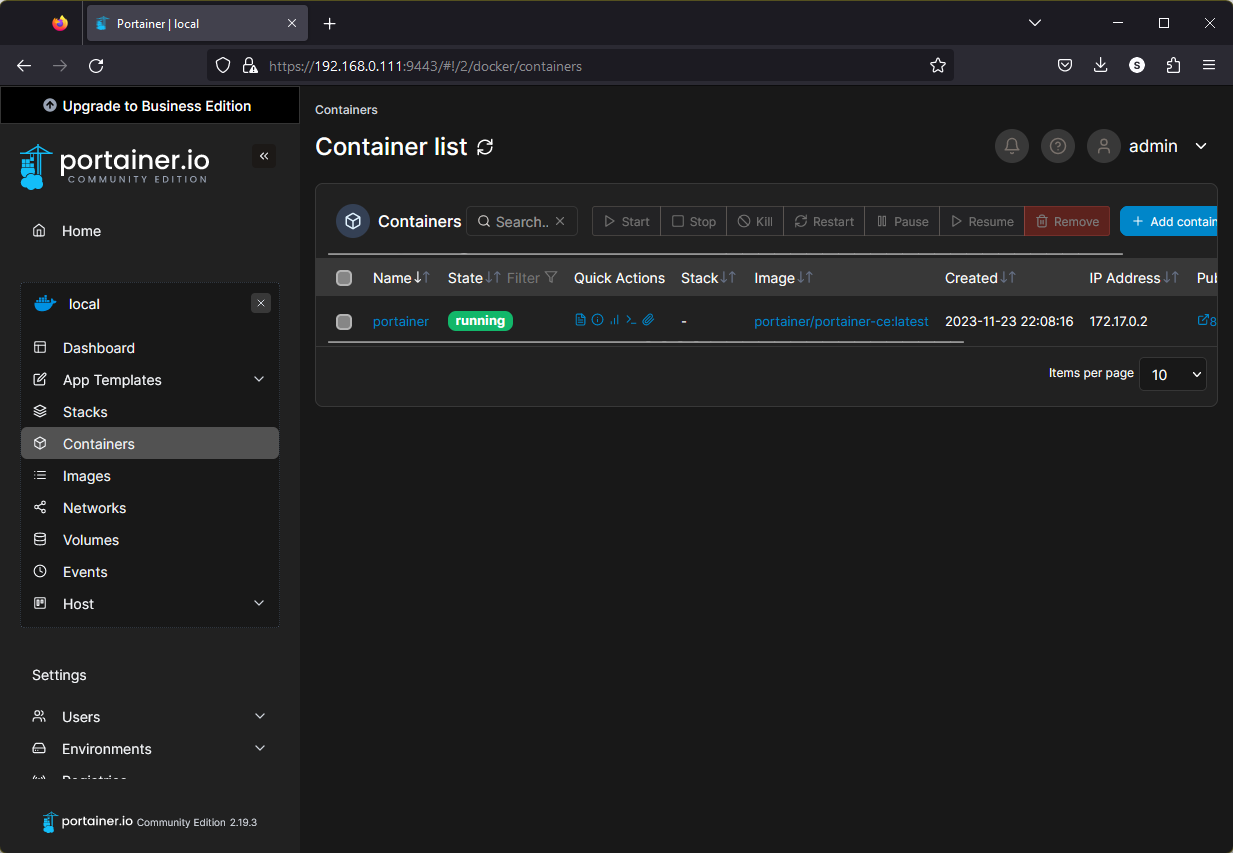
As you can see, the portainer Docker container is also visible in the Portainer web UI.
Removing the Portainer Installation Task from Synology NAS
Once Portainer is installed and working on your Synology NAS, you should remove the “install-portainer” task from Control Panel > Task Scheduler.
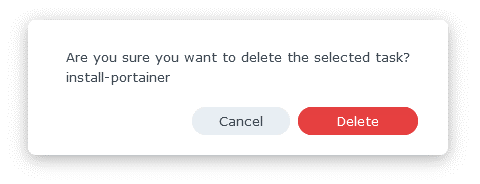
To remove the “install-portainer” task, select it from the Task Scheduler and click on Action > Delete.
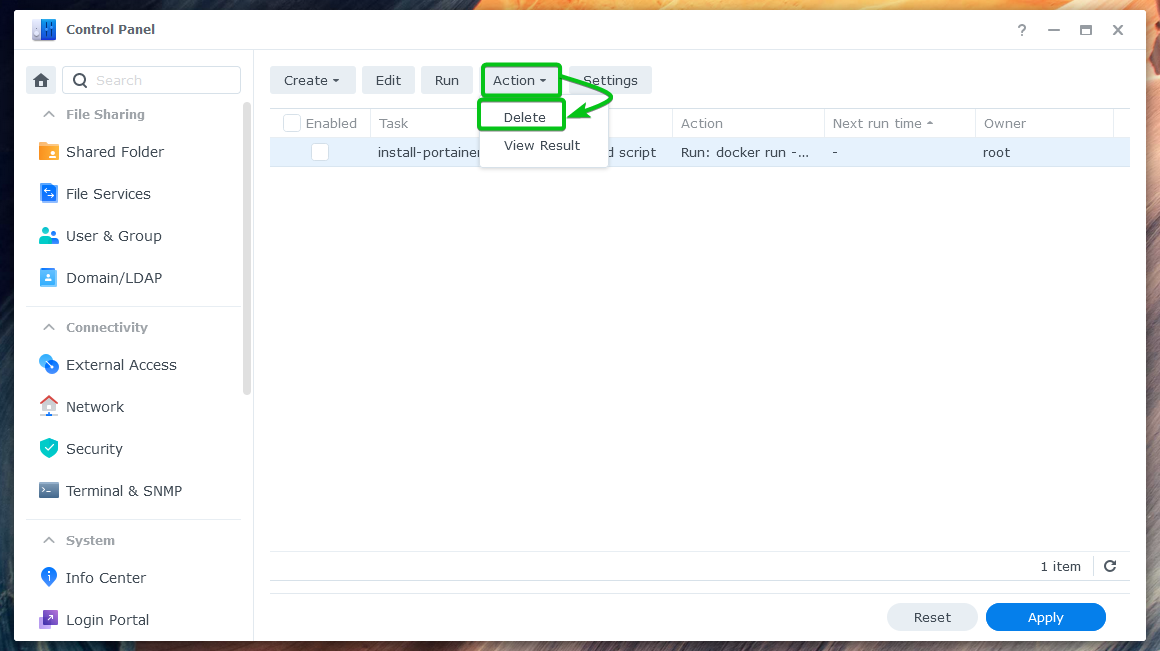
Click on “Delete”.
The task should be removed from the Task Scheduler.
Conclusion
In this article, we showed you how to install Portainer on a Synology NAS that runs the DSM 7 operating system without the SSH/Terminal access. We also showed you how to access the Portainer web UI so that you can manage the Docker containers of your Synology NAS using Portainer.