Pop!_OS is a Ubuntu-based Linux distribution that supports the customized GNOME desktop environment. It also supports the Nvidia GPUs along with the AMD, which gives an advantage to users who are fond of gaming.
Some of the prominent features of Pop!_OS are:
- Workspaces
- Keyboard navigation
- Stacking
- Auto tiling with pop shell
- Workflow customization
If you want fast navigation and streamlined workflow then you should get Pop!_OS right away. In this writeup, we will discuss the installation procedure of Pop!_OS from USB.
Requirements
Pop!_OS is supported by all the machines but the minimum requirement of Pop!_OS is 2 GB RAM and 16 GB GB storage device so recommended RAM is 4GB and Hard Disk 20 GB according to the official website.
How to install Pop!_OS from USB
For the installation of Pop!_OS we need its ISO file and a USB flash drive. The entire process of installation of Pop!_OS is explained in the following section:
Downloading of the image file of Pop!_OS
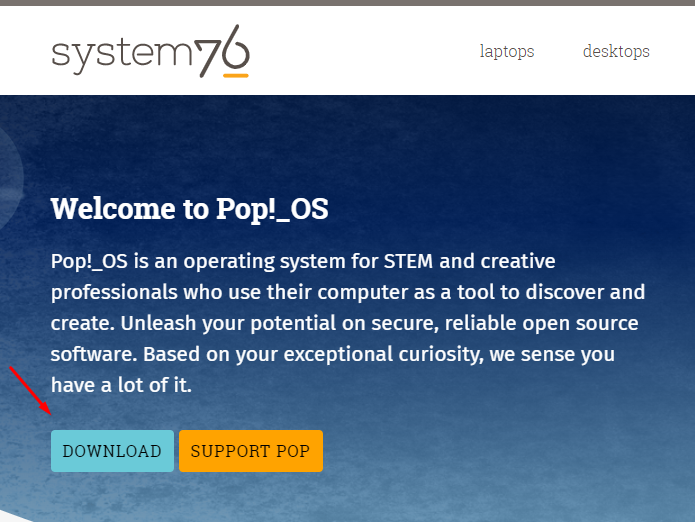
For the installation of the Pop!_OS, we will download its image file which should be in the format of .iso from the official website. Now click on the “DOWNLOAD” button on the web page as shown below.
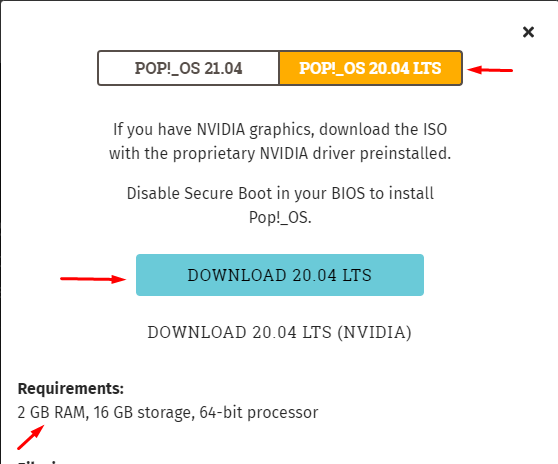
There will be two options POP!_OS 21.04 or POP!_OS 20.04 LTS. Before proceeding let us understand what is meant by LTS (Long Term Support)? The LTS means that the distribution will get updates and bug fixes for the time period of five years, while the normal version gets support for two months only.
Coming back to the downloading of image files, you can download according to your own convenience but here we are downloading POP!_OS 20.04 LTS, then it will prompt two more options “DOWNLOAD 20.04 LTS” and “DOWNLOAD 20.04 LTS (NVIDIA)” so again you can choose by your requirement but we are going with “DOWNLOAD 20.04 LTS”. After clicking the file will be downloaded in the Downloads folder:
Making the bootable USB for Pop!_OS
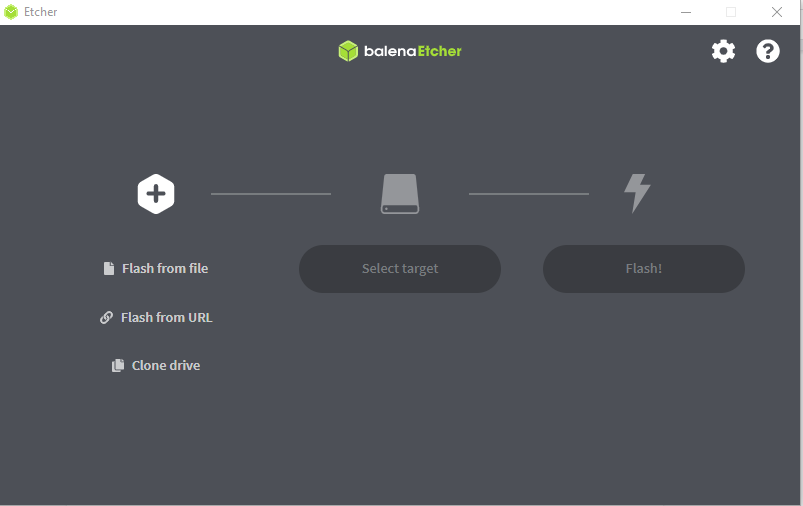
To make the USB bootable, download a balenaEtcher app from Etcher.io, and install it. Once the application is installed, launch it:
Now click on the “Flash from the file” and choose the image file of Pop!_OS, then select the target storage device:
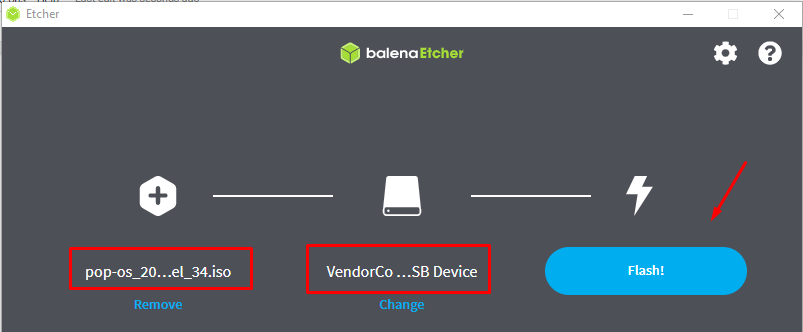
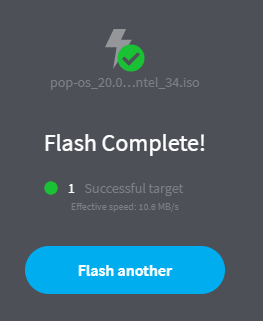
Once done, click on the “Flash!” button:
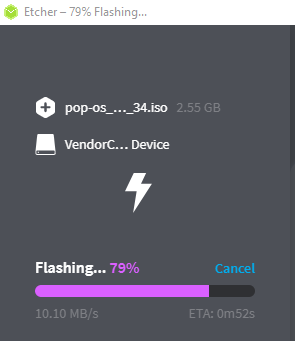
It will take some time to make the USB bootable and a message will be displayed once the USB becomes bootable.
Loading the boot menu
Now press the boot menu key from the keyboard while restarting the system to open the boot menu.
Note: The boot menu keys are different for different machines; for Toshiba, the boot key is F12, for Dell is F10.
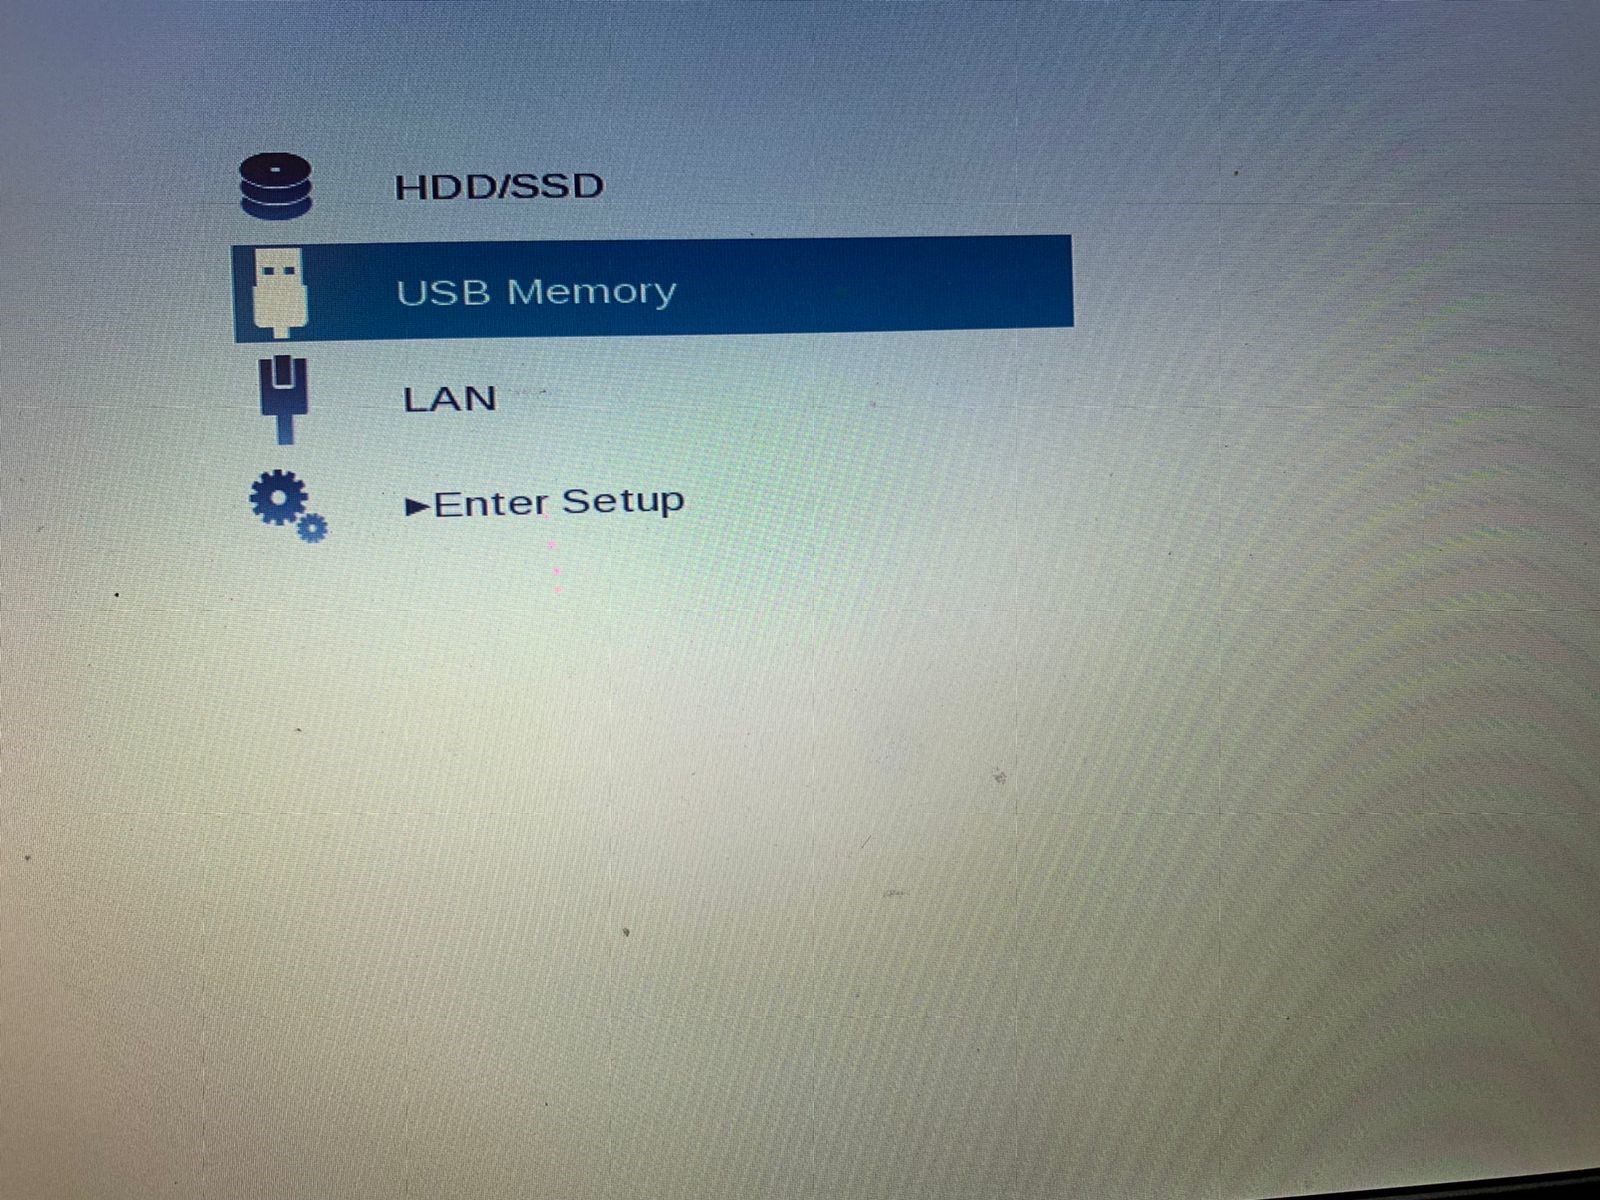
Now in the boot menu choose the USB Memory and press the ENTER key to start the installation.
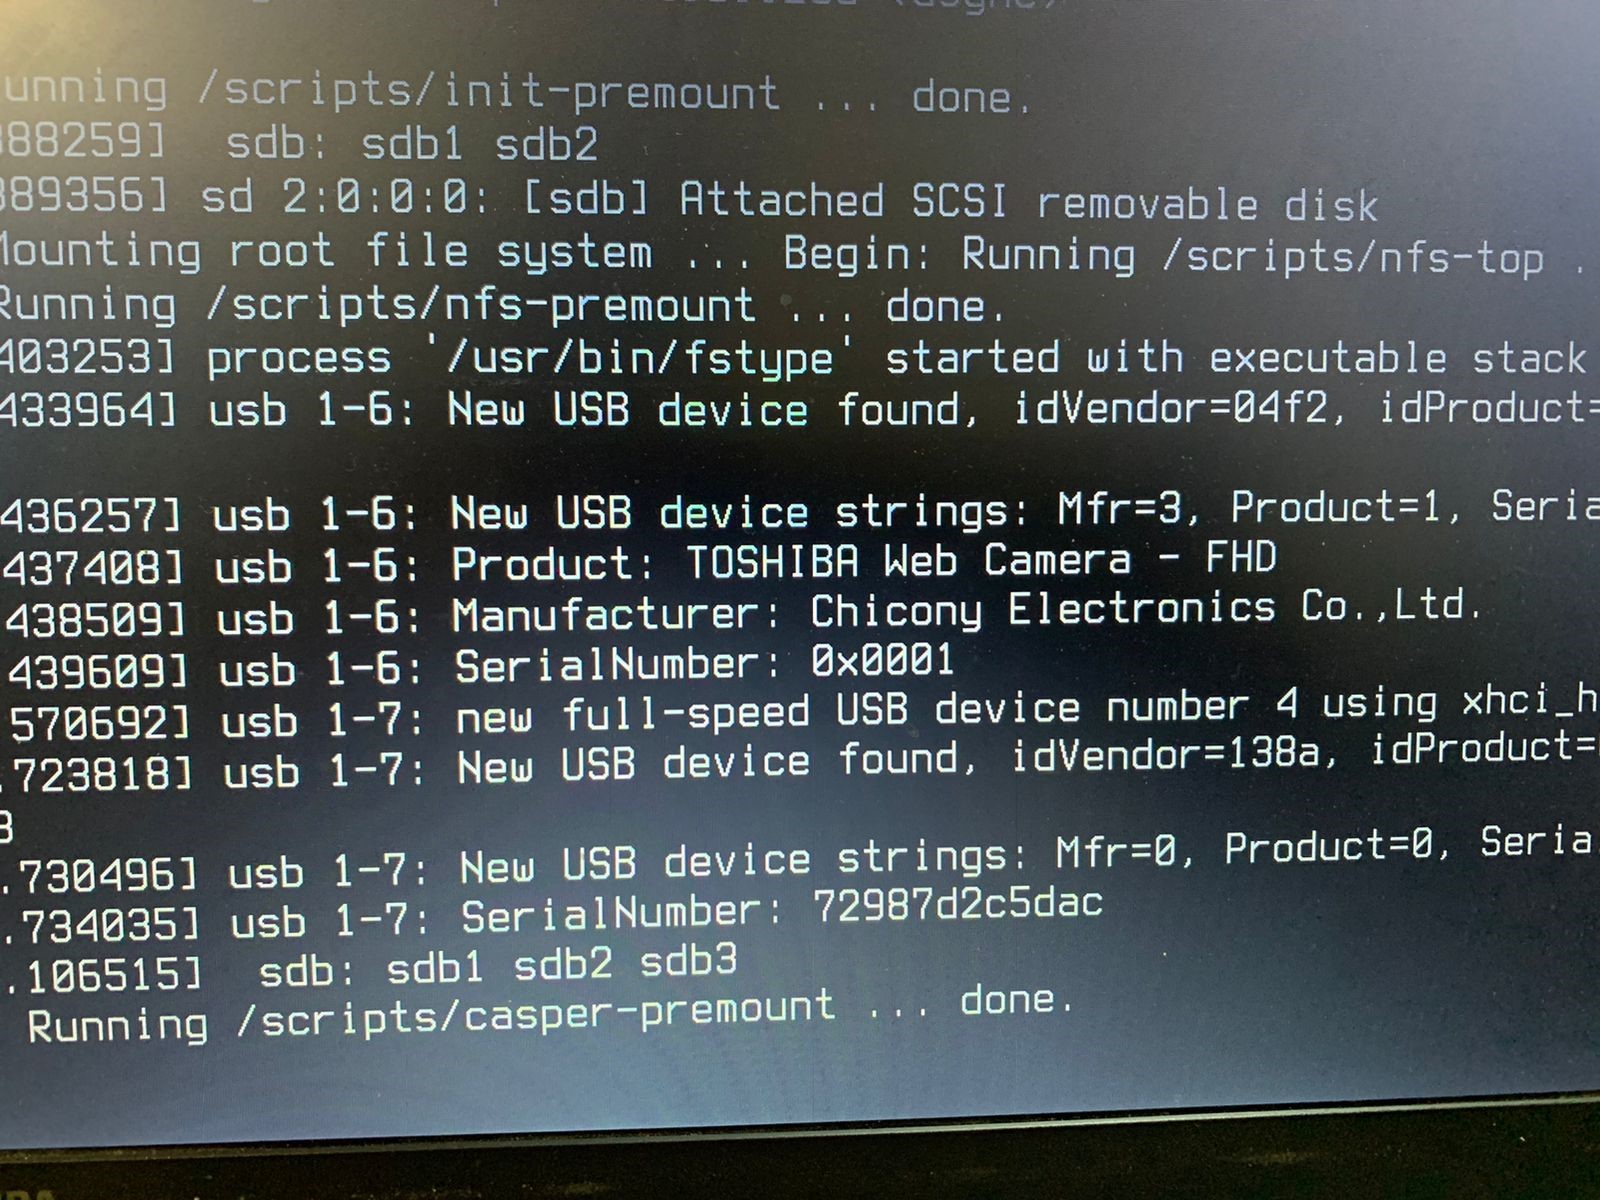
Once the setup is loaded from the image file, the installation process will be started.
Installation of Pop!_OS
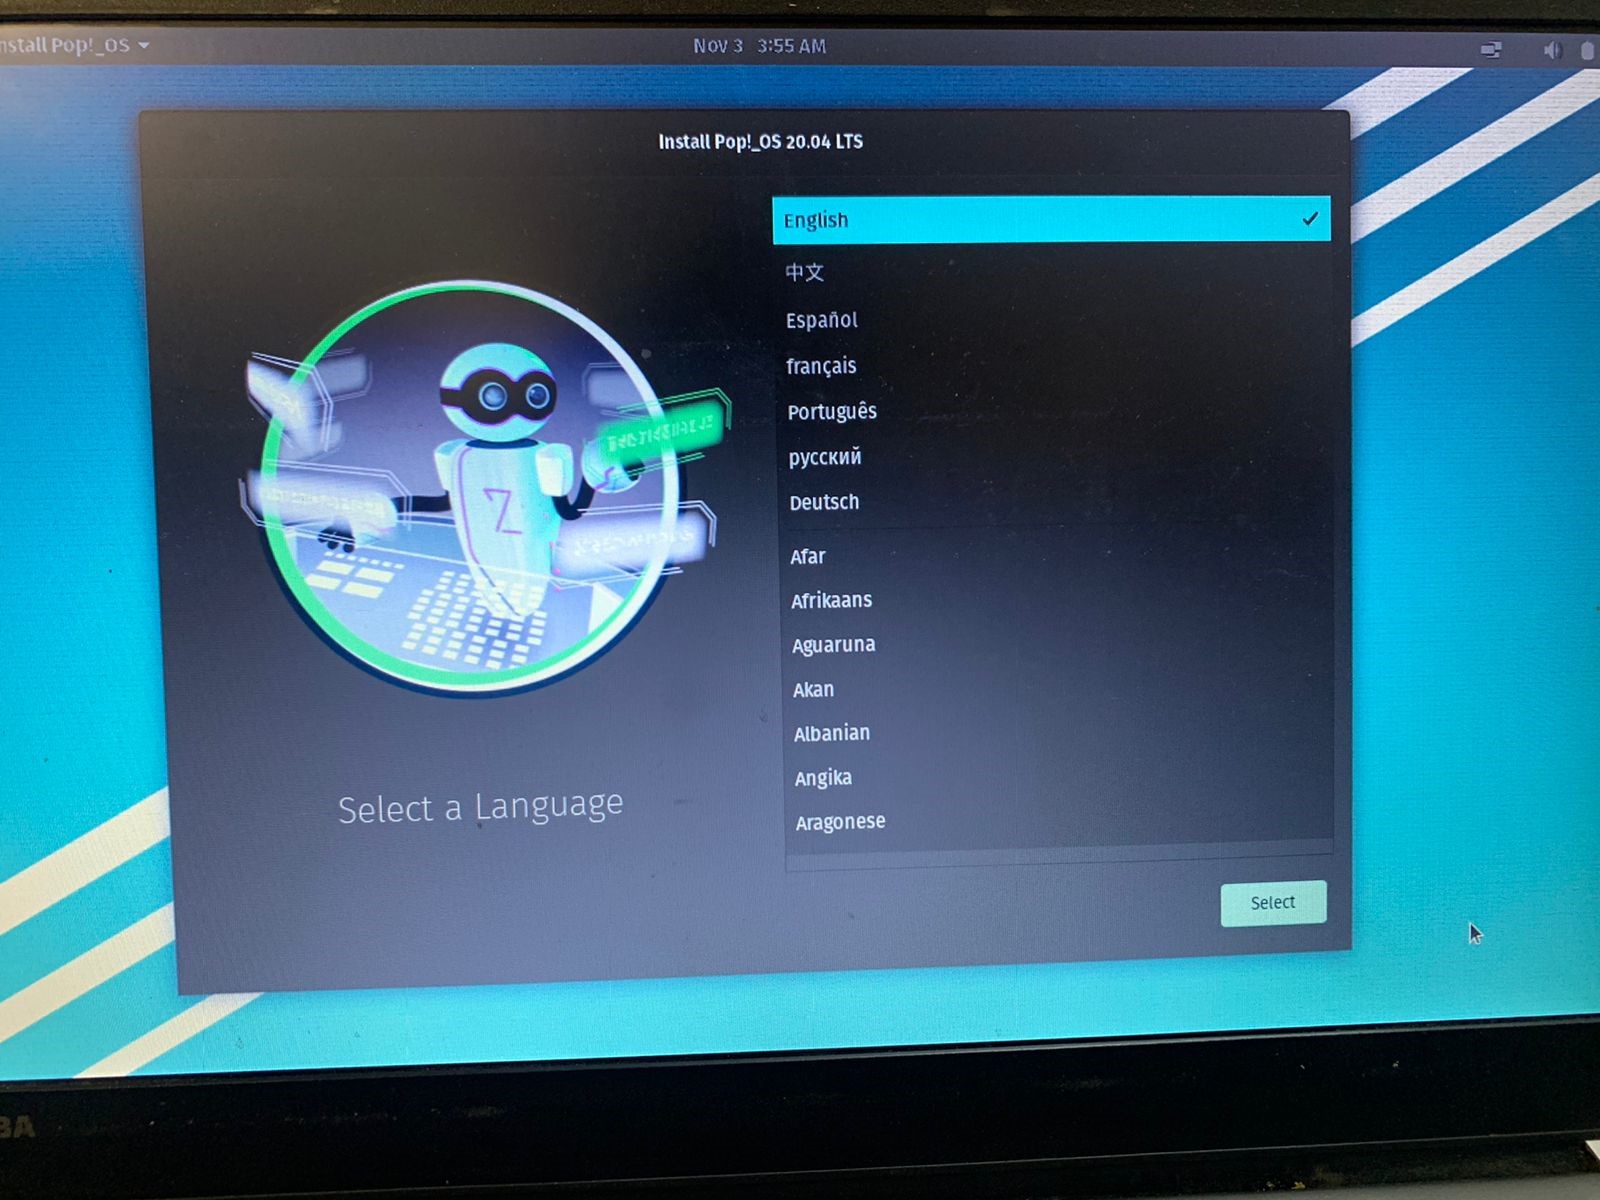
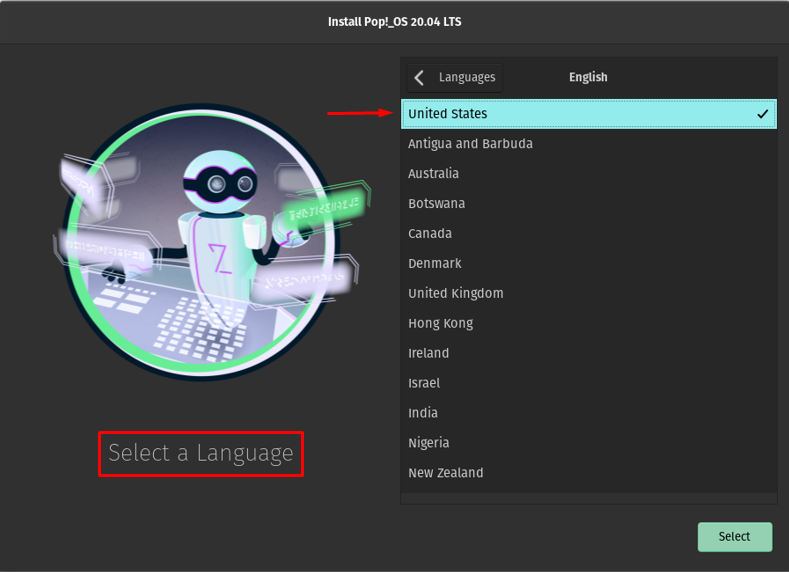
Now the operating system is booted from the USB, a screen will appear to select a language for the installation as well as for the operating system usage, here we will choose “English” of the “United States”, and then click on the “Select” button to proceed to the next step.
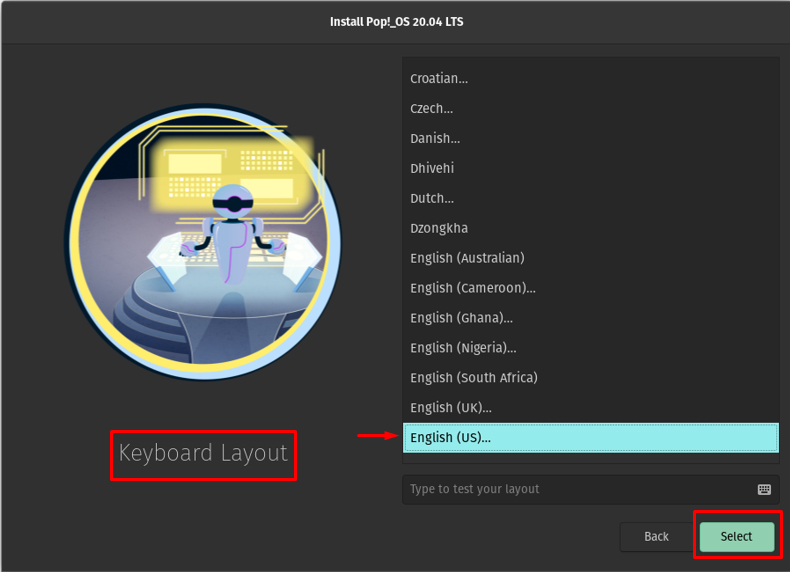
Choose the keyboard layout, you can choose by your own choice but here we are choosing the “English (US)”, and then click on the “SELECT” button to continue.
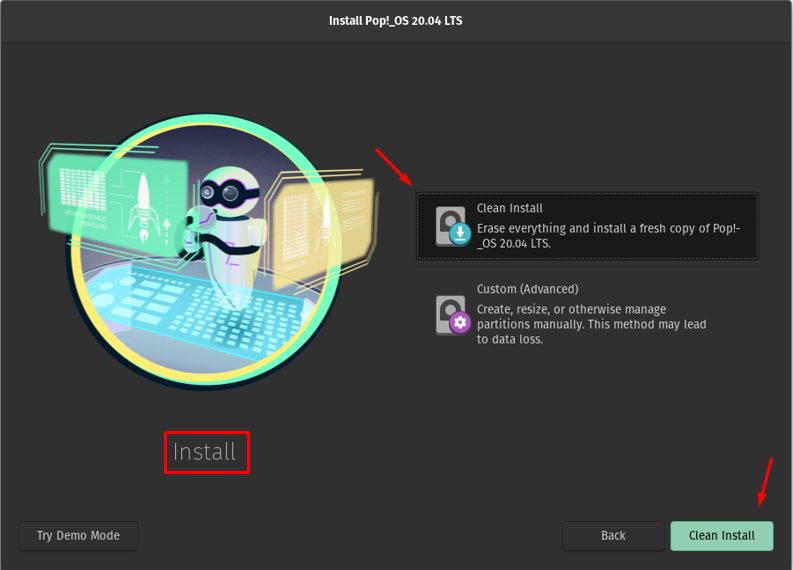
A prompt will appear with the two options; the “Clean install” which will erase everything and install the new operating system or “Custom(Advanced)” in which you can manage the installation by your own preferences. We are going to select “Clean Install”, and then will click on the “Clean Install” button.
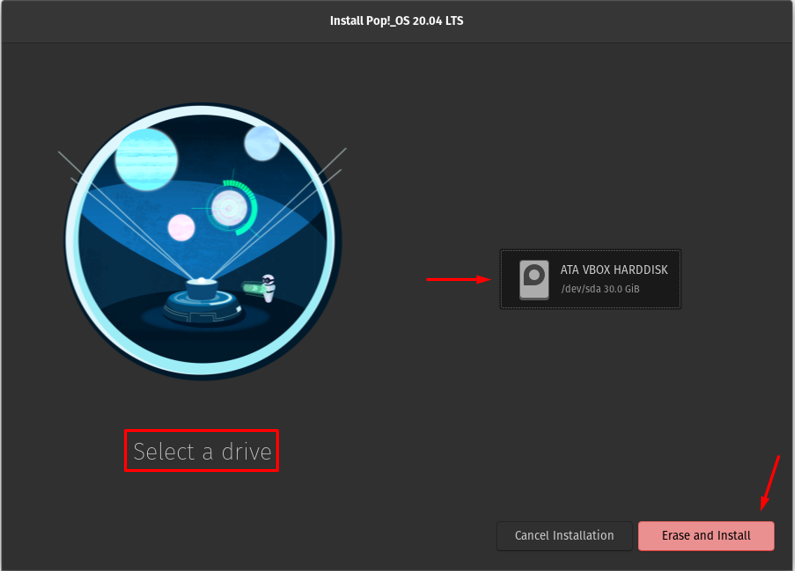
Now select a drive where you want to install the operating system, in our case, we have only one partition so we will choose it and click on “Erase and Install” so it can format the partition:
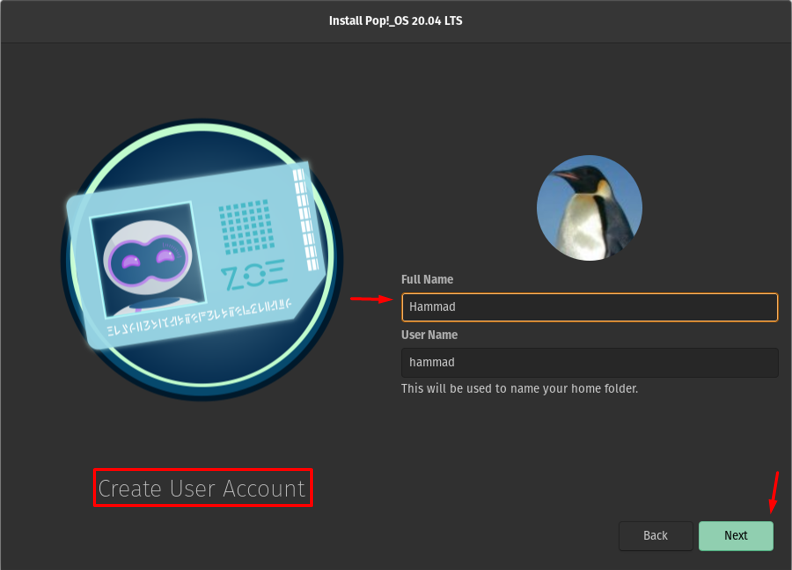
On the next step, type your Full Name so that it can assign a User Name to you, once it is done, click on the Next button so that a new user can be created.
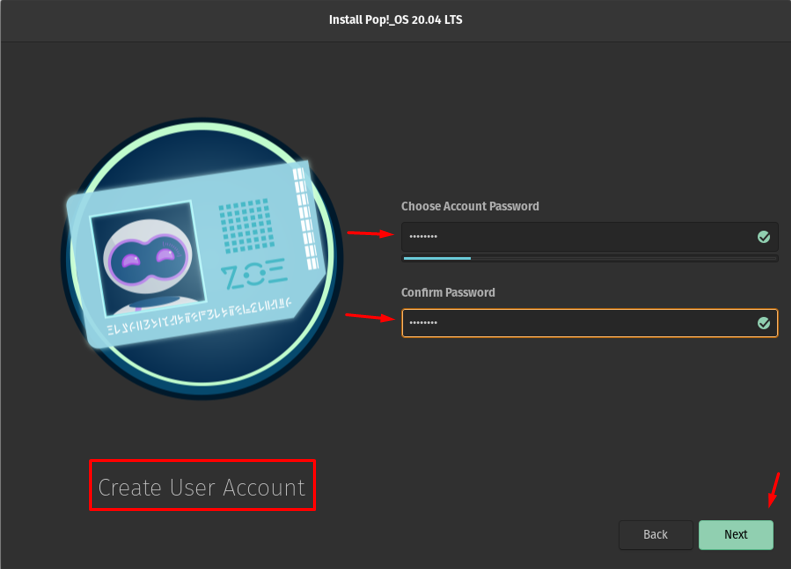
After choosing a username, choose a password for the user, retype the password to confirm it, and click on the Next button to go to the next step.
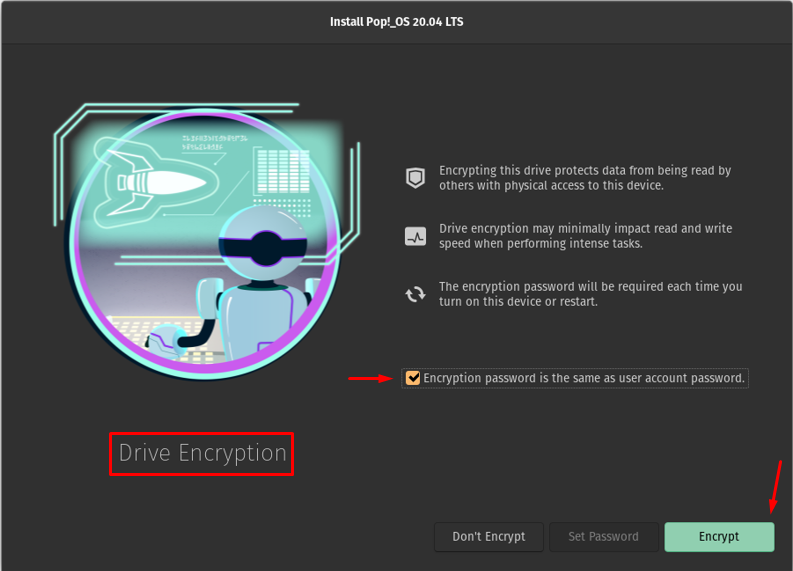
The user is created, the next step is related to disk encryption; disk encryption is a process to secure the data of your disk by converting it to some unreadable format so that the only authorized person can access it by providing a password. You will be asked whether to encrypt your drive or not, which is up to your choice, but it is recommended to encrypt the drive to protect your data. The next is to decide, whether to set a new password or use the same password set while creating a user, it’s also up to you, we are choosing a password that was set while creating a new user, so we just click on the “Encrypt” button.
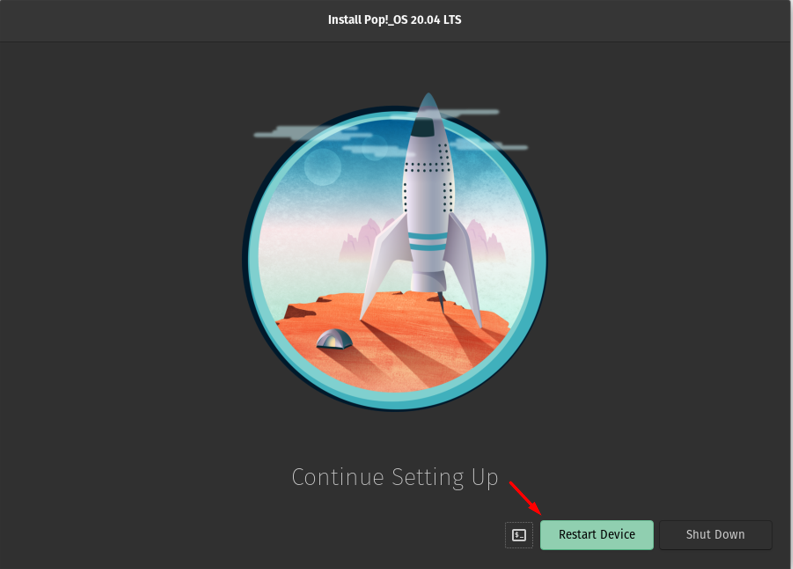
So after the finalization of the configuration of the system, a prompt will be displayed with the options restart and shutdown, restart the system by clicking on “Restart Device”.
Unmounting the Bootable USB
Restart the Device, as soon as possible unmount the bootable USB from the laptop, else it will start the installation wizard again.
Setting up the Pop!_OS
The Pop!_OS is restarted, the user name will be displayed.
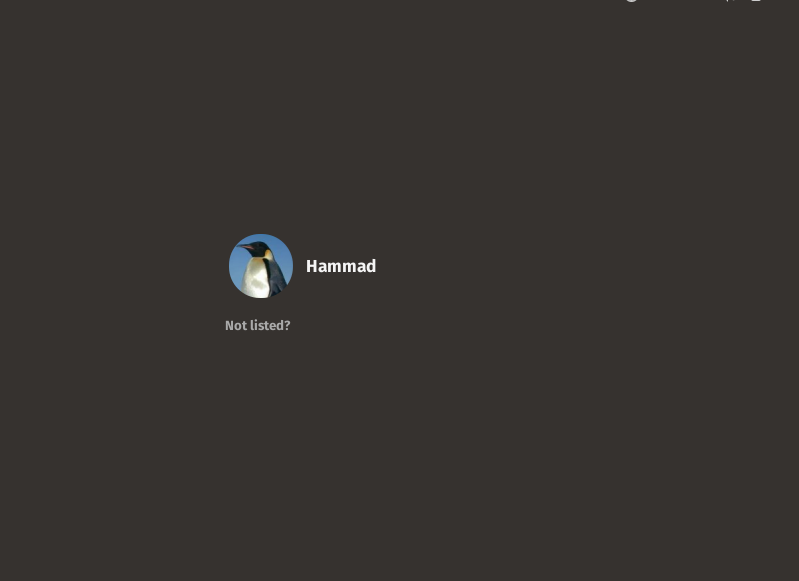
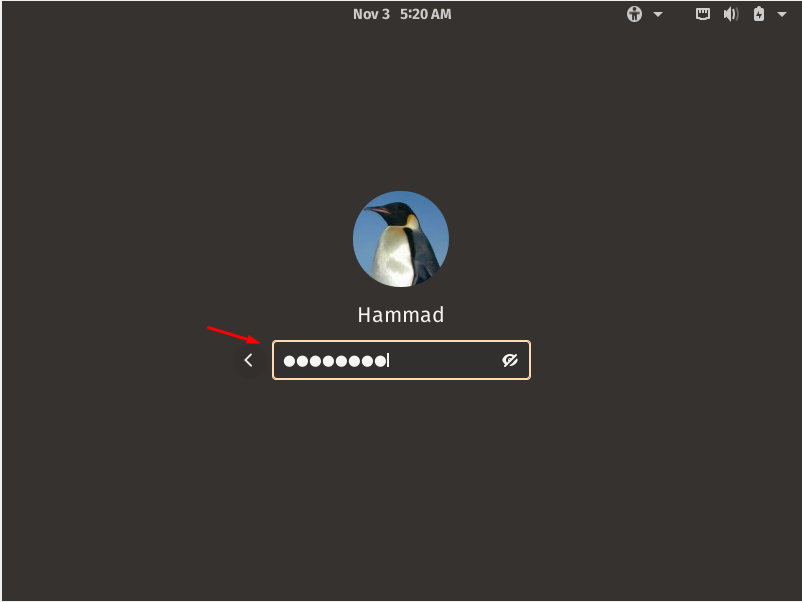
Click on the user name, it will ask for the set password, enter the password, and press the ENTER Key.
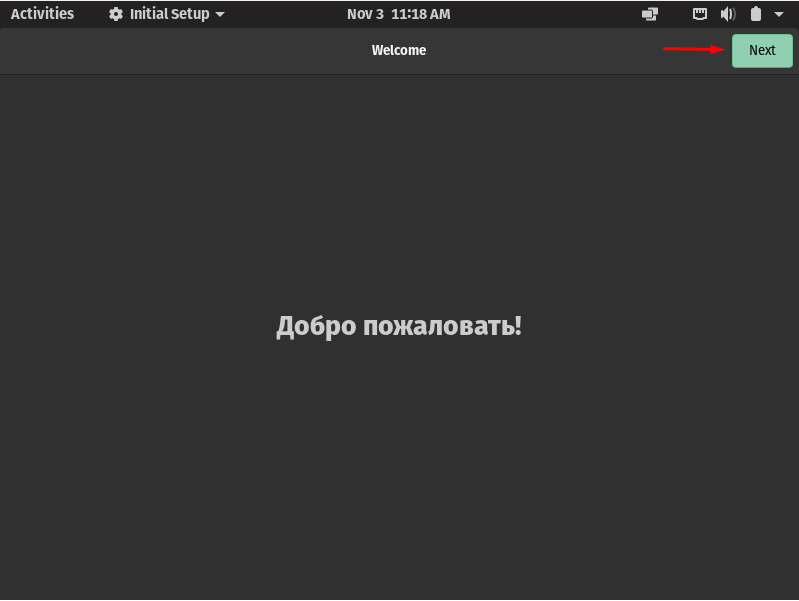
An initial setup will be initialized and a Welcome script will be displayed in various languages until you press Next.
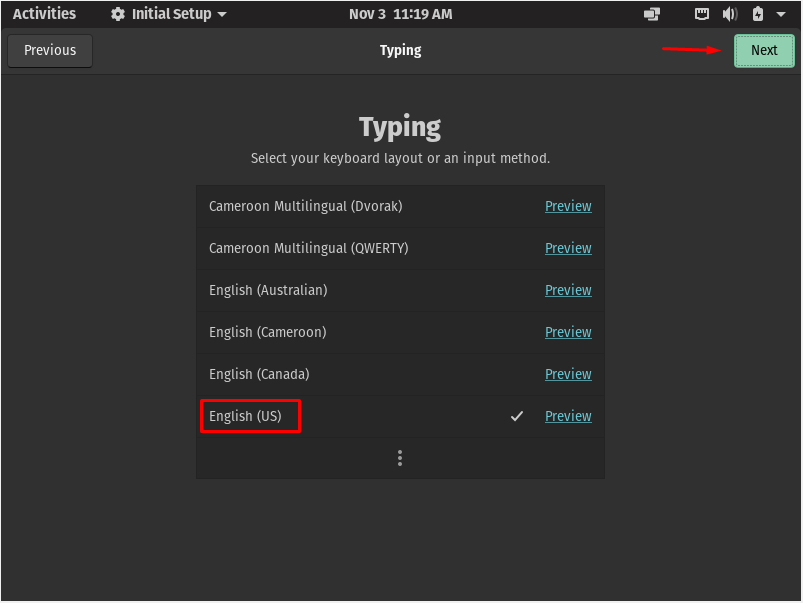
Once again it will verify the keyboard layout you selected which you can modify in this step too, once done with this step, click on Next.
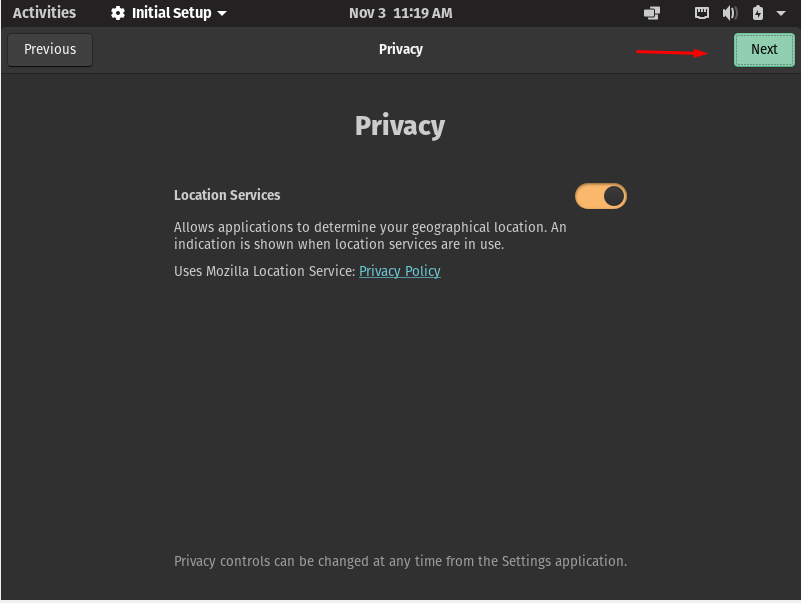
Enable the toggle of Location Services which may be used by different applications in the future and click on Next. You can enable/disable by keeping your privacy concerns.
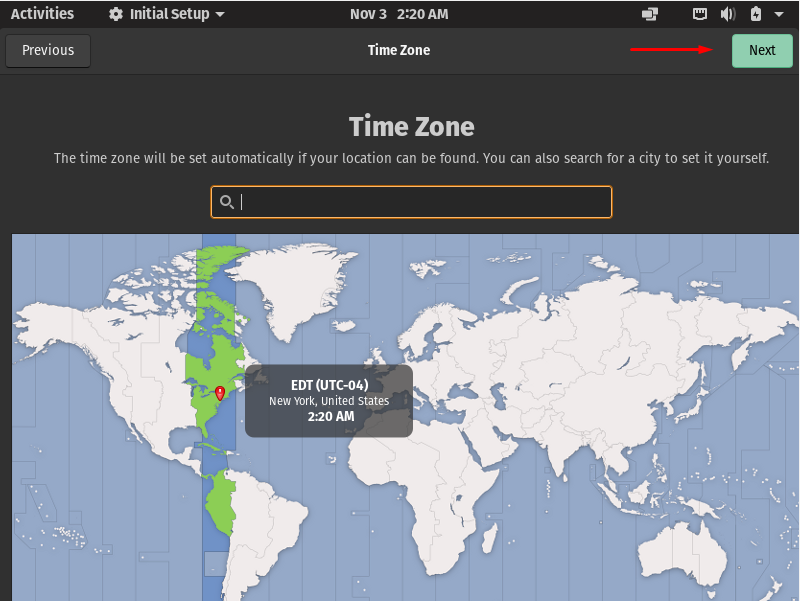
Now set the timezone and click on the Next to proceed.
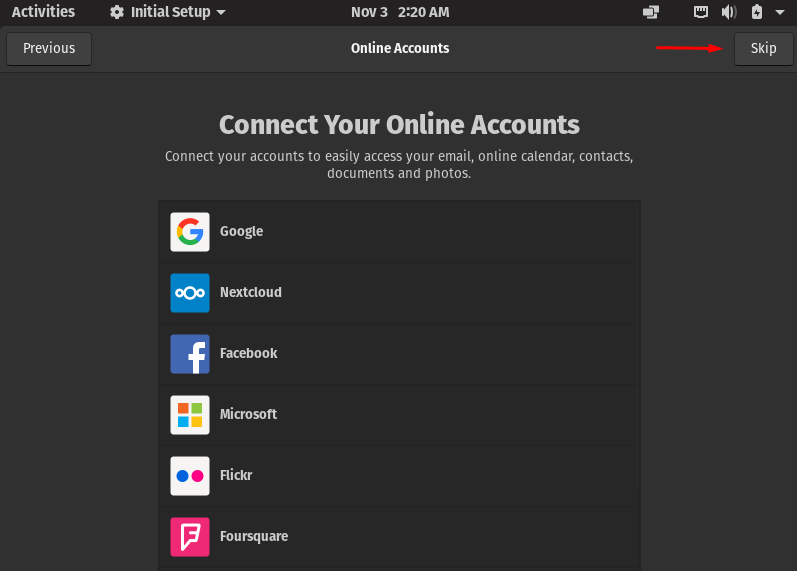
It will give an option to connect with your social account which you can skip by clicking on the Skip button.
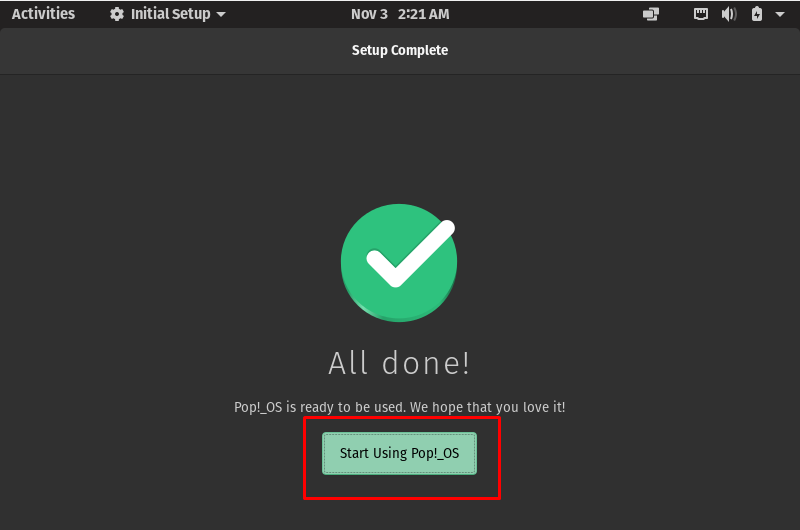
Now at this step, the setup is completed, click on the “Start using Pop!_OS” button.
The desktop environment of Pop!_OS will be displayed successfully.
Conclusion
Pop!_OS supports not only the GPU but also the drive encryption which we have seen while the process of installation, similarly one of the famous features for which it is being known is its easy keyboard navigation. In this write-up, we have installed the Pop!_OS by downloading its image file from the official website and making the USB bootable using the software balenaEtcher, then restarting the machine, opening the boot menu, and starting the installation process by choosing the “Boot from USB”, once the installation is completed, restart the system, remove the Bootable USB from the laptop, and the Pop!_OS will be successfully installed on the machine.