The latest version of TensorFlow does not support the NVIDIA CUDA/CuDNN acceleration natively on Windows 10/11 operating systems. So, if you want to set up the latest version of the TensorFlow development environment with NVIDIA CUDA/cuDNN acceleration on Windows 10/11, you have to do so via the Windows Subsystem for Linux (WSL).
In this article, we will show you how to install WSL on Windows 10/11 and access it. We will also show you how to install the latest version of TensorFlow with NVIDIA CUDA/cuDNN acceleration support on the Ubuntu WSL system on Windows 10/11.
Topic of Contents:
- Installing NVIDIA GPU Drivers on Windows 10/111
- Installing NVIDIA CUDA and cuDNN on Windows 10/11
- Installing WSL on Windows 10/11
- Accessing the WSL Ubuntu Linux Terminal on Windows 10/11
- Checking If Ubuntu WSL System can Access the NVIDIA GPU of Windows 10/11
- Installing Python 3 PIP on Ubuntu WSL System
- Upgrading Python 3 PIP on Ubuntu WSL System
- Installing TensorFlow with NVIDIA CUDA/cuDNN Acceleration Support on Ubuntu WSL System
- Checking If TensorFlow CUDA Acceleration Is Working on Ubuntu WSL System
- Accessing Ubuntu WSL System with Visual Studio Code for TensorFlow Development
- Conclusion
Installing NVIDIA GPU Drivers on Windows 10/11
For TensorFlow to access the NVIDIA GPU for CUDA/cuDNN acceleration on the Ubuntu WSL system on Windows 10/11, you must have an NVIDIA GPU installed on your computer and install the NVIDIA GPU driver on Windows 10/11. If you have an NVIDIA GPU installed on your computer and you need any assistance in installing the NVIDIA GPU driver on Windows 10/11, read this article.
Installing NVIDIA CUDA and cuDNN on Windows 10/11
Once you installed the NVIDIA GPU drivers on your Windows 10/11 system, you have to install NVIDIA CUDA and NVIDIA cuDNN for TensorFlow CUDA/cuDNN acceleration to work on the Ubuntu WSL system.
If you need any assistance in installing NVIDIA CUDA on your Windows 10/11 operating system, read this article.
If you need any assistance in installing NVIDIA cuDNN on your Windows 10/11 operating system, read this article.
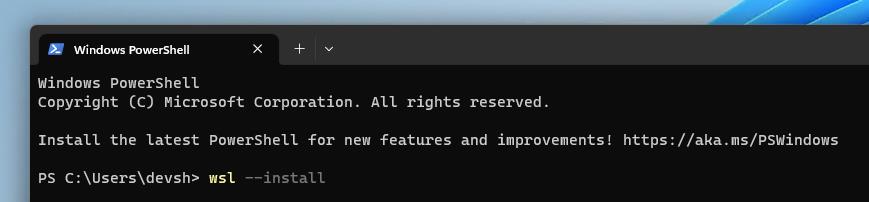
Installing WSL on Windows 10/11
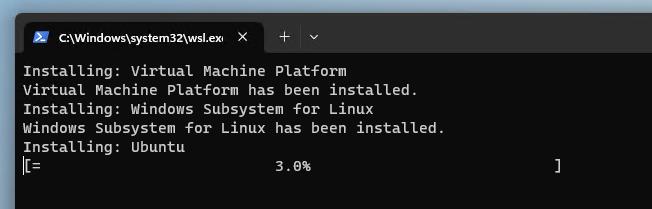
To install WSL on Windows 10/11, open the Terminal app and run the following command:
$ wsl –install
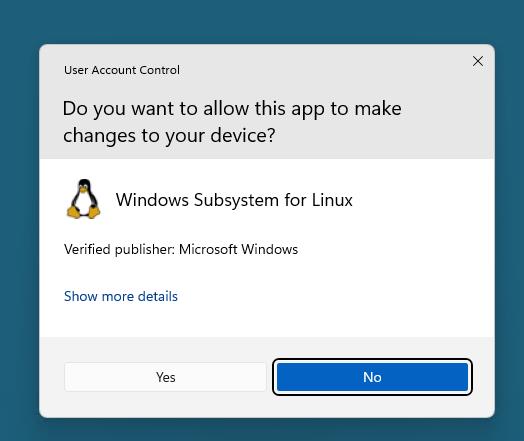
Click on “Yes”.
WSL is being installed. It takes a while to complete.

Once you see the following prompt, click on “Yes”.
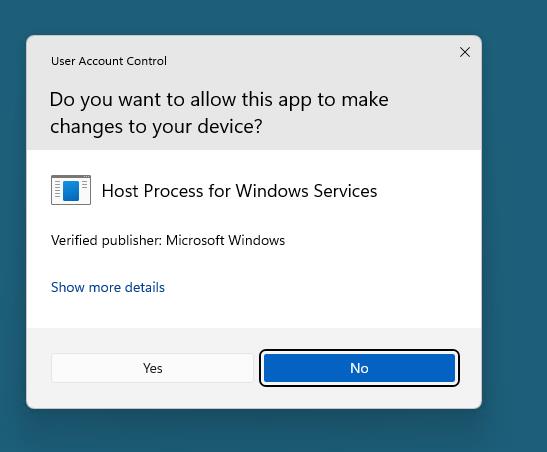
The installation should continue.
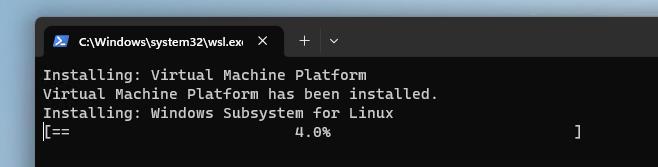
The Ubuntu Linux operating system is being installed. It takes a while to complete.
NOTE: Ubuntu is the default operating system of Windows WSL.
At this point, the Ubuntu Linux WSL system should be installed on your Windows 10/11 computer.
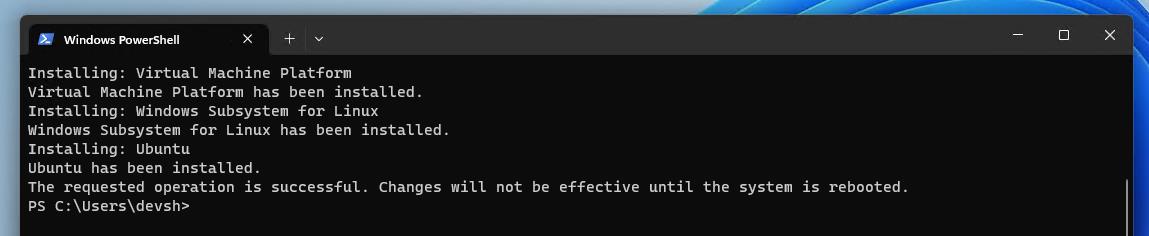
For the changes to take effect, restart your computer.

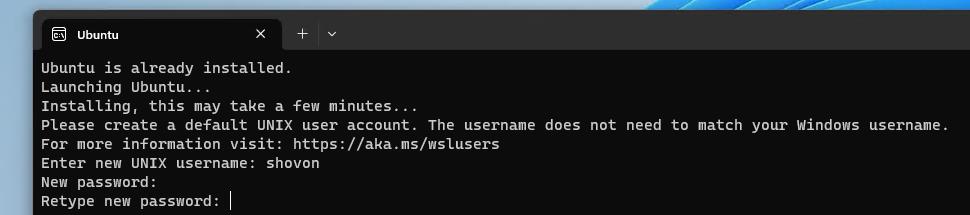
Once your computer boots, a Terminal window should be displayed, asking you to set up your first Ubuntu user.
Type in a name for the Ubuntu WSL system user and press <Enter>.

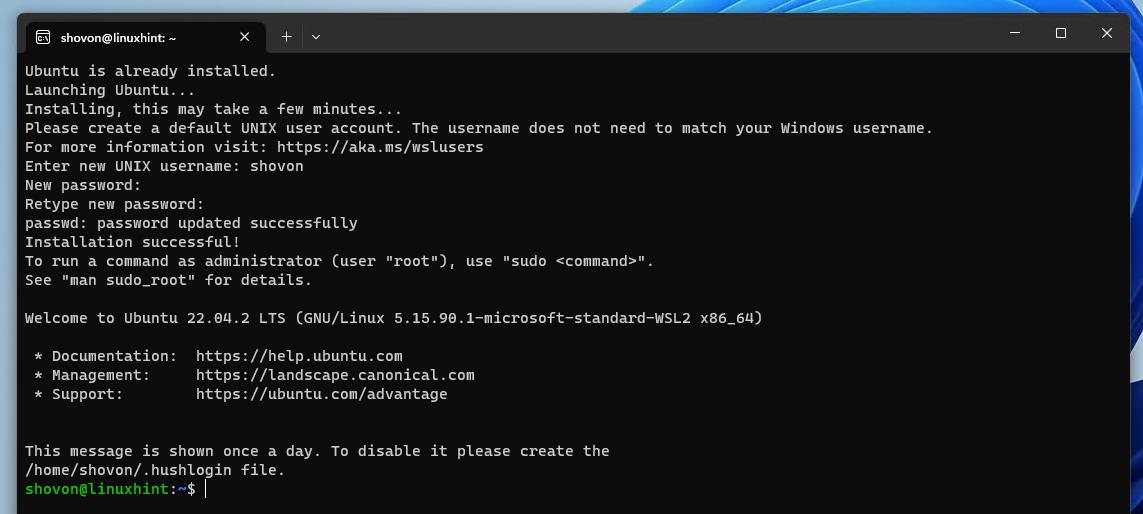
Type in a login password for the new user and press <Enter>.

Re-type the login password and press <Enter>.
A new user account should be created for the Ubuntu WSL system and Ubuntu should be ready to use.
Accessing the WSL Ubuntu Linux Terminal on Windows 10/11
To access the terminal of the Ubuntu Linux WSL system, open a Terminal app on Windows 10/11 and click on > Ubuntu.
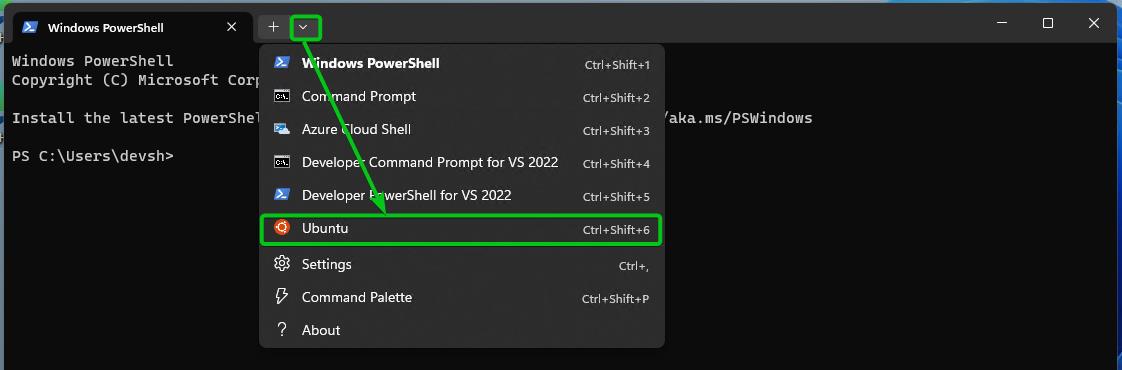
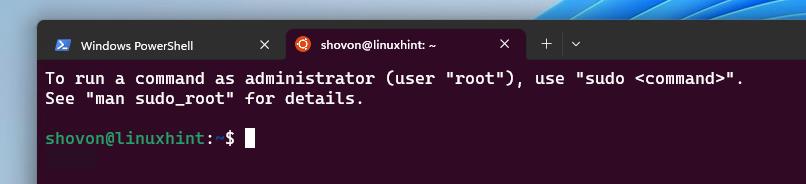
The terminal of the Ubuntu Linux WSL system should be opened.
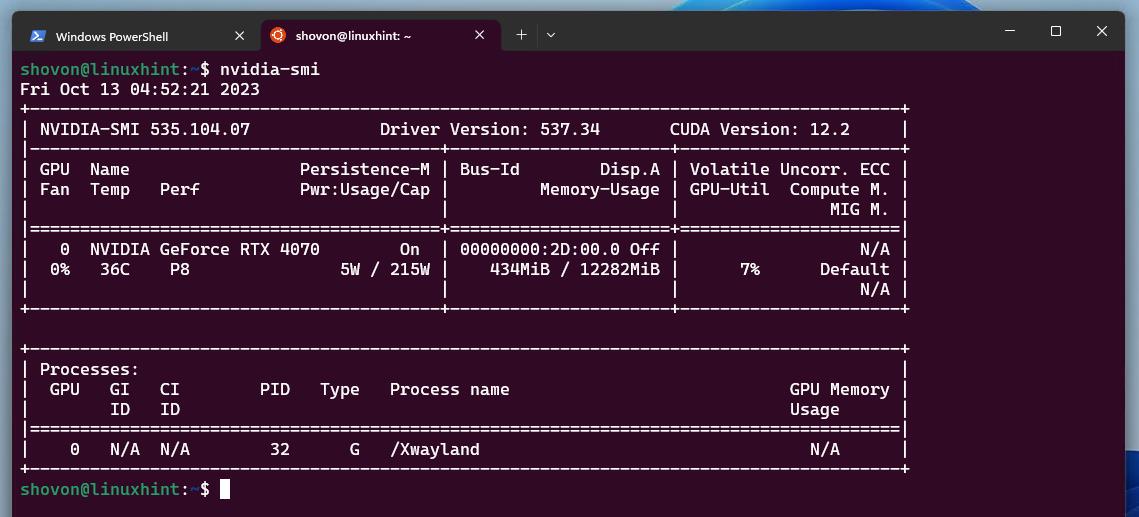
Checking If Ubuntu WSL System can Access the NVIDIA GPU of Windows 10/11
To check if the Ubuntu WSL system can access the NVIDIA GPU of your Windows 10/11 computer, run the following command from the terminal of Ubuntu WSL system:
$ nvidia-smi
If the Ubuntu WSL system can access the NVIDIA GPU of your Windows 10/11 computer, you will see the usage information of your NVIDIA GPU as shown in the following screenshot:
Installing Python 3 PIP on Ubuntu WSL System
To install TensorFlow on the Ubuntu WSL system, you need to have Python 3 PIP installed on the Ubuntu WSL system. You can install Python 3 PIP on the Ubuntu WSL system from the official package repository of Ubuntu.
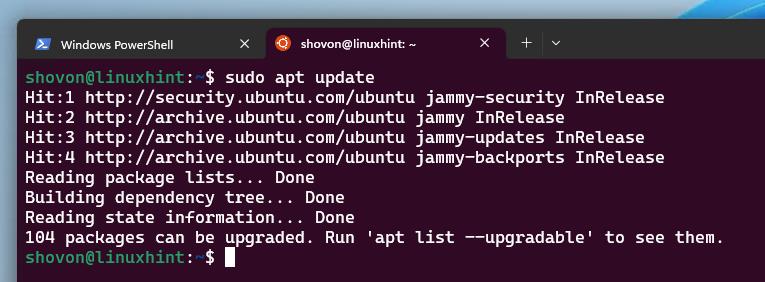
First, update the APT package database cache with the following command:
$ sudo apt update
To install Python 3 PIP on the Ubuntu WSL system, run the following command:
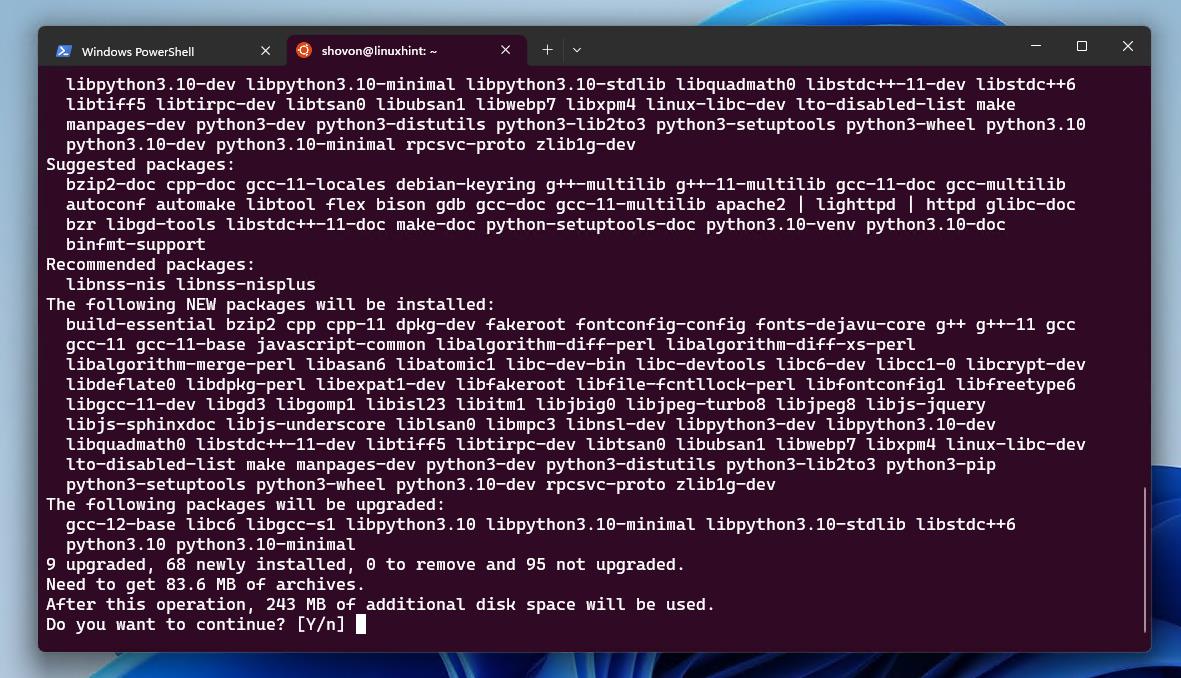
$ sudo apt install python3-pip
To confirm the installation, press “Y” and then press <Enter>.
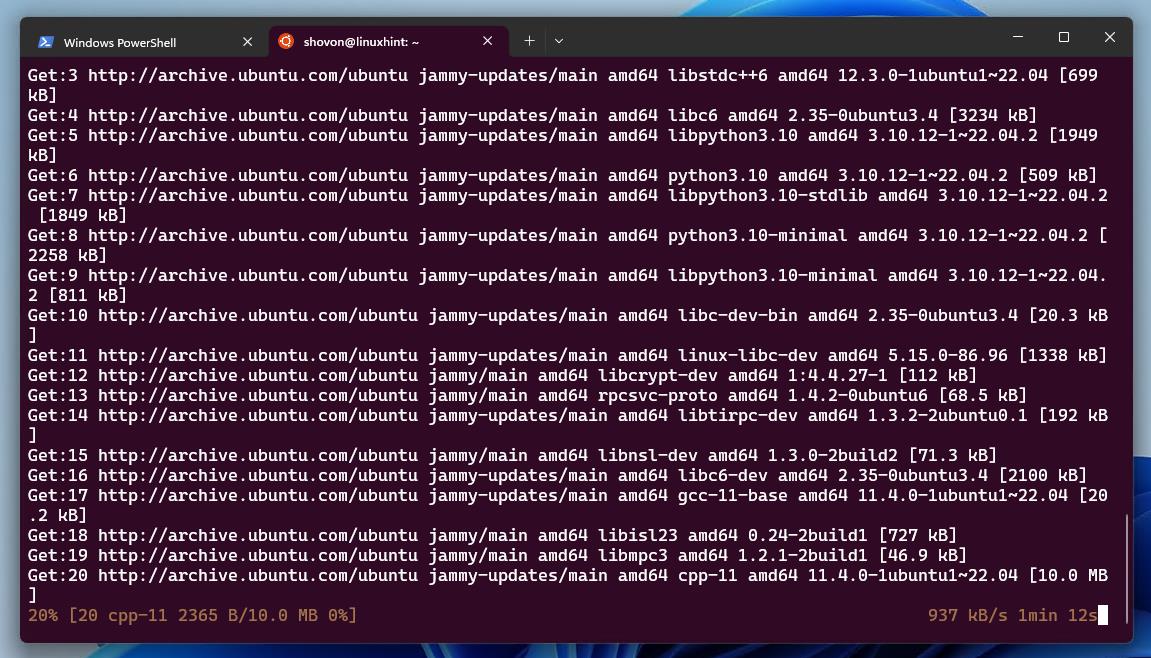
Python 3 PIP is being installed on the Ubuntu WSL system. It takes a while to complete.
At this point, Python 3 PIP should be installed on the Ubuntu WSL system.
To check whether Python 3 PIP is accessible on the Ubuntu WSL system, run the following command:
$ pip –version
As you can see, we have Python 3 PIP 22.0.2 installed on our Ubuntu WSL system.

Upgrading Python 3 PIP on Ubuntu WSL System
To install the latest version of TensorFlow, you need to have the latest version of Python 3 PIP installed on your Ubuntu WSL system.
To install the latest version of TensorFlow, you need to have the latest version of Python 3 PIP installed on your Ubuntu WSL system.
$ pip install –upgrade pip
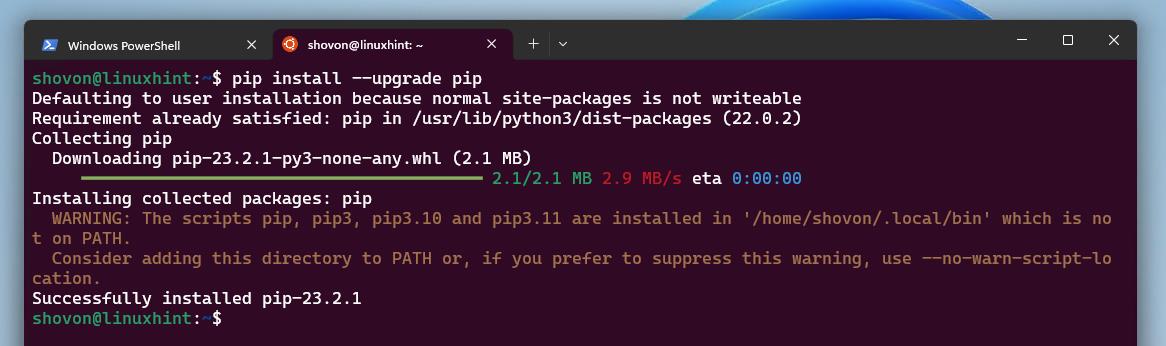
Python PIP should be updated to the latest version (version 23.2.1 at the time of this writing).
$ pip –version

Installing TensorFlow with NVIDIA CUDA/cuDNN Acceleration Support on Ubuntu WSL System
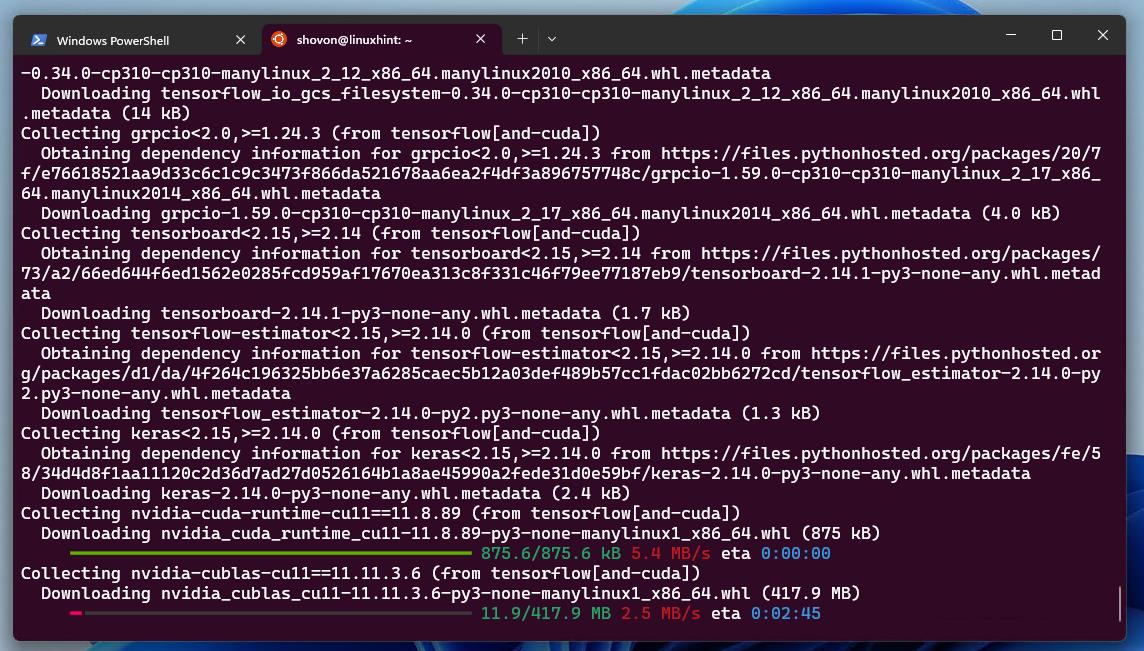
To install TensorFlow with NVIDIA CUDA/cuDNN acceleration support on the Ubuntu WSL system of your Windows 10/11, run the following command:
$ pip install tensorflow[and-cuda]

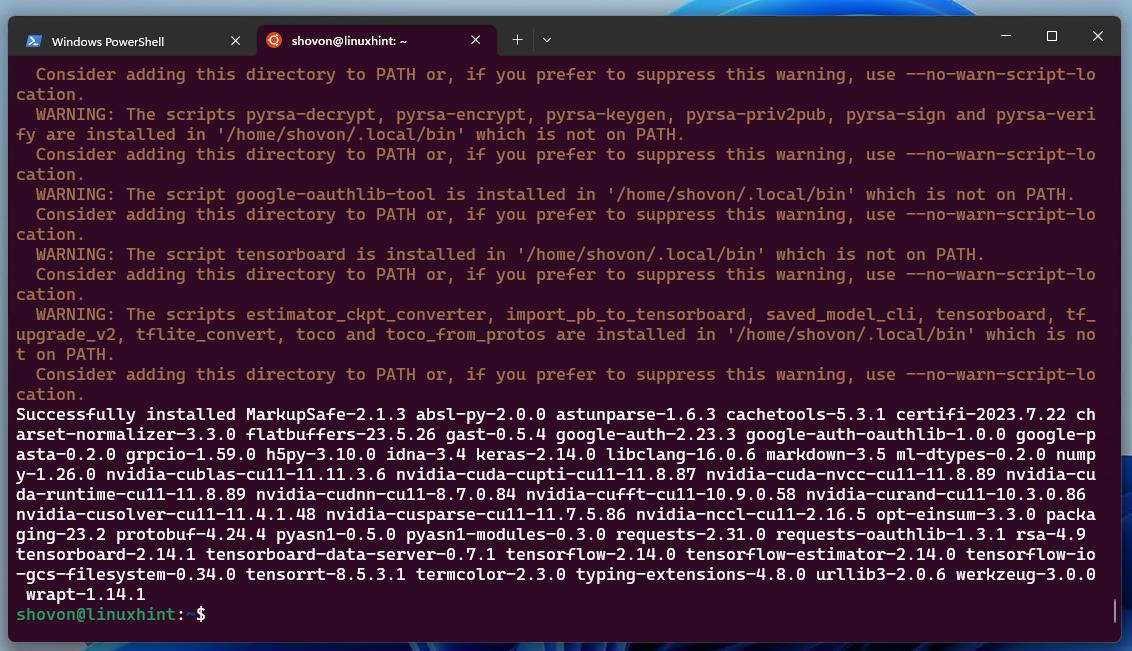
TensorFlow with NVIDIA CUDA/cuDNN support and the required dependencies are being downloaded and installed. It takes a while to complete.
At this point, TensorFlow with NVIDIA CUDA/cuDNN support should be installed on the Ubuntu WSL system.
Checking If TensorFlow CUDA Acceleration Is Working on Ubuntu WSL System
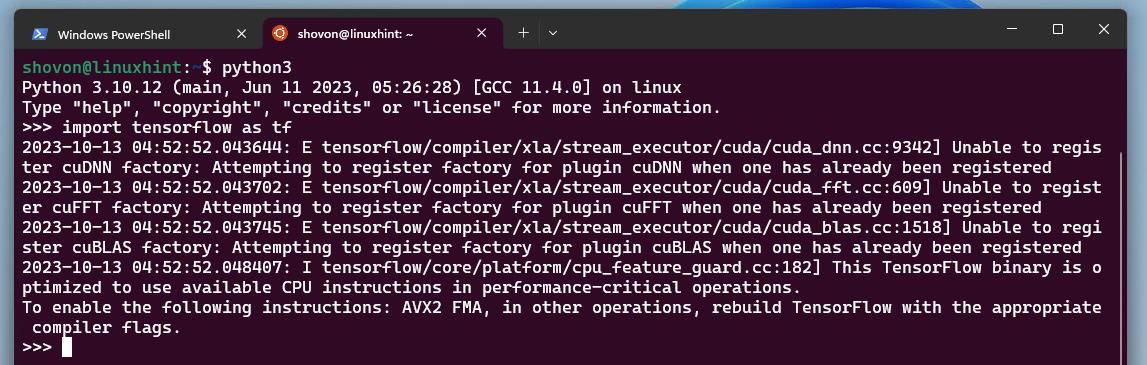
To check whether TensorFlow CUDA acceleration is working on the Ubuntu WSL system, open the Python 3 interactive shell/interpreter with the following command:
$ python3

To import TensorFlow, run the following line of code:
$ import tensorflow as tf
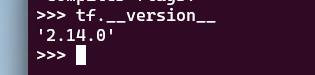
To check whether TensorFlow was imported correctly, print the version number of TensorFlow with the following line of code:
$ tf.__version__
As you can see, we have TensorFlow 2.14.0 installed on our Ubuntu WSL system.
To check whether your NVIDIA GPU is available for TensorFlow CUDA acceleration, run the following line of code:
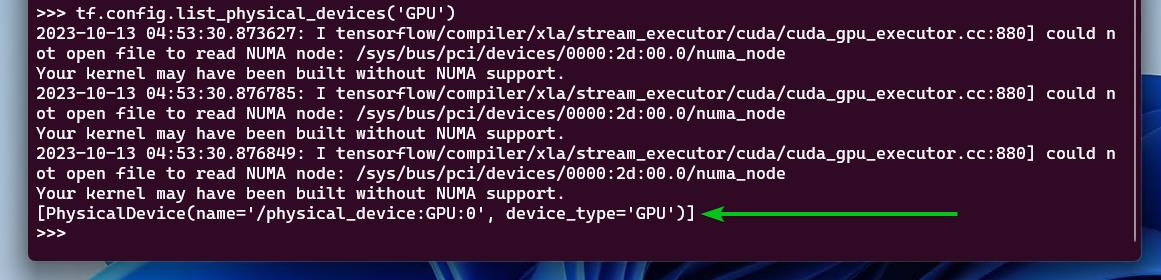
$ tf.config.list_physical_devices(‘GPU’)
As you can see, a GPU device is available for TensorFlow. So, TensorFlow can use the NVIDIA GPU of your computer for CUDA acceleration.
To exit out of the Python 3 interactive shell/interpreter, run the following line of code:
$ quit()

Accessing the Ubuntu WSL System with Visual Studio Code for TensorFlow Development
Visual Studio Code is a great code editor for TensorFlow development. If you want to access the Ubuntu WSL system with Visual Studio Code for TensorFlow development and you need any assistance in that, read this article.
Conclusion
In this article, we showed you how to install Ubuntu Linux via WSL on Windows 10/11. We also showed you how to access the terminal of the Ubuntu WSL system on Windows 10/11 and how to install the latest version of TensorFlow with the NVIDIA CUDA/cuDNN acceleration support on the Ubuntu WSL system as well.