
The KDE is a lightweight, efficient, speedy, and attractive Desktop environment. It provides us with various customization options and stunning features. However, it is not preinstalled. So, the user needs to install and enable the KDE desktop on Kali Linux.
This post will elaborate on:
- Install KDE Plasma Desktop Using Kali’s APT Repository
- Install KDE Plasma Desktop Using Tasksel Tool
- Conclusion
Method 1: Install KDE Plasma Desktop Using Kali’s APT Repository
To install the KDE plasma desktop through the official Kali’s repository, simply execute the “apt install kali-desktop-kde” command. After that, switch to the desktop environment. For demonstration, follow the given instructions.
Step 1: Update Kali’s Repository
First, update Kali’s APT repository using the “apt update” command:
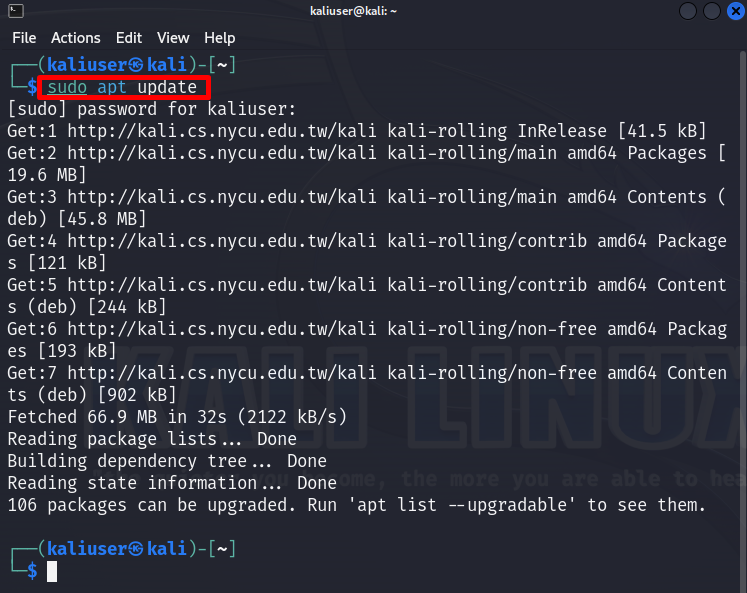
The above output shows that 106 packages need to be upgraded.
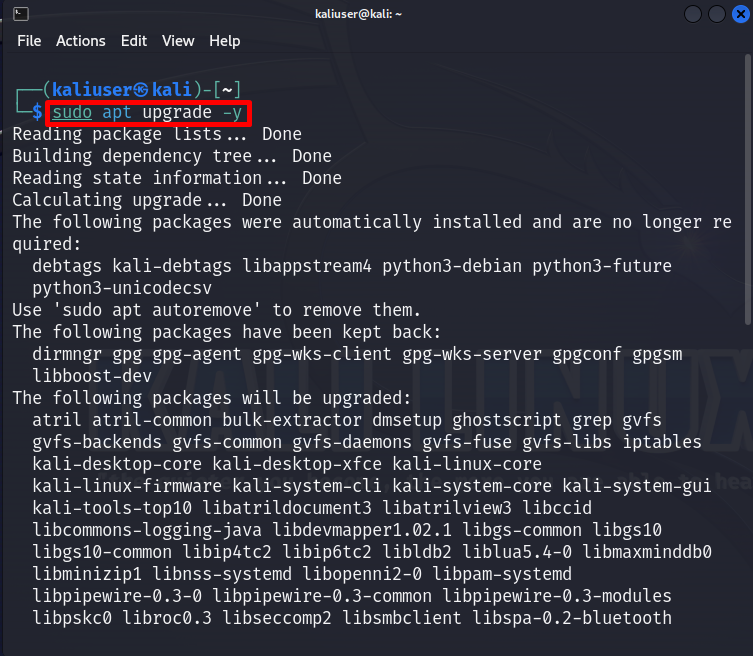
Step 2: Upgrade the Kali’s Repository
To upgrade Kali’s package, utilize the “apt upgrade” command with sudo privileges:
Step 3: Install KDE Plasma Desktop
Install the KDE plasma from the official Kali repository using the below command:
In the given command, the “-y” option is utilized to permit the process to use additional disk space:

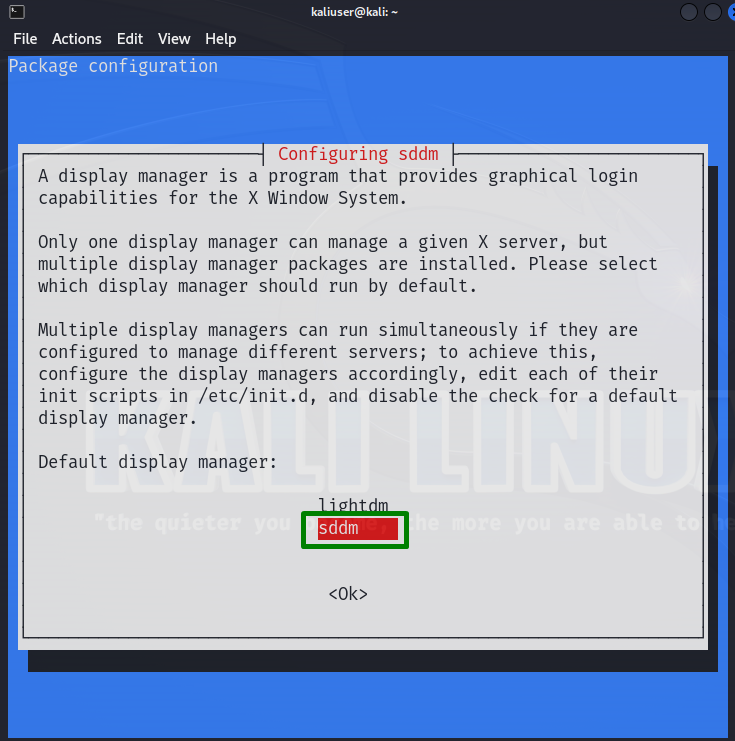
Upon doing so the package configuration wizard will be shown up on screen. Choose the “sddm” using the “Down” arrow key. Then, press the “OK” button or hit the “Enter” key. Here, the user can also use “lightdm” according to disk space and user preferences:
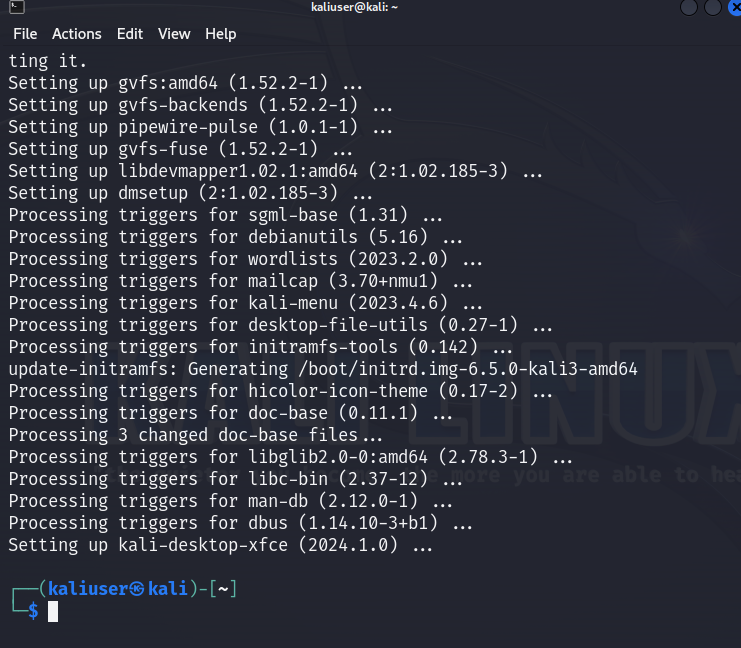
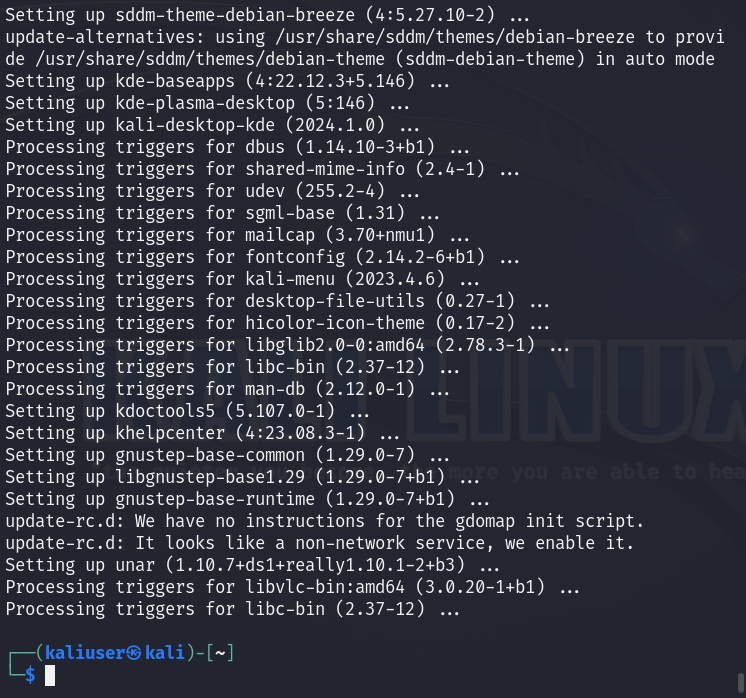
Here, the process is completed and we have installed the KDE plasma desktop:
Step 4: Switch the KDE
Now, configure and enable the KDE desktop on Kali Linux by executing the given command:
The above command will show the available options of “x-session-manager”. Choose the “plasma-x11” from the list by pressing “1” and hitting the Enter key:

Now, reboot the system to use the KDE Plasma desktop. To do so, run the “reboot” command:

Step 5: Sign in to KDE Plasma Desktop
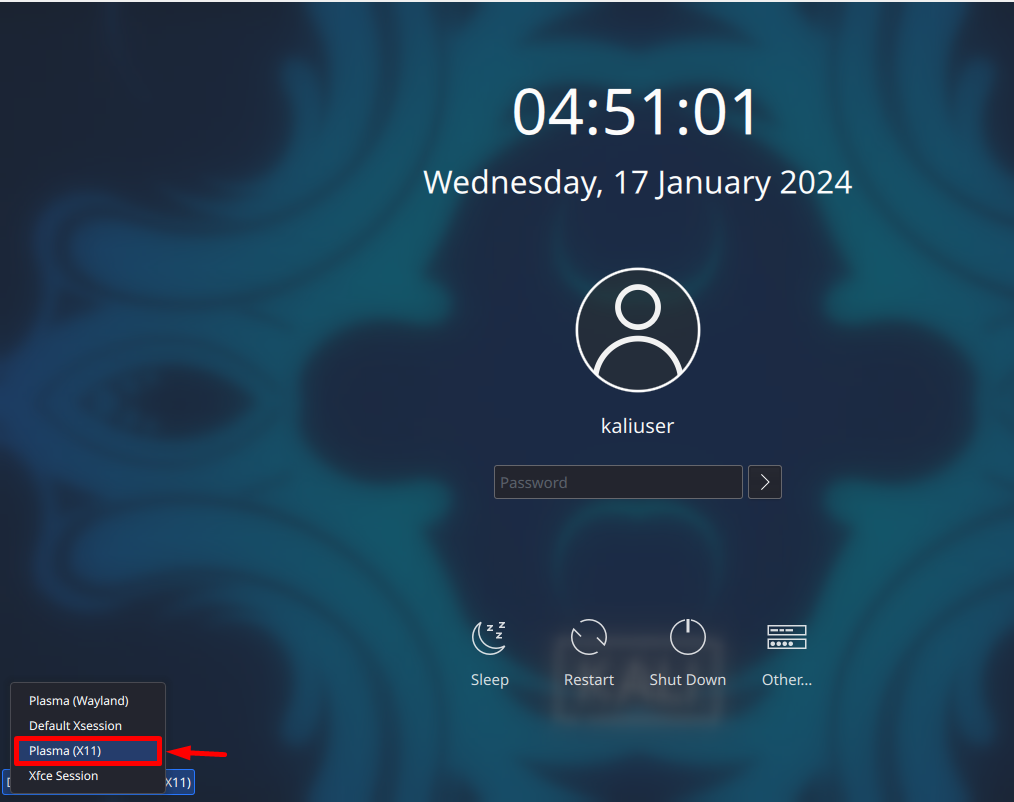
Here, you can see a new login interface on Kali’s restart. From the below highlighted drop-up menu, choose the “Plasma X11”. Then, provide the password for Kali User and press the Enter key:
Here, the KDE plasma desktop is starting:

The below output shows that we have effectively installed and enabled the KDE plasma desktop on Kali Linux:

Note: While installing and enabling the KDE plasma desktop on the system, the default Kali desktop environment (Xfce) may cause the conflict and do not allow plasma to boot on the system. To avoid such conflict, simply remove the Kali Xfce desktop from the system. For this purpose, simply run the “apt purge kali-desktop-xfce” command with sudo user rights. Here, the “–autoremove” option will clean up the system repository by removing additional unused packages and dependencies:
Method 2: Install KDE Plasma Desktop Using Tasksel Tool
Another possible method to install KDE plasma is by using the Linux Tasksel tool. The Tasksel is a high-level Linux tool that is used to install Debian packages and perform tasks. To install the KDE plasma from Tasksel, first install the Tasksel tool on Kali. For illustration, look at the listed steps.
Step 1: Download Tasksel Tool
To install the Tasksel tool on Kali Linux, run the below command:

Here, the package is successfully installed on the system:

Step 2: Launch Tasksel
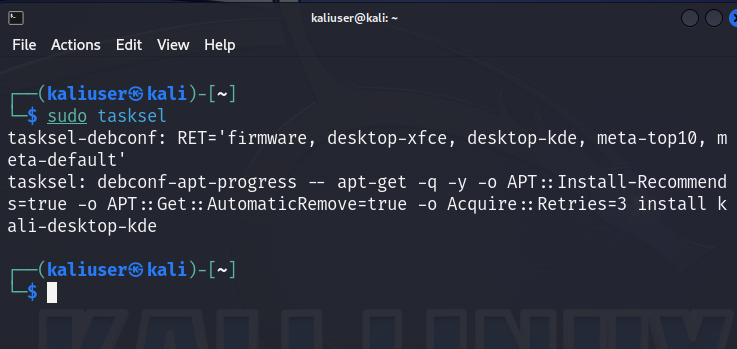
Next, launch the Tasksel tool with sudo user privileges. For this purpose, execute the “sudo tasksel” command:
Provide the system password and launch the tool:

Step 3: Download KDE Plasma Desktop
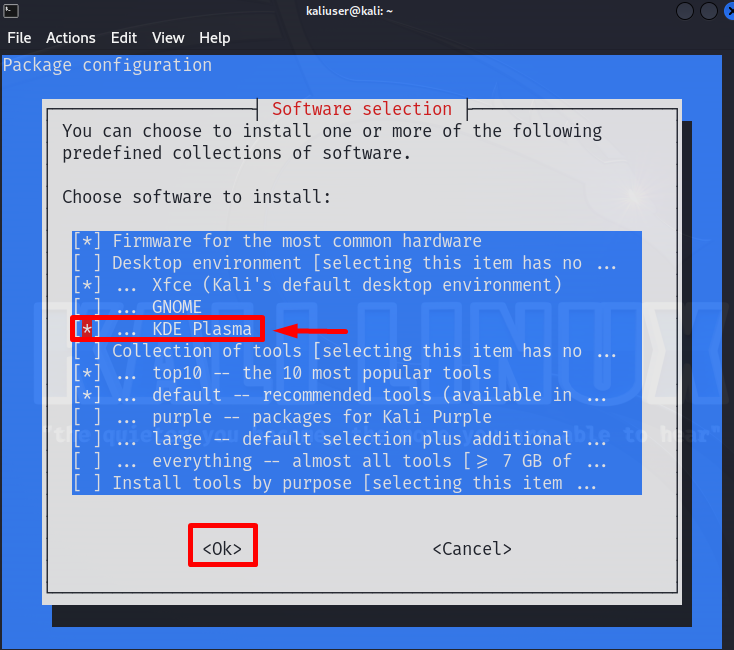
From the “Package Configuration” wizard, navigate to the “KDE Plasma” option by using the “Down arrow” key. To select the option, use the “Spacebar” key. After that, hit the “Enter” key to proceed:
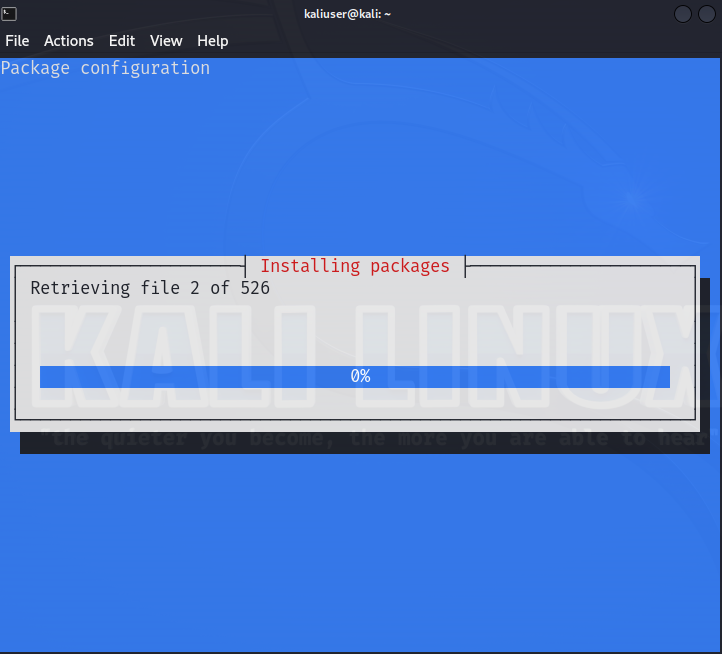
This will start installing the KDE plasma on Kali Linux:
The below output shows that we have effectively installed the KDE desktop on the Kali Linux:
Step 4: Switch to KDE Plasma Desktop
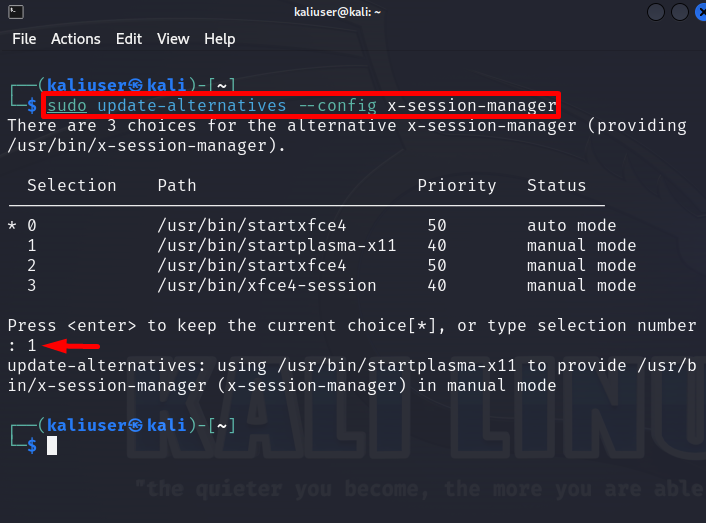
Now, enable the KDE plasma desktop from “x-session-manager” by executing the mentioned command:
Choose the “Plasma X11” option from the list by hitting “1”. Then, press the Enter key:
After that, reboot the Kali Linux using the “reboot” command or choose the “Restart” option from the Power menu. This will start the KDE Plasma Desktop on system restart:

Here, you can see we have installed and enabled the Plasma desktop environment on Kali Linux:

Bonus Tip: How to Uninstall Kali KDE Desktops?
Sometimes, after installing the KDE Plasma desktop, the user may face more disk usage problems, may reinstall the KDE plasma, or switch back to the previous or default Desktop environment. For this purpose, the user needs to remove the Kali Kde desktop.
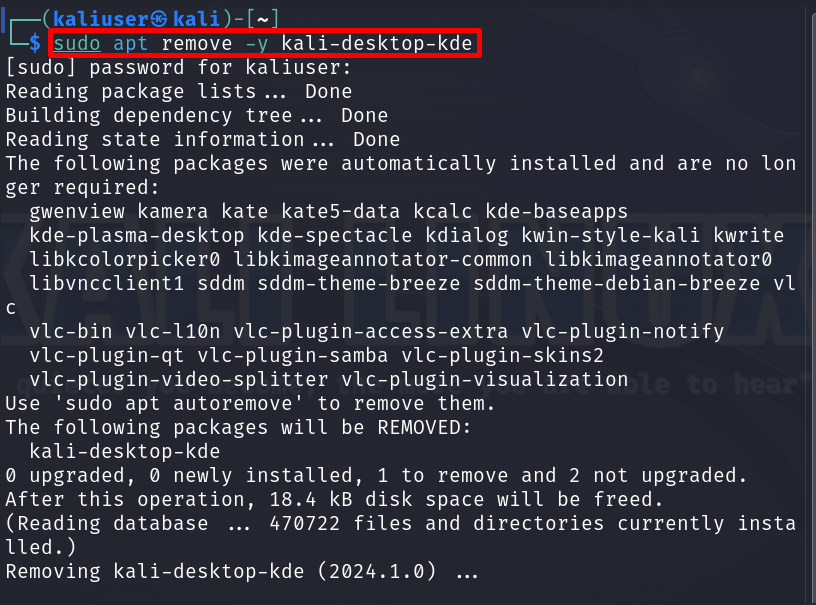
To remove the KDE desktop from the system, simply use the “apt remove kali-desktop-kde” command will sudo user rights:
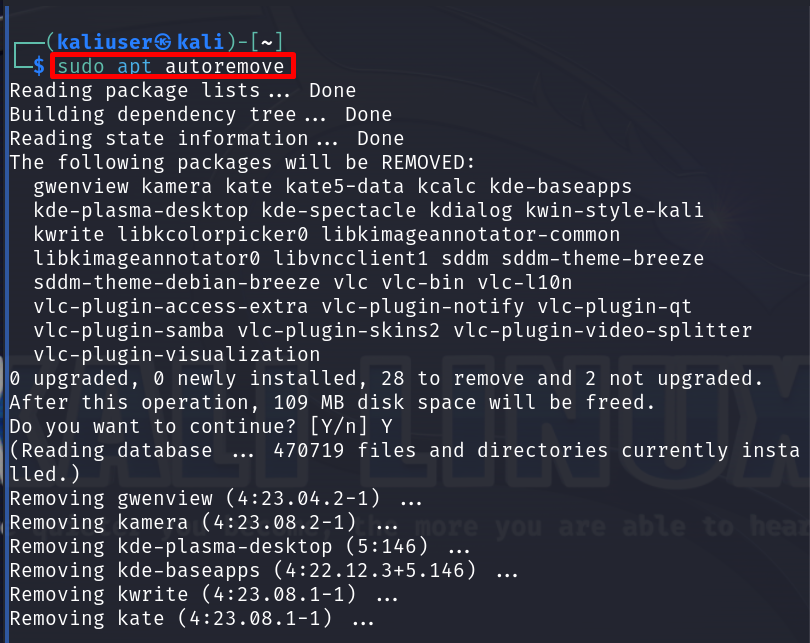
To remove unused dependencies and clean up the Kali’s repository, execute the “apt autoremove” command:
Alternative Command
Alternatively, the user can also use a single command that is mentioned below to completely remove the KDE desktop environment:
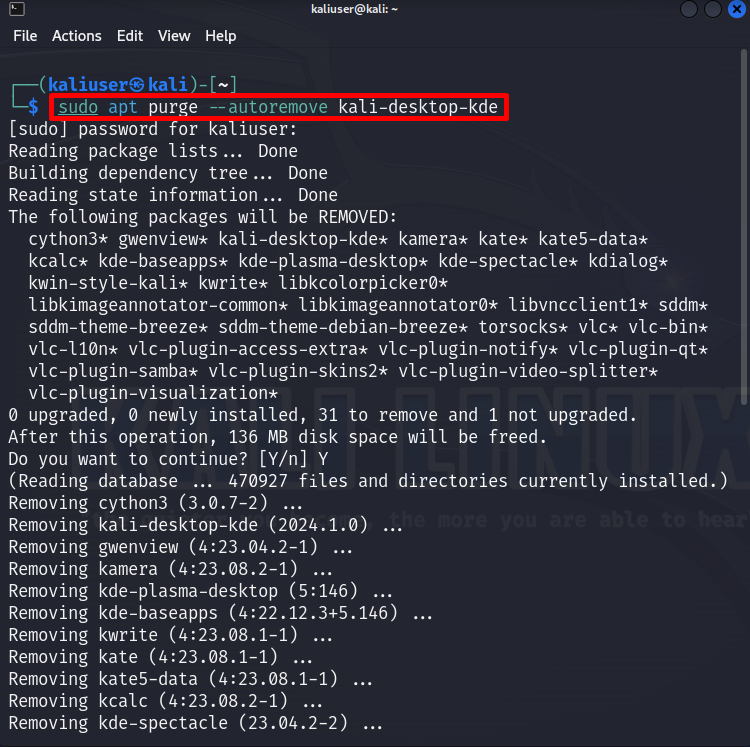

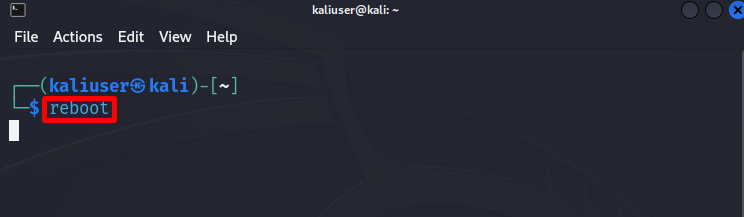
After removing the KDE desktop environment, reboot the system:
Here, you can see we have effectively removed the KDE desktop environment and switched back to default Kali’s desktop:

We have covered the possible approaches to install the KDE plasma on the Kali Linux system.
Conclusion
To install the KDE plasma desktop on Kali, either use the Kali’s APT repository or install it using the Linux Tasksel tool. In the first approach, simply use the “sudo apt install kali-desktop-kde” command to install the Kali KDE Plasma desktop for Kali’s official source. In the second approach, first, install the Tasksel Linux tool from Kali’s repository. Then, launch the Tasksel tool and install the KDE Plasma desktop. After installing the KDE desktop environment, enable the Plasma desktop from the “x-session-manager” settings. We have elaborated on the methods for installing the KDE Plasma desktop on Kali.