How To Install Java Compiler and Runtime on Pop!_OS
This section has two parts where we will explain the installation process through the CLI and GUI approaches.
The CLI Approach
OpenJDK 11 comes as the pre-installed utility of Pop!_OS. So let’s start by updating the system running the following commands:
sudo apt upgrade
Now, if your system already has Java, you can check its version through the following command:
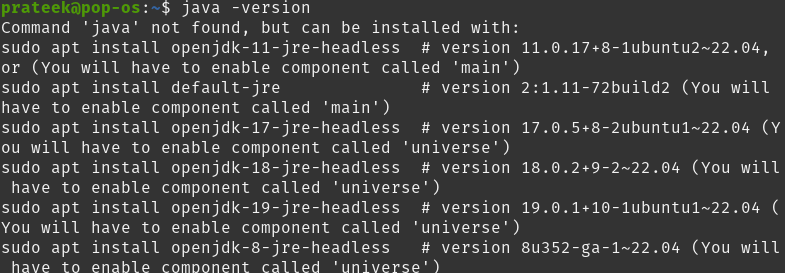
The previous command will display the JRE version or else show the following result:

So, you can execute the following command to install Java:

Now, run the following command to download the default JDK from OpenJDK 11:
You can also verify the compiler version by typing in the following command:
Or
The GUI Approach
You can install the Java Compiler from the Pop!_OS built in a software center, i.e., Pop!_Shop.
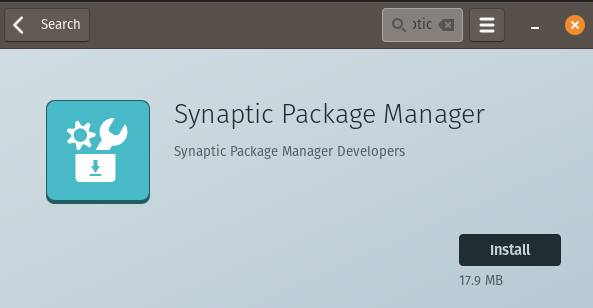
First, open the Pop!_Shop, and search for the Synaptic Package Manager.
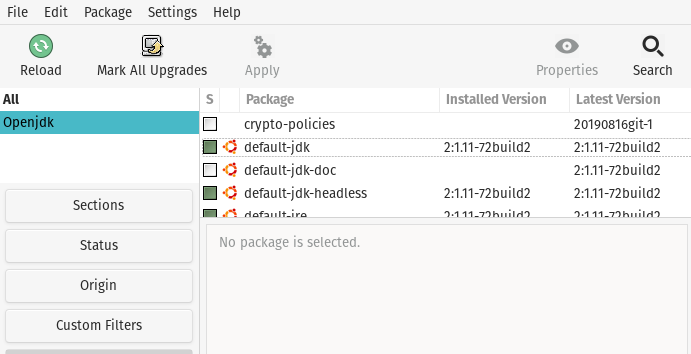
Now, click on the install button and then open Synaptic. Here, search “OpenJDK” in the search box to display the list of packages:
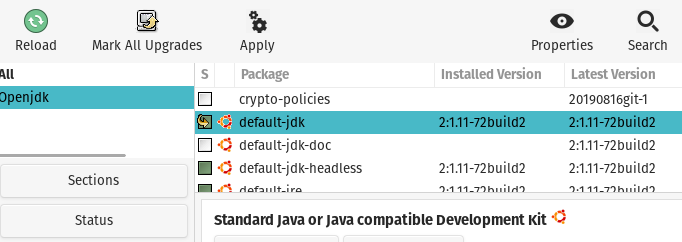
You will get the complete list of JDK packages; so right-click on the default-jdk to open the drop-down menu.
Finally, click on the mark for installation and then click the Apply button to install the packages in the system.
Conclusion
This article discussed installing Java Compilers and Runtime on Pop!_OS. You can run all the previous commands in Ubuntu because Pop!_OS is an Ubuntu-based Linux distro. We have used GUI and CLI approaches to install the Java packages easily. If you are unfamiliar with the commands, we recommend you use the GUI method.


