The standard for version control systems allows distribution, collaboration with other developers, creating branches, reverting to previous stages, tracking code changes, etc. It is available for almost every Linux distro. This tutorial will describe how to install Git on Pop!_OS.
How To Install Git on Pop!_OS
Here, we will explain several methods to install Git on Pop!_OS from the default package, the official PPA, and the source. All these three methods provide different benefits depending on the specific requirements.
Using Ubuntu Repositories
Along with different default packages, official Ubuntu repositories also host third-party software like Git. You can install Git with ease, reliability, and compatibility from the official repository.
First, make sure to update the by running the following command:

By default, Git is available on the Ubuntu repository. So you can easily install it on Pop!_OS by using the following command:
To install all its available features, run the following command:
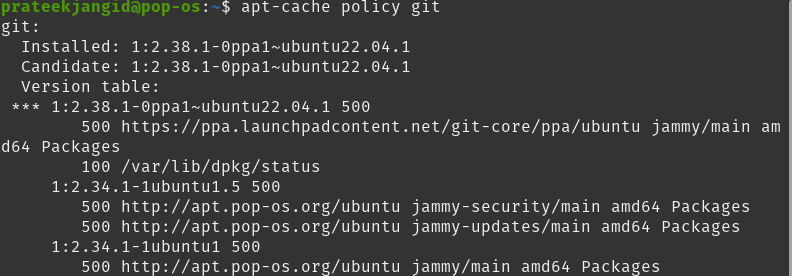
The previous command takes time to run since the packages are extensive. After the successful installation, you can check its installed version using the following command:
Using Official PPA
With the official PPA, you can install its latest version, which sometimes does not happen with the help of default packages.
We downloaded version 2.34 of the Git in its default package through the official repository. Now, we will install its latest stable version with the help of the official PPA.
First of all, add the Git PPA repository with the following command:
Press Enter to continue the process.
To refresh the APT cache, run the update command:
Now, just run the following install command to install Git on your Pop!_OS:
To verify its successful installation, check the installed version of Git.
You can see from the previous output that the Git has been updated to the latest stable version.
Install Git From Source
Compiling the Git directly from the source is a flexible method of its installation. Of course, this method takes more time to install the Git, but you can download its latest release through this. Also, you can have more control over the options by customizing them according to your needs.
First of all, check the current version of Git available on Pop!_OS with the following command:
As you can see, the version of the Git installed in your system is not its latest version. You can check the Git version available on the source with the following command:
To install the latest version of Git, please install the software that it depends on, and it has to be installed from the default repository. So first update the local package index:
Now, you can install the software package by using the following command:
After successfully installing the required dependencies, create a temporary directory and go to it with the help of the following command. It is in this directory that we will download the Git tarball.
cd /tmp
Go to the Git project website, navigate the tarball list, and download the latest version of Git. Afterward, output the downloaded file using the curl command.
Unpack the above-compressed tarball file.
Move it into the newly created directory.
Build the package and install it using the following commands:
sudo make prefix=/usr/local install
Change the shell process to use the latest installed version of Git.
Finally, check the version of Git to verify successful installation.
It has been updated to the latest version.
Configure Git on Pop!_OS
Configure Git by running the following command with the email and name of the user in Pop!_OS.
git config --global user.email "emailid"
List the global Git settings to verify its configuration through the following command:
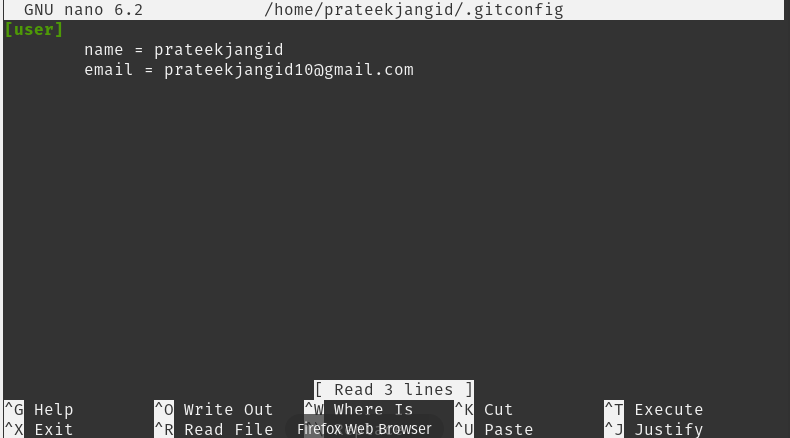
You can further configure Git and edit the configuration file using the nano editor with the following command:
Also, you can get information by running the following command to configure Git further:
Conclusion
This tutorial explains the different approaches to installing Git on Pop!_OS. We installed Git from Ubuntu repositories, official PPAs, and the direct source.
Using the Ubuntu repository method, you can install the version of Git that is available in its default package but not necessarily the latest version. After installing Git, it is also very easy to configure it, which we briefly described at the end of this tutorial.


