Docker is a lightweight application that is preferred by many developers to test their applications and is an open-source platform where testing, deployment, and management of applications are done by containerizing them. Docker allows the developers to bind the source code with the dependency files of the operating system in the form of containers that makes the execution of the application really fast. The most popular features of Docker are:
- Secure
- Smooth parallel operation of applications
- Large Docker community (Docker Hub)
Initially, Docker was designed with the Kernel of Linux but later due to its popularity, its version for Windows has also been released. In this write-up, we will install Docker on Pop!_OS which is the Ubuntu-based distribution of Linux. We will install Docker on Pop!_OS by two methods:
- Through the official repository
- From Snapcraft store
Installation of the Docker through the repository in Pop!_OS
For the installation of the Docker through the repository, update the repository first by using the command:
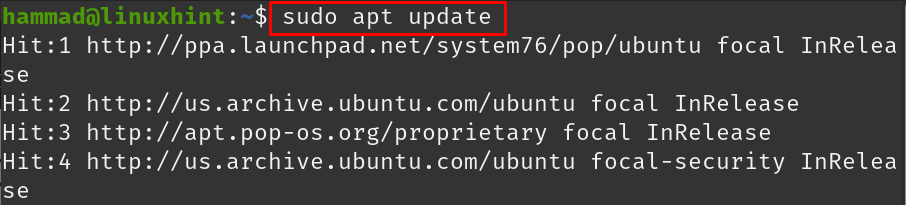
The packages are up to date, as we are installing the Docker first time, we have to set up the repository which we can do by installing the dependencies with the command:

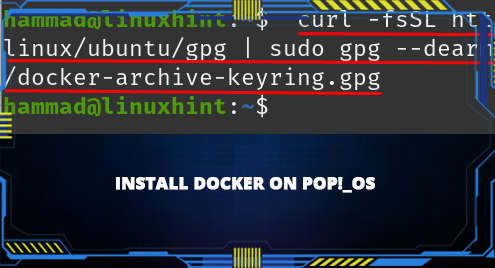
Download the GPG key of the Docker from its website and add it to the repository of Pop!_OS:

Add the stable repository of the dockers from its website to the repository of Pop!_OS:

Update the repository of Pop!_OS once again:

Install the latest version of Dockers on Pop!_OS:

After the complete installation of the Docker, we will check its status using the command:
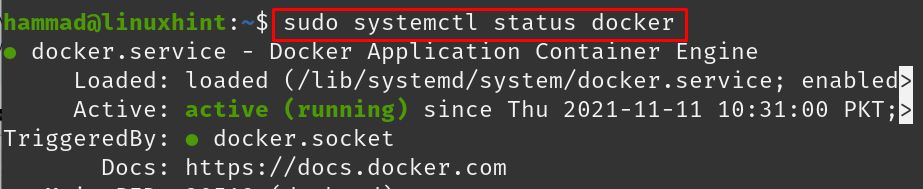
The docker has been installed successfully as well as it is running.
How to uninstall the docker from Pop!_OS
If you don’t need the Dockers anymore, you can remove it from the Pop!_OS using:

Also, remove the directories of Docker and containers by running the commands:
$ sudo rm -rf /var/lib/containerd

The docker has been removed successfully from the Pop!_OS.
Installation of the Docker from Snapcraft store in Pop!_OS
Snapcraft is also a package manager like APT and YUM through which we can install packages in Pop!_OS. To use the snapcraft, we have to install the snapd which we can by running the command:

After the installation of the snapd, we will install docker using the snap package manager:

To confirm the installation, we will check its version by running the command:

We can uninstall it using the snap package manager:

Conclusion
Docker helps the developers to test, deploy, and manage their application by combining the source code with the dependencies of the operating system on a single platform, it is also supported by all the Linux kernels as well as Windows. In this write-up, the installation procedure of Dockers on Pop!_OS has explained. We have installed it on Pop!_OS by using the official repository as well as from the snapcraft store.
In the repository method, we downloaded its GPG key and stable repository to the repository of Pop!_OS and install it, whereas in the snapcraft method, we downloaded the snap of Docker from the snapcraft store and installed it on Pop!_OS, both methods are convenient to use for the installation of Docker in Pop!_OS.