From this guide, you will learn about:
- Debian 12 Features
- Why You Should Install Debian 12 on Raspberry Pi
- Debian 12 vs Raspberry Pi OS
- Prerequisites for Installing Debian 12 on Raspberry Pi
- How to Install Debian 12 on Raspberry Pi
- How to Add a Desktop Environment to Debian 12 on Raspberry Pi
- Conclusion
Debian 12 Features
As mentioned earlier, Debian 12 is the latest version of Debian system shipped with several useful features, which includes:
- Updated Kernel Version 6.1
- Non-Free Firmware Packages
- Non-Free Firmware Repository
- Apt 2.6 Package Manager
- GNU Compiler Collection (GCC) 12.2
- PipeWire Audio Server by Default for GNOME
- New Security Control
- Default Themes and Customization
- MariaDB 10.11, PostgreSQL 15, Perl 5.36 and more
Why You Should Install Debian 12 on Raspberry Pi
Installing Debian 12 on Raspberry Pi is crucial since it:
- Includes up to date software crucial for your Raspberry Pi security.
- Has a wide range of software that can help you perform your task on your device.
- Has a stable and reliable desktop environment ensuring that Raspberry Pi will run at a good pace.
- Can easily be customized.
- Has a secure boot support for ARM64.
- Can easily detect multiple devices.
Debian 12 vs Raspberry Pi OS
The following table illustrates the advantages of Debian 12 over Raspberry Pi OS:
| Feature | Debian 12 | Raspberry Pi OS |
| General Purpose | Yes, it is used for multiple purposes. | Yes, but it is primarily designed for Raspberry Pi devices. |
| System Stability | Very Stable | Stable |
| Software Repository | Very Large Repository over 5900 packages | Only includes most popular packages |
| Hardware Compatibility | Designed for Wide range of hardware | Mostly support Raspberry Pi hardware |
| Community | Very Large Active Community | Limited Community |
Prerequisites for Installing Debian 12 on Raspberry Pi
To install Debian 12 on Raspberry Pi device, you will need:
- BalenaEtcher Application
- SD Card Minimum 16 GB
- Card Reader
- PC, Laptop or MacBook
- Raspberry Pi 4 or Raspberry Pi 5 with 4GB or 8GB RAM
- Complete Desktop Setup for Raspberry Pi
How to Install Debian 12 on Raspberry Pi
To install Debian 12 on Raspberry Pi, follow these steps:
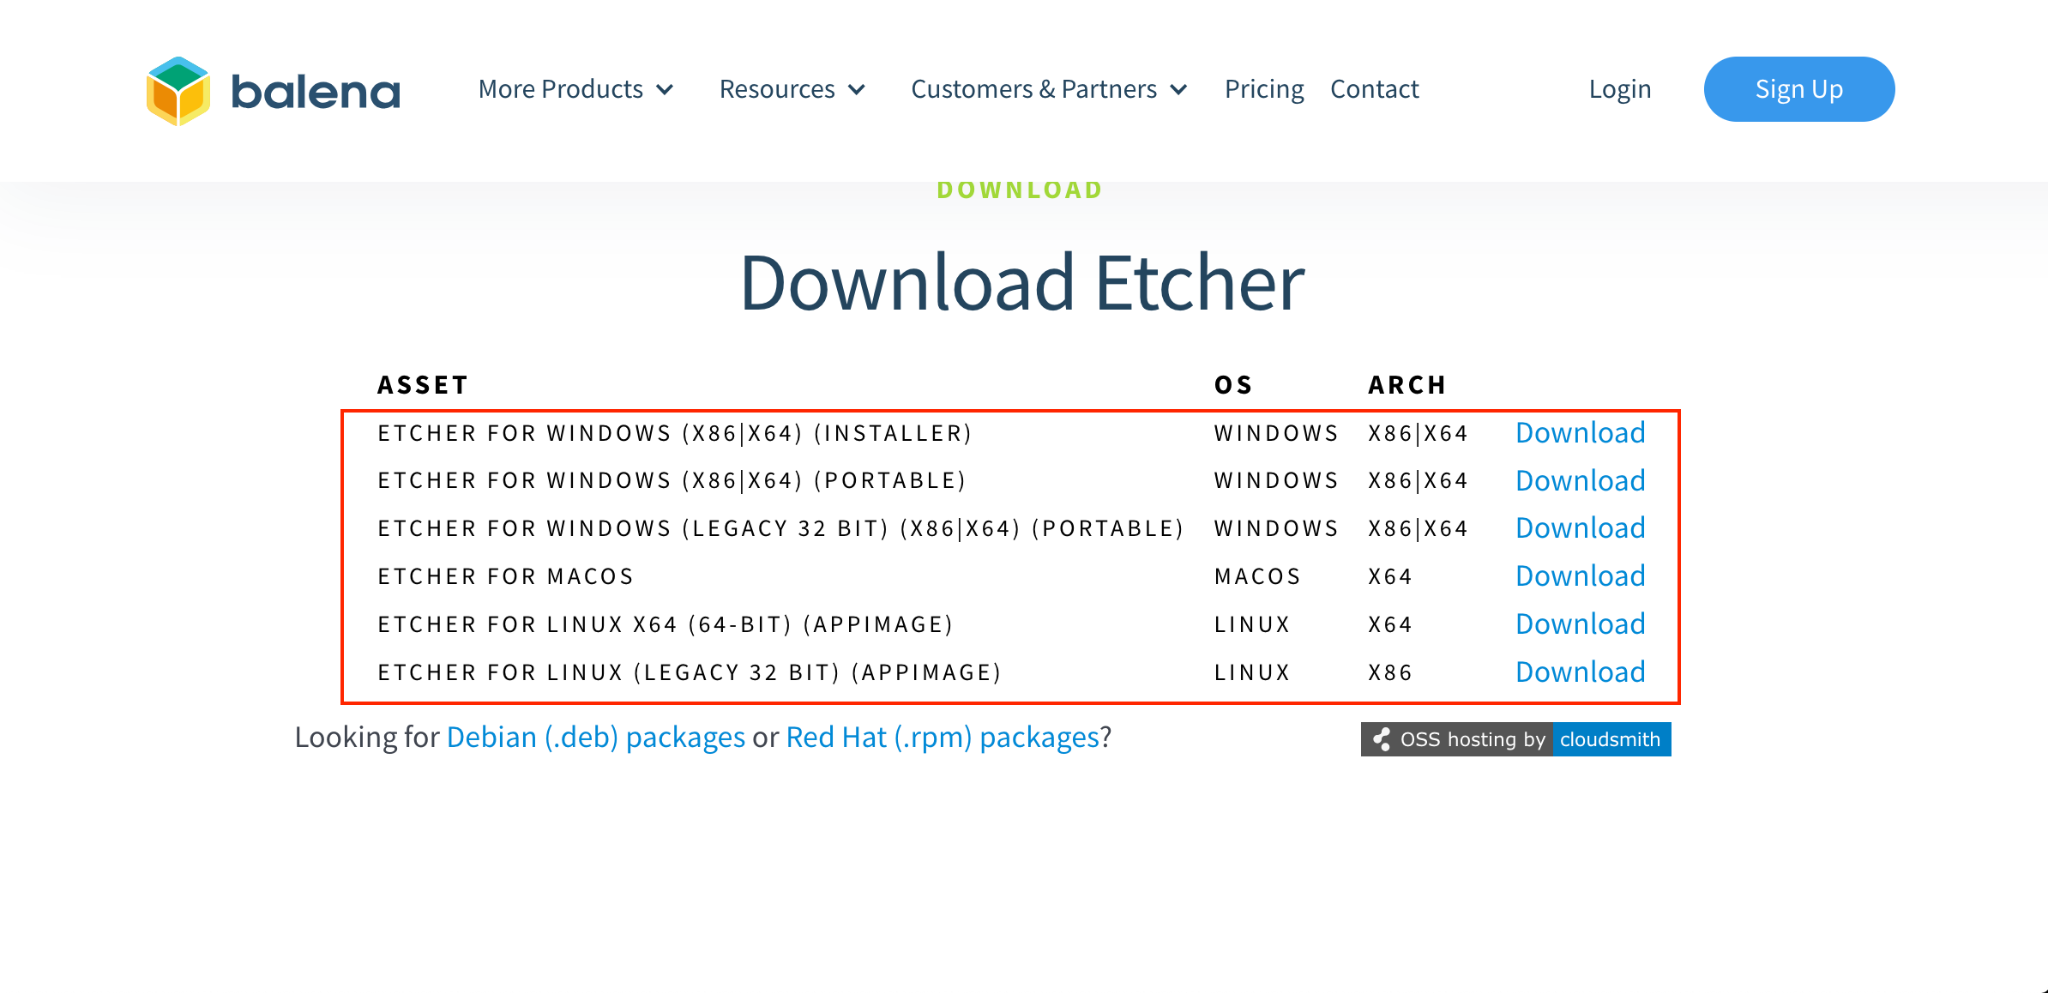
Step 1: First download and install a widely used imager tool BalenaEtcher on your PC, Laptop, or MacBook from here:
Note: The selection of installer should be according to the operating system you are using.
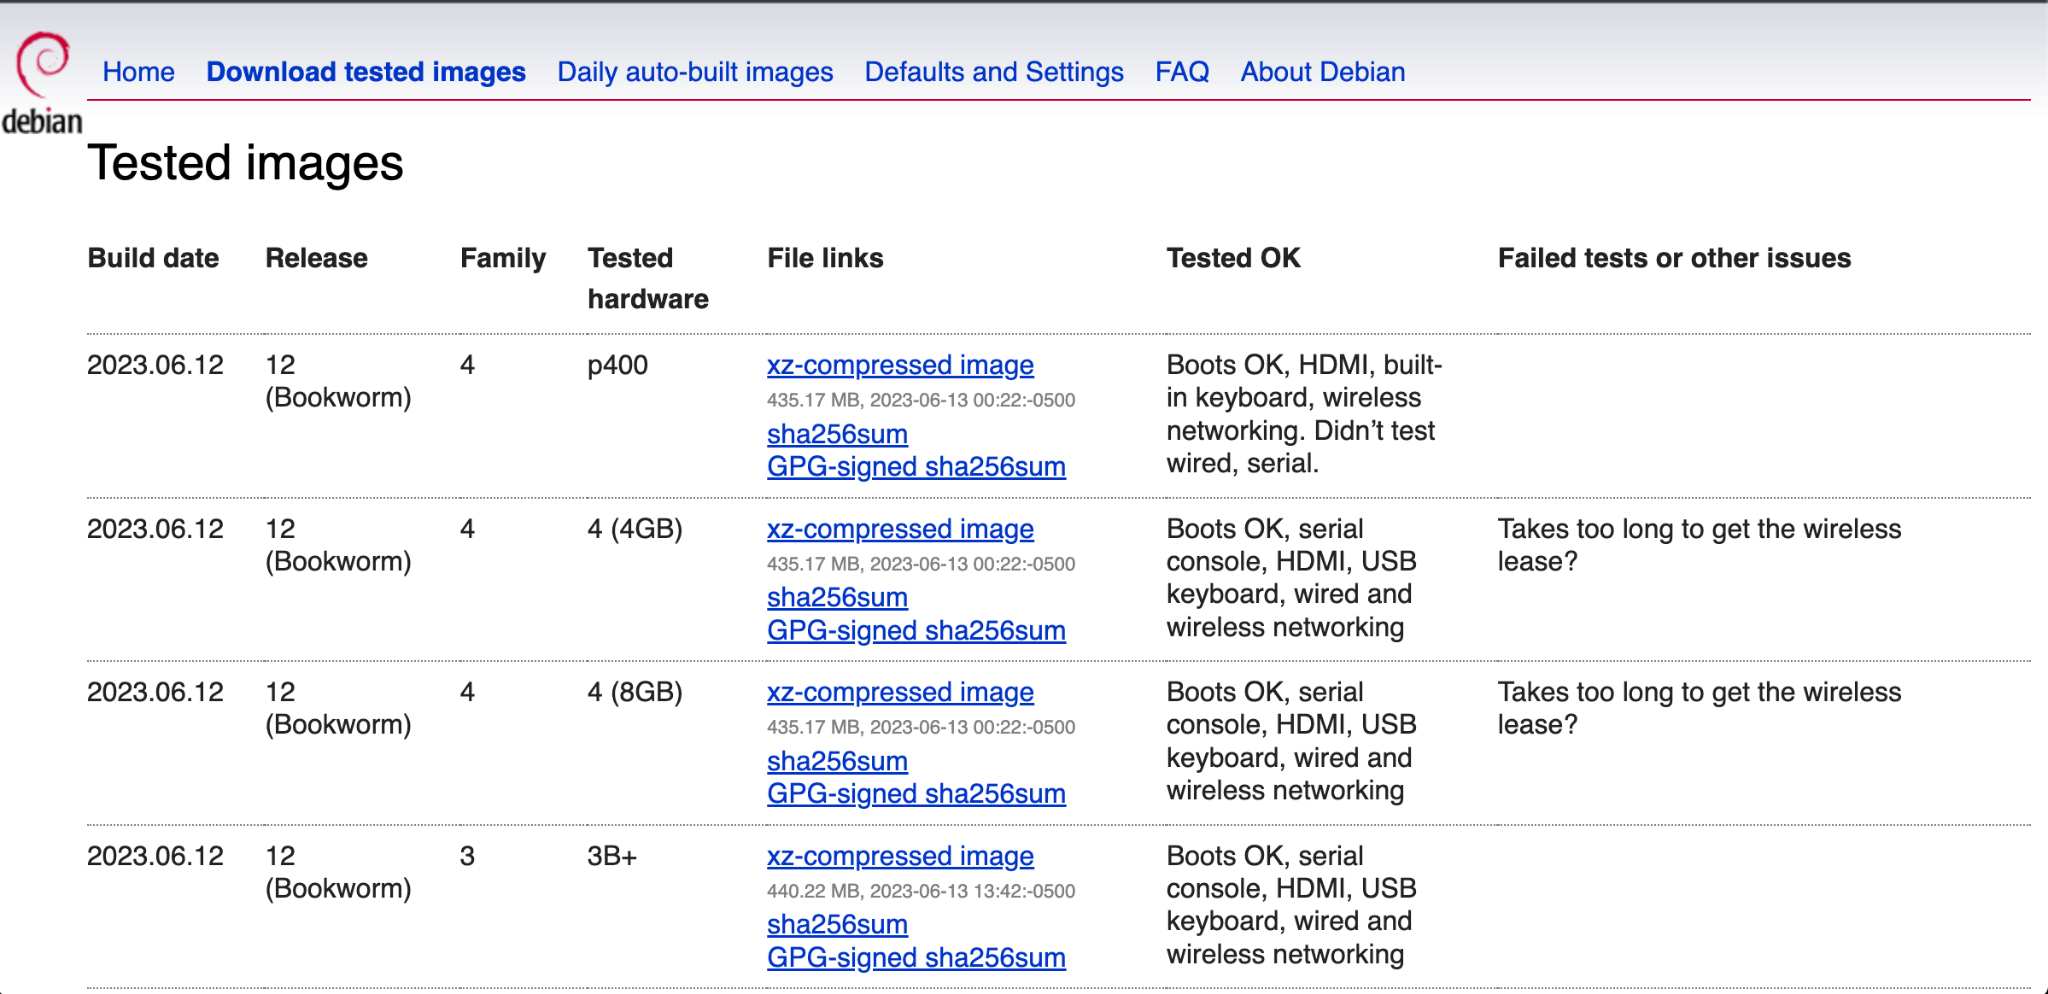
Step 2: Then download the Debian 12 .img file from the official website:
Step 3: Insert the SD Card in the card reader, insert it into the system and format it correctly to ensure no data left on the card. If you need guidance, you can follow the instructions mentioned in the guide here:
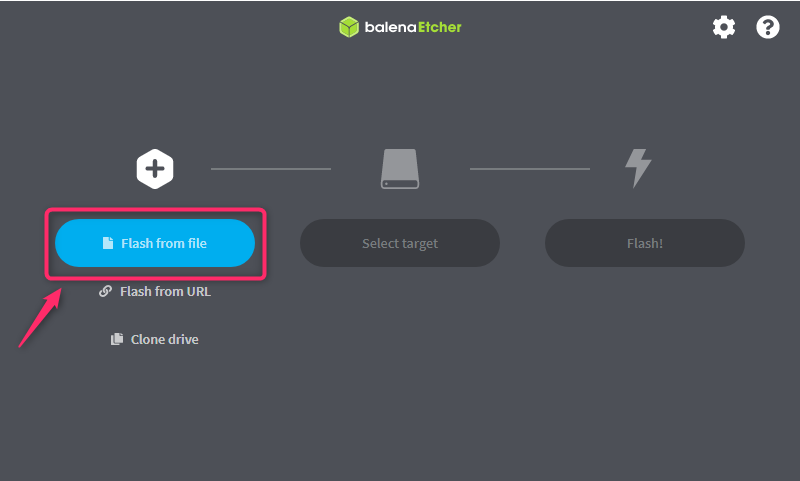
Step 4: Now, open the BalenaEtcher application on the system and choose the Flash from file option in case you have downloaded the Debian 12 .img file from the website:
Note: You can also choose Flash from URL option, if you have the URL of the image file.
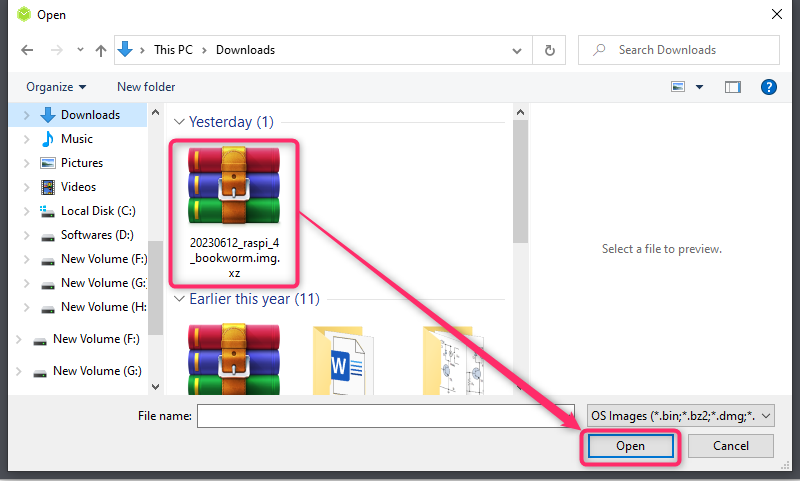
Step 5: Select the image, double-click on it or choose the Open option to load the image in the BalenaEtcher application:
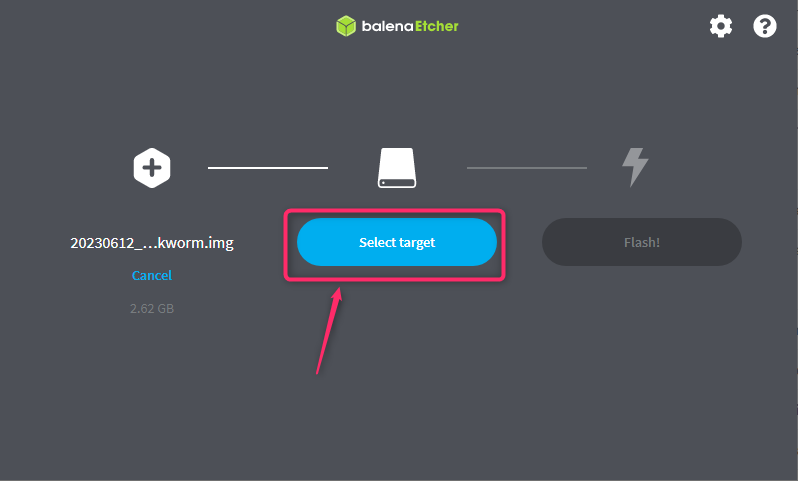
Step 6: Choose Select target option to select the storage drive:
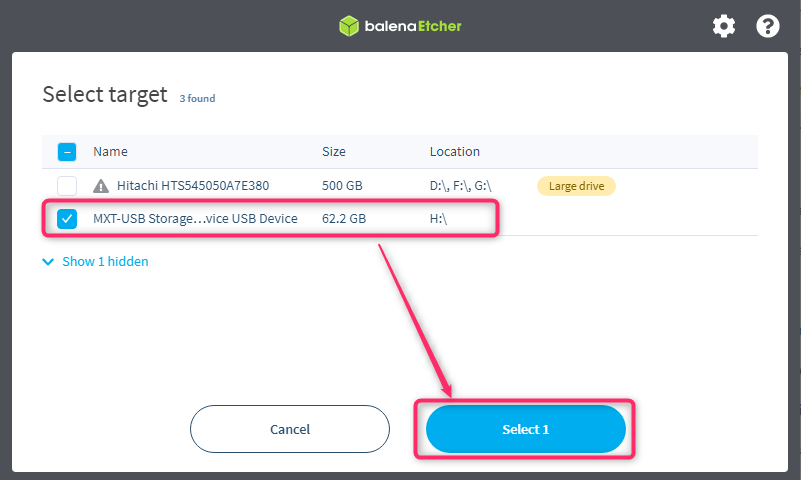
Step 7: Select the SD Card drive by checking the box and using the Select 1 button:
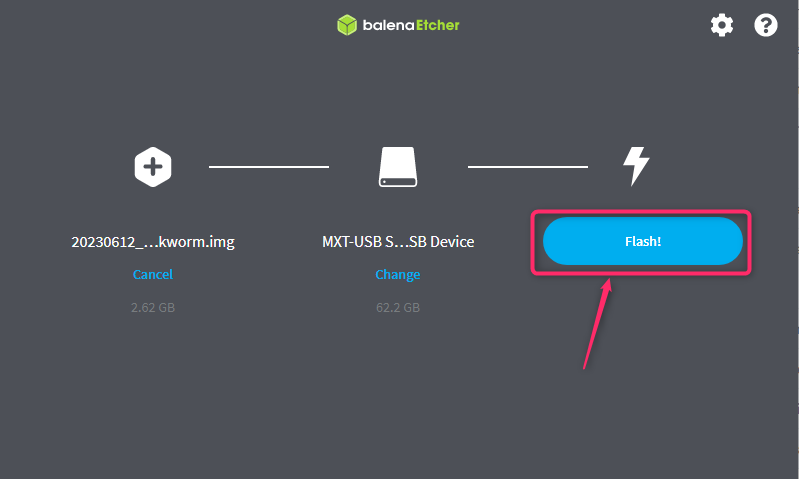
Step 8: Then choose the option Flash! to start flashing the Debian 12 image onto the SD Card:
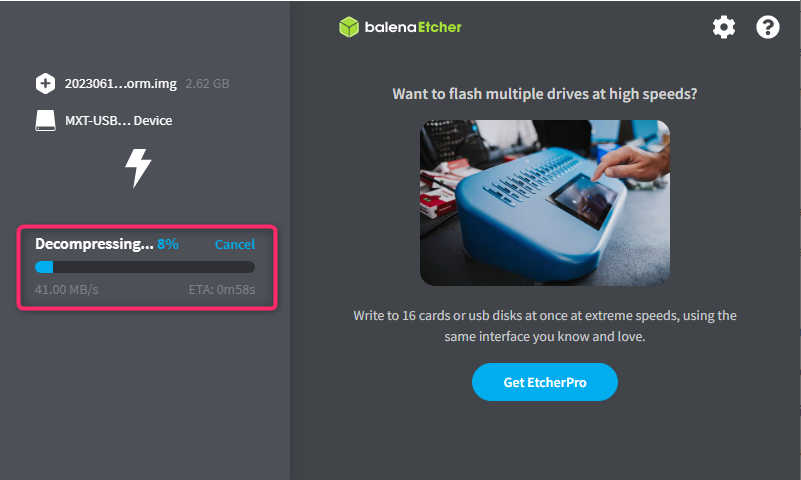
Wait till BalenaEtcher finishes the image creation process onto the SD Card:
Step 9: After the process is finished, remove the SD Card from your system, turn on the Raspberry Pi device, wait for 3-5 seconds and then insert the SD Card into the Raspberry Pi’s SD Card slot.
Step 10: At the login terminal console, type the default username as root and enter without typing any password.
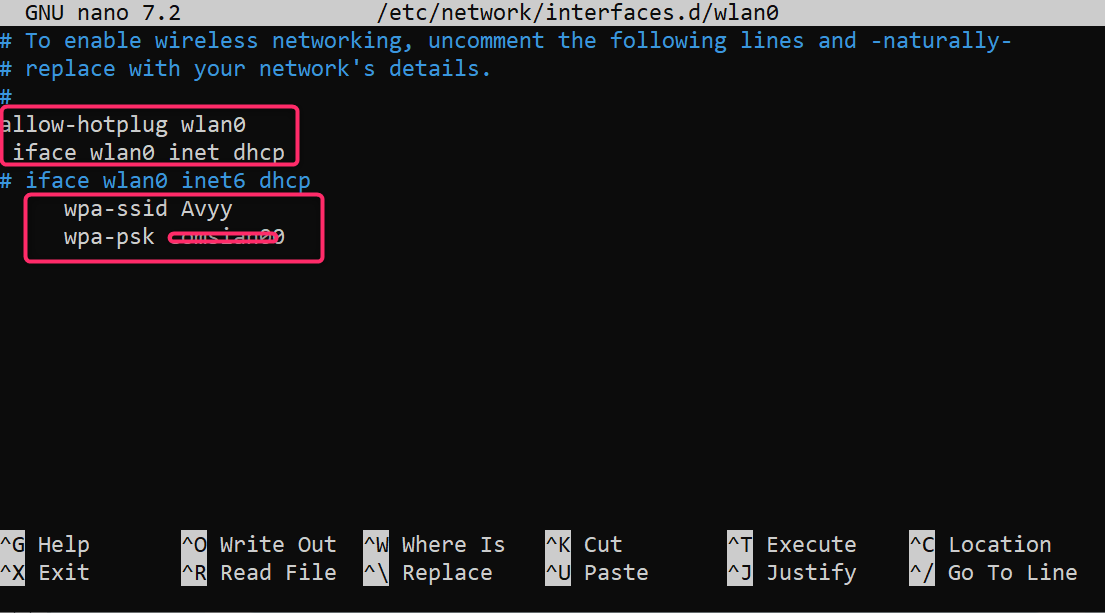
Step 11: Connect your Raspberry Pi device with the Ethernet cable to access the Internet on the operating system. However, if you don’t have Ethernet cable, you can connect the system to Wi-Fi by opening the configuration file using the following command.
Step 12: Uncheck the lines and add your Wi-Fi name in front of wpa-ssid and password in front of wpa-psk, the final configuration file will look like the one shown below:
Step 13: Save the configuration file using CTRL+X keys, then use Y to confirm saving and enter to exit back to the terminal. Then reboot the system using the reboot command.
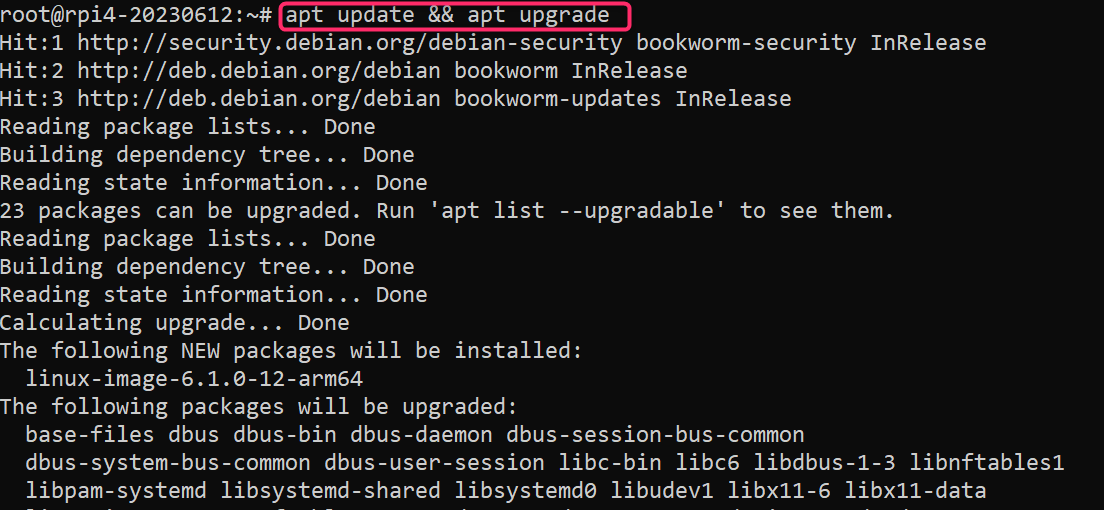
Step 14: After the reboot, immediately run the following command to check whether the Internet is connected to your system:
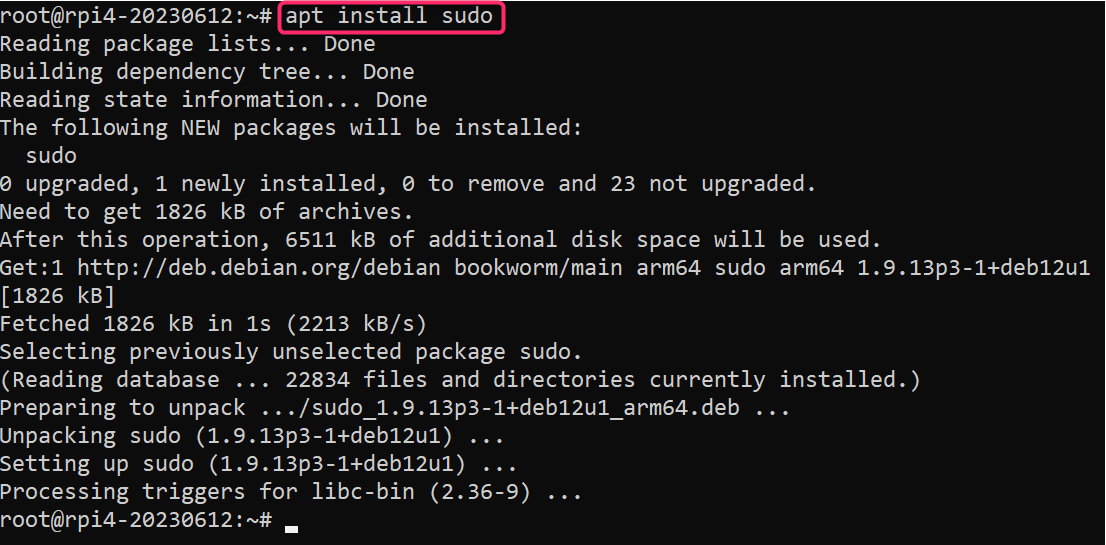
Step 15: You can also add a username to your system by first installing the sudo command:
Step 16: Then add the username using the following syntax:
Note: Replace username with the username you like.
Step 17: Once done, use the exit command to logout from the user configuration mode:
Step 18: Finally, you can verify the username by running the following command:
Note: You can also change the password of the current user using the passwd command.
How to Add a Desktop Environment to Debian 12 on Raspberry Pi
The Debian 12 doesn’t add a desktop environment if installed on Raspberry Pi because it is a general-purpose operating system and is mostly used without a GUI. However, you can manually add a desktop environment according to your choice using the following steps:
Step 1: On the console, run the following command:
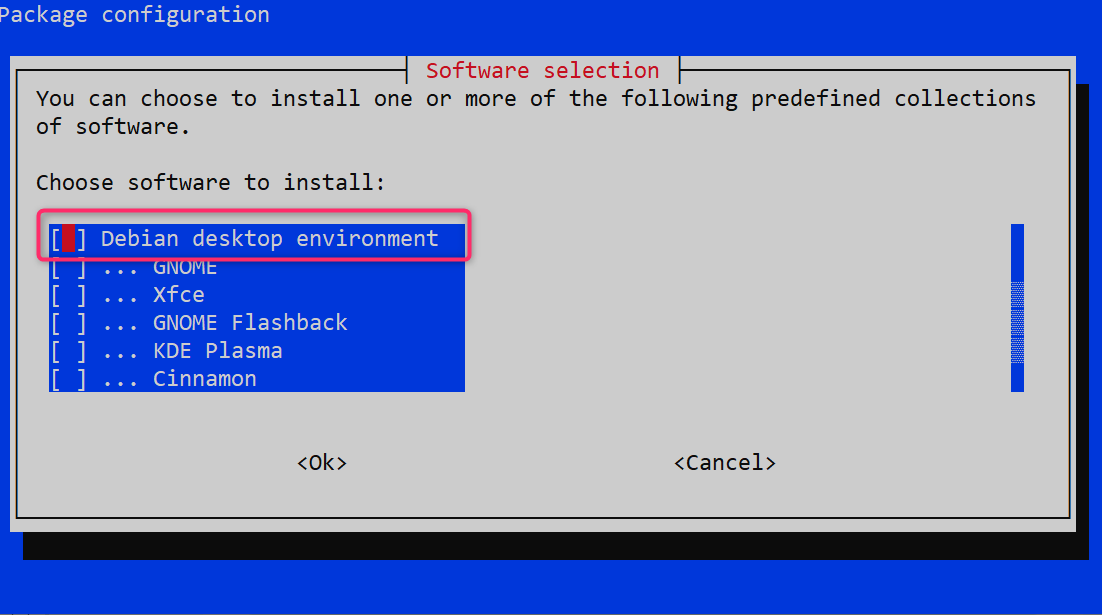
Step 2: Then choose the desktop environment according to your choice; the recommended one is the Debian Desktop environment. You can select the environment by pressing the space button and then entering it.
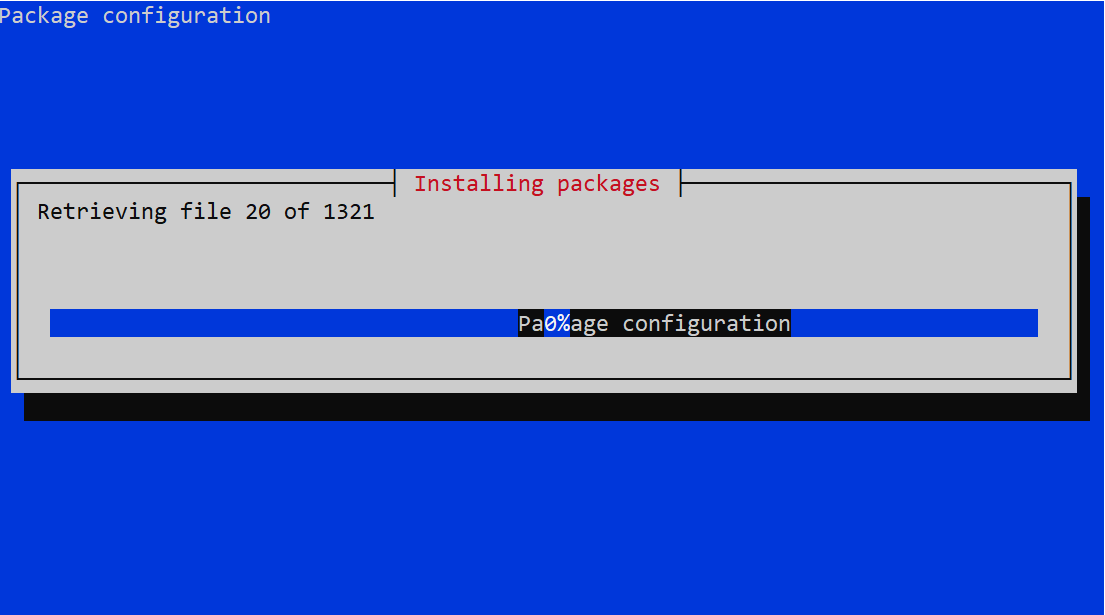
This will begin installing the Debian desktop environment on your Raspberry Pi system:
Step 3: Once completed, reboot your system:
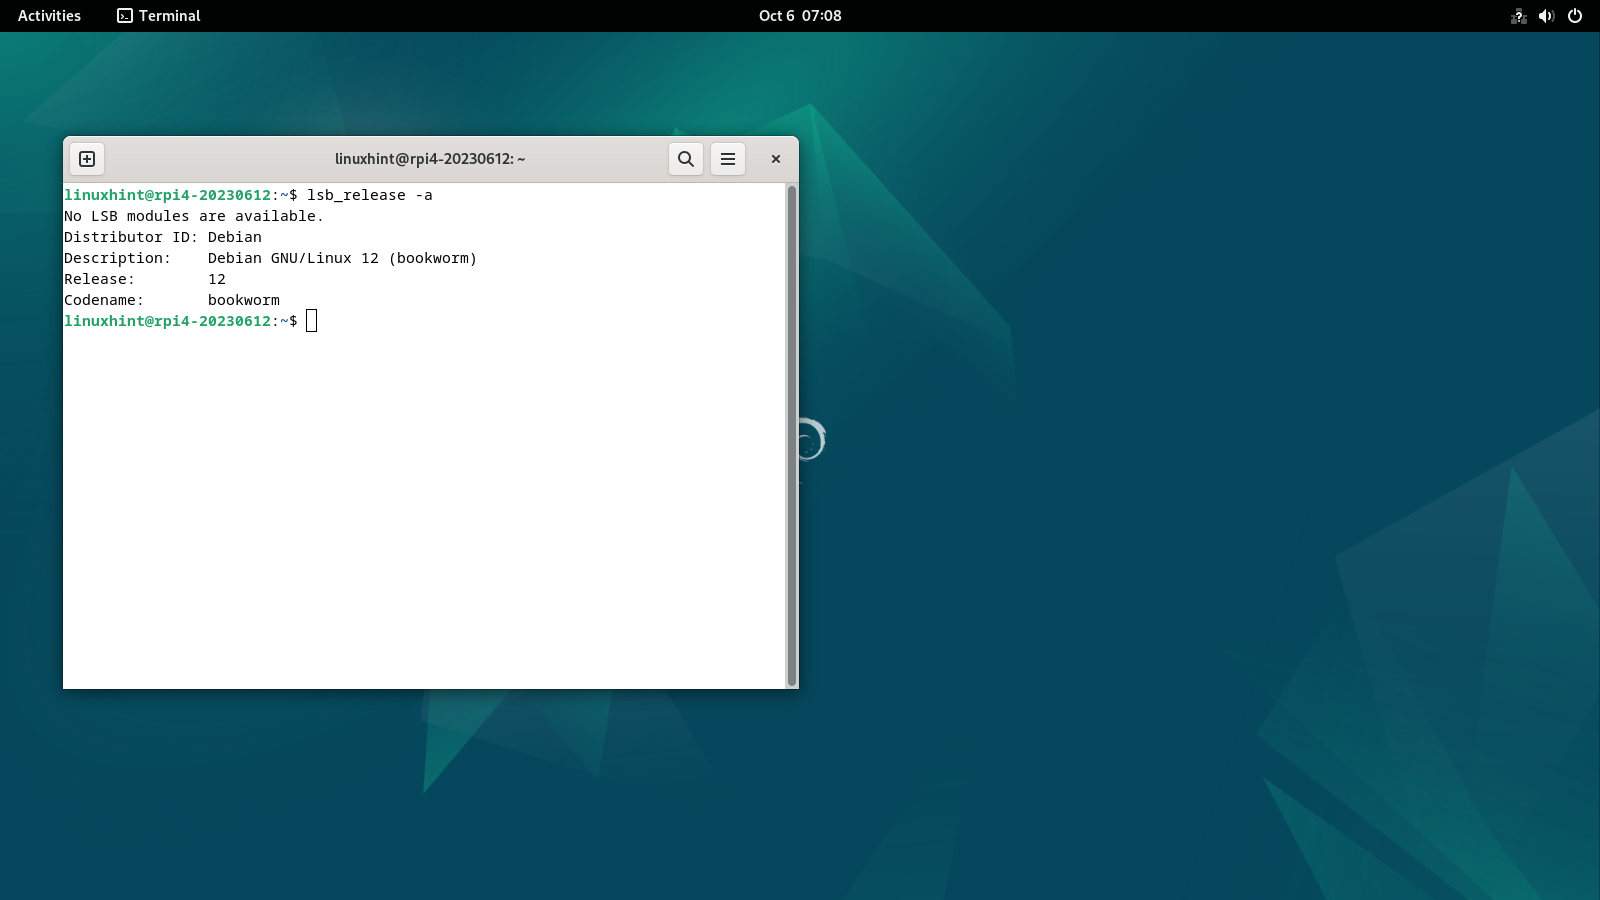
This completes the installation of Debian 12 on your Raspberry Pi device.
Conclusion
Debian 12 is the latest Debian operating system that includes advanced features and updated applications. You can install it on your Raspberry Pi device through the BalenaEtcher application by first downloading the image file from the official website. After that, you just need to load the image file in the imager, select the SD Card storage as your target and flash the image using the Flash! button. Once completed, you have to manually set it up and install a desktop environment to complete the installation.

