
The primary purpose of the Android Studio development environment is to make app building better, more reliable, and faster than ever before. So, in this tutorial, we will show how you can quickly install Android Studio on Pop!_OS.
How to Install Android Studio on Pop!_OS
For Android Studio to work properly on your Pop!_OS, you must install JDK (Oracle Java Development Kit) in the system. Follow these steps to download JDK if your system does not have it.
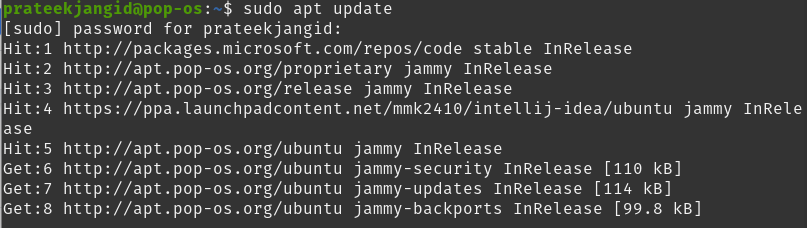
Update your system by running the following update command:
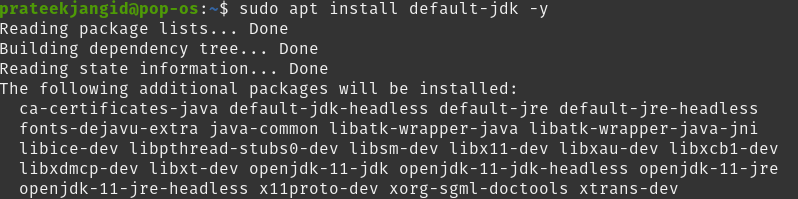
To install JDK, execute the following command:
Using Android-Studio Repository
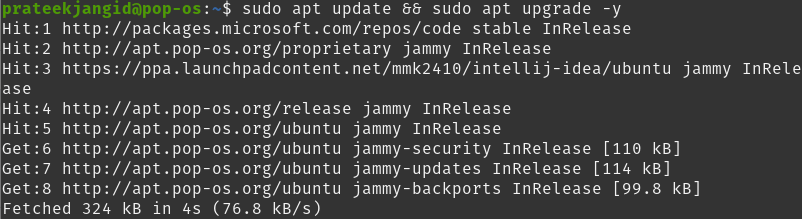
First, update your system to ensure that all available packages are up-to-date:
Install the most common software packages by running the command below in the terminal if it is not installed in your Pop!_OS:
![]()

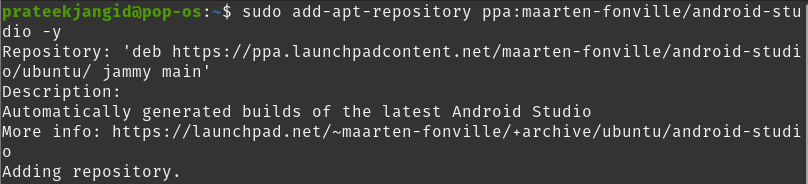
Then, import the Maarten Fonville PPA. This PPA contains the latest up-to-date version for Pop!_OS users. Plus, it does a great job importing all minor releases on LTS.
Import the PPA with the following command using the following command:
Next, update your system before starting the installation process to reflect the newly imported PPA by running the apt update command.

Install Android Studio through the below command:

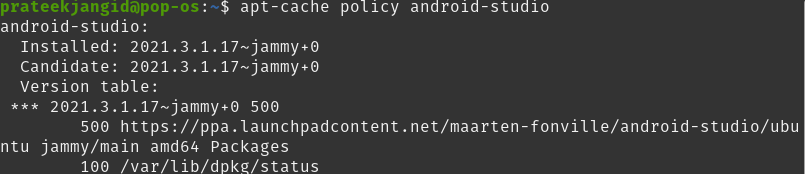
You have successfully installed Android Studio. Alternatively, you can verify the installed version by checking the apt-policy cache.
Using Snap Packages
First, update your system.

Next, install the snap through the following command if it is not previously installed in your system.

You can use Snap to install the Android Studio in your Pop!_OS.
![]()
Using Manually Download Package
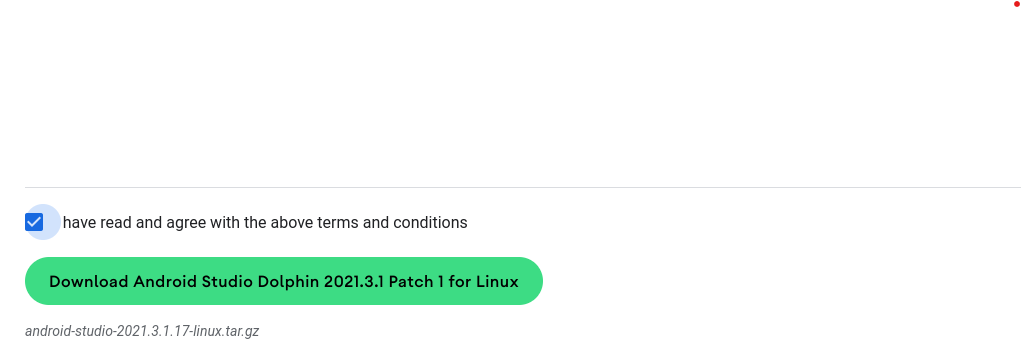
Firstly, go to the Android Studio’s website and download the official repository.
Scroll down to the next page, accept all the mentioned terms and conditions, and start downloading its file. This downloaded file will be saved in your default directory (Downloads).
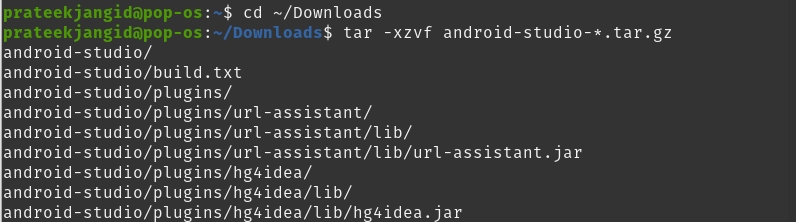
Through the cd command, navigate to the directory where the above-downloaded file is present.
Use the following tar command to extract Android Studio’s TAR file:
On your Linux system, you should make Android Studio available to all users, move the android-studio directory to the /opt folder, and make all users aware of the installation.
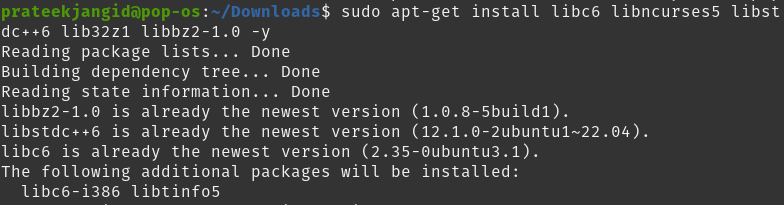
If running a 64-bit version of Linux, install the following Android Studio software dependencies:
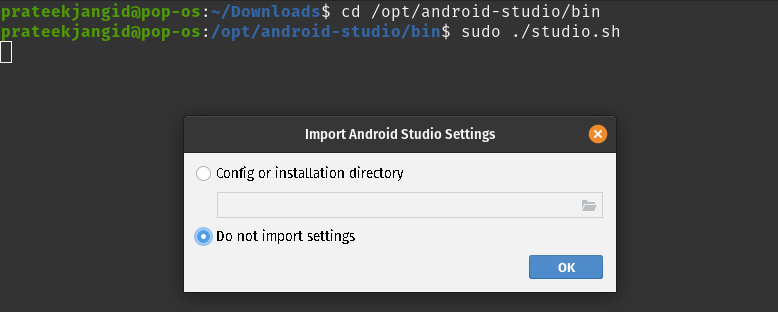
To start an Android Studio, go to the /opt/android-studio/bin folder with the following command.
Launch it by running the following script:
Using Graphical User Interface
Apart from the terminal method, you can also install Android Studio through the GUI method. Go to the Pop!_OS shop from the Applications menu and search for ‘android studio’ in the search box.

Now, install it by clicking on the Install button.
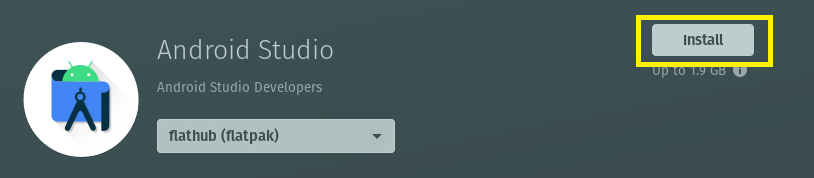
Thus, it will install in your Pop!_OS.
How to Launch the Android Studio on Pop!_OS
Run the command below in the terminal to open the Android studio.

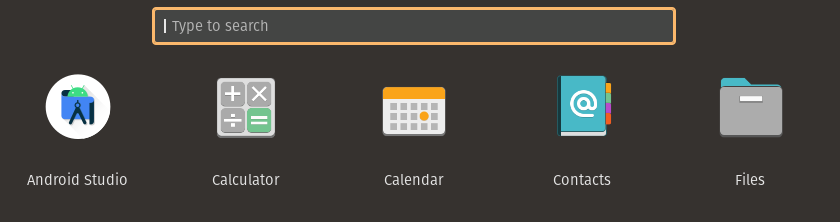
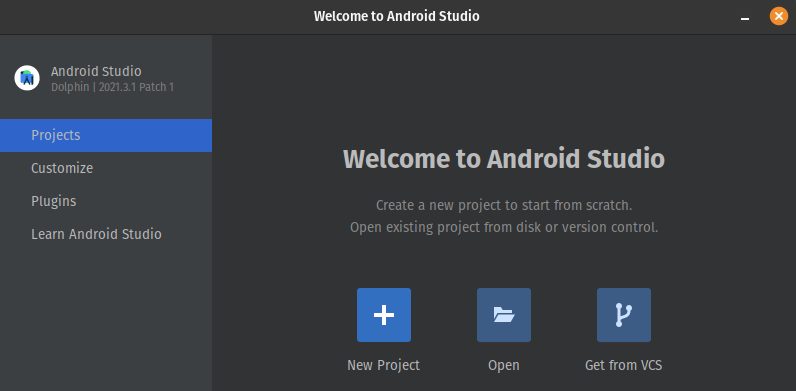
Moreover, go to the Applications menu and search for ‘android studio’ in the search box. Here, you will see its icon or automatically see it in the applications menu. You can now double-click it to open it:
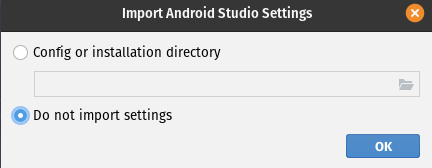
When you first launch Android Studio, the system will show you a setup wizard. It guides you to accept your optional import settings, EULA agreements, and other quick setup tabs.
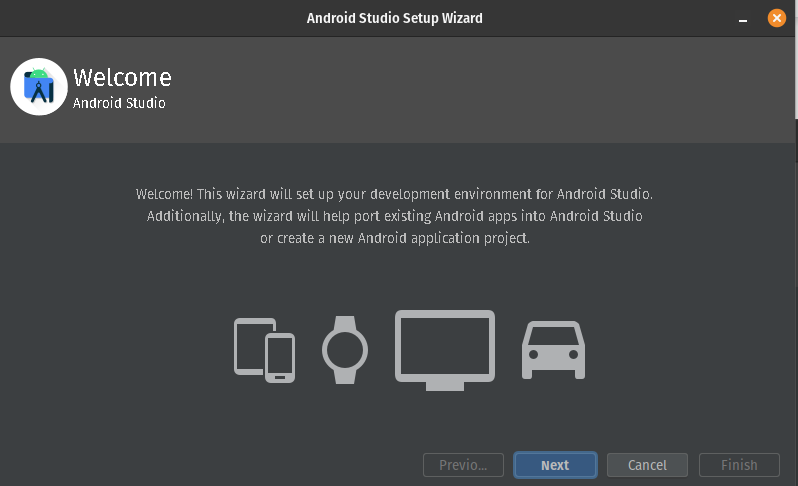
Doing so will launch the Android setup wizard on your system. Proceed by clicking on Next.
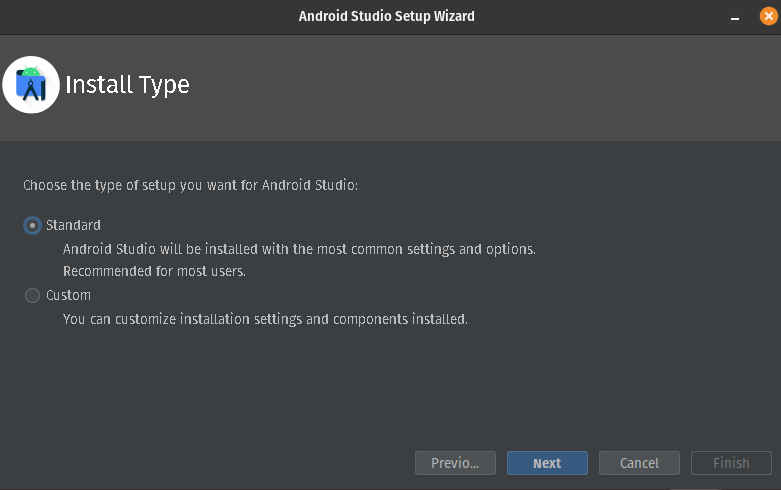
Select the standard installation type.
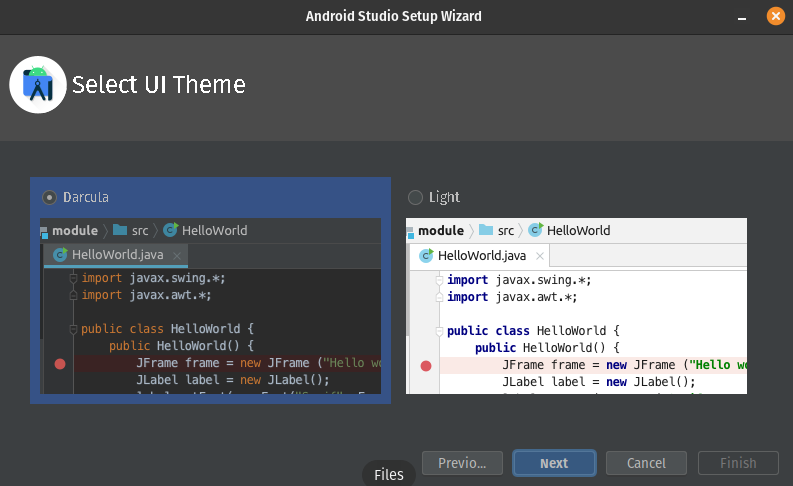
Choose the UI theme according to your choice.
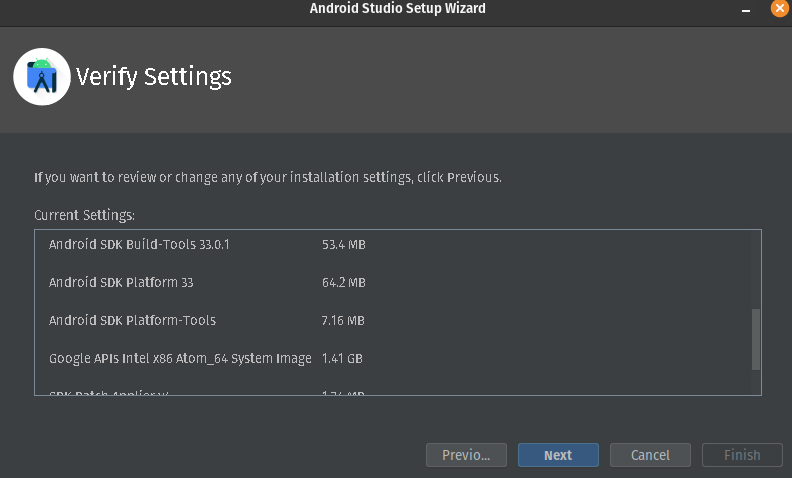
In case you want to change the settings, click on previous. Otherwise, proceed after verifying all the settings.
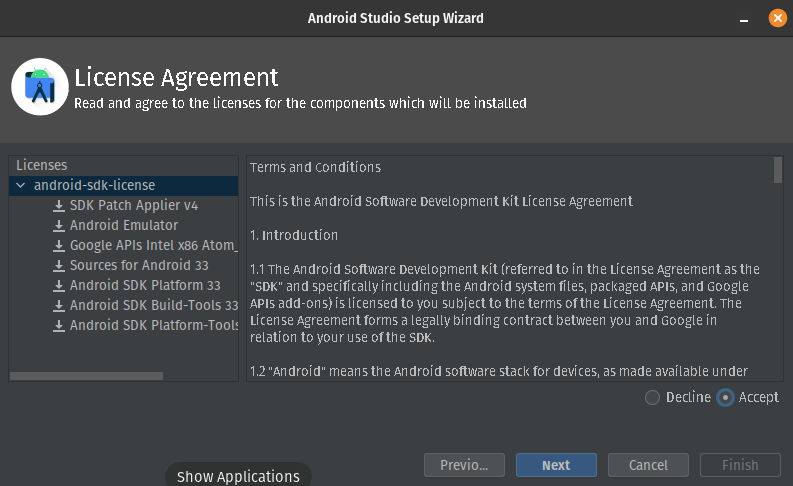
Here you have to accept the android-sdk-preview license and the android-sdk-license agreement.
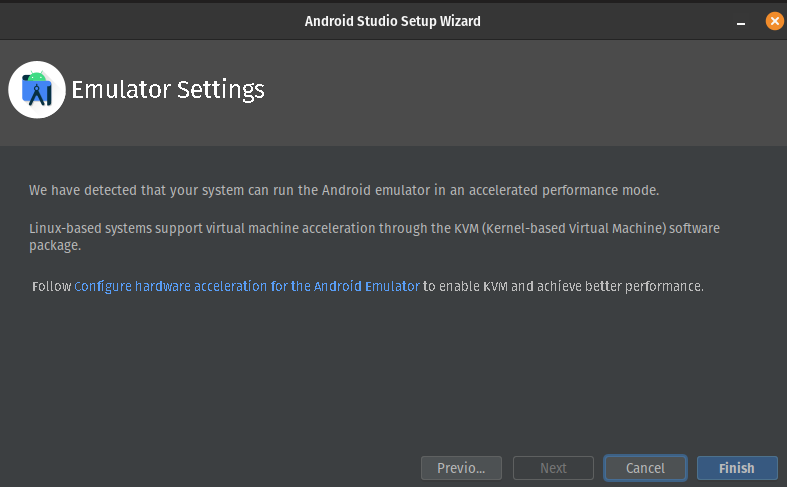
The formal emulator settings on your system would look something like this. Now, click on the finish button.
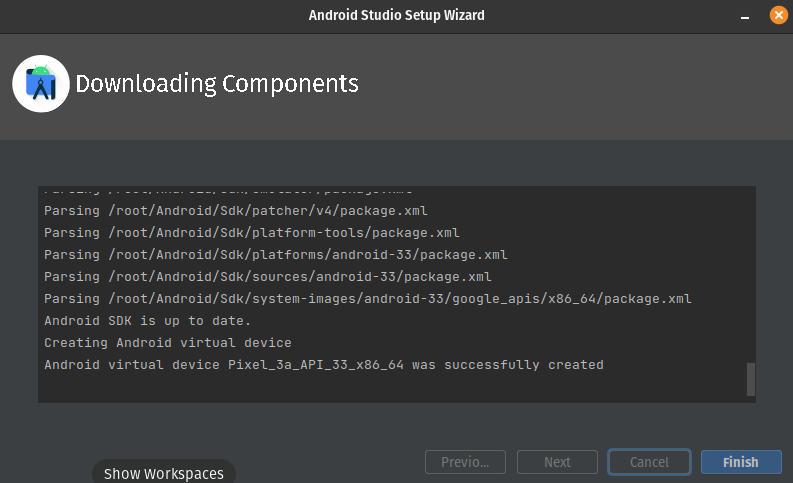
The required components will start downloading on your system like this.
Finally, click on the Finish button to use the Android Studio with no trouble.
Conclusion
Android Studio is a versatile and powerful development environment for creating high-quality applications for all android devices. Before installing it on your Pop!_OS (any Linux distribution), ensure that JDK must be installed in your system, and if JDK is not installed, then we have explained the steps to install it.\