I will show you how to build and deploy a wordpress website on your Linux VPS(Virtual Private Server). I will connect the domain and install the SSL. I will be using InMotion Hosting VPS throughout this tutorial and deploy the website on their server. I will also be performing speed tests on the website and figure out the issues in performance and then use W3 Total Cache Pro to improve performance score for our website for both mobile and desktop. We will be using Google’s PageSpeed Insights for performance testing. W3 total cache pro is a wordpress plugin that will help us optimize images on our website with essentially one click and hence enhance the performance on our website. So, let’s begin and I will show you how I did everything step by step!
1- Creating a Server Snapshot
First off, I’ll create a server snapshot for the sole reason of protecting the server state. In case you have other websites there, it’s a good practice to create a snapshot so you can always go back in case of an issue. However, please note that this is not a replacement for backups.
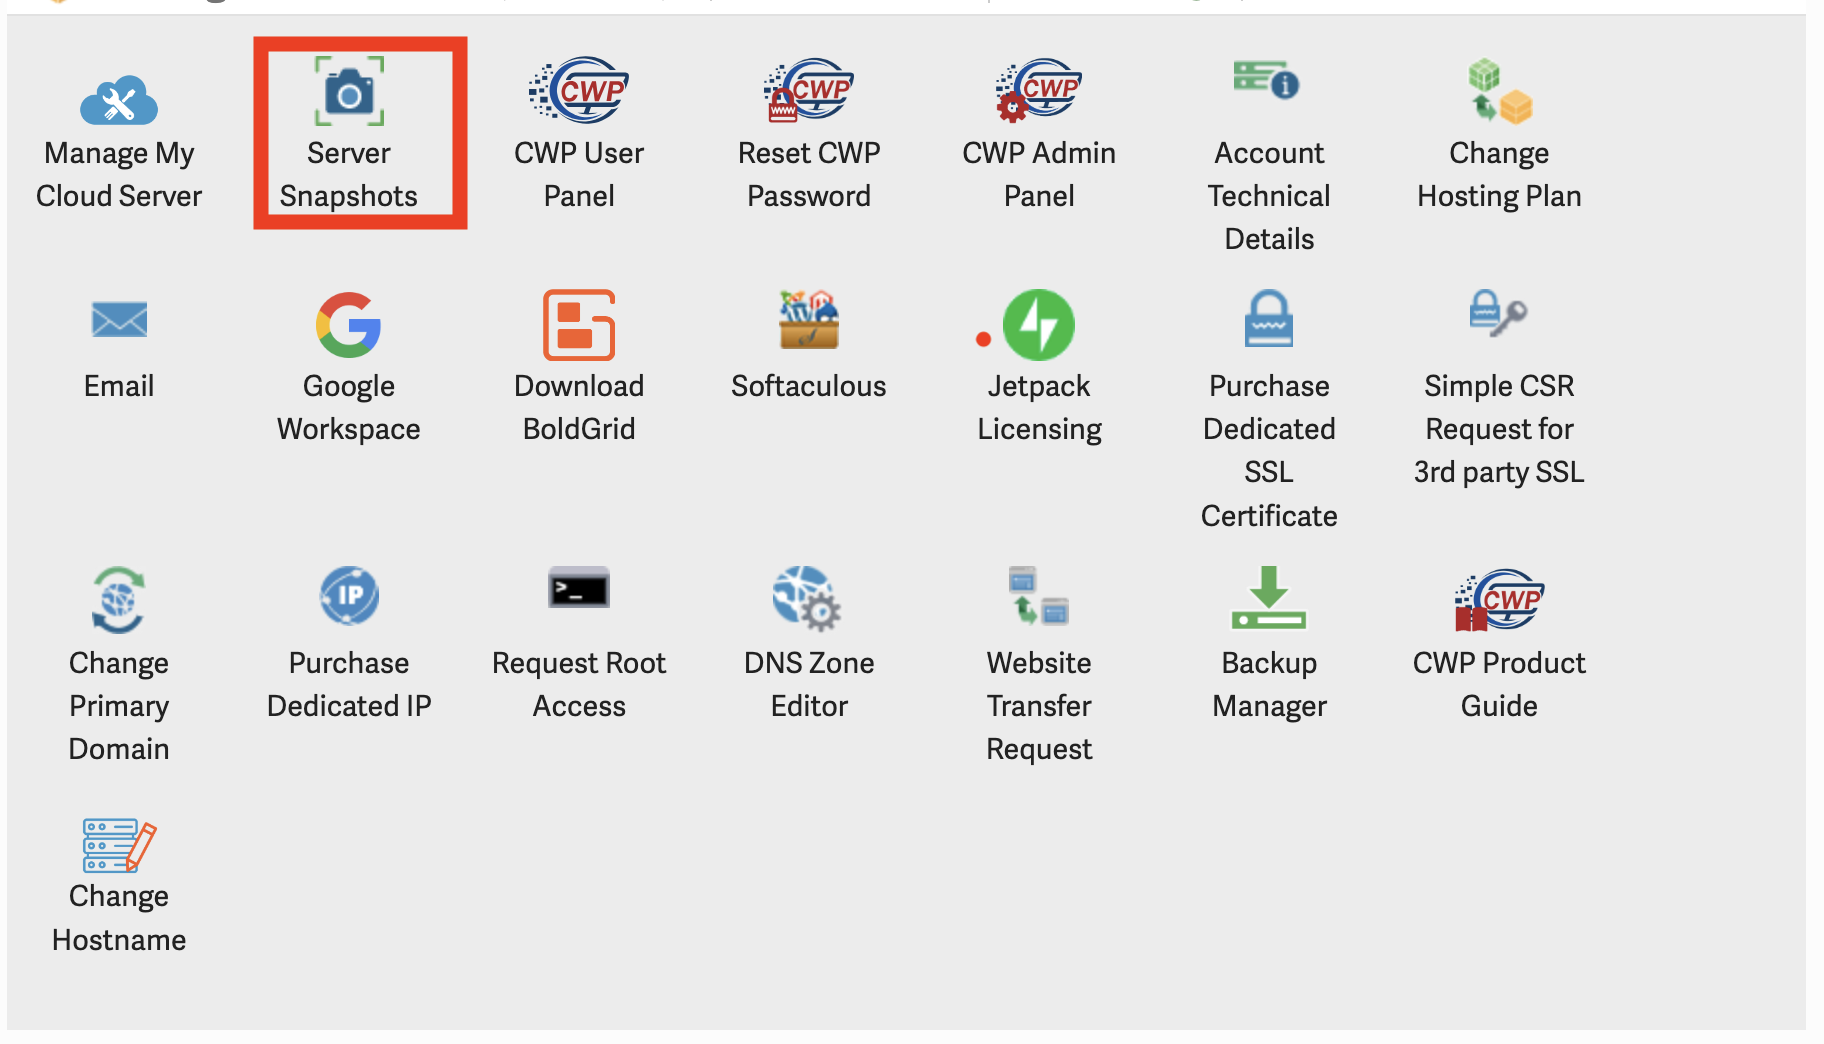
I clicked on “Server Snapshots” in the InMotion Hosting’s account management panel aka AMP.
I scrolled down on the new screen and clicked on the “Create Snapshot” button. I named it “NEW_SNAPSHOT” and saved it.
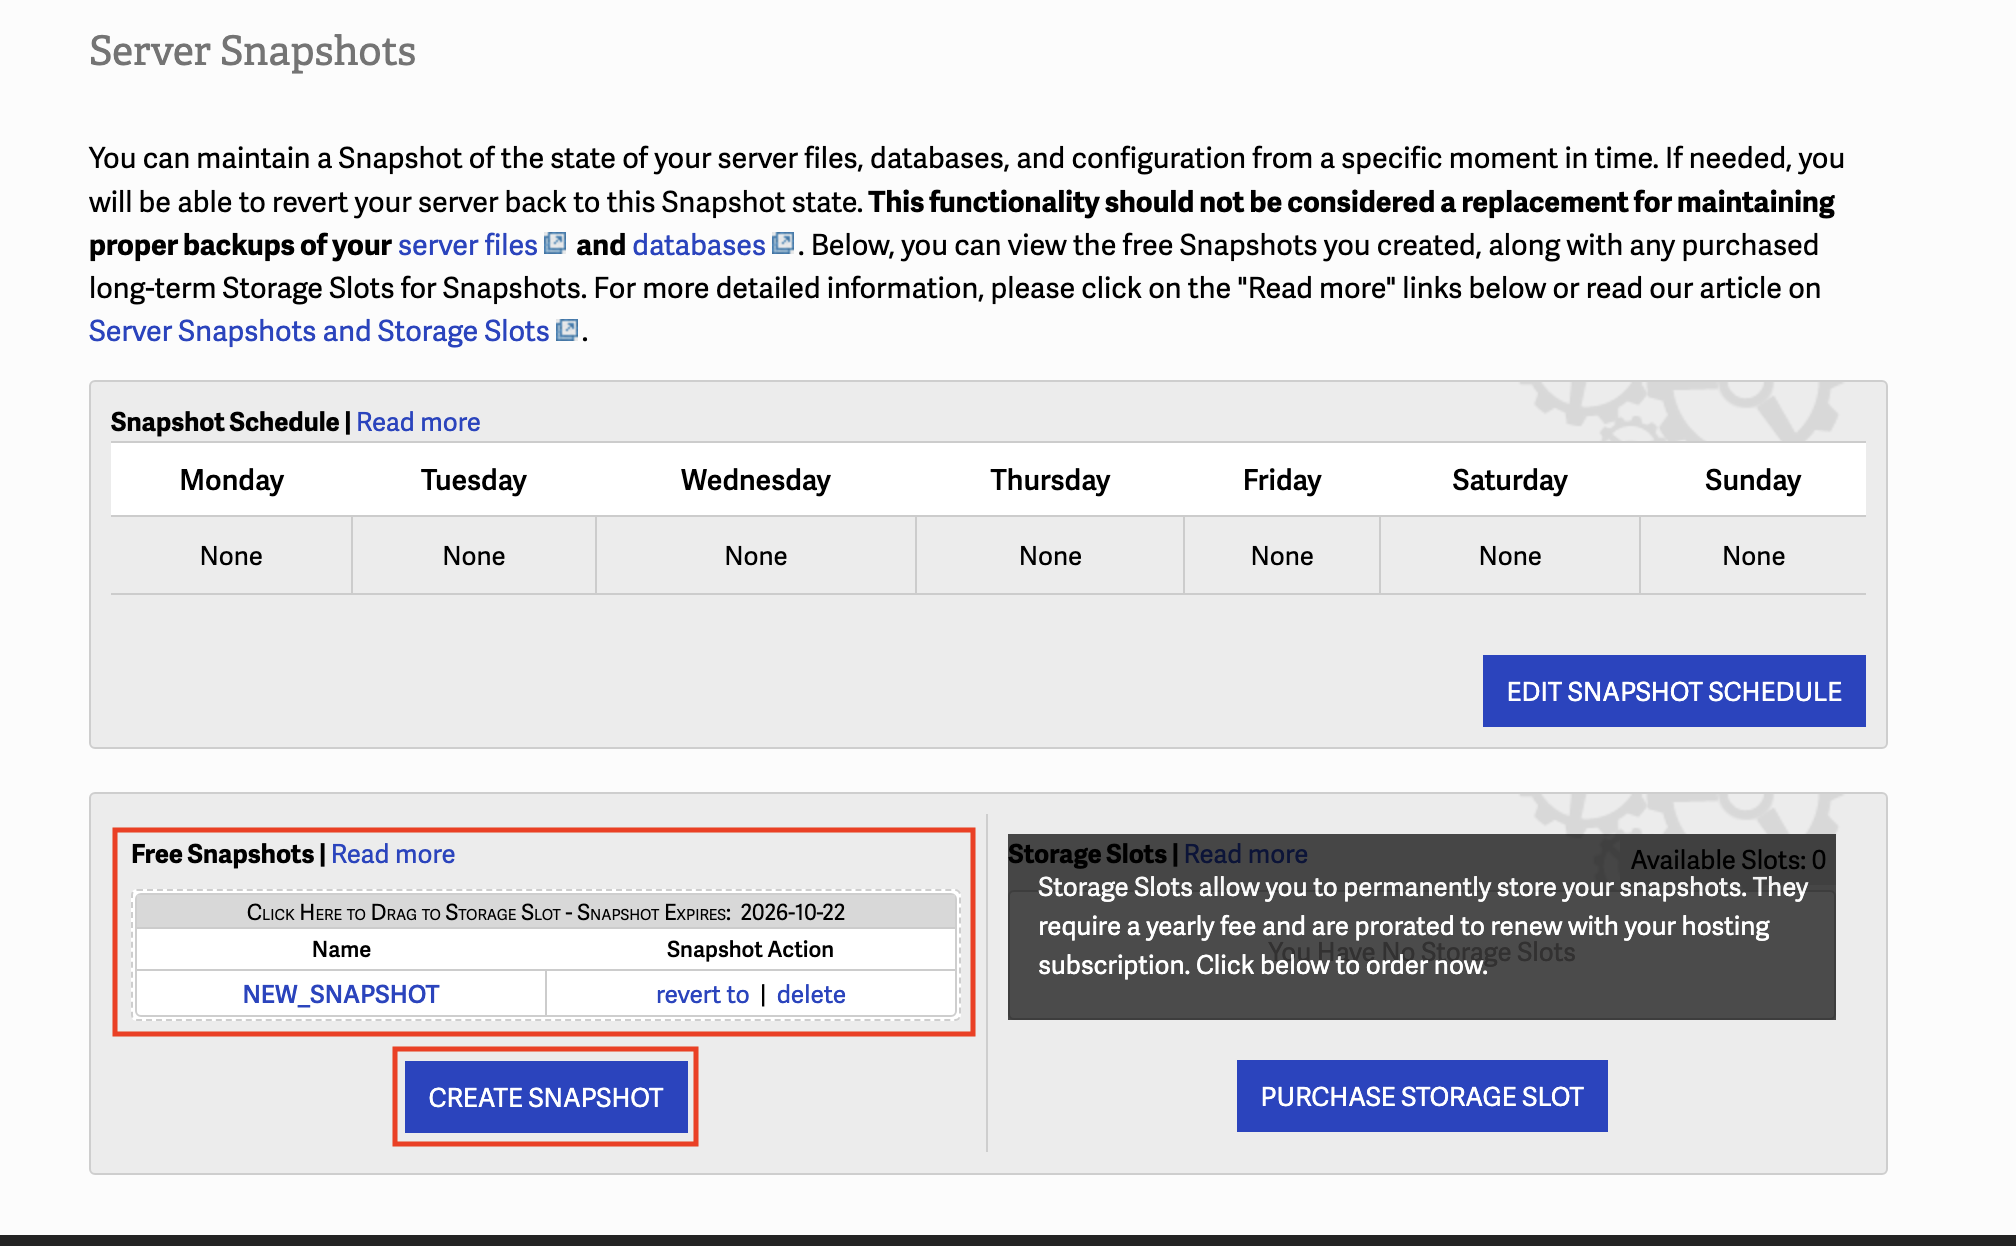
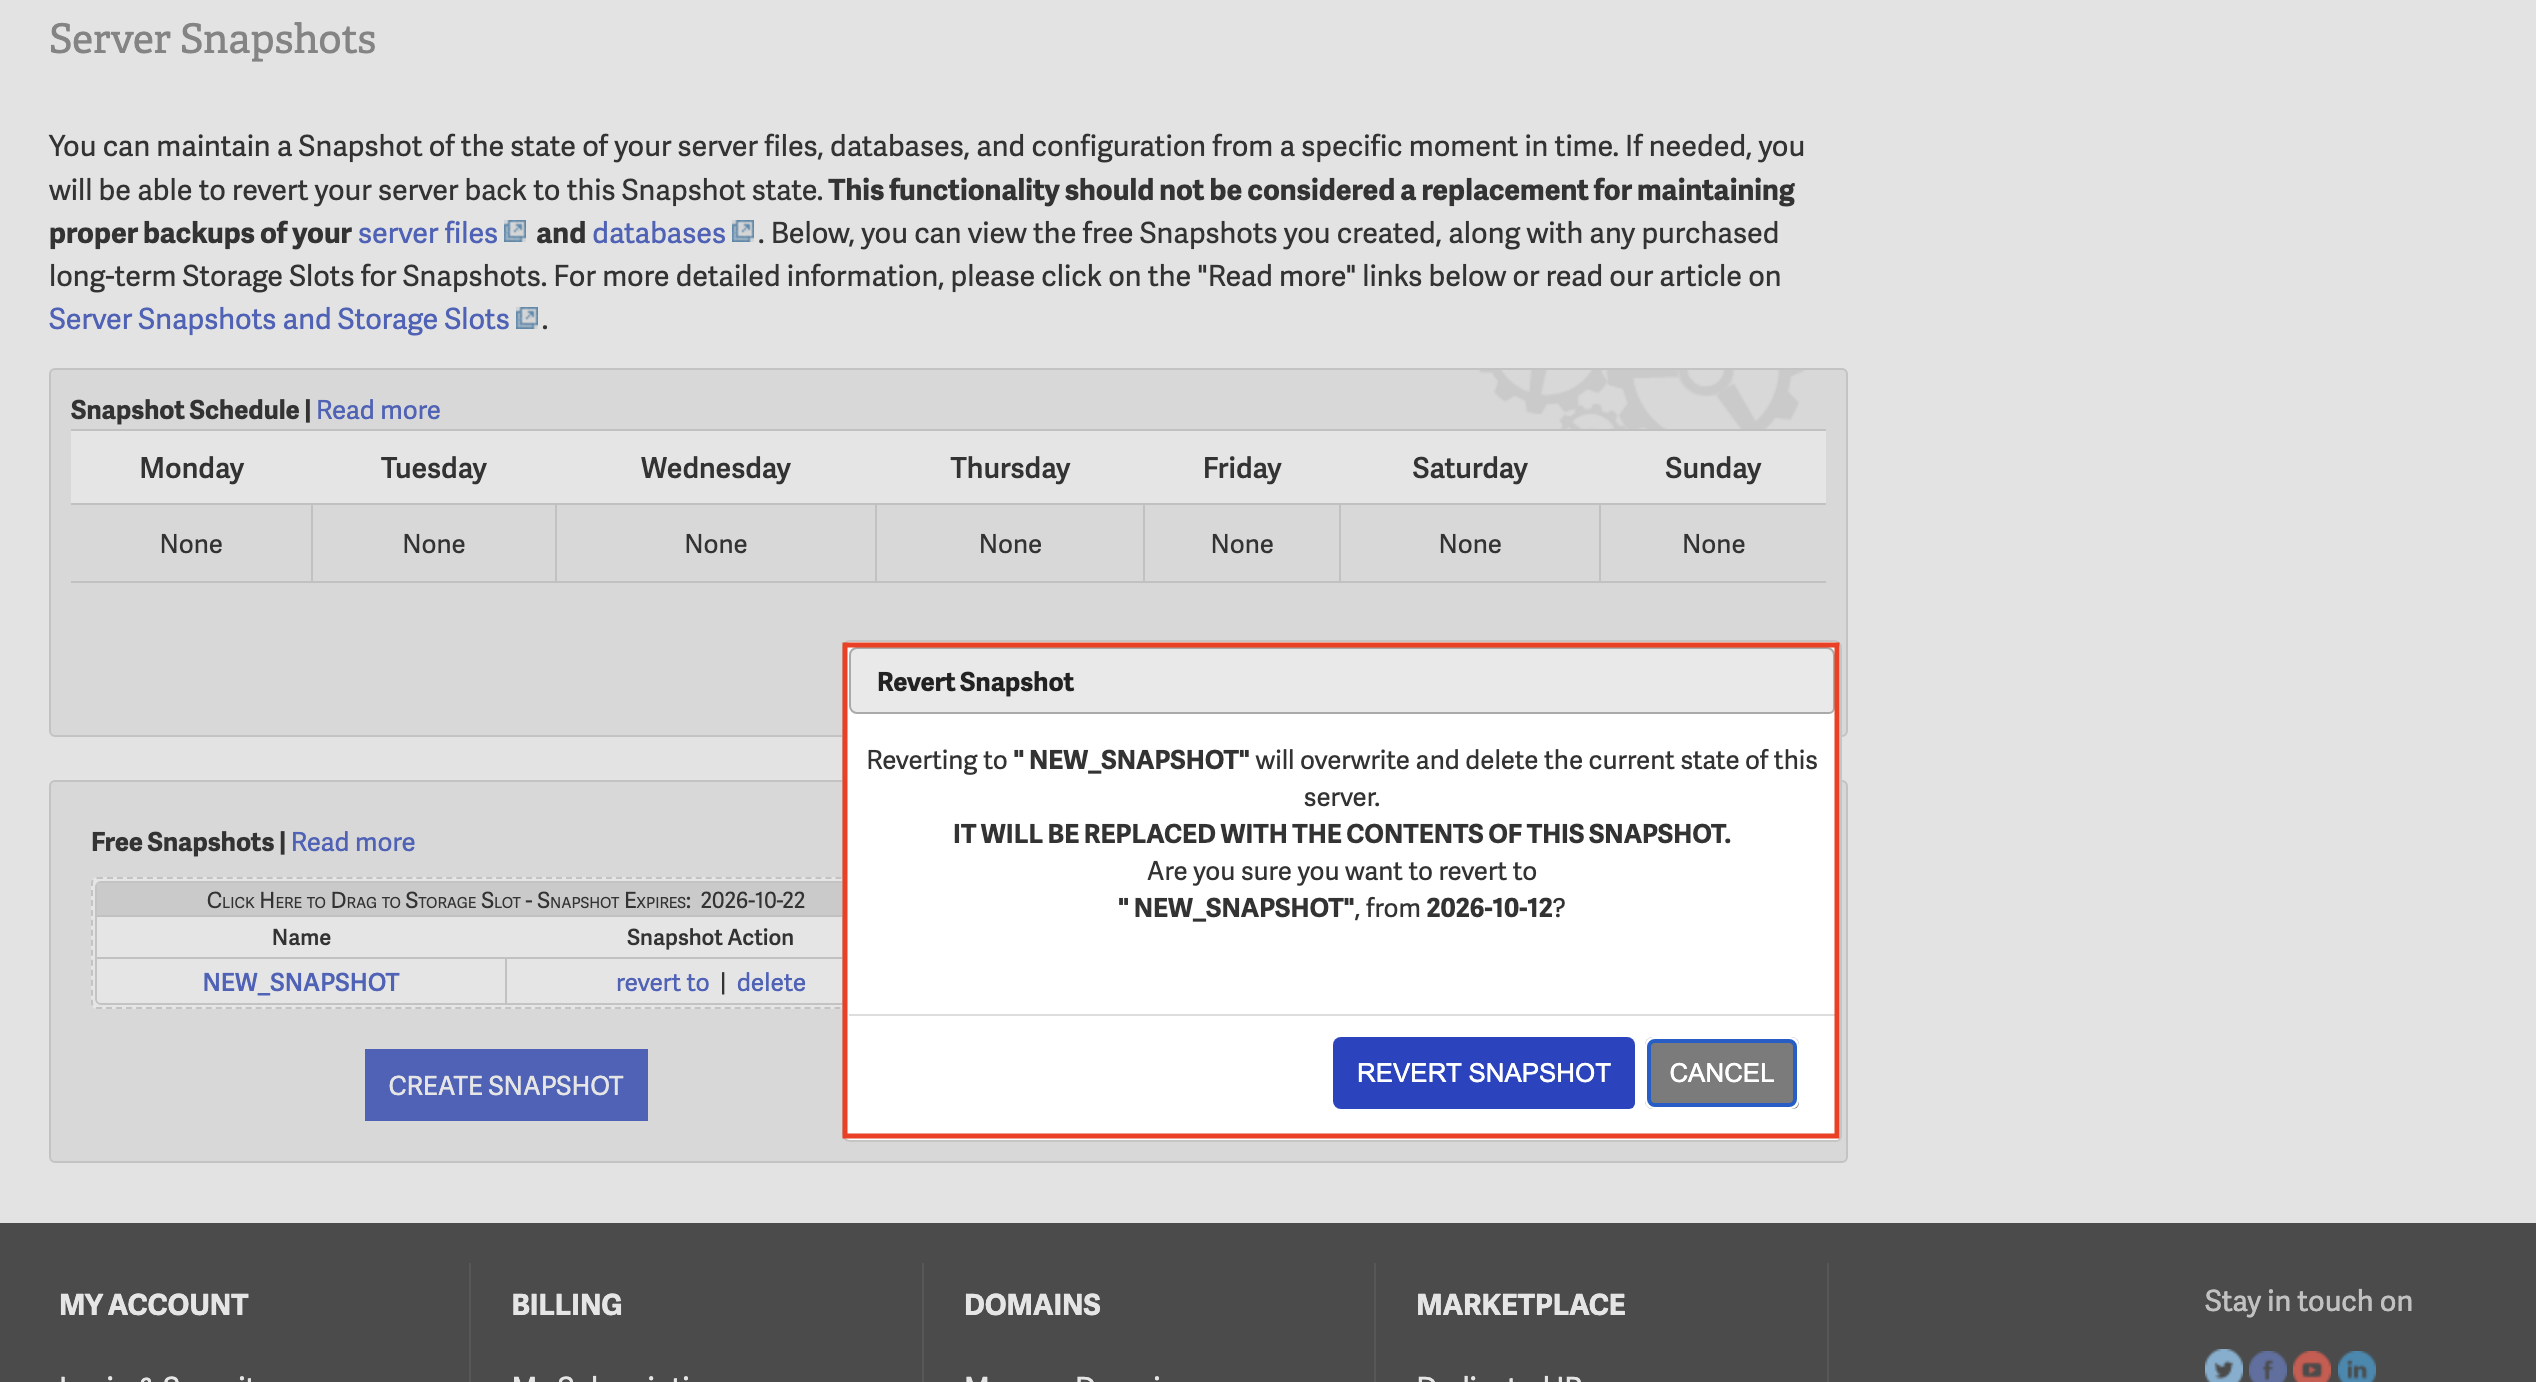
You can see that the server snapshot has been taken successfully. I can revert the server whenever I want to this state by clicking the “revert” button and confirming it.
2- Adding a Domain
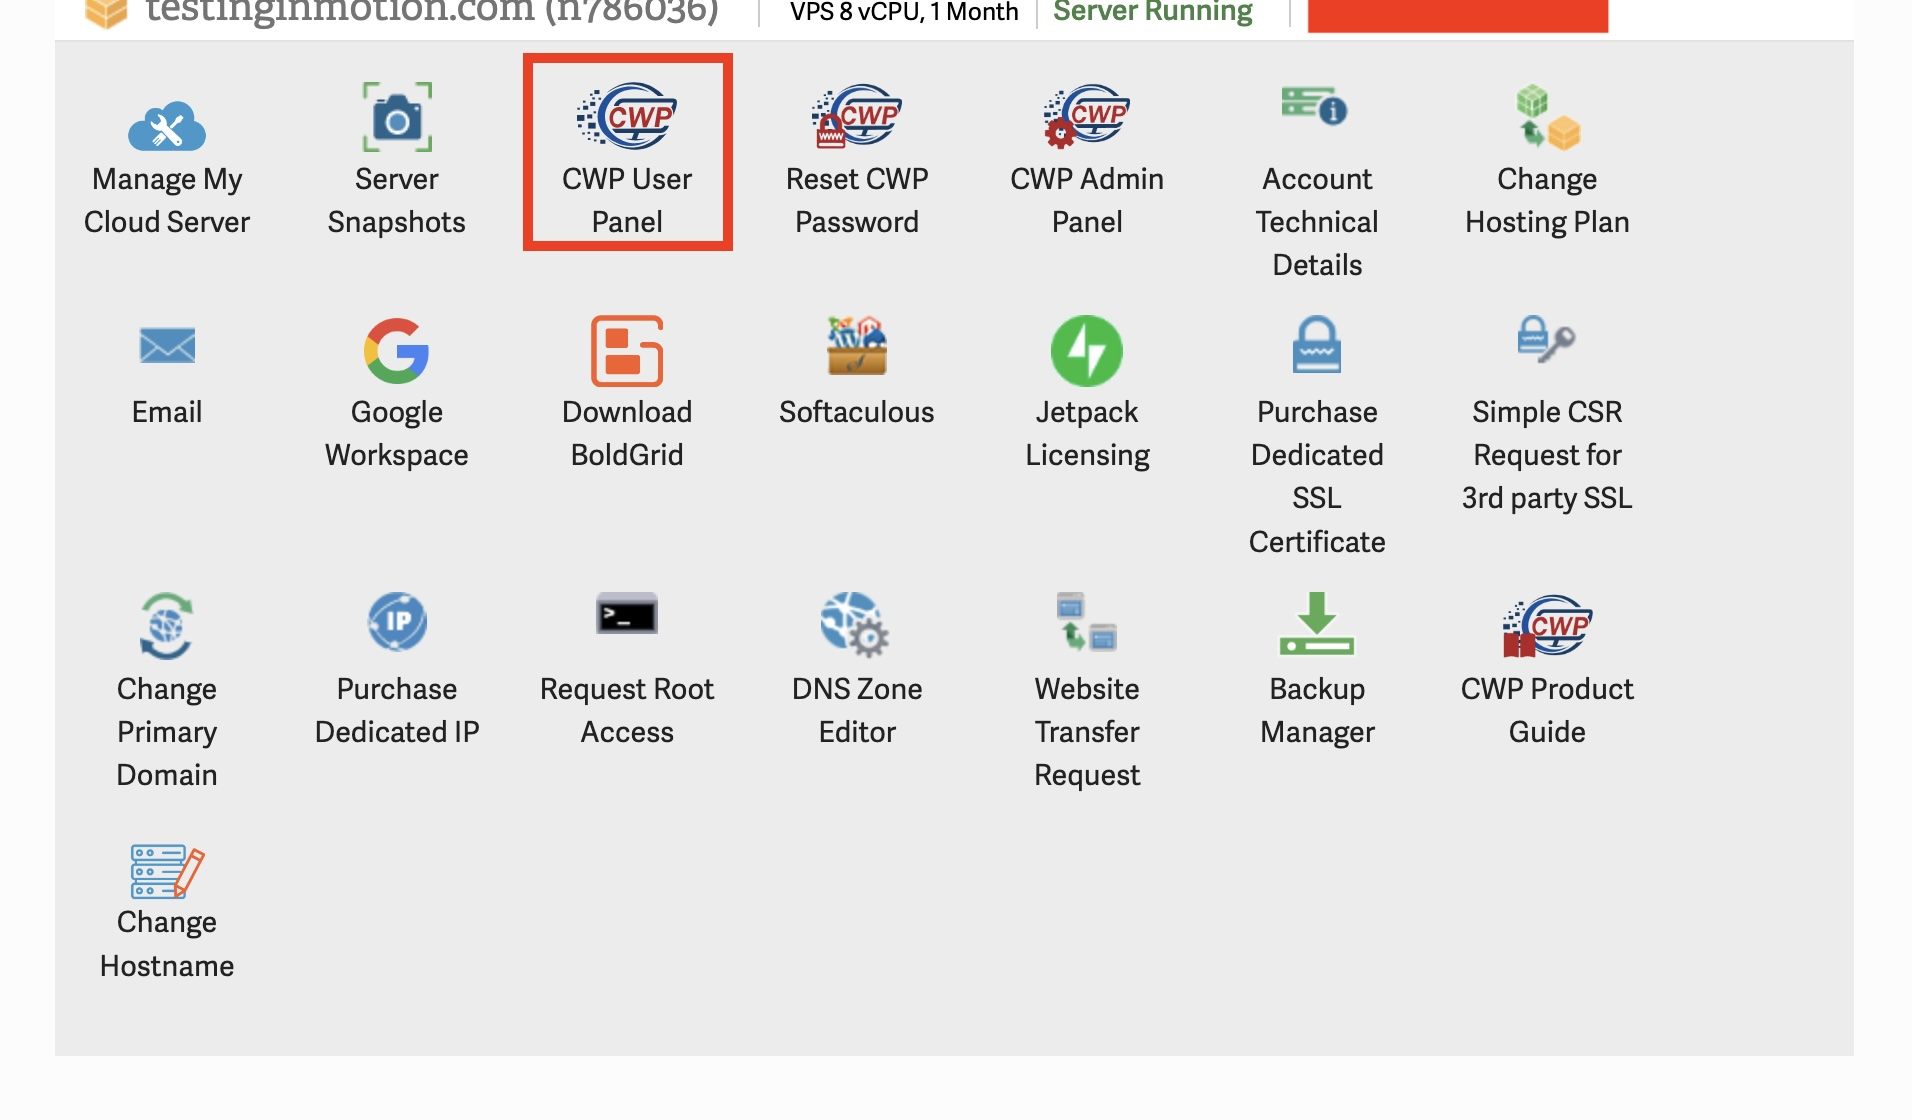
Within AMP, I clicked on “CWP User Panel”.
A new window was opened which is the user panel and here I’ll click on the domain tab in the left side menu. The domain menu is empty as there are no domains added here yet.
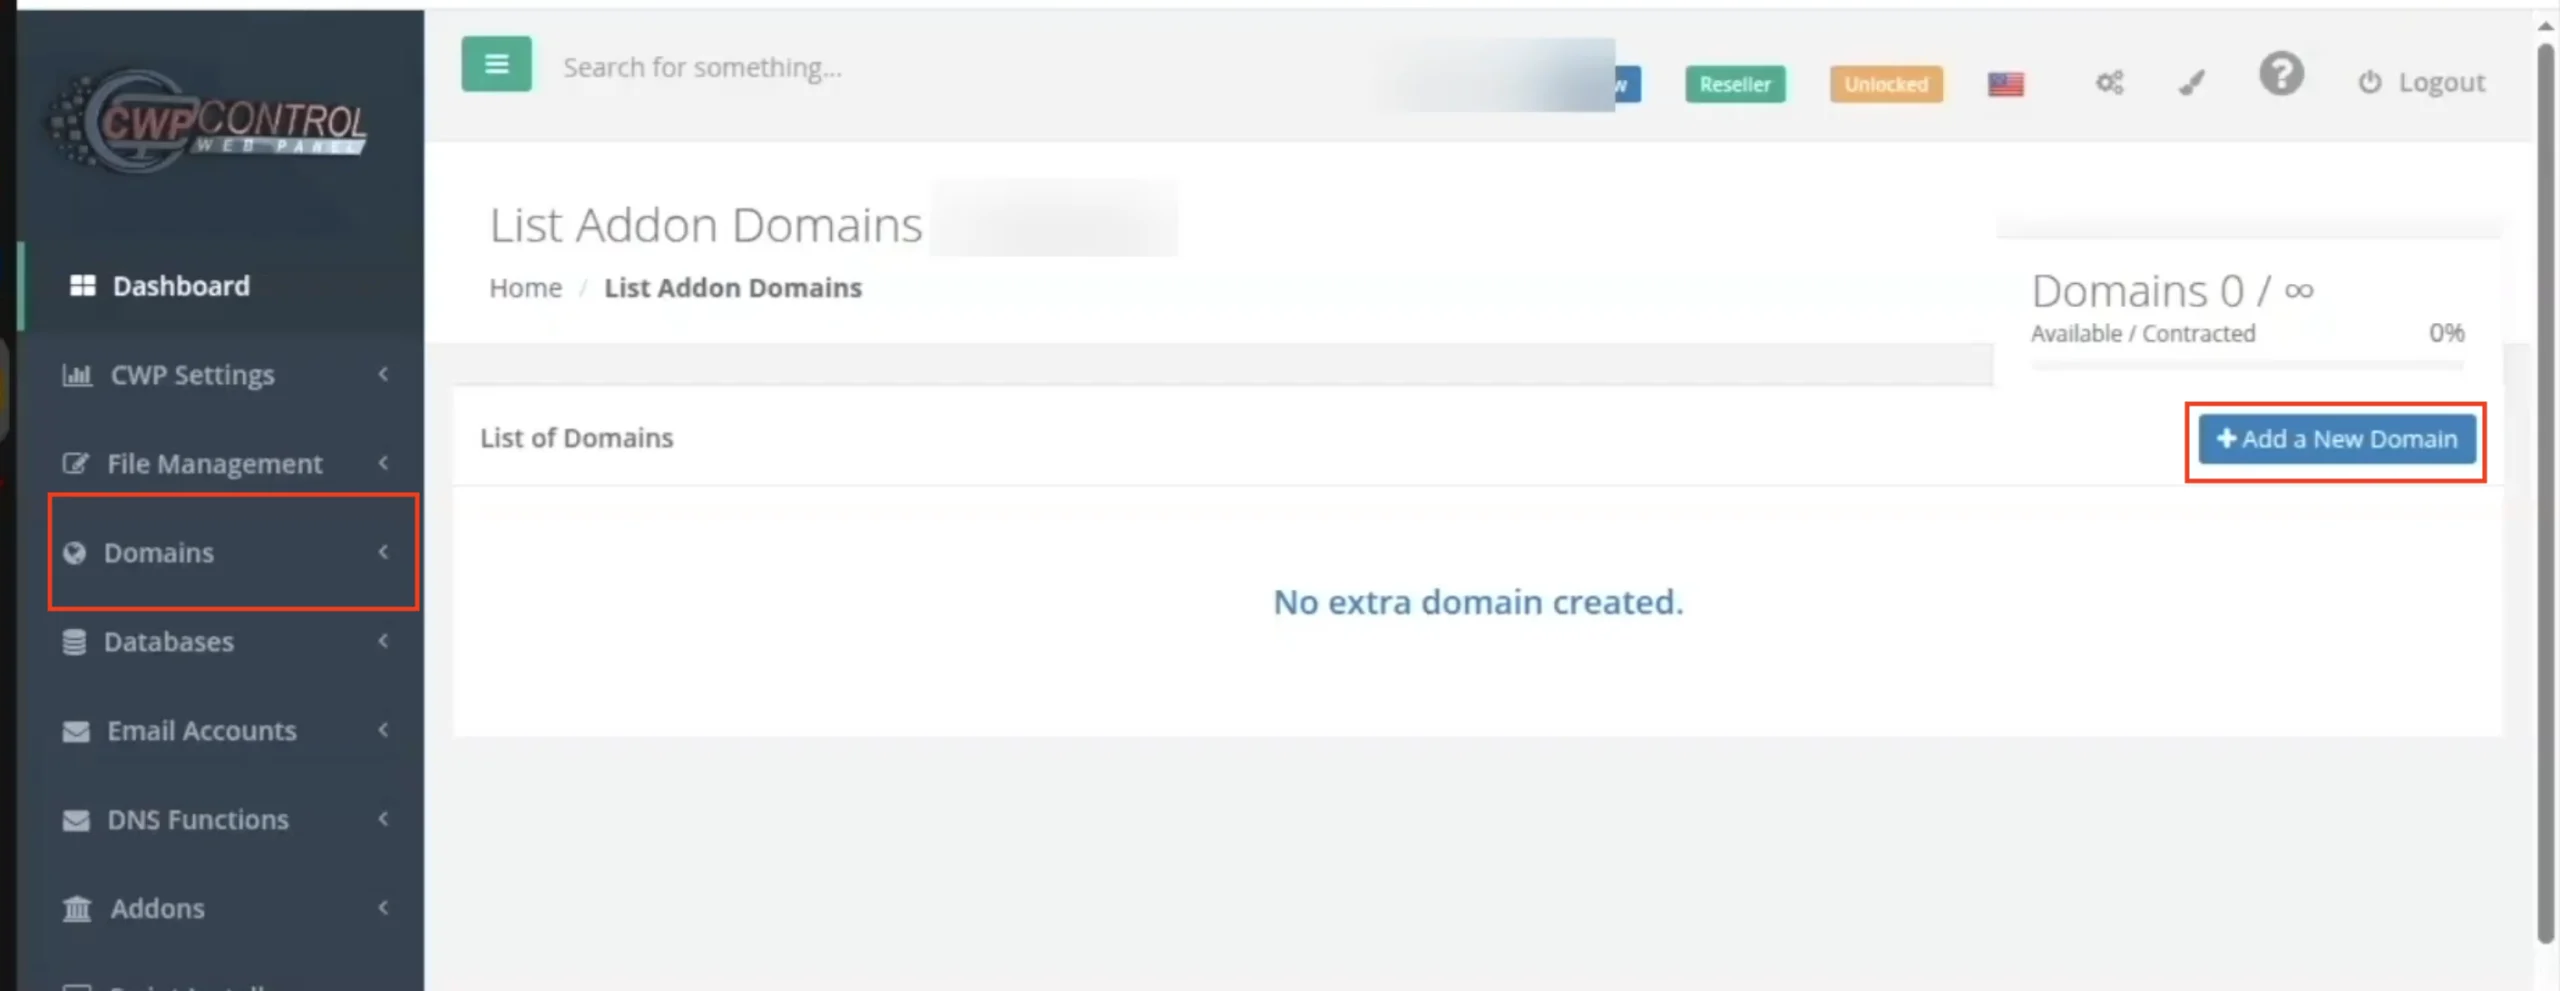
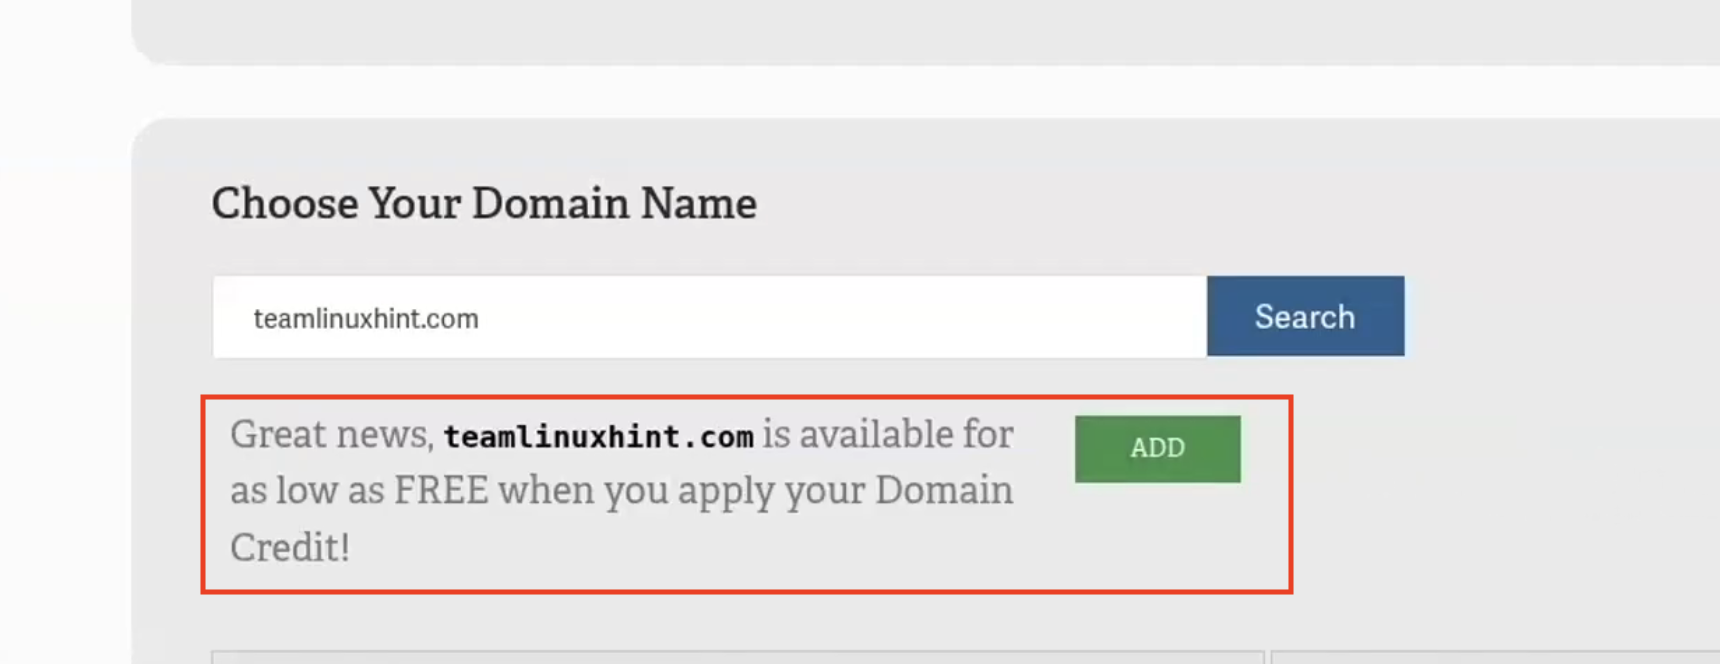
Please note that you can register your domain from InMotion Hosting’s AMP, You also get a free domain credit which you can use to buy. I used that domain credit later to register a domain.
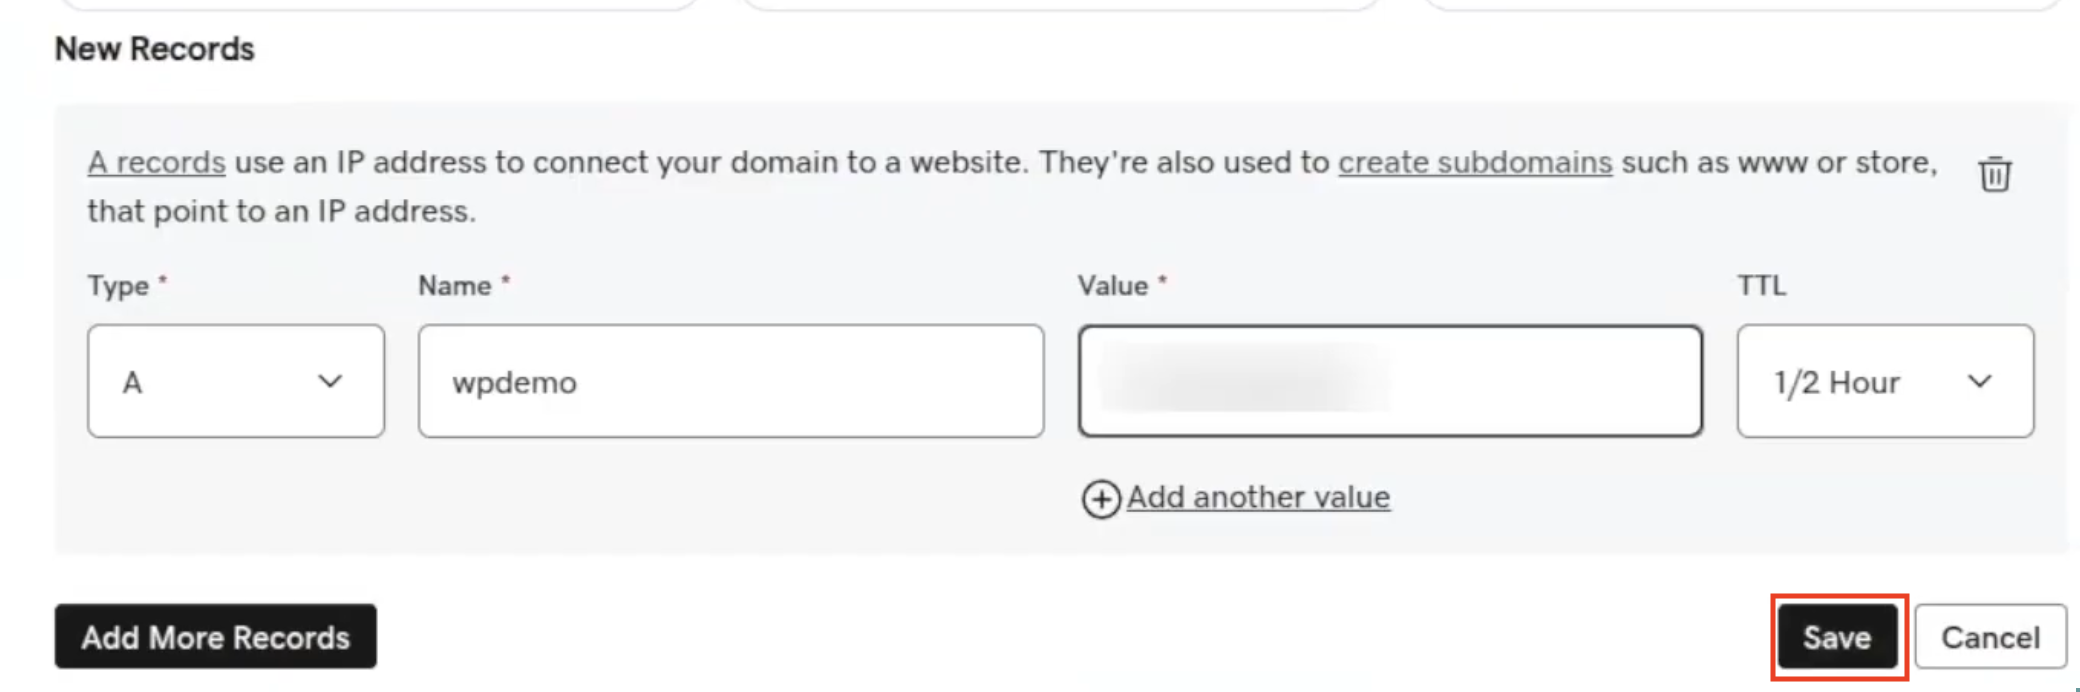
However, for this article, I am using one of my own external domains which is hosted on GoDaddy. I will go to GoDaddy and add an A record, give it a name and add the server’s IP as the value of A record. This means that now the subdomain I just created essentially points to my server.
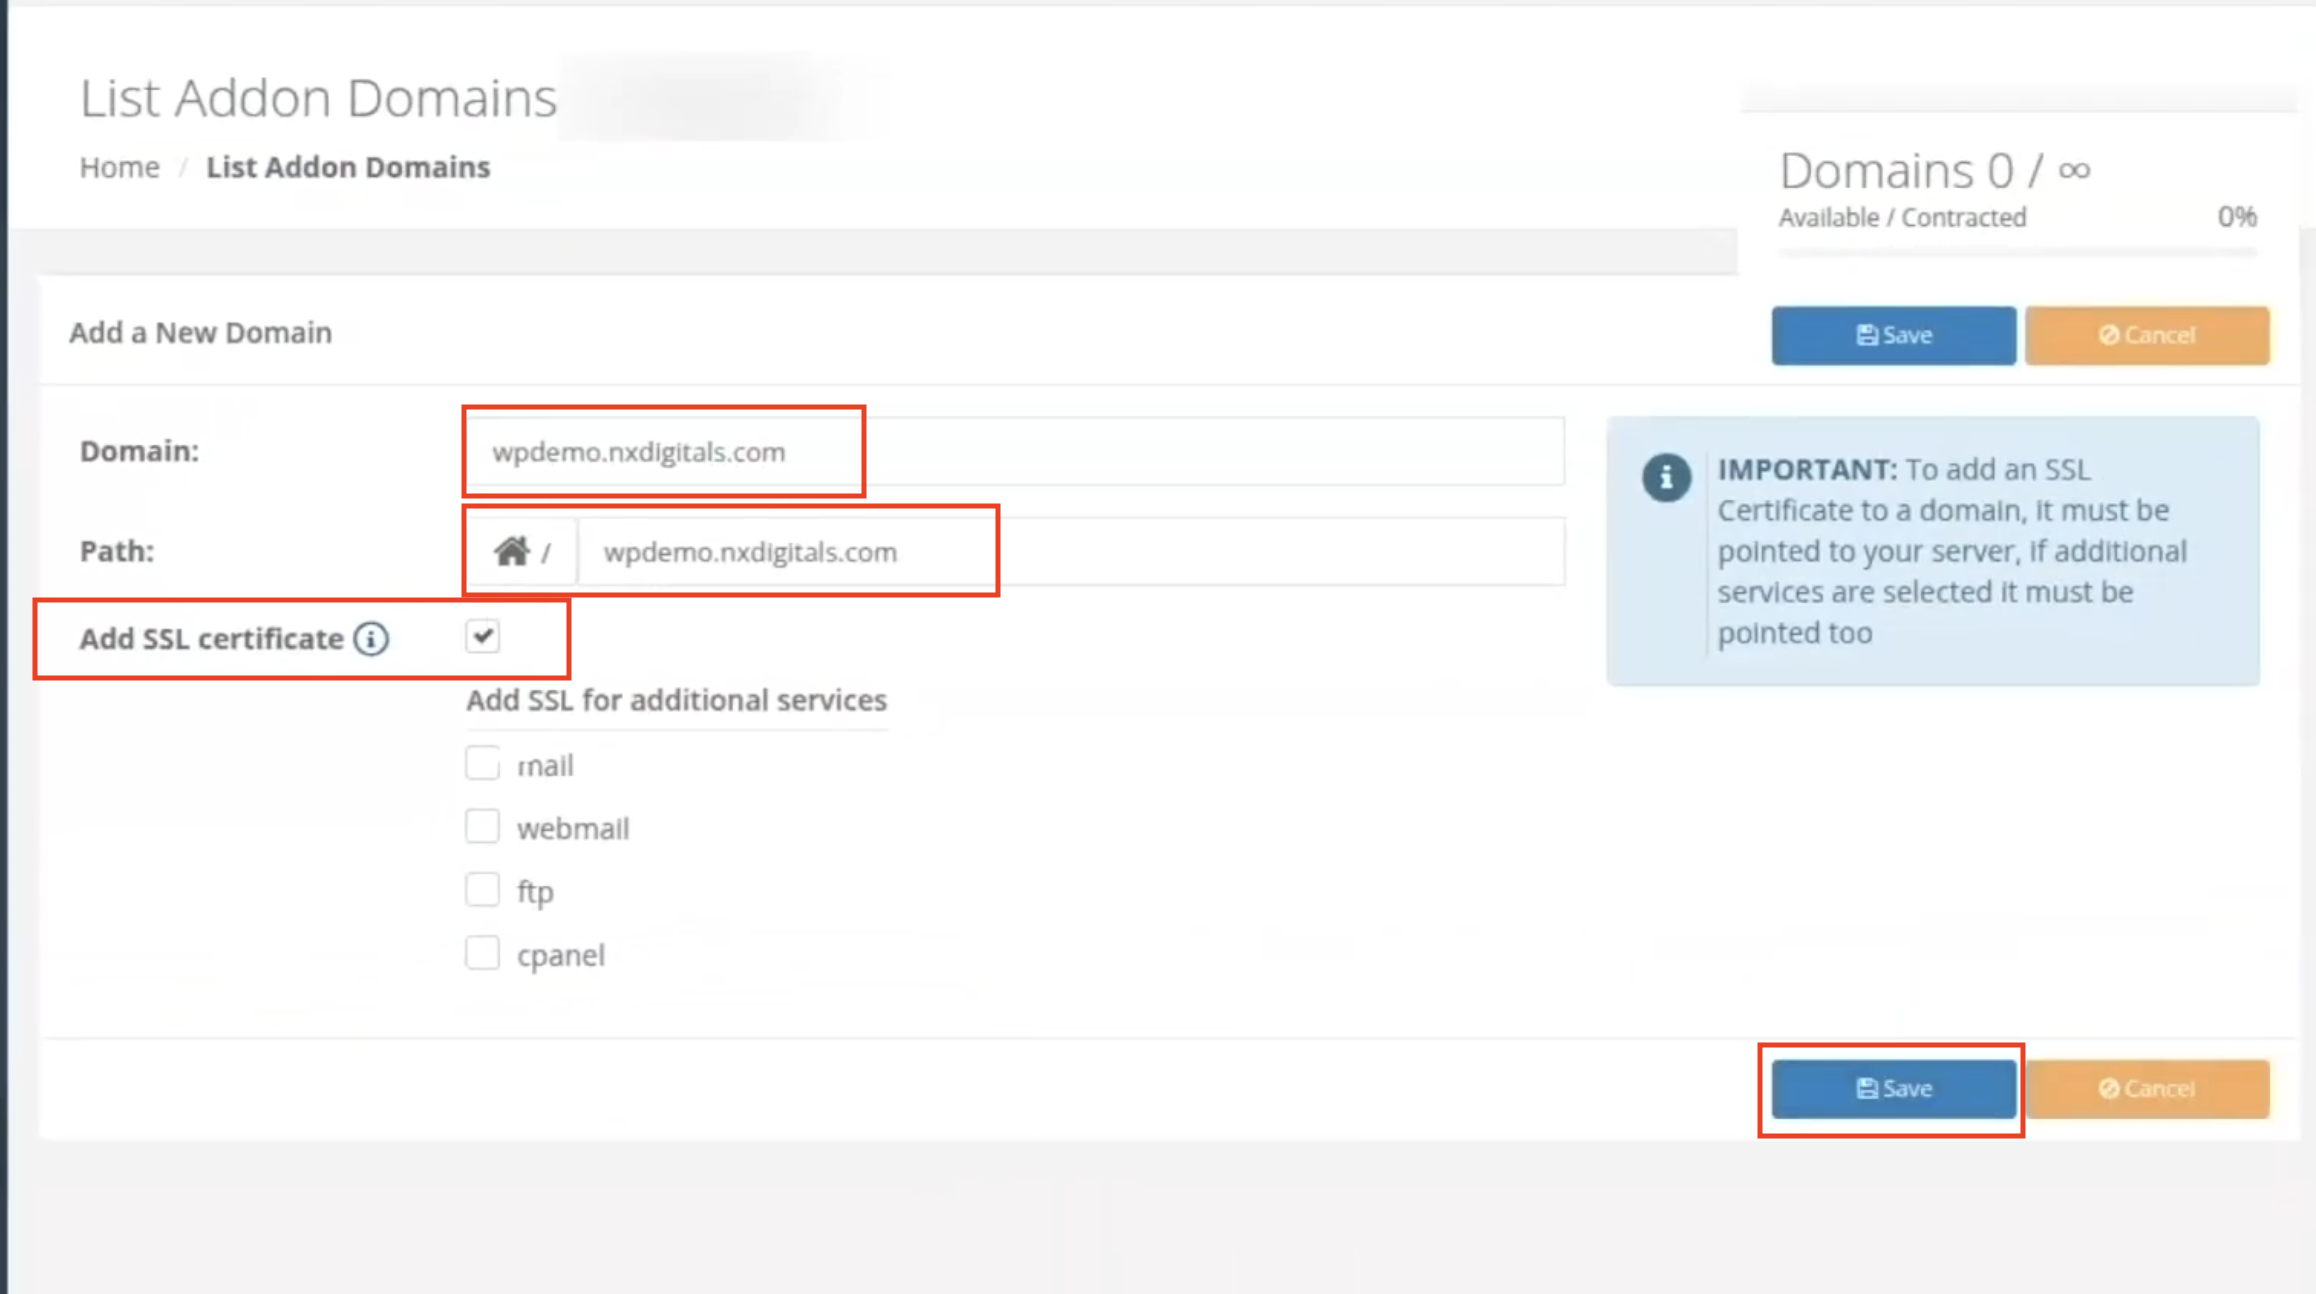
I went back to my CWP and clicked on add domain. I added my subdomain, it will automatically specify the directory’s path and then I clicked and checked the option “Add SSL certificate”. Finally I clicked on Save.
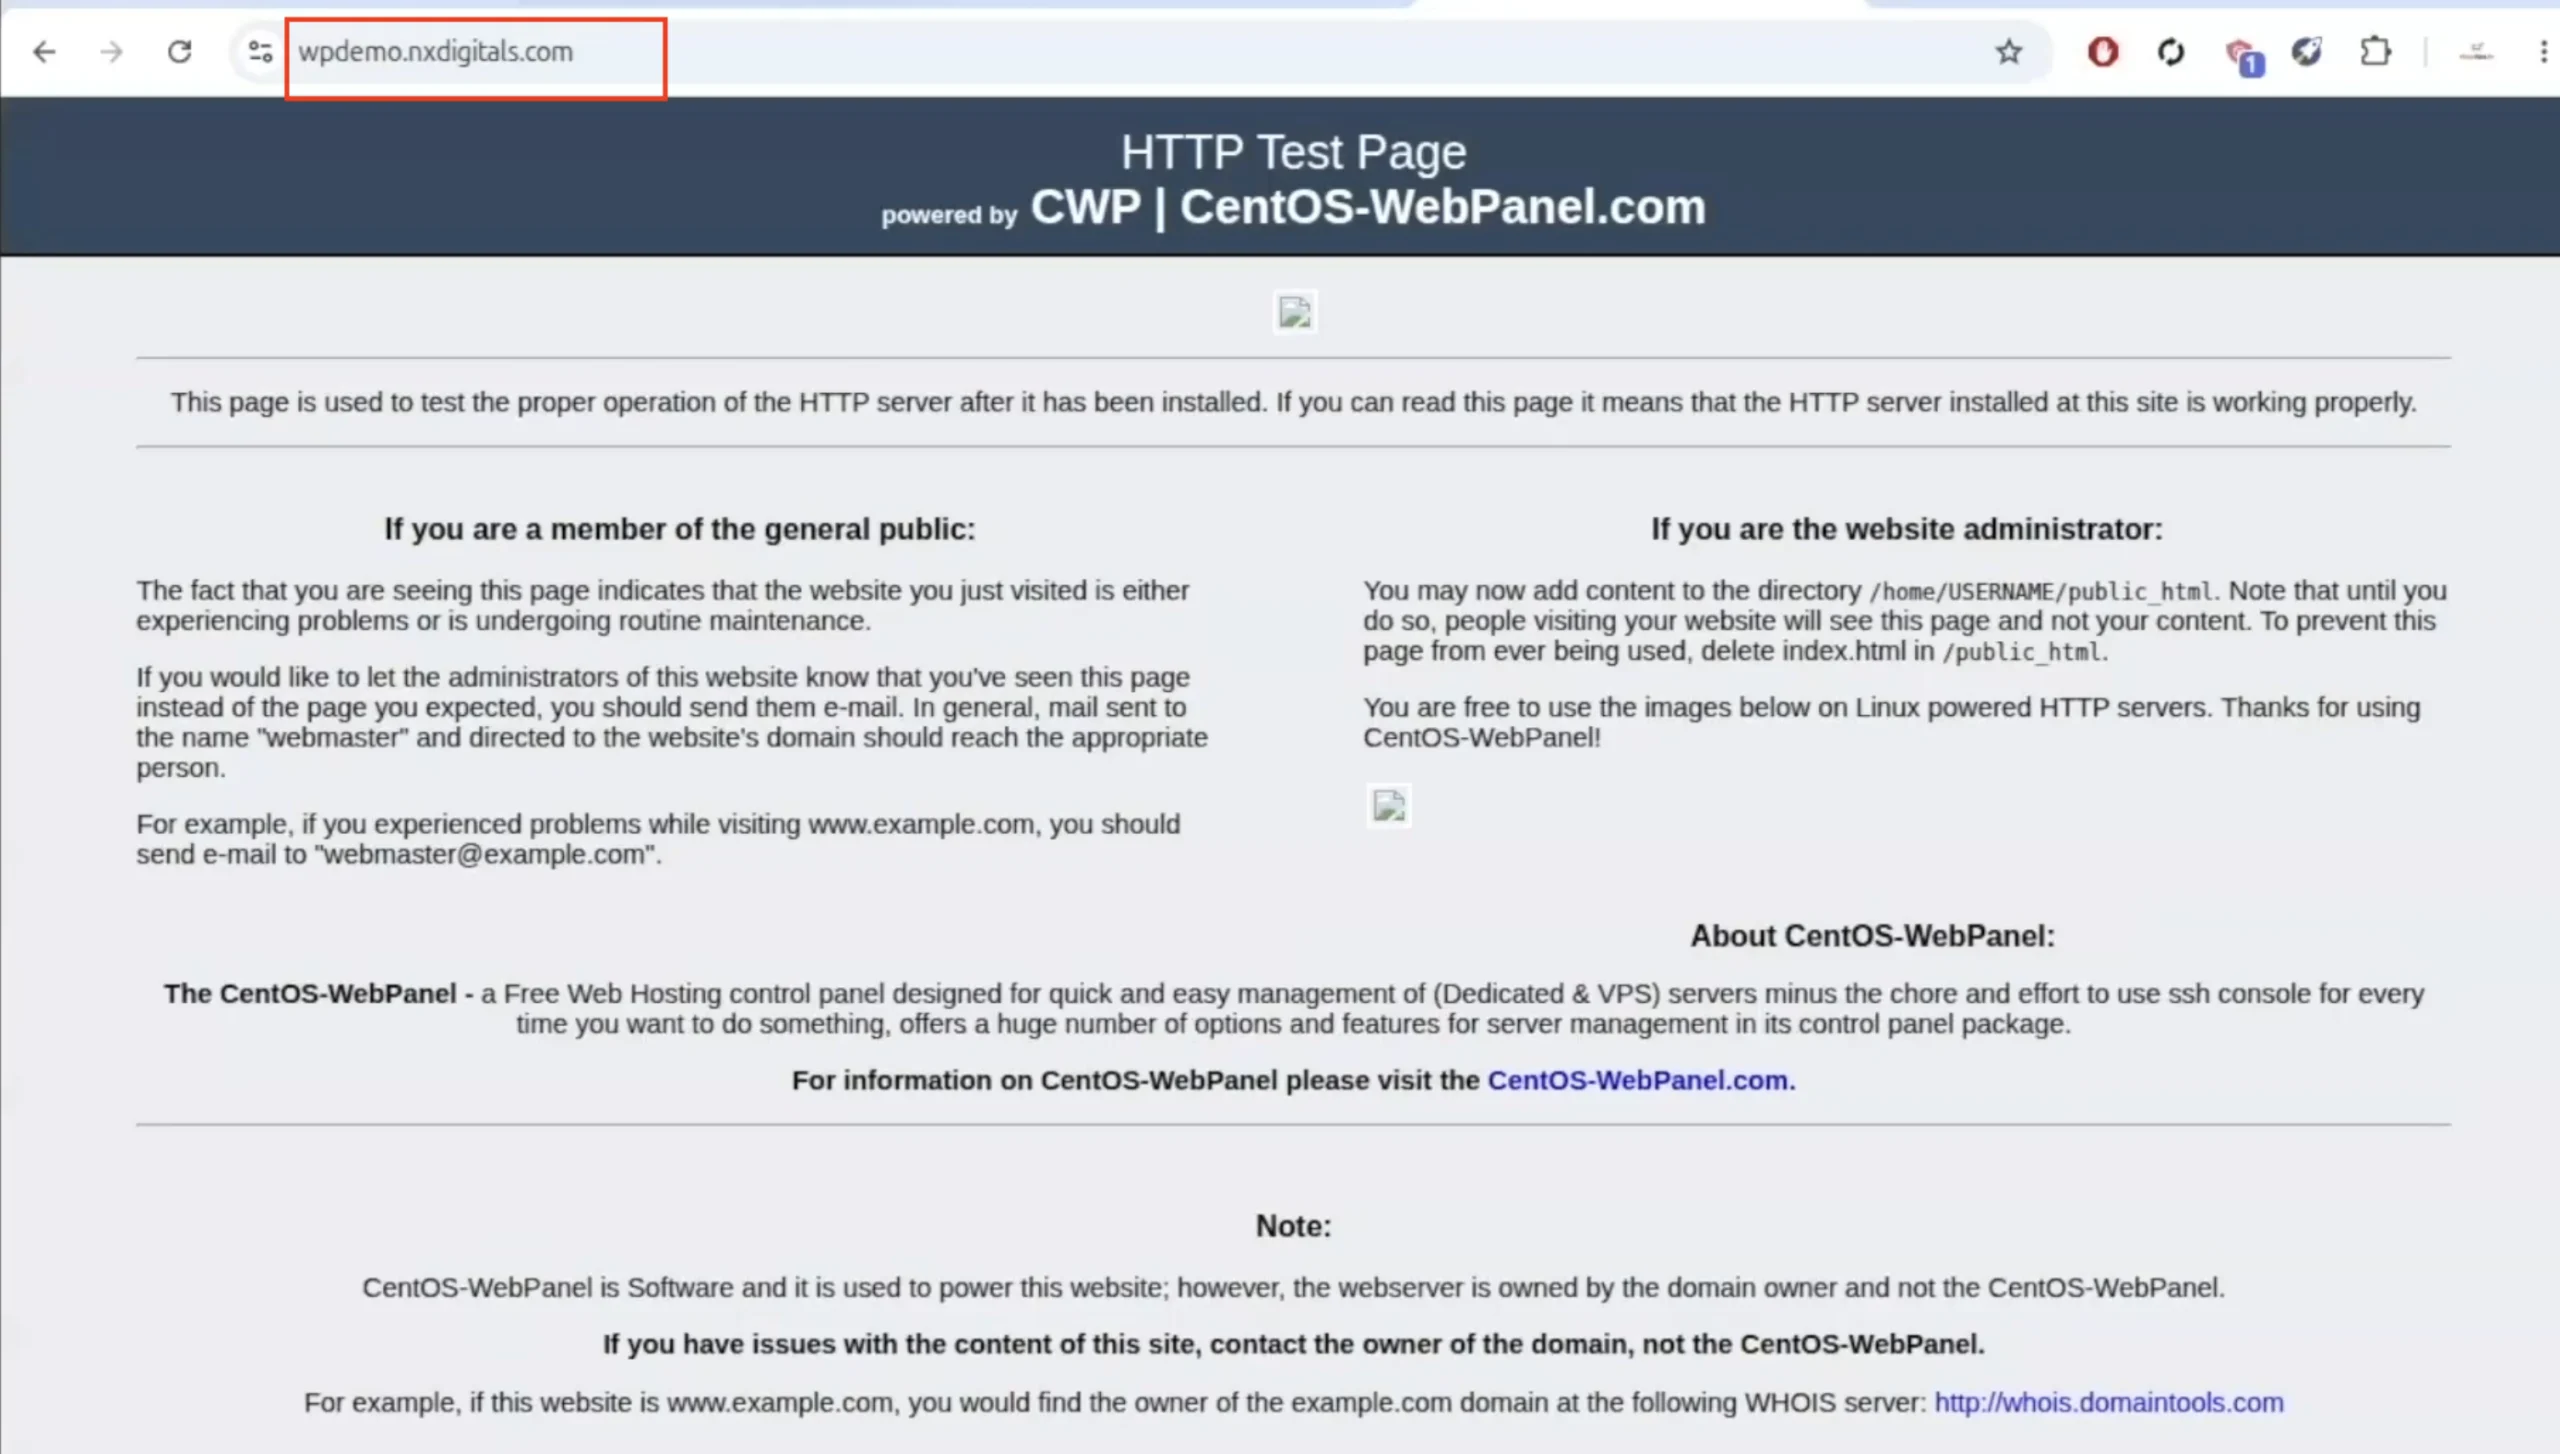
Now I need to verify if the domain is pointing to the server. For that matter, I went to the browser and typed in my domain and I got this result where default CWP page loads. This means that the domain and server side setup both are properly configured and they are working.
3- Installing WordPress
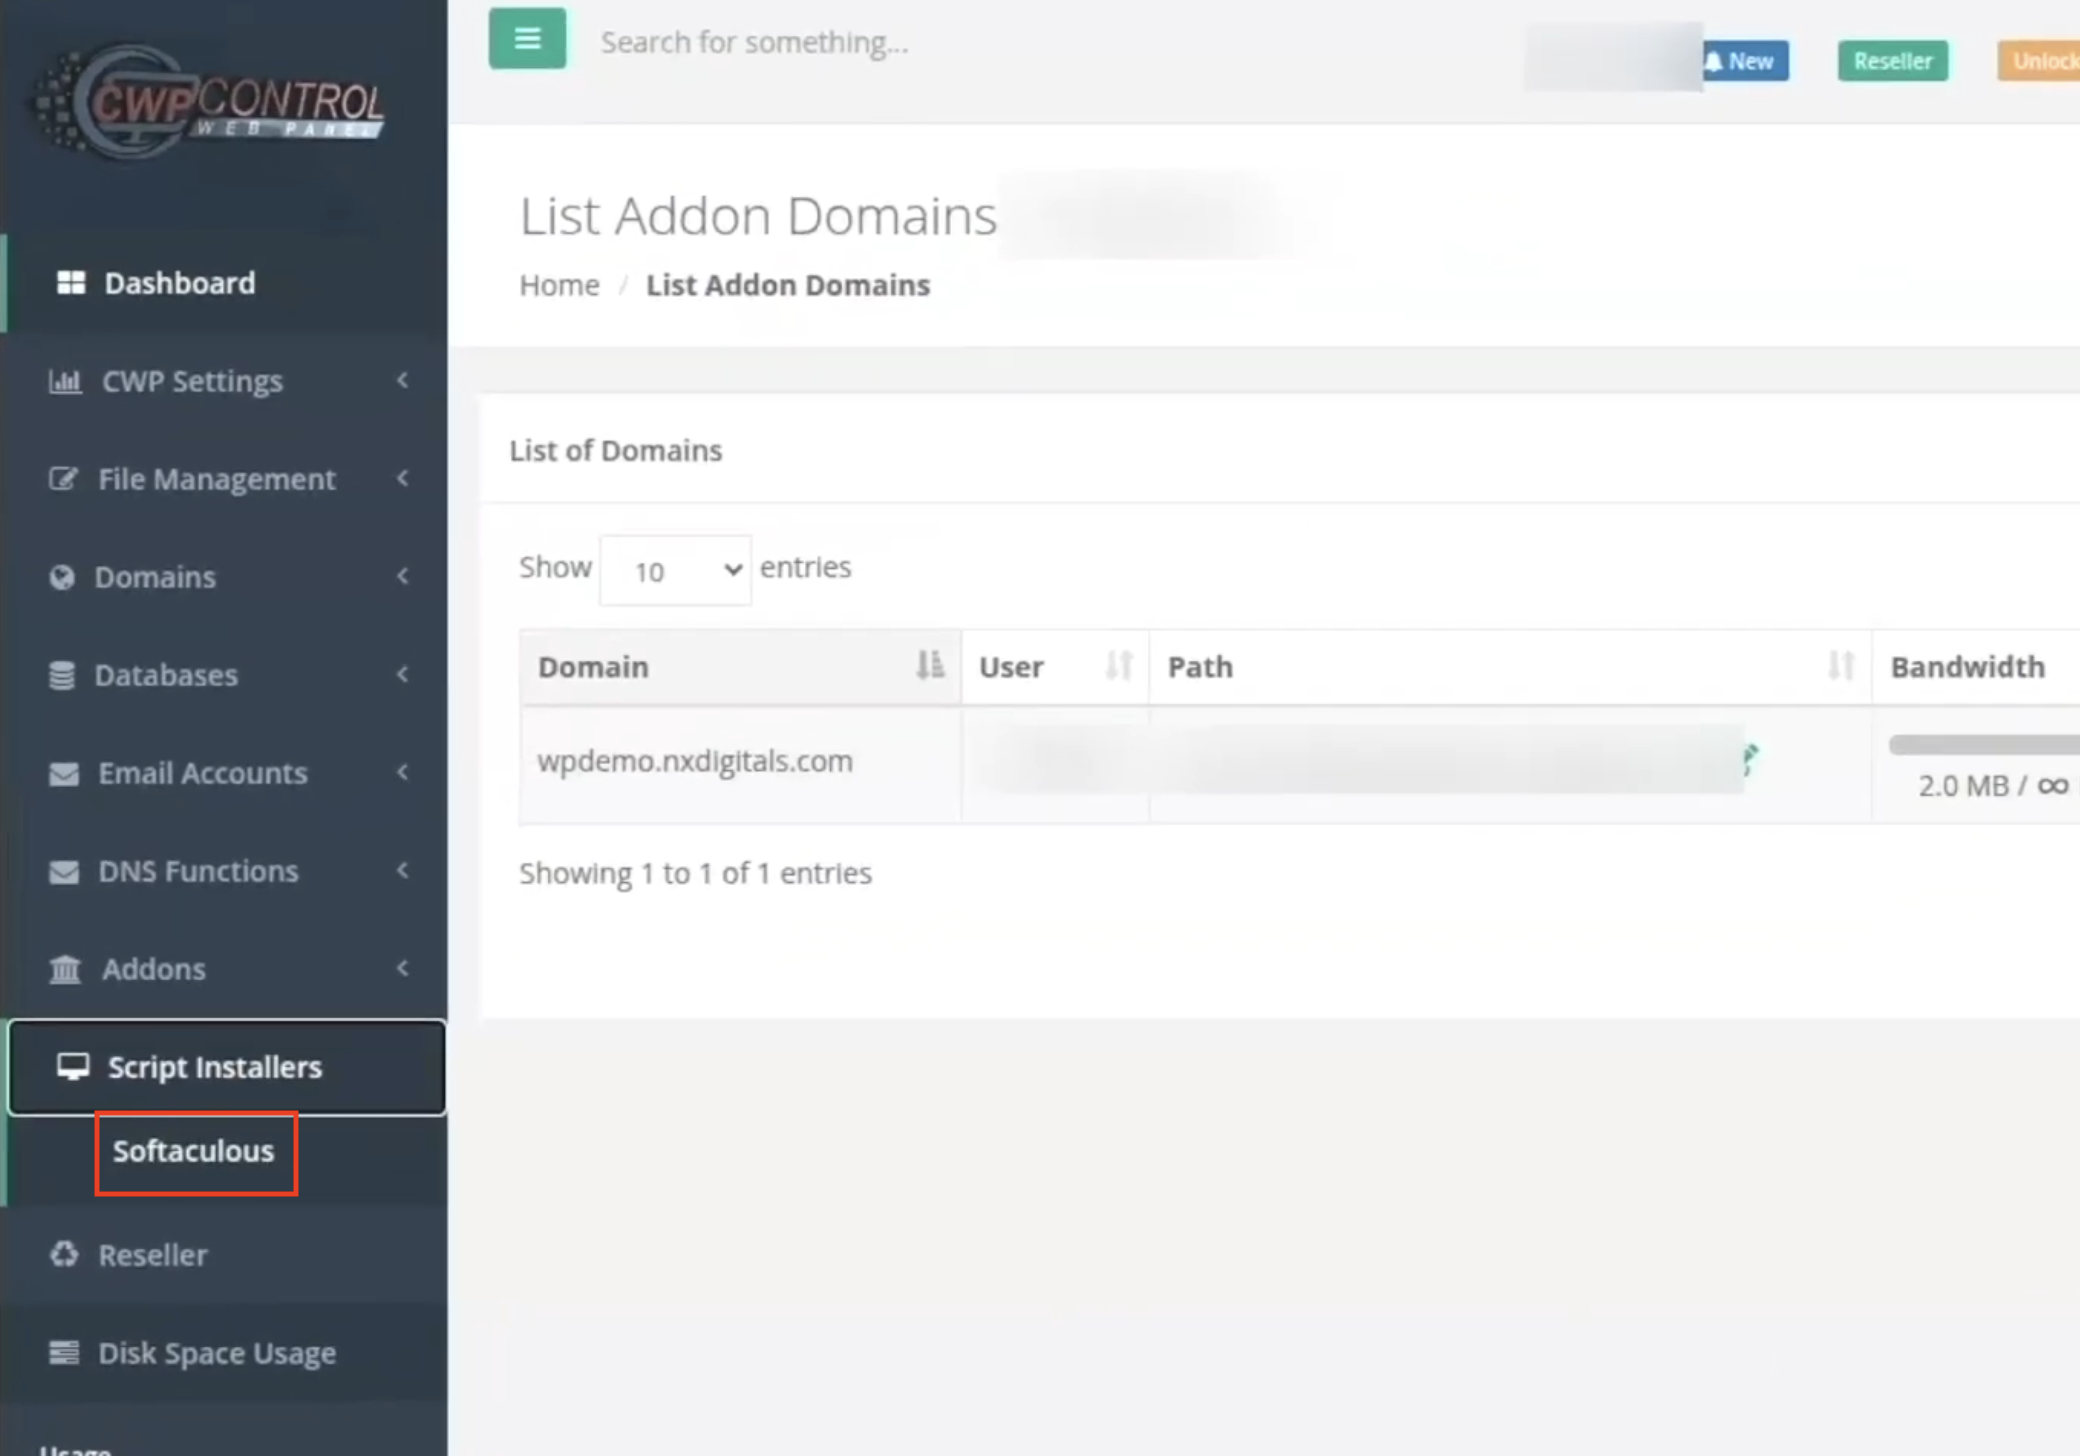
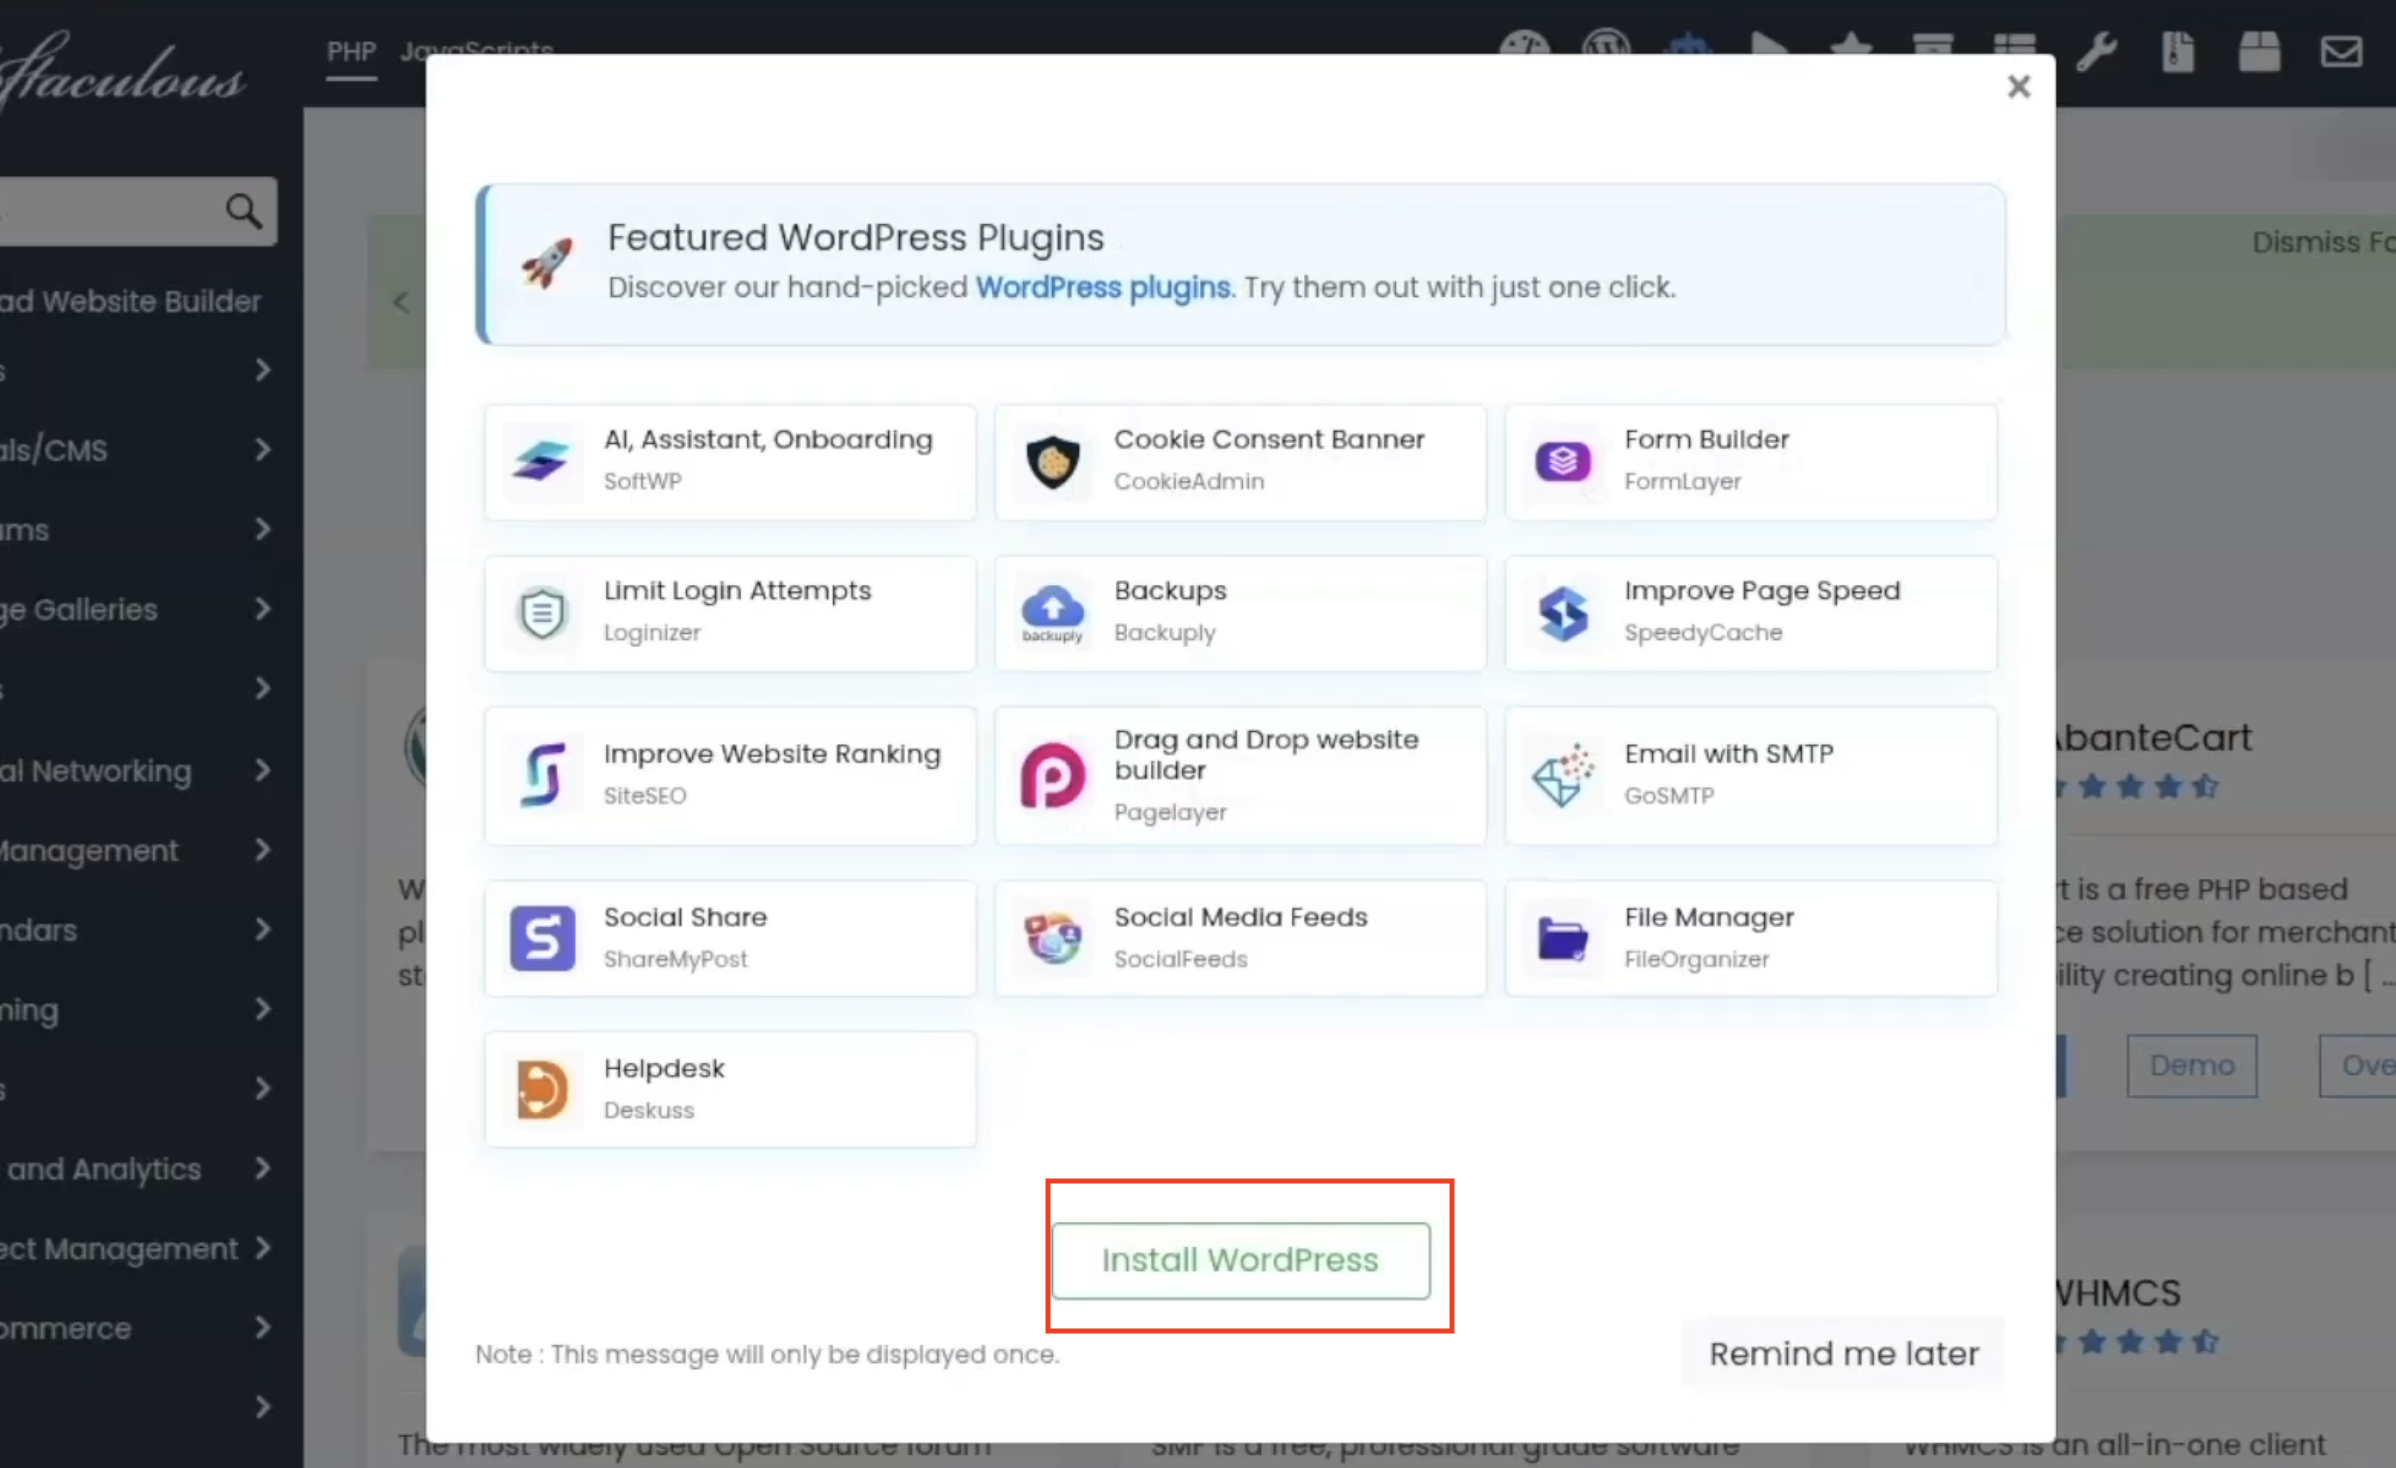
In CWP, on the left side bar, I went to “Script Installers” and clicked on “Softaculous”. I clicked on Install WordPress to open up the wordpress installer and start a fresh installation.
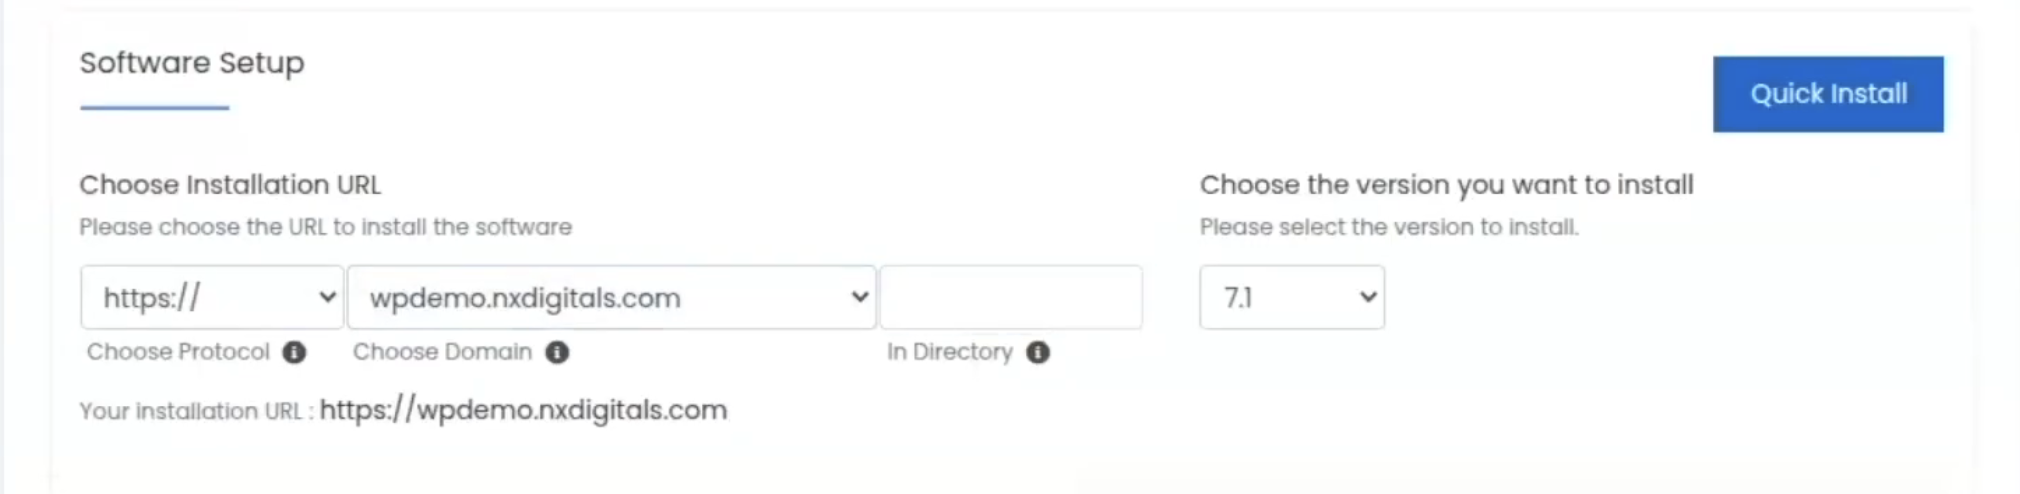
Softaculous preloads some of the basic wordpress setup. When choosing the URL, I kept the directory empty so the website is loaded directly on the domain and not on a specific path. Inside the “Site Settings” section, I entered the Site Name, Site Description, Admin Username and Admin Password along with my own email address.
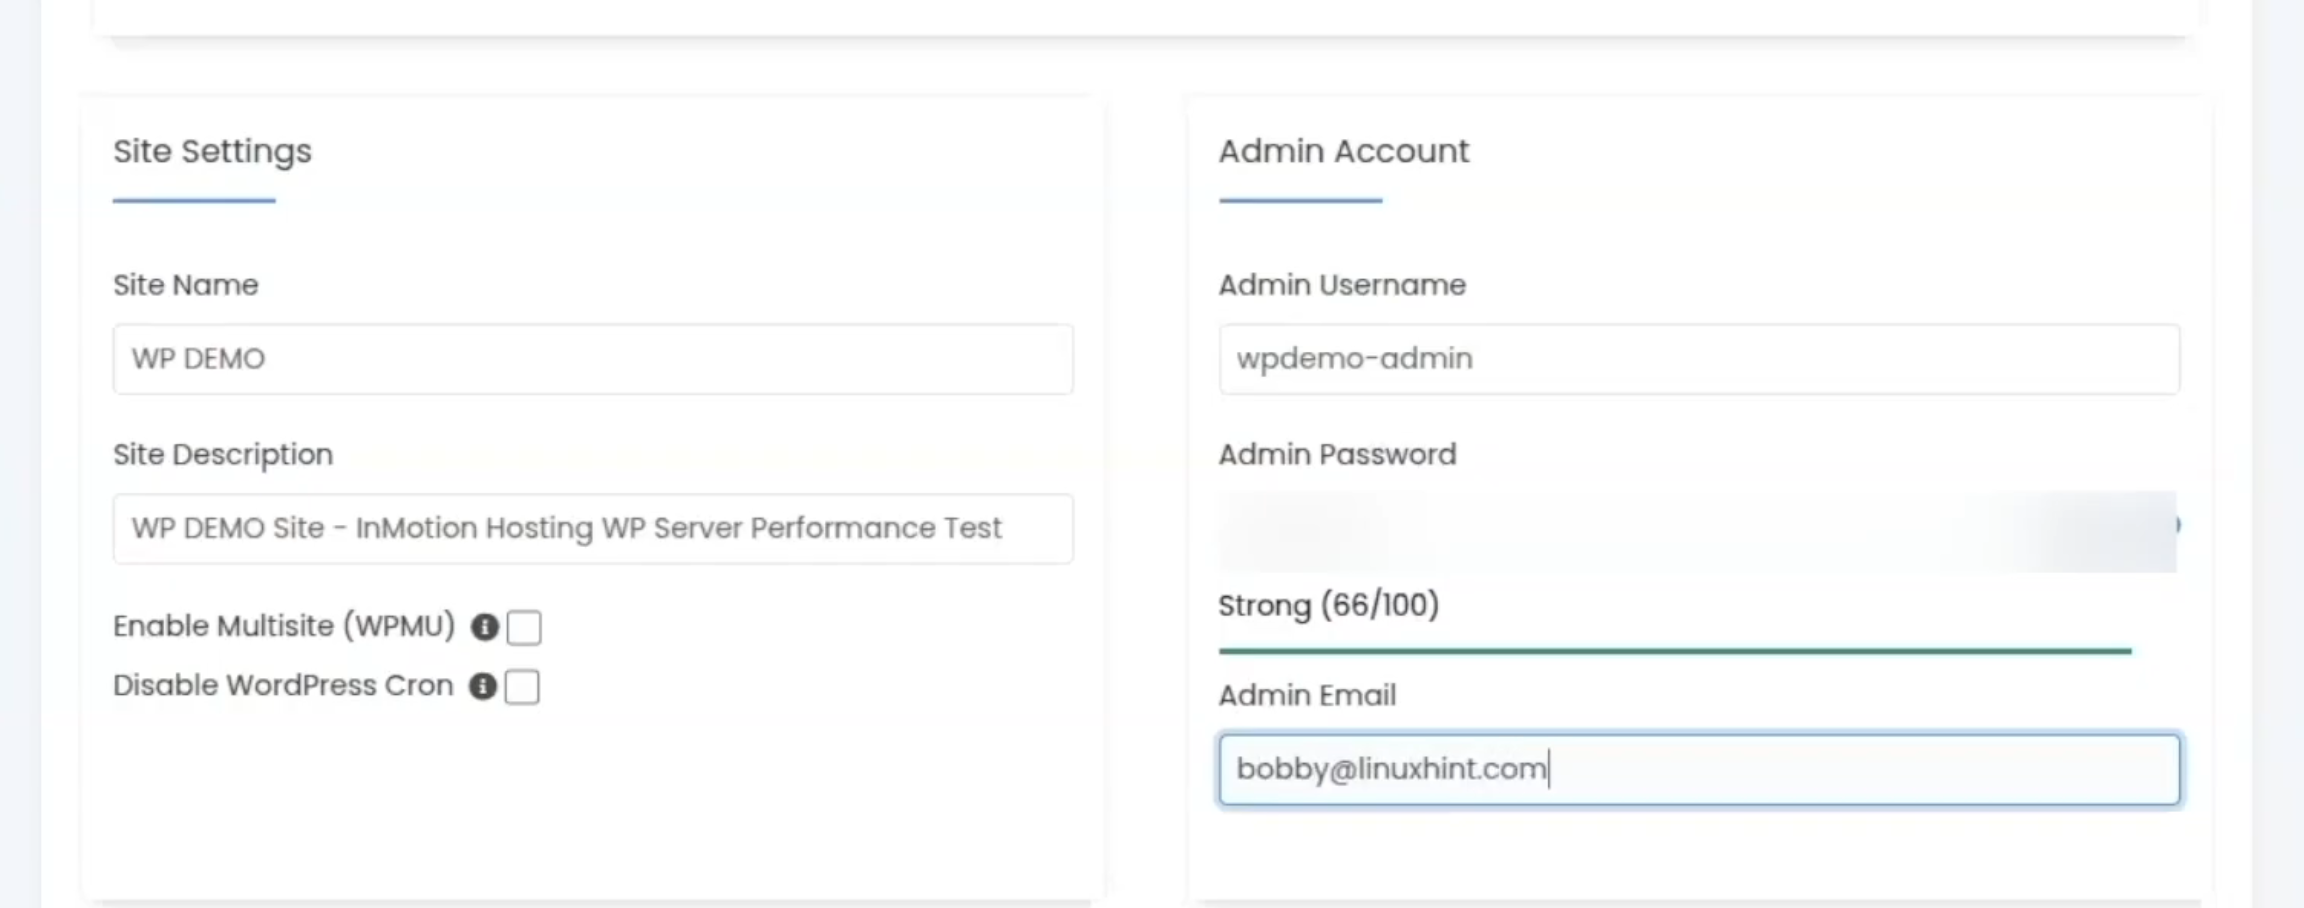
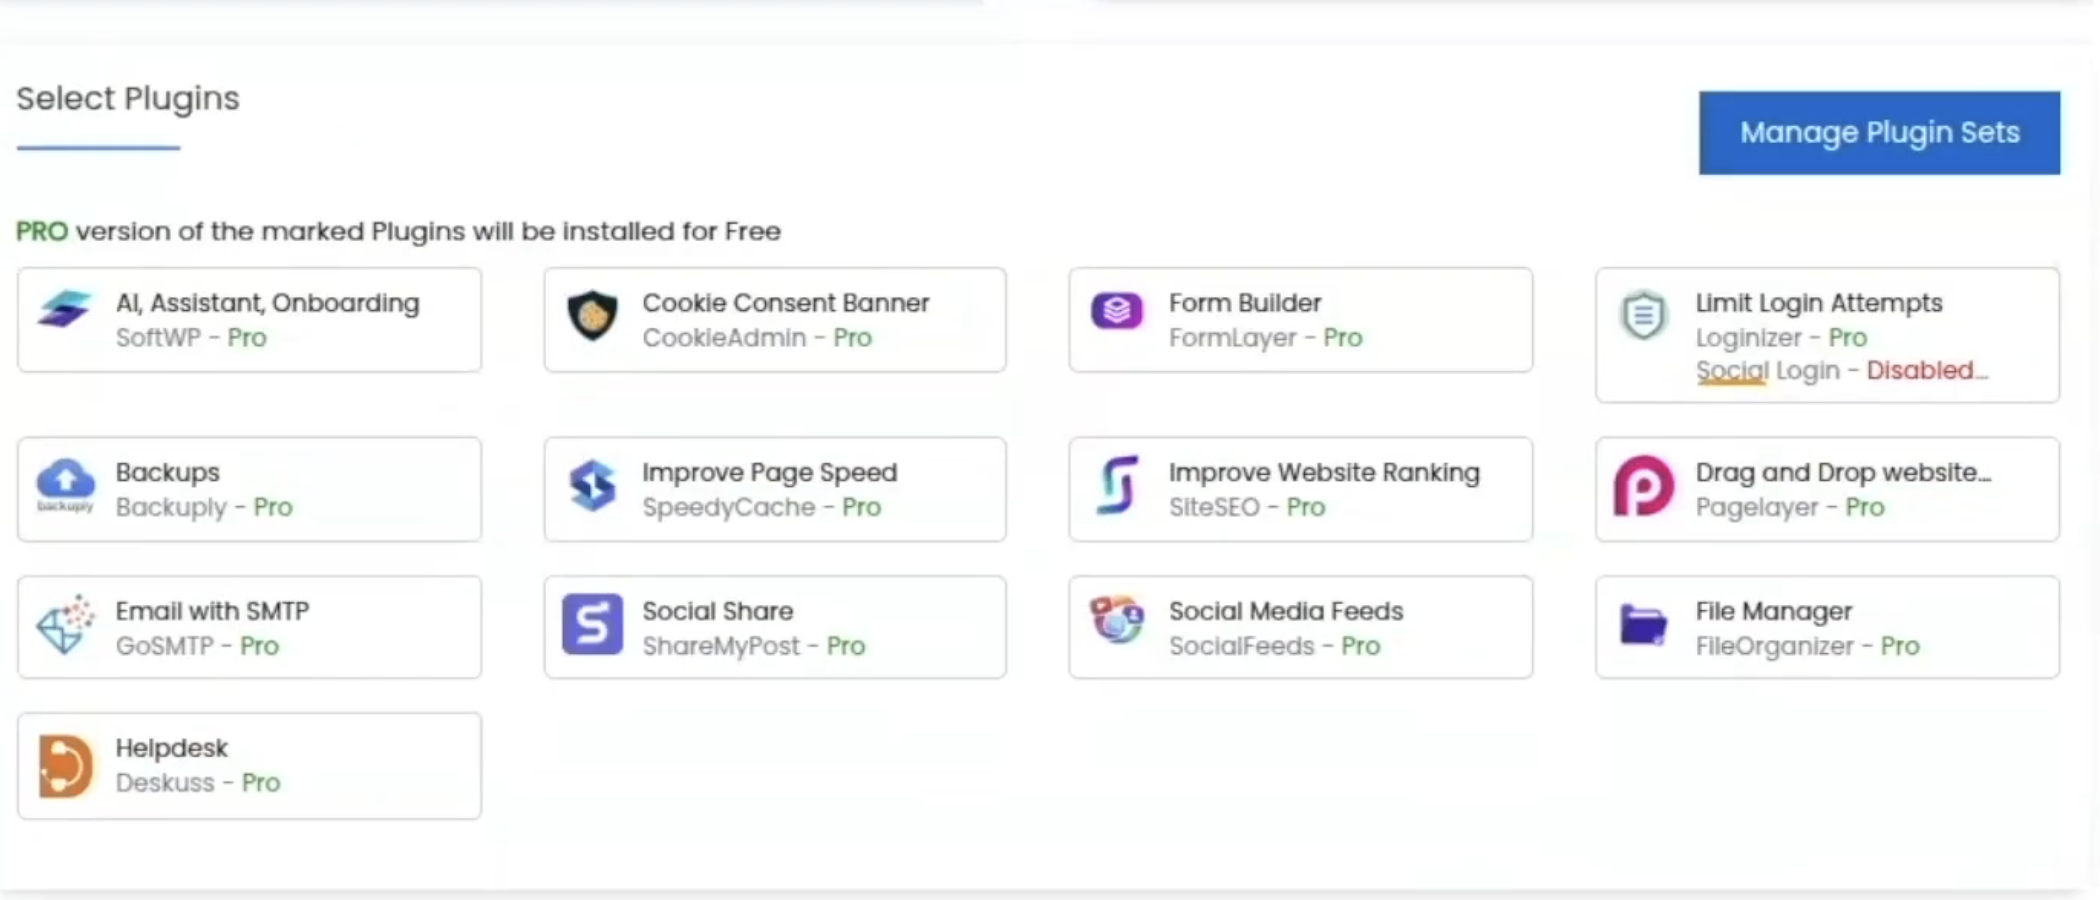
Softaculous had plugins selected automatically so I’d not select them, I’d uncheck them all because I want a clean site so I can do a performance test. I don’t want unnecessary clutter or plugins to affect the performance.
In the Advanced Options, I have disabled the automated backups because I don’t want Softaculous to be creating backups, I can handle that myself on my server.
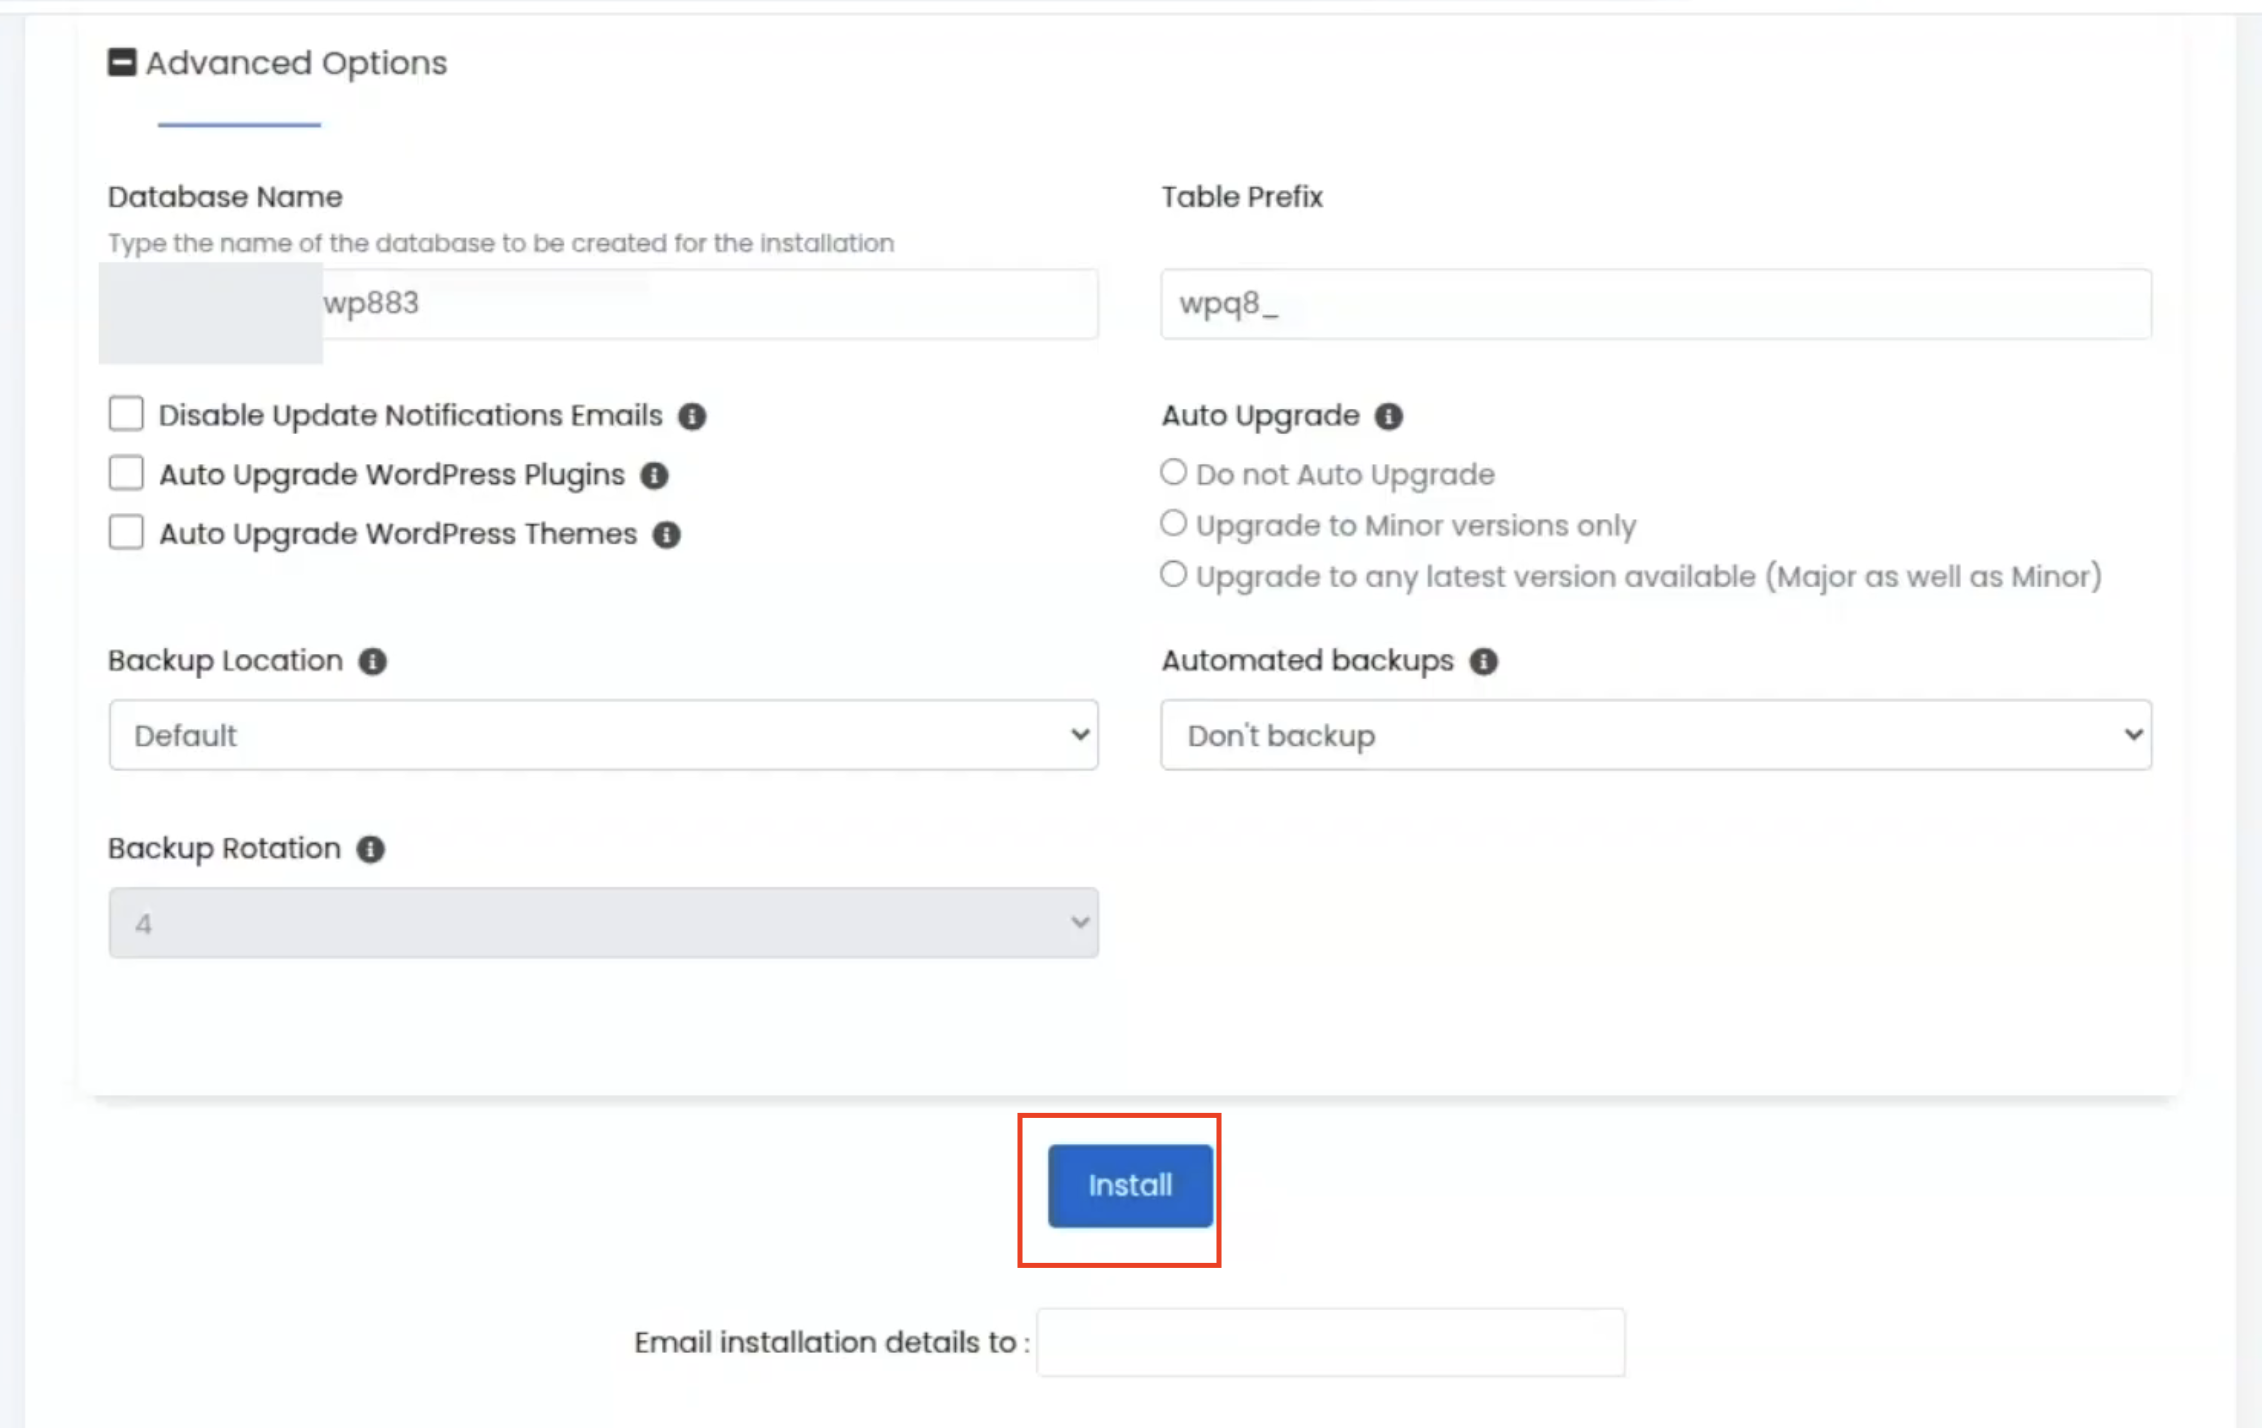
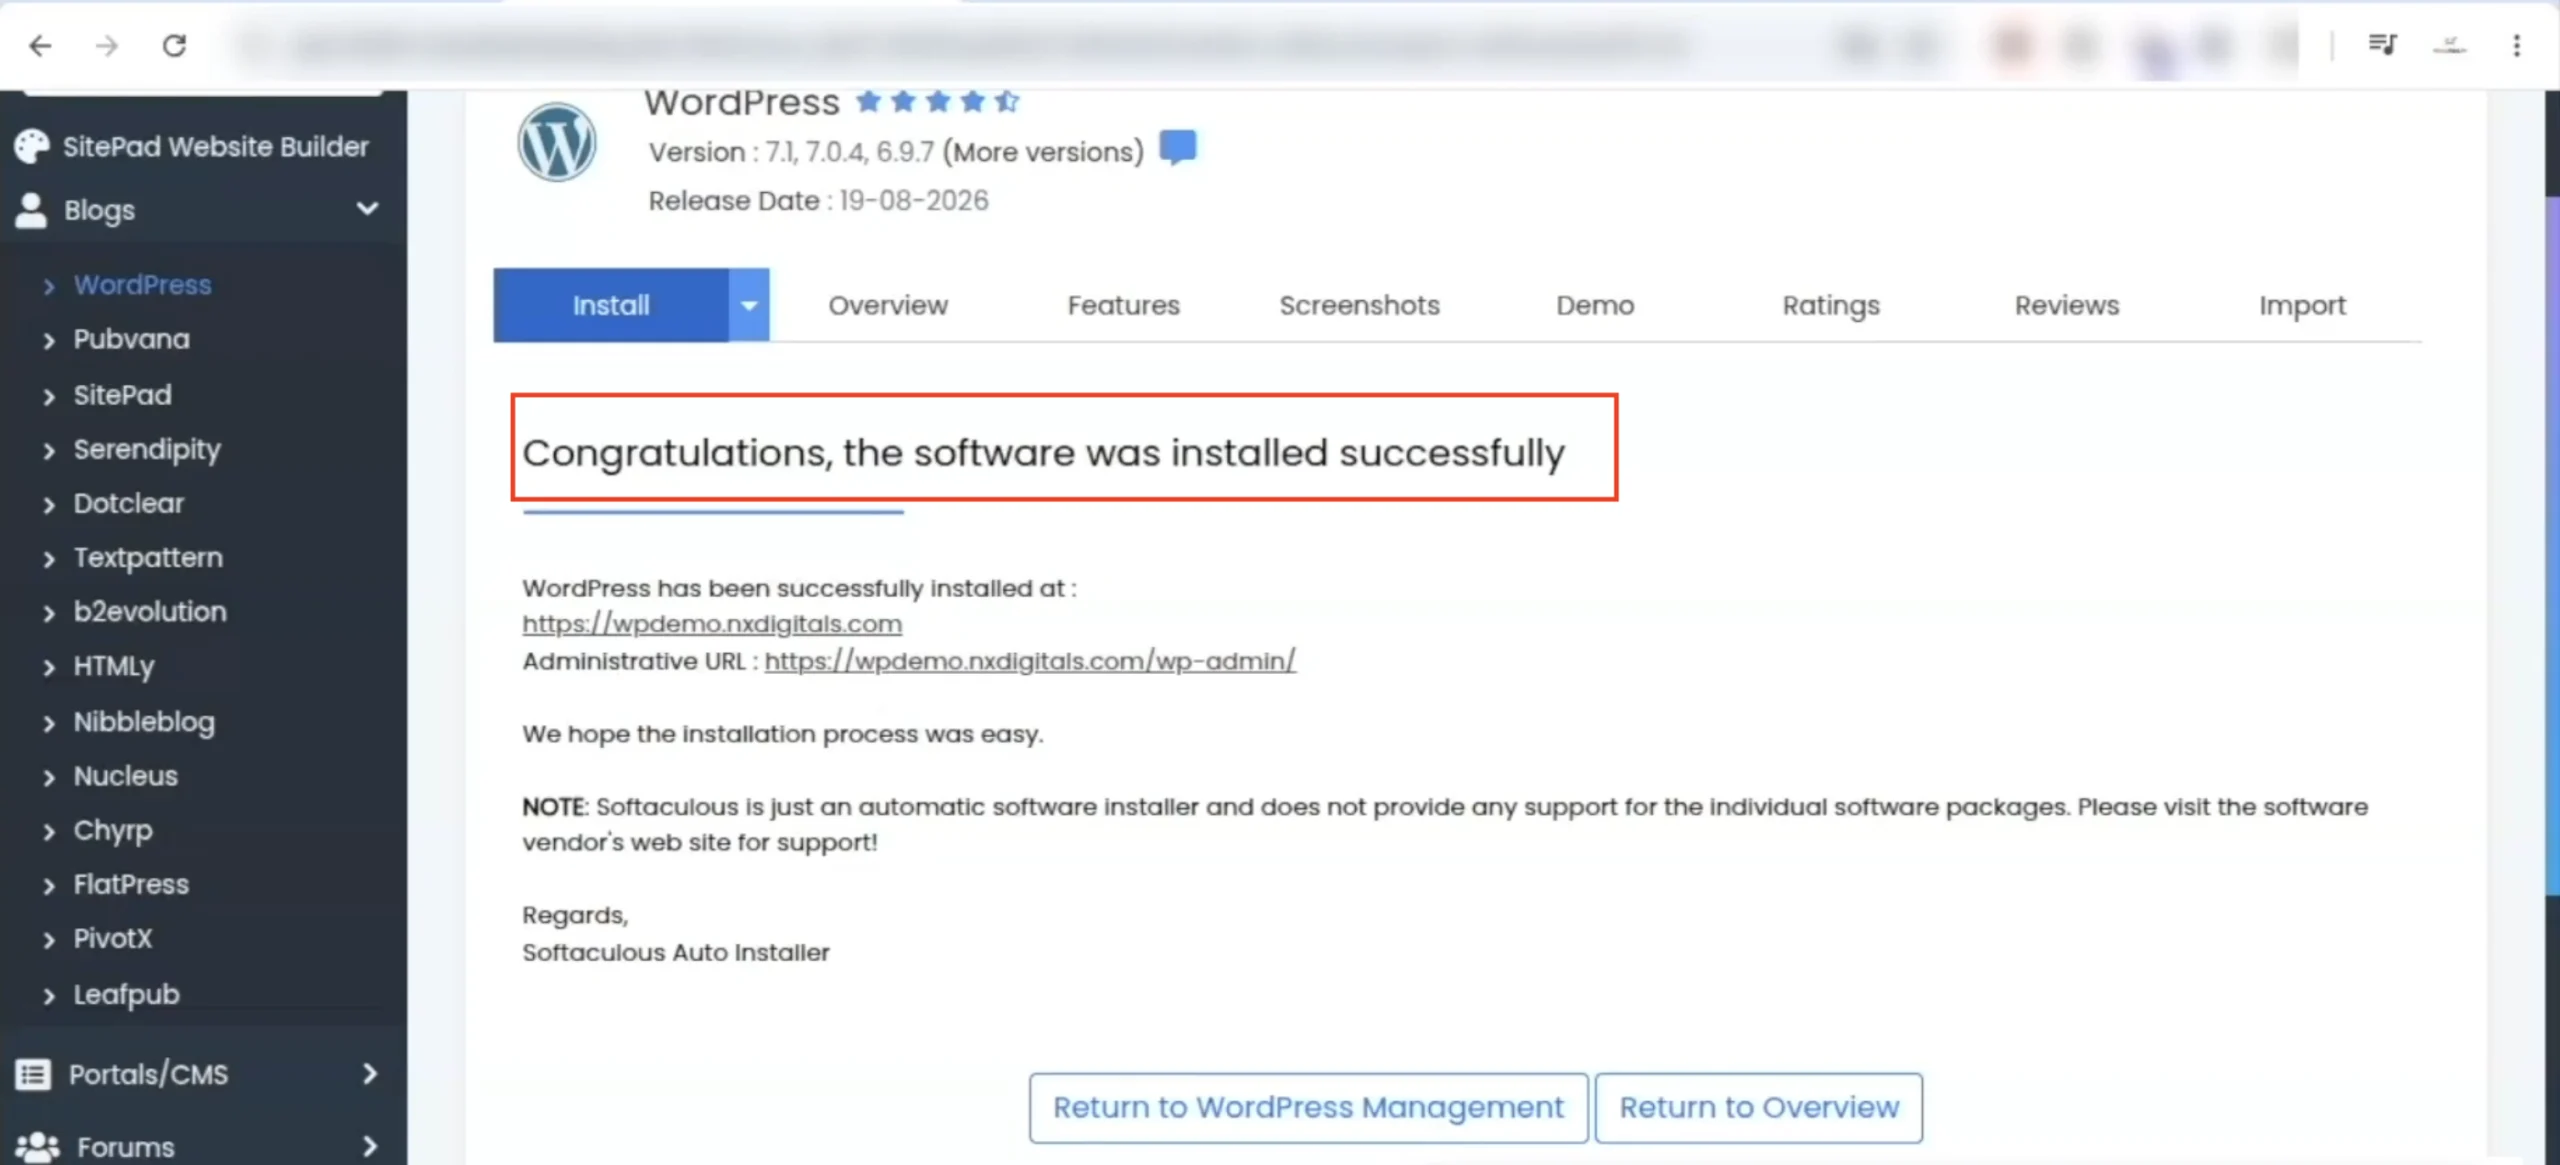
Finally, I clicked on Install and shortly after that wordpress was successfully installed.
4- Building the Actual Website
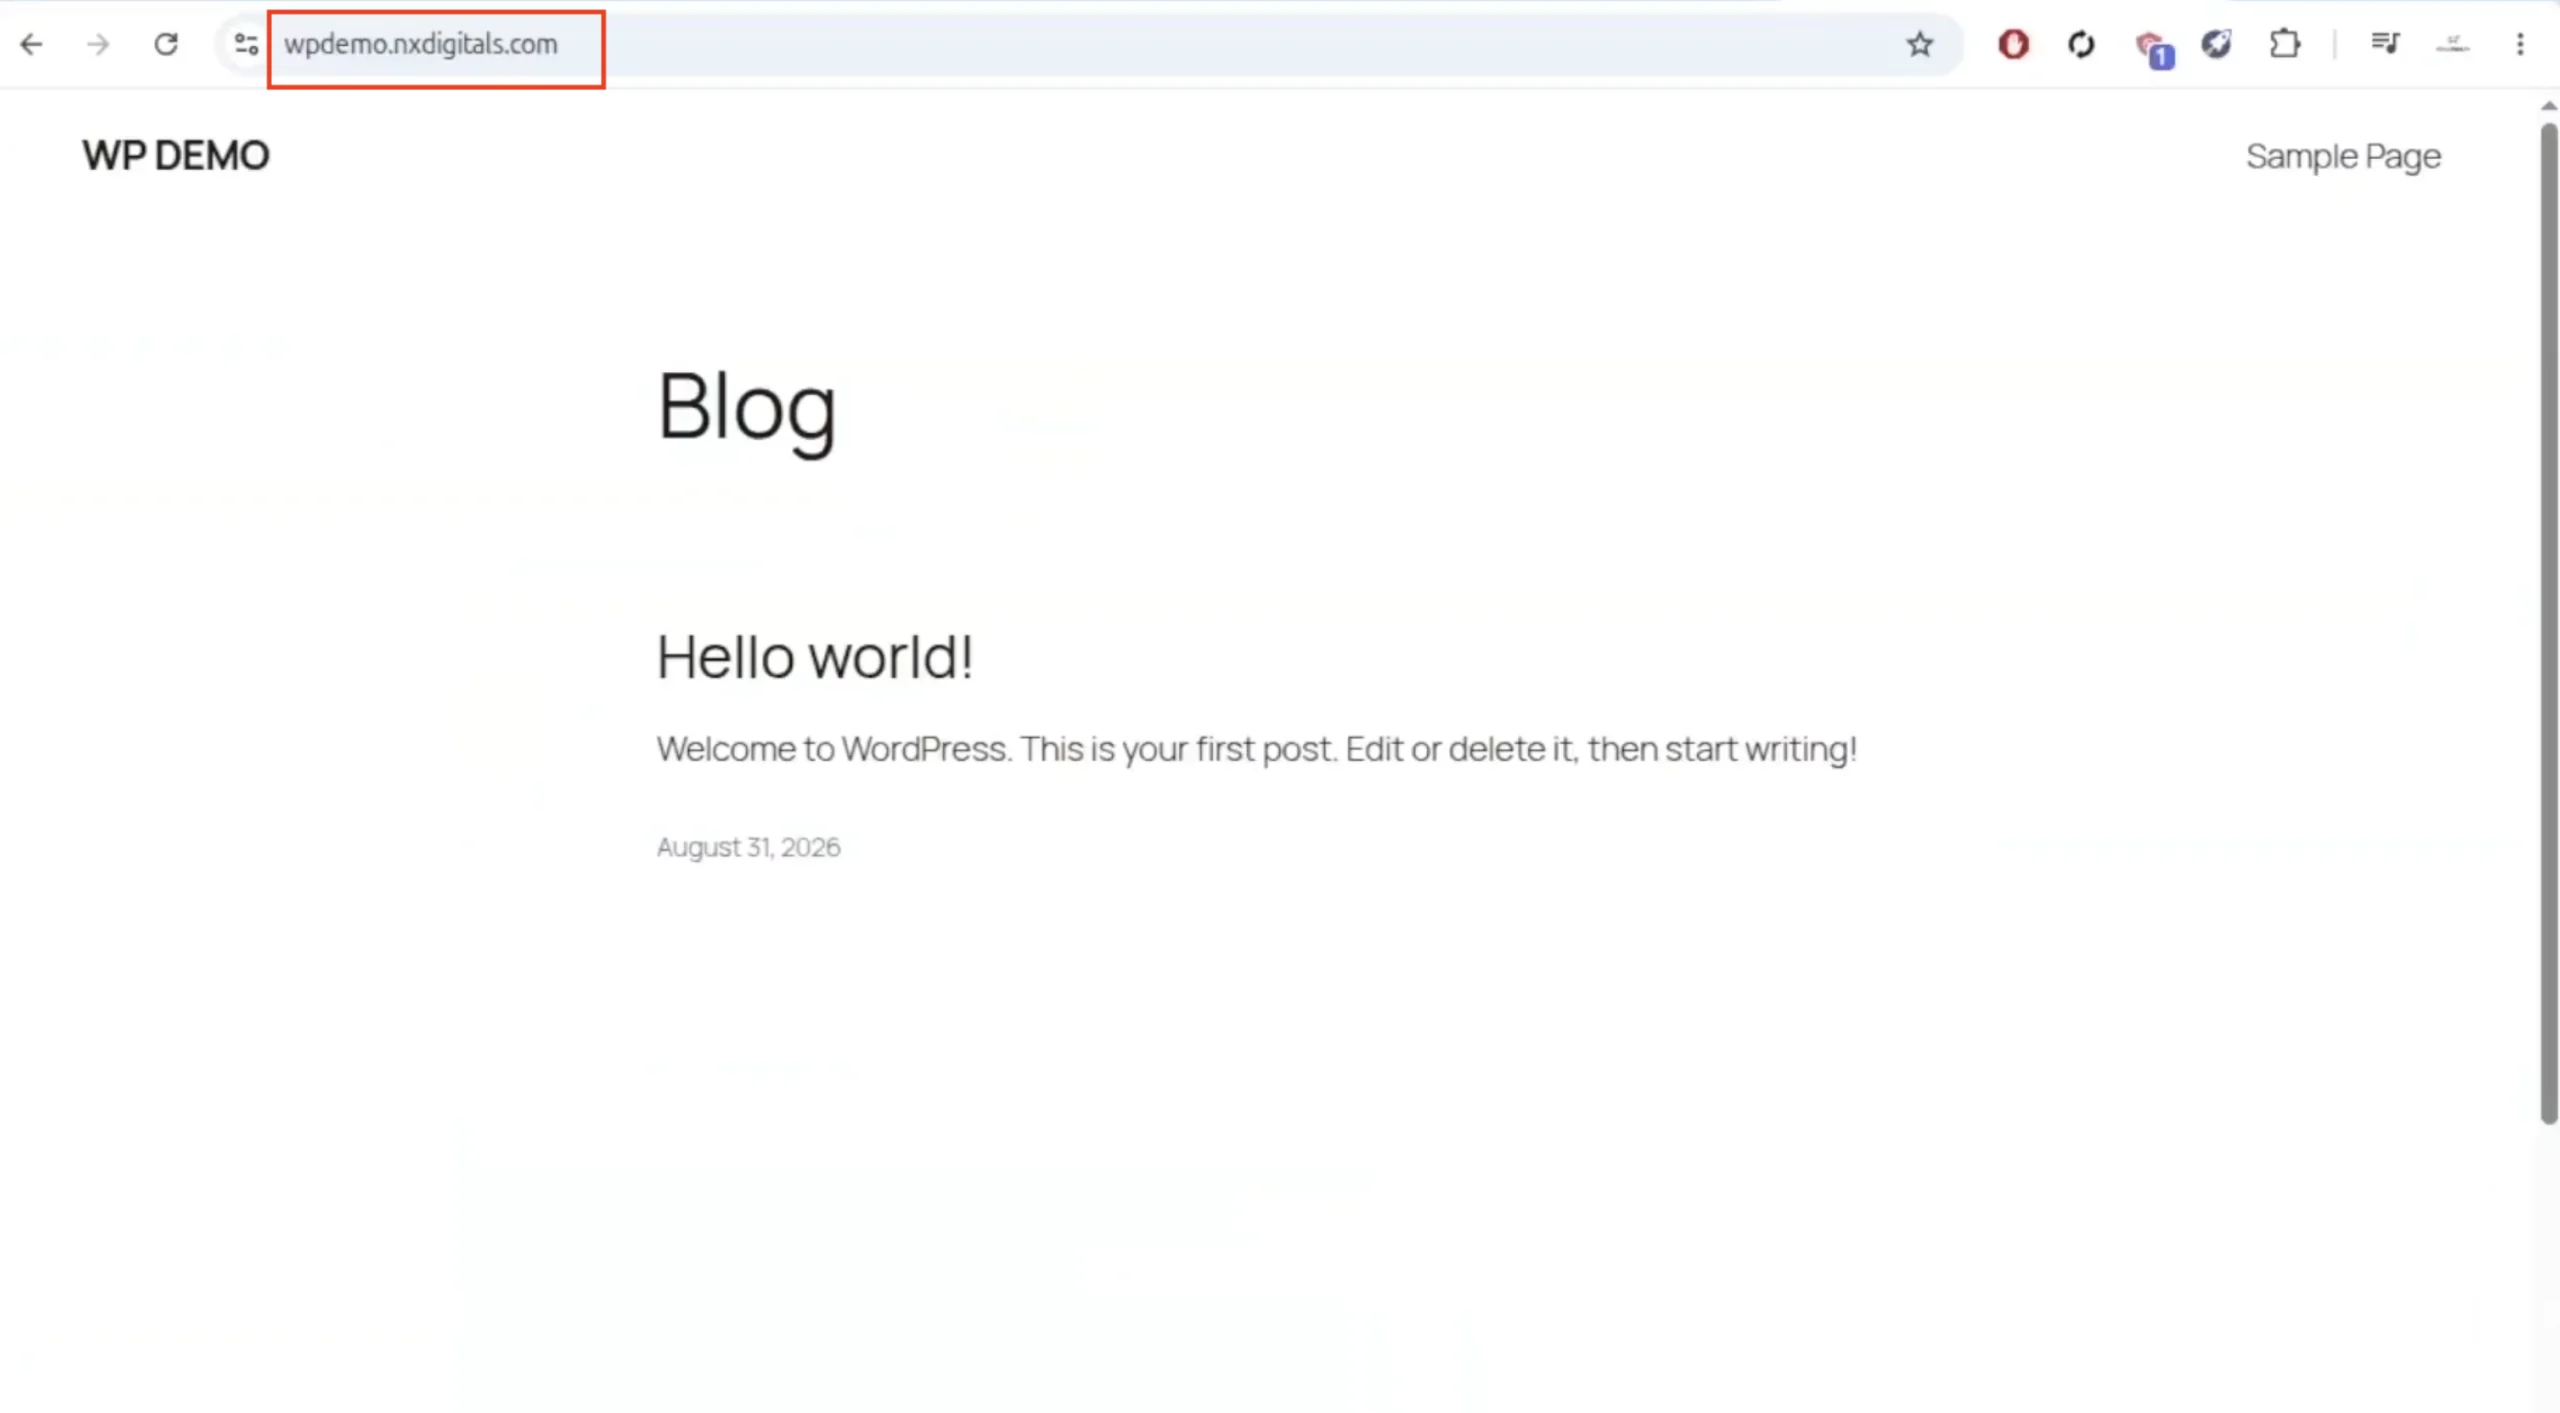
With wordpress installed, my URL resolves to this website which is like a basic website/template.
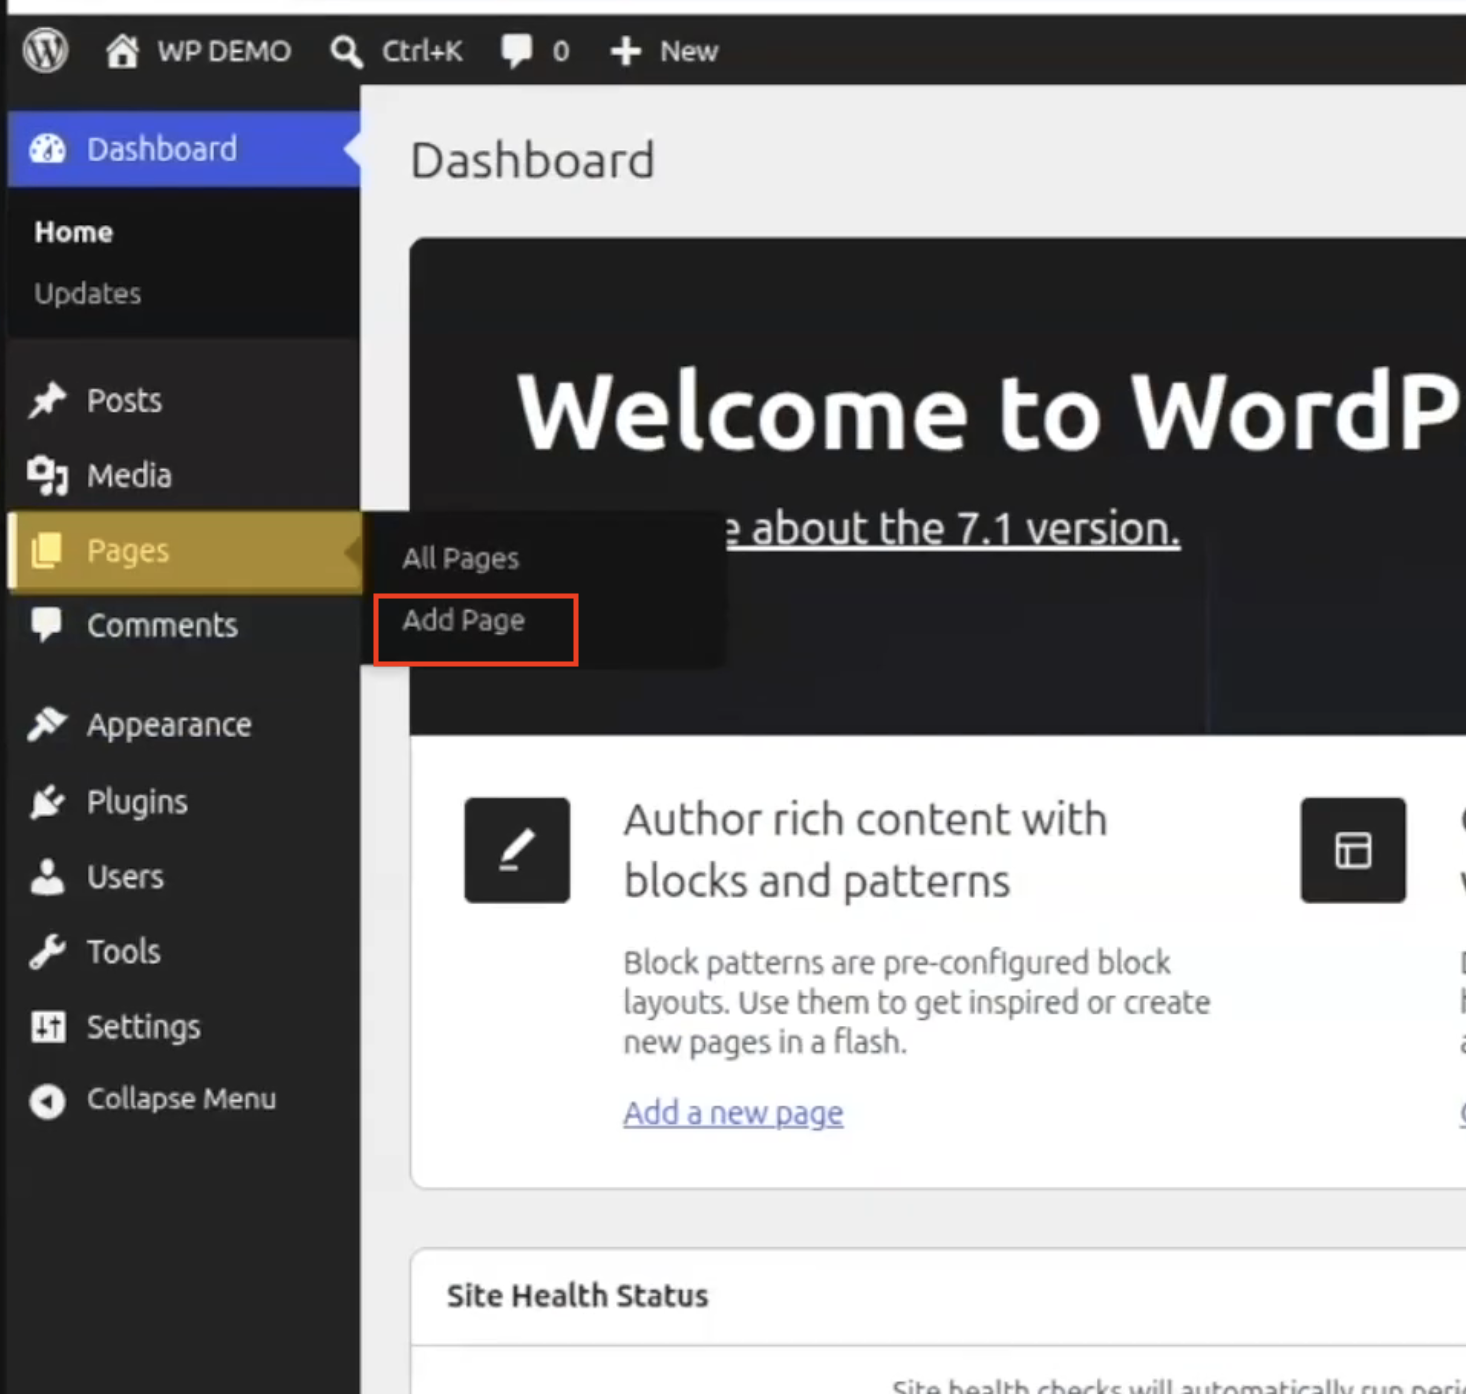
I logged into my website’s wordpress panel which you can also login to by going to https://yoursite.com/wp-admin and here enter the username and password which was selected during the wordpress installation. After logging into the website, I saw the wordpress dashboard and from here I clicked on Pages and then clicked on Add Page.
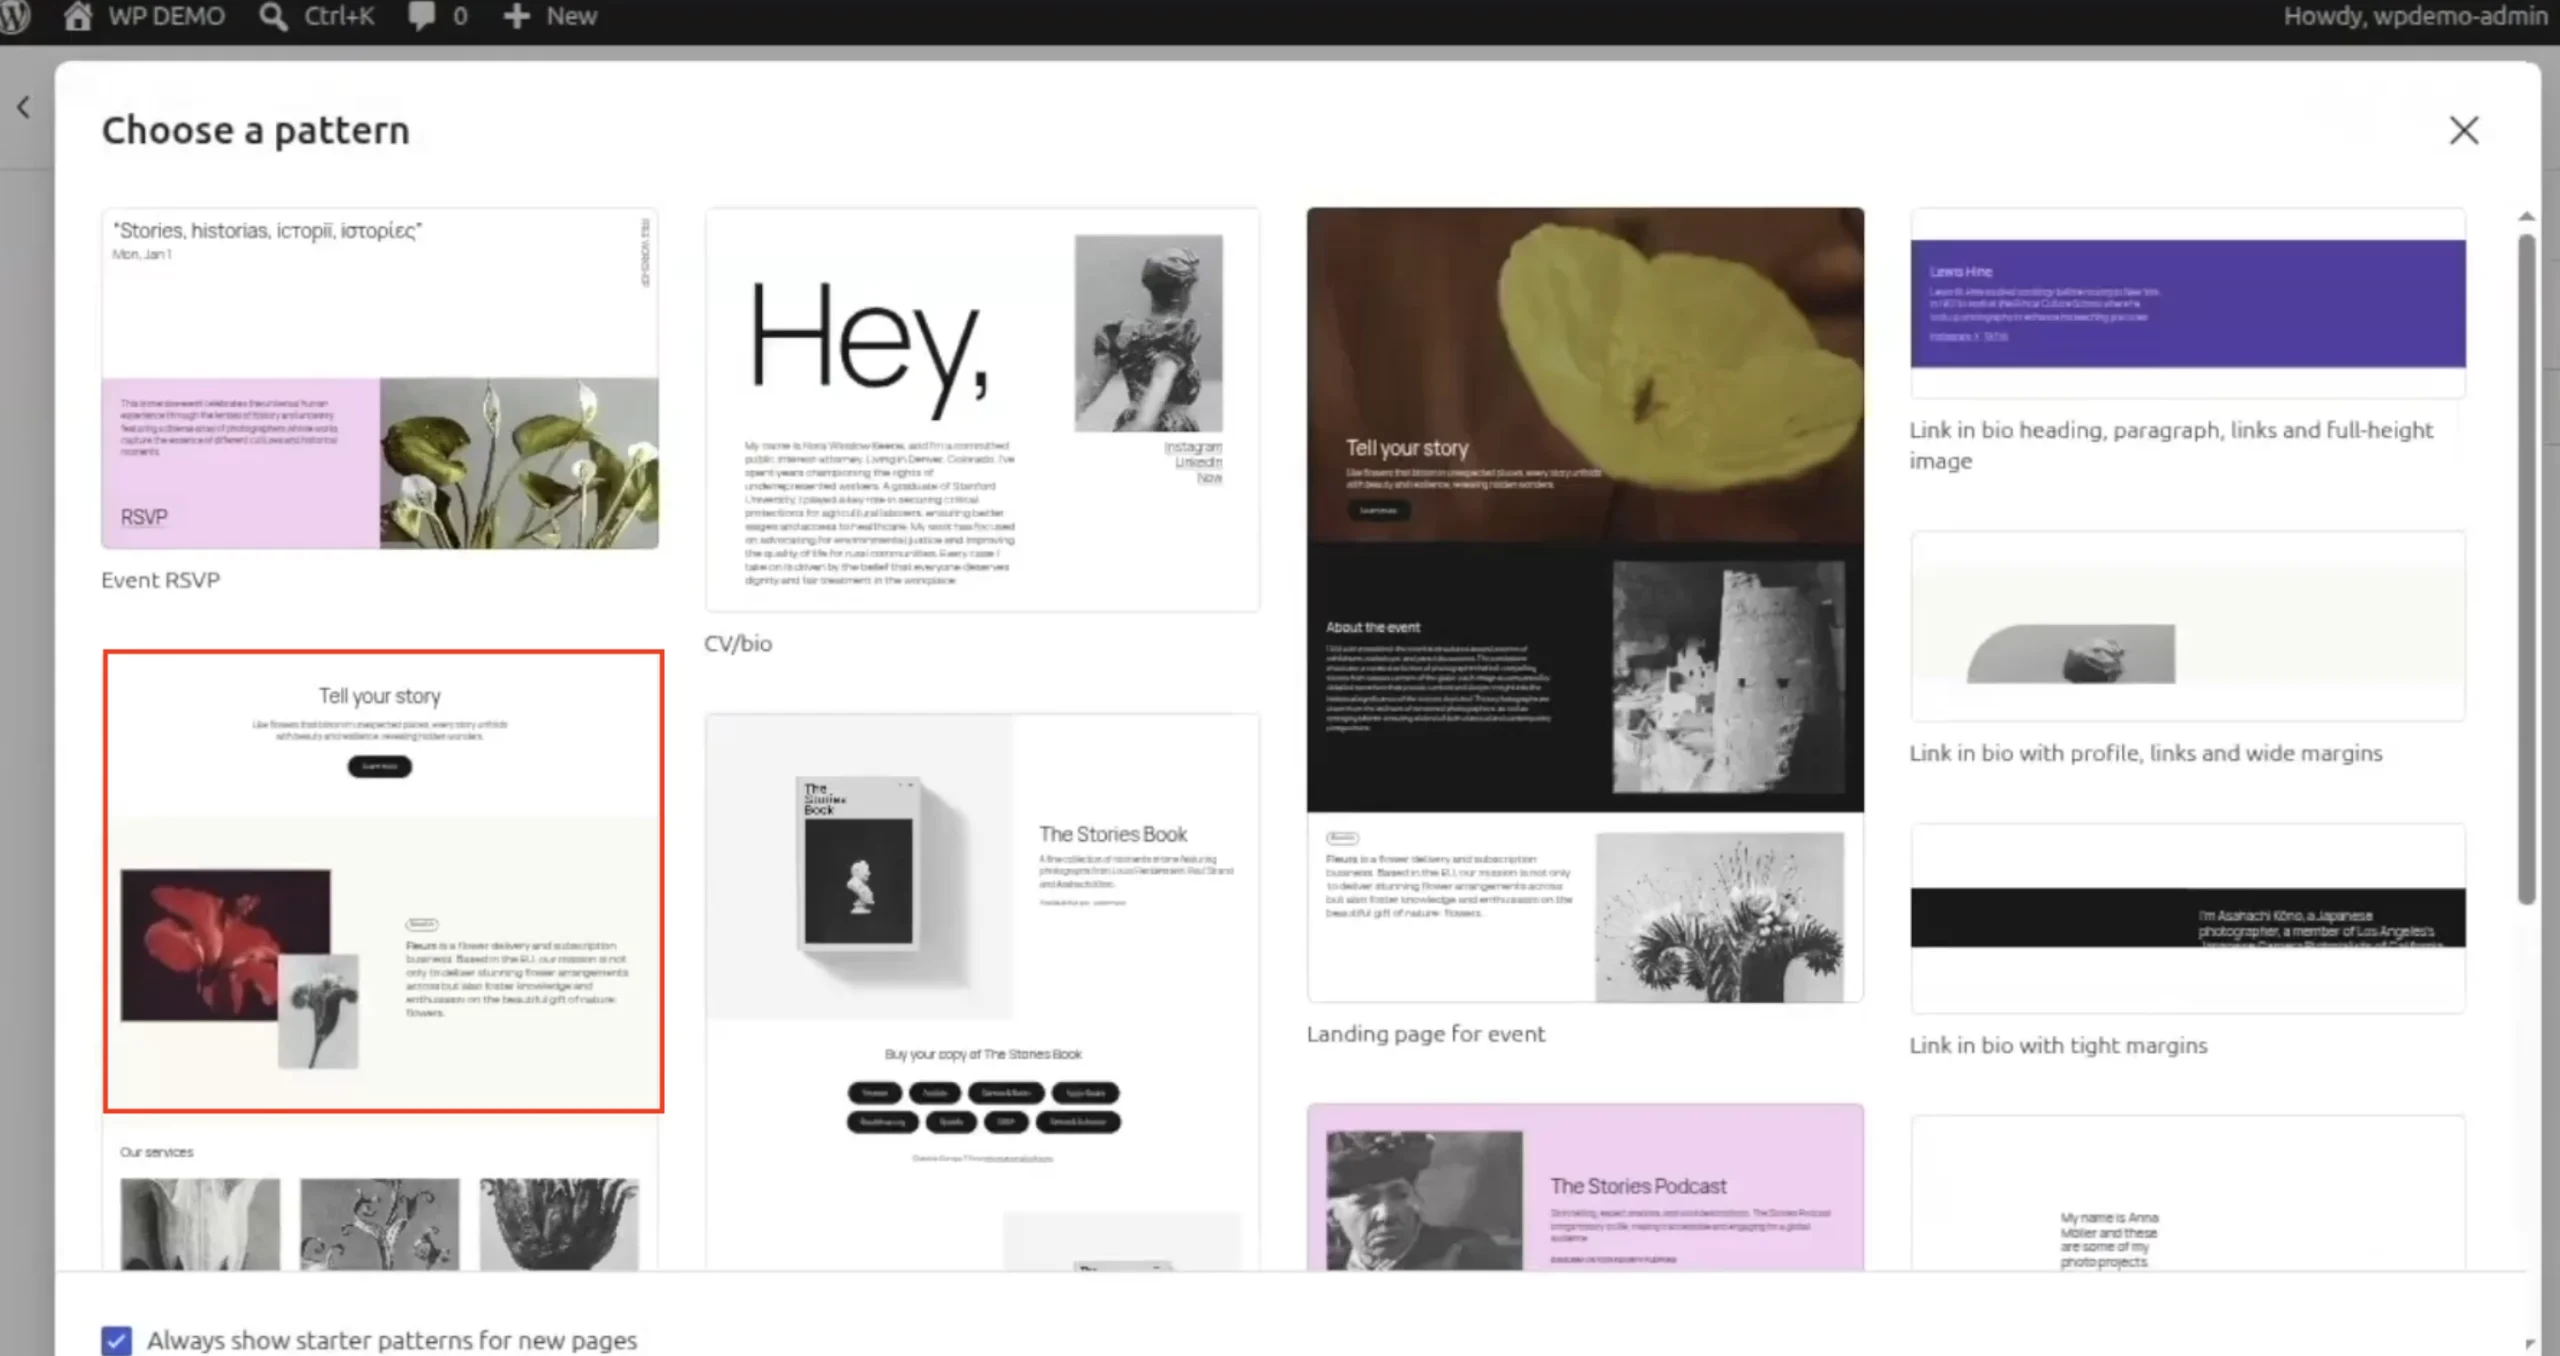
WordPress offers quite a few patterns that you can choose to build your website pages, I selected one from many.
After that I edited it and made changes in the copy and images to make the page look completely different. Now it looks like a DevOps service website by LinuxHint.
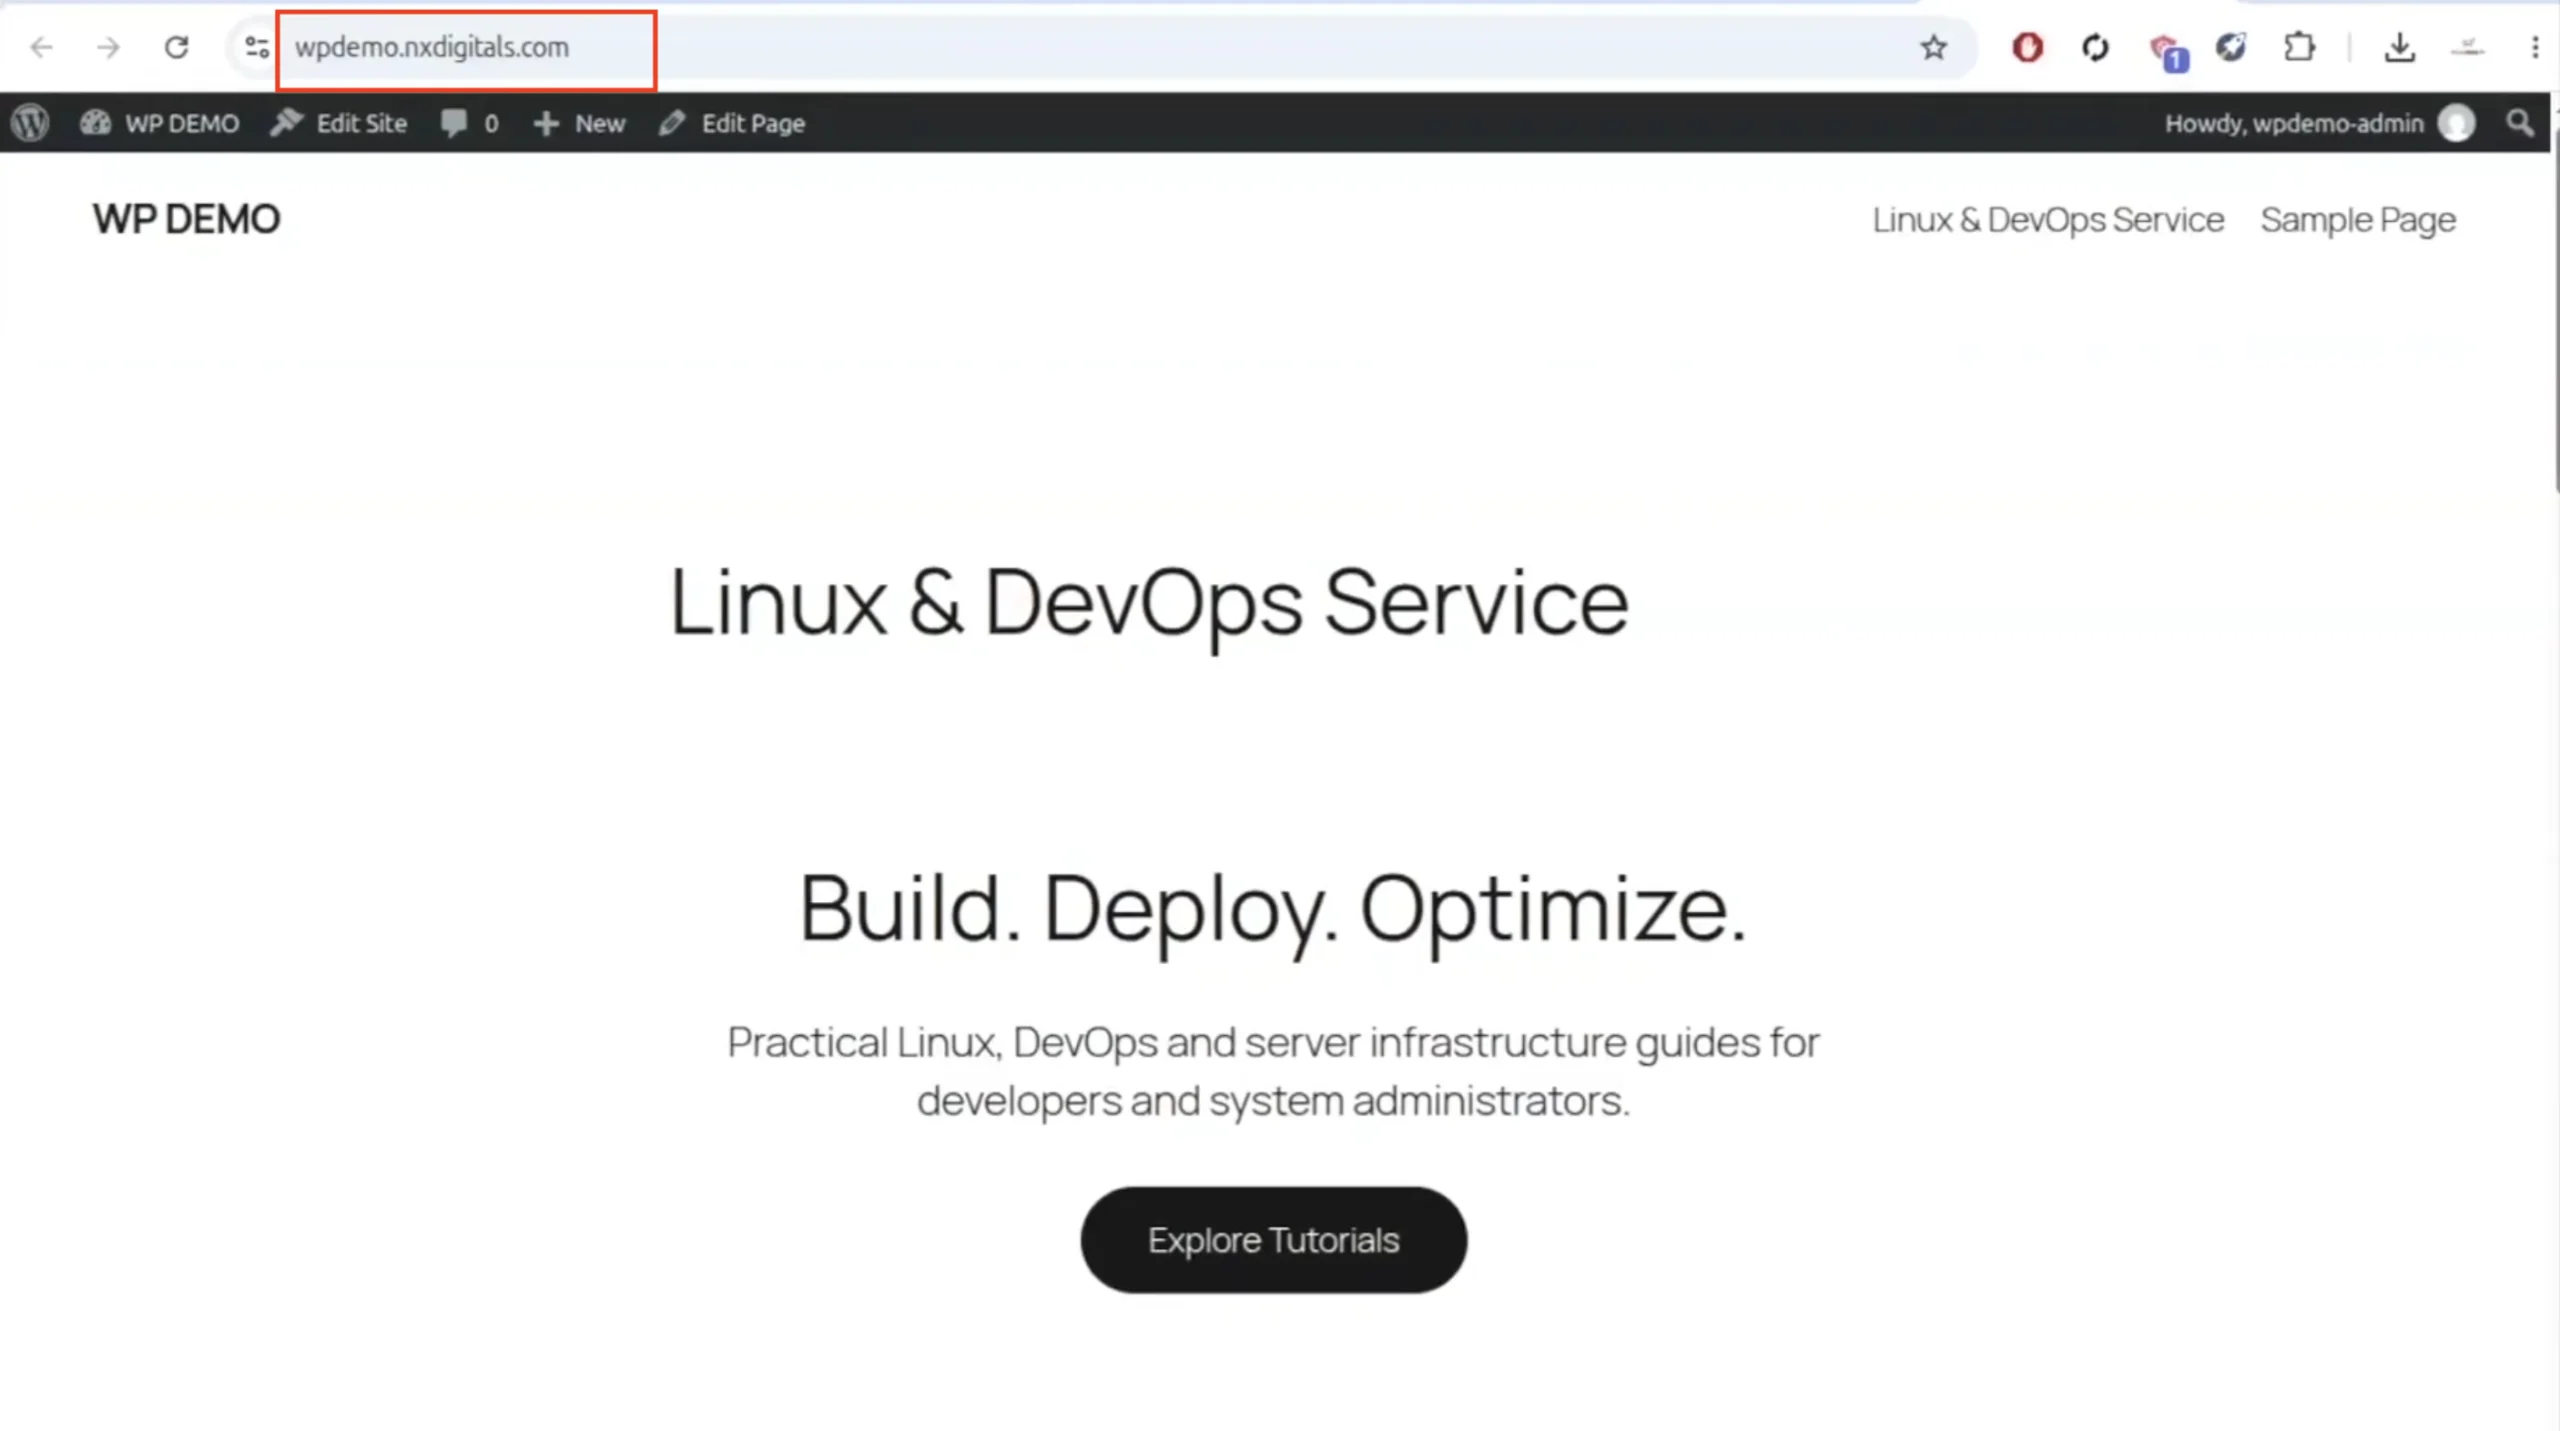
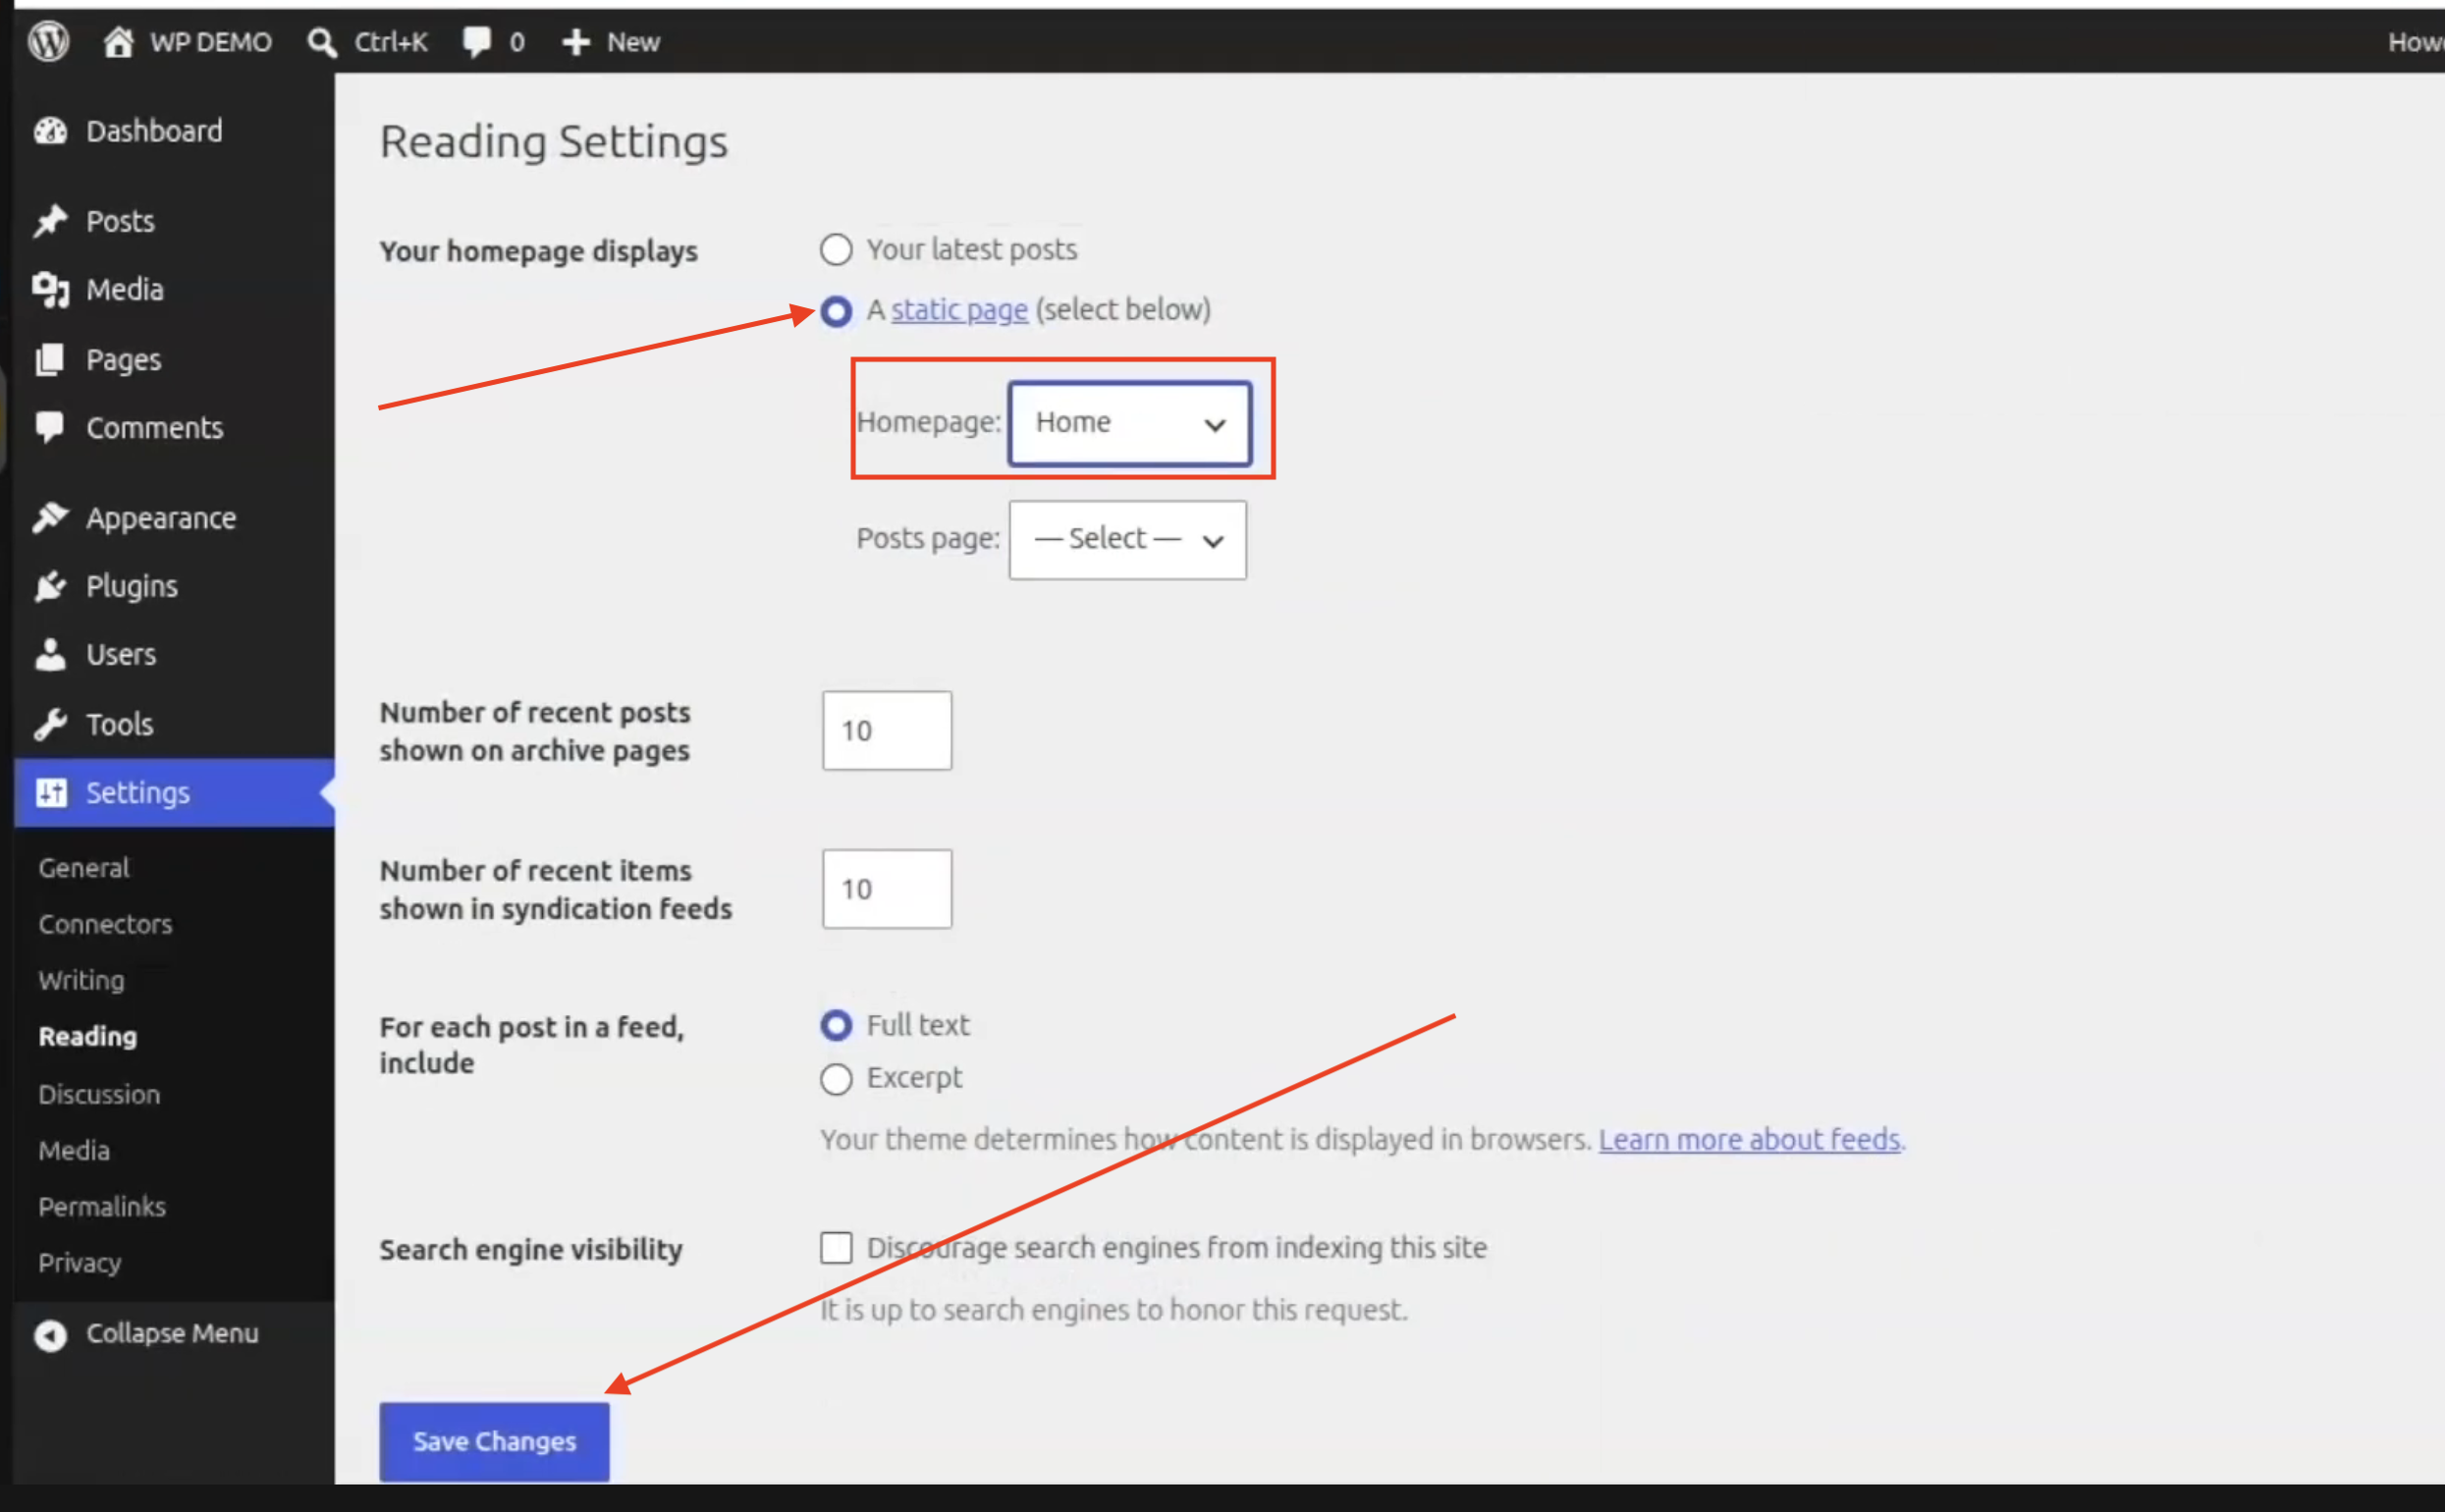
The website is saved and published but still isn’t my homepage so I went to “Settings” then I went to “Reading” and then “Homepage” I selected “Home” and clicked on “Save Changes”. This will load the main page of the website as this page I just designed.
5- Speed Testing the Website Before Optimization
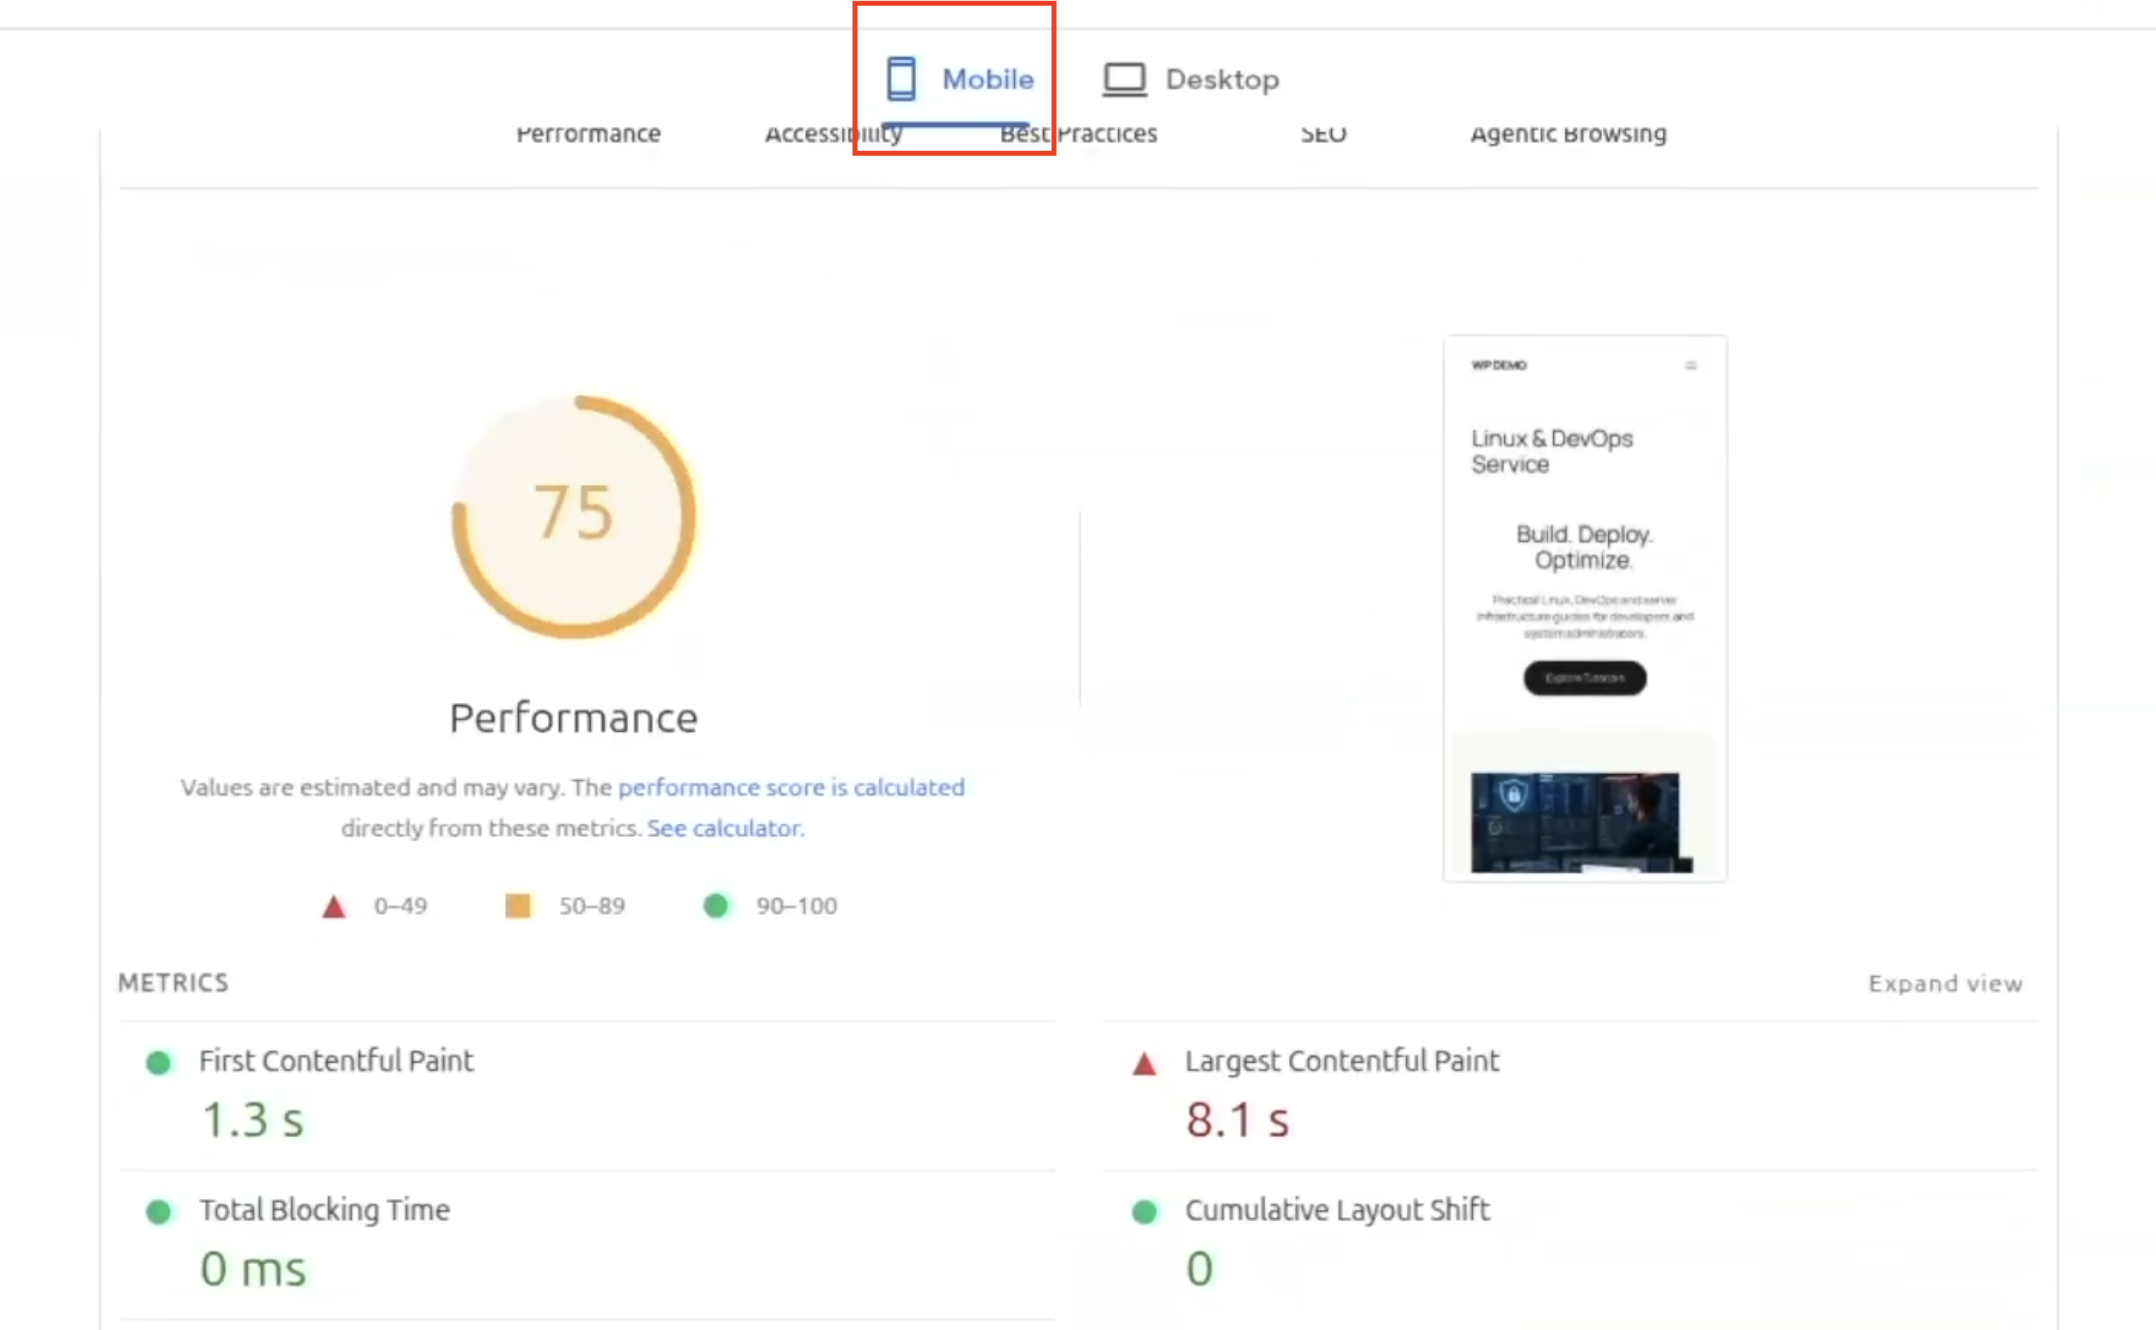
I went to speed test the fresh website on Google’s PageSpeed Insights. Here I entered the URL of my website and I got a 75 performance score for mobile with LCP of 5.3s and FCP 0.7s.
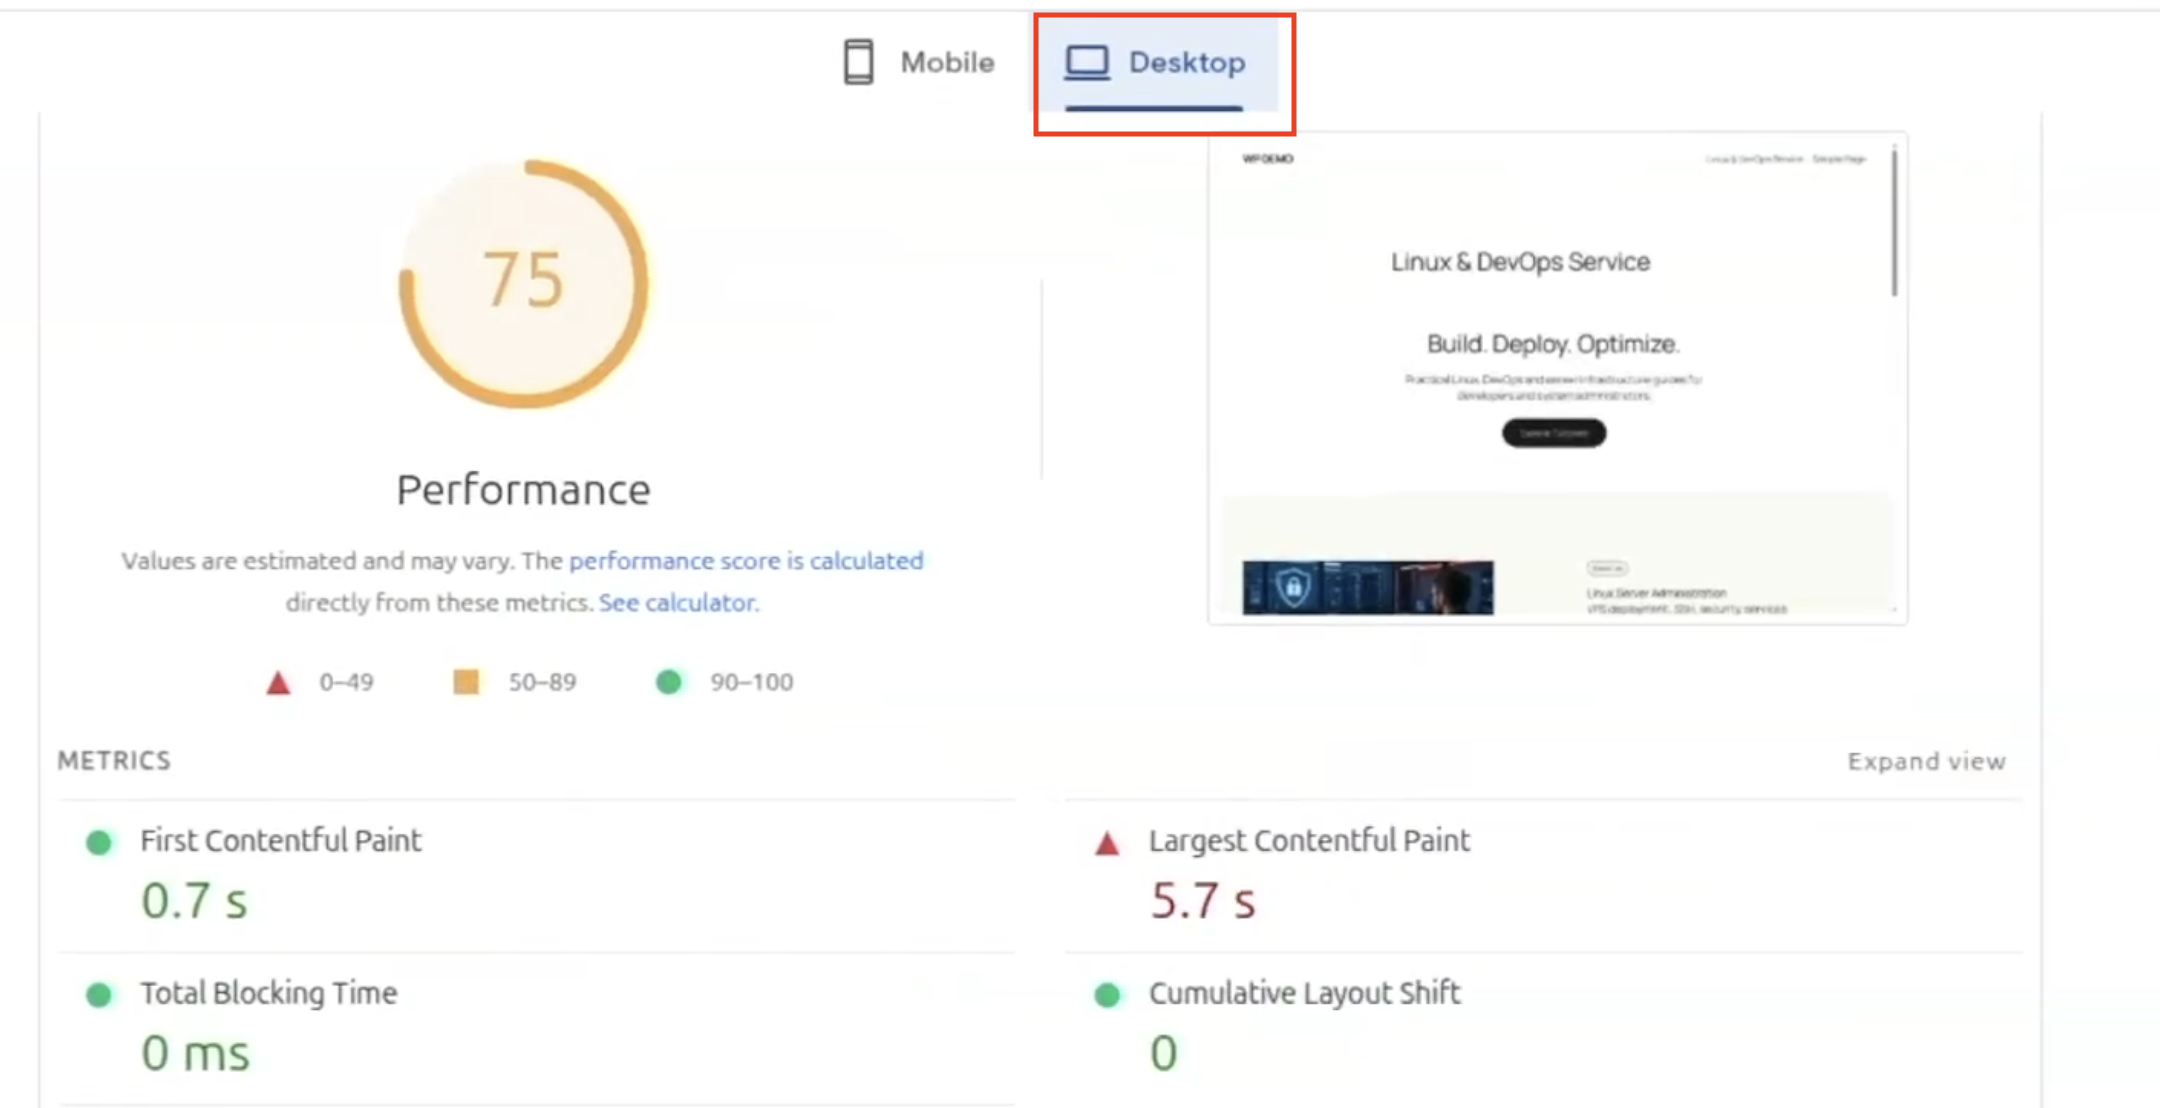
For the desktop, I also got a 75 performance score with 5.7s LCP and 0.7s FCP.
Keep these scores in mind as we are going to improve them next.
6- Optimizing the Website With W3 Pro Cache
I went to the wordpress dashboard and then I installed and activated the W3 Pro Cache plugin.
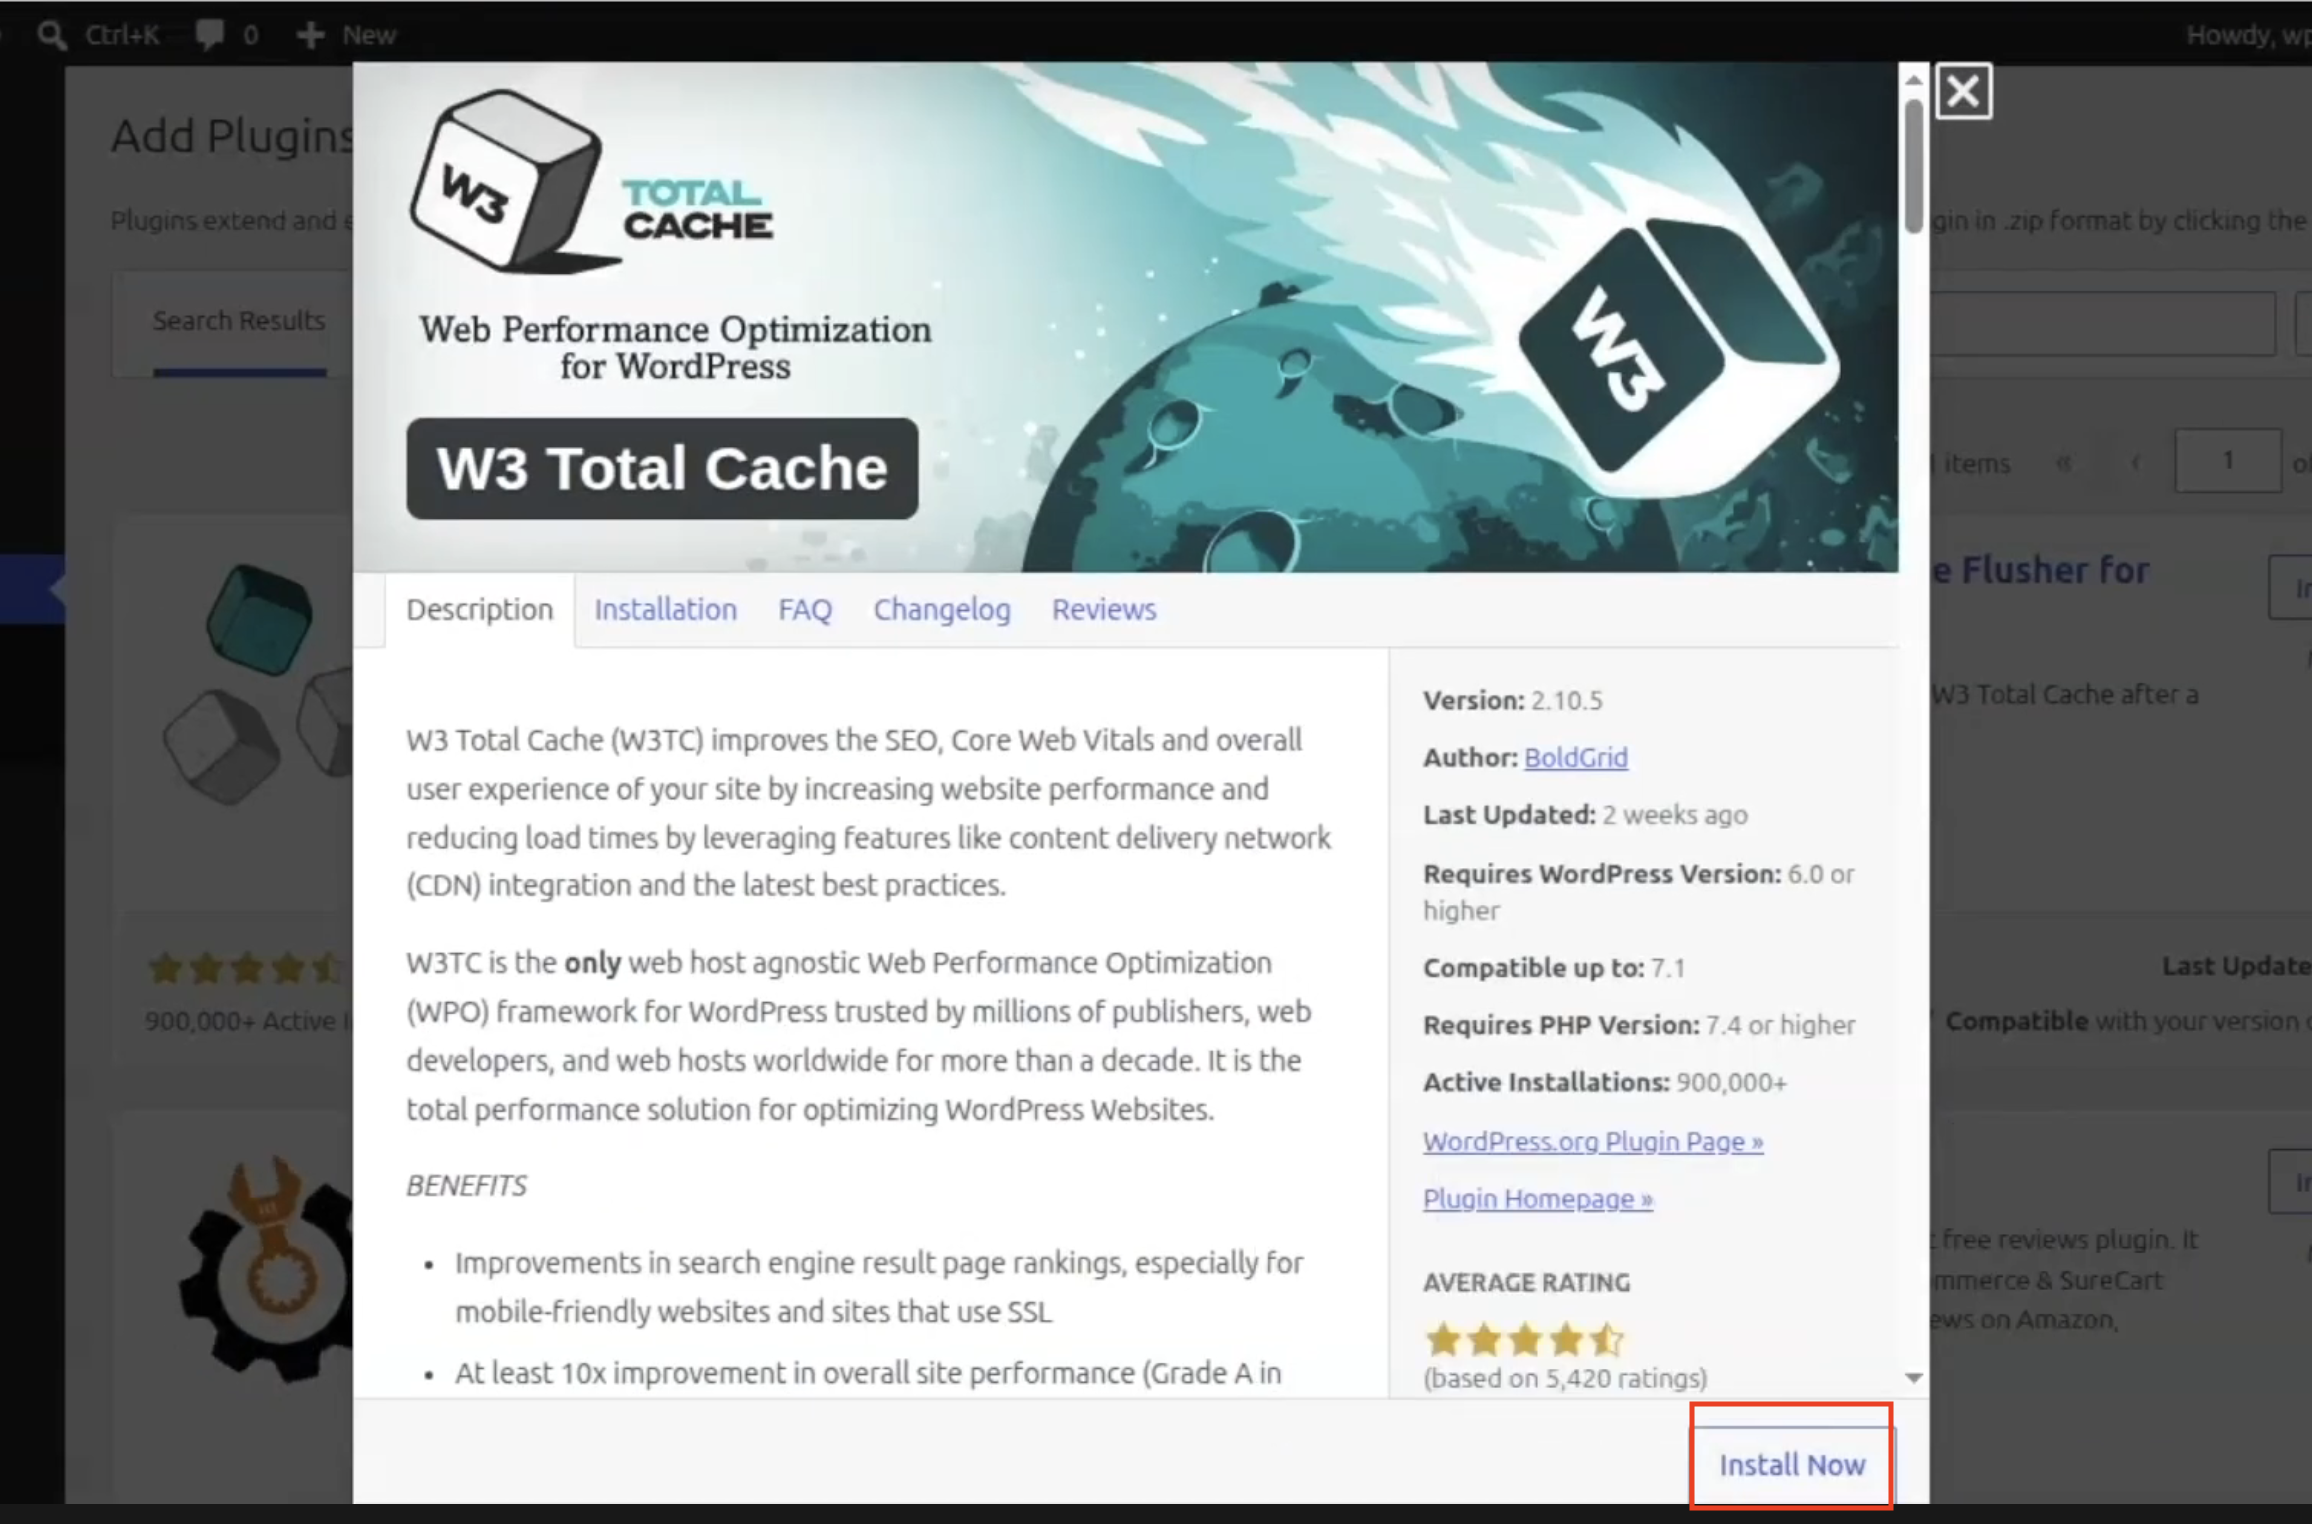
Once it’s activated, I was able to see W3 Total Cache in the plugin section. Next I went to the “Performance” tab and then went on to “General Settings”.
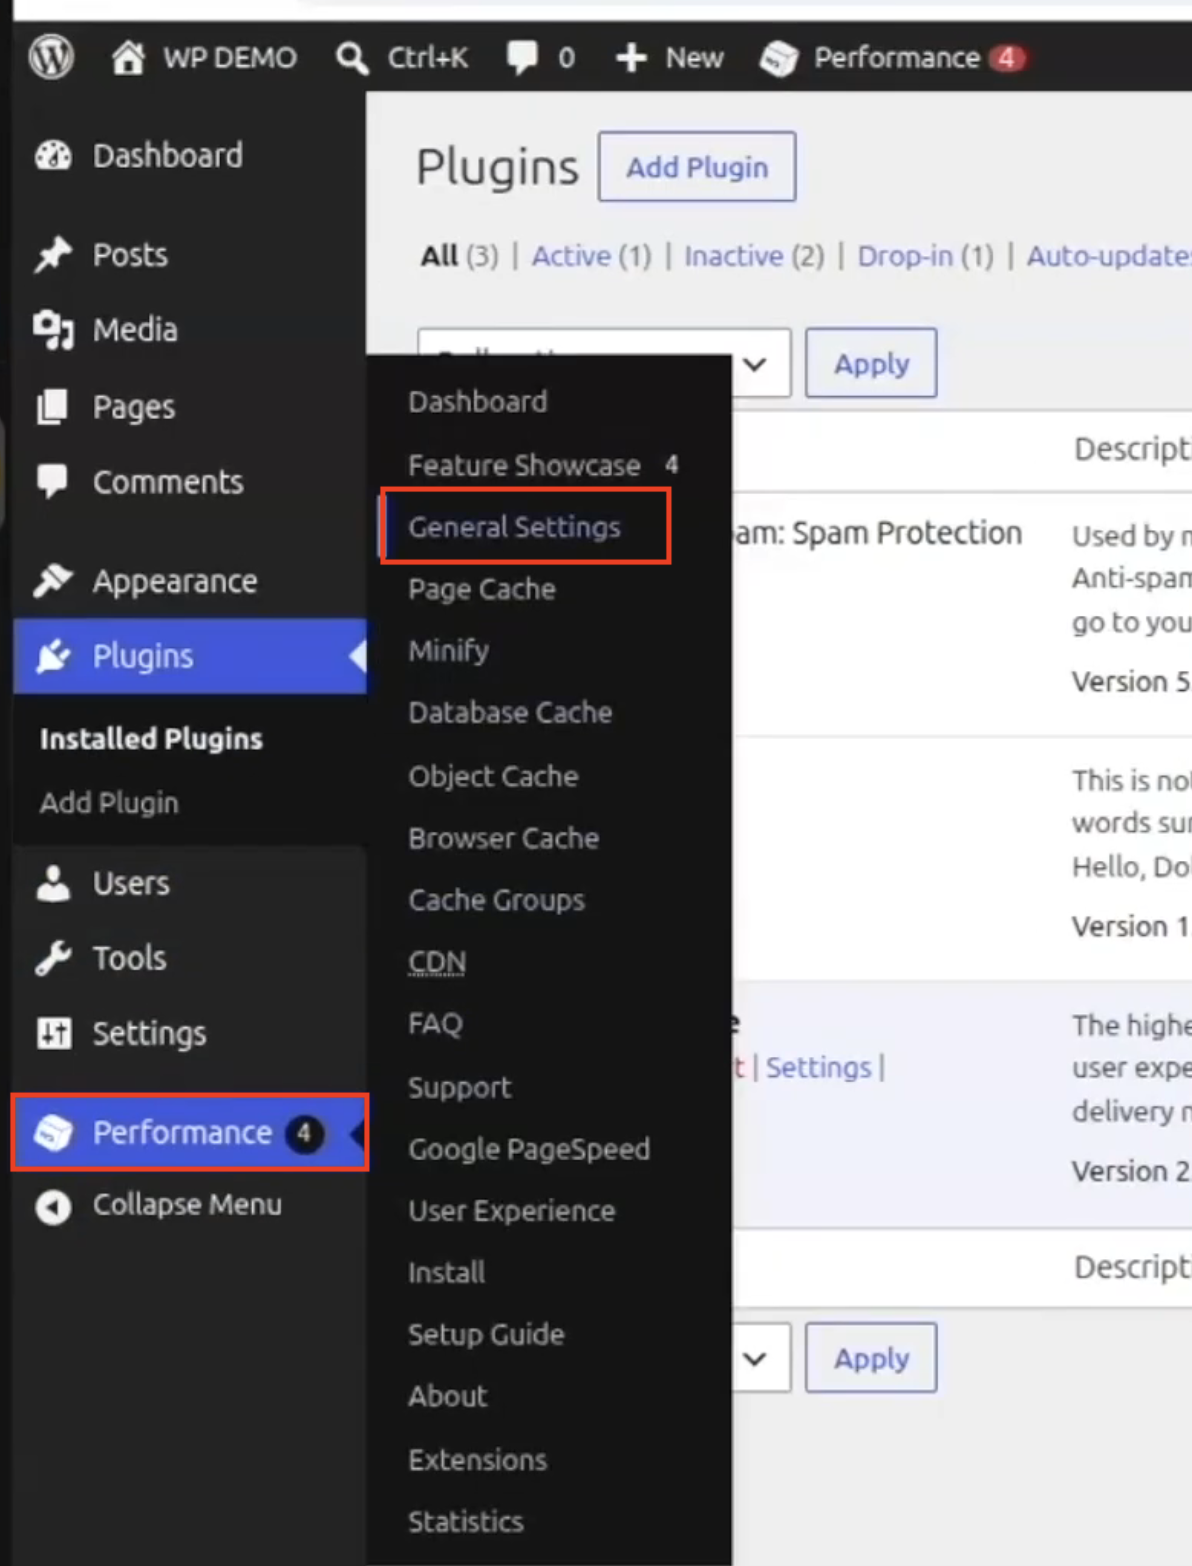
I added my license key in the “License” field and this would unlock pro features and access for me.
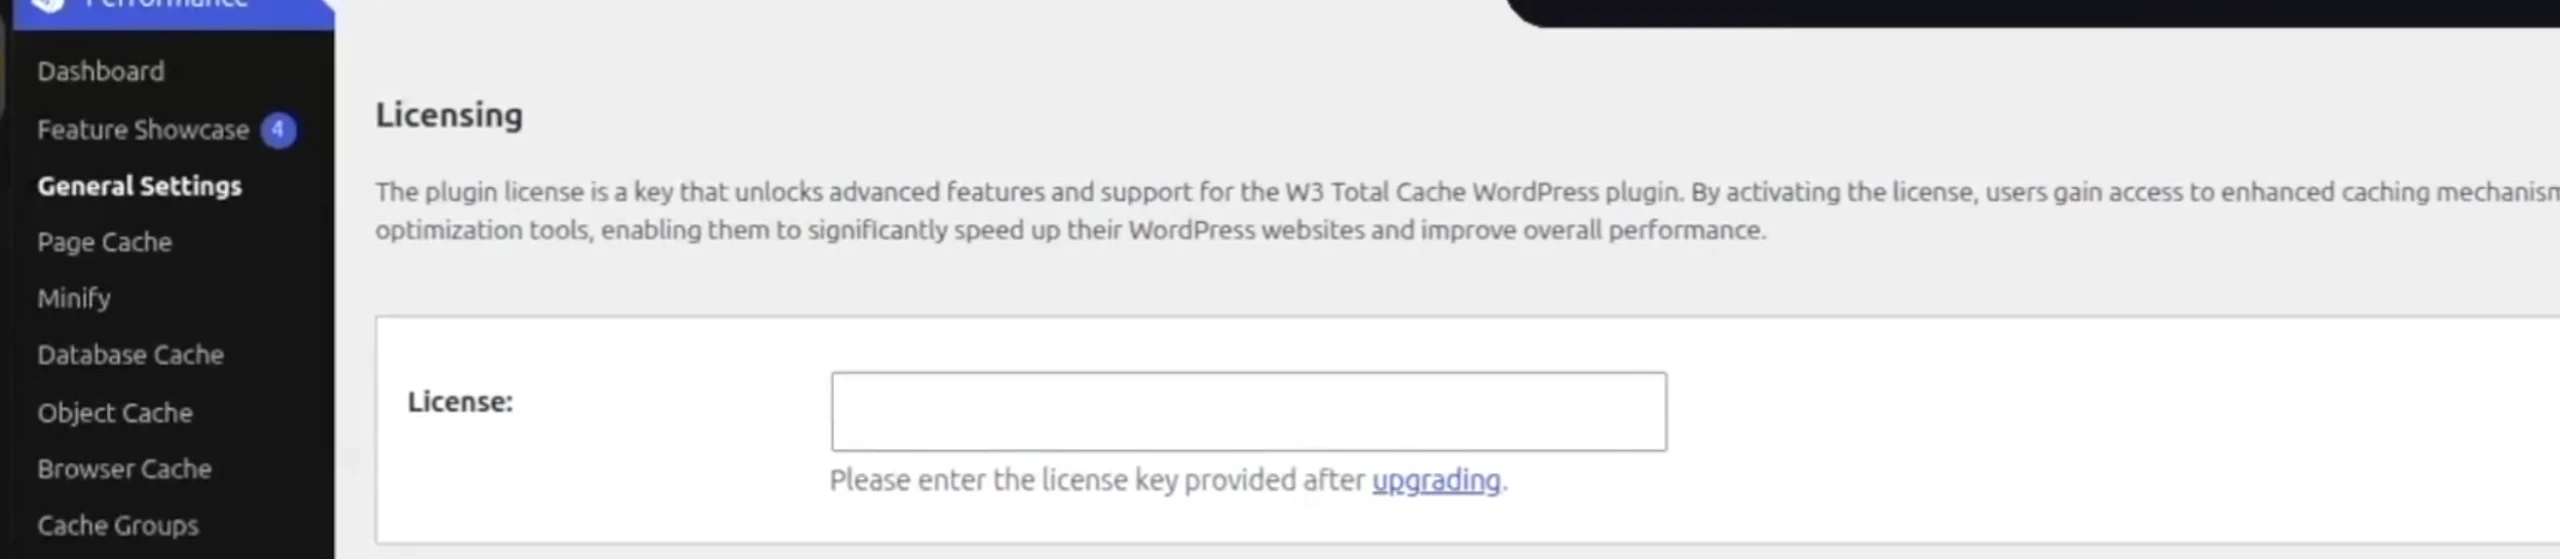
In the “Basic Settings” section, I went to Page Cache and checked the option “Enable” and this option “Disk: Enhanced” was pre-selected and I kept it that way. Make sure to “Save Settings”. This helps the plugin serve cached images instead of reloading them each time.
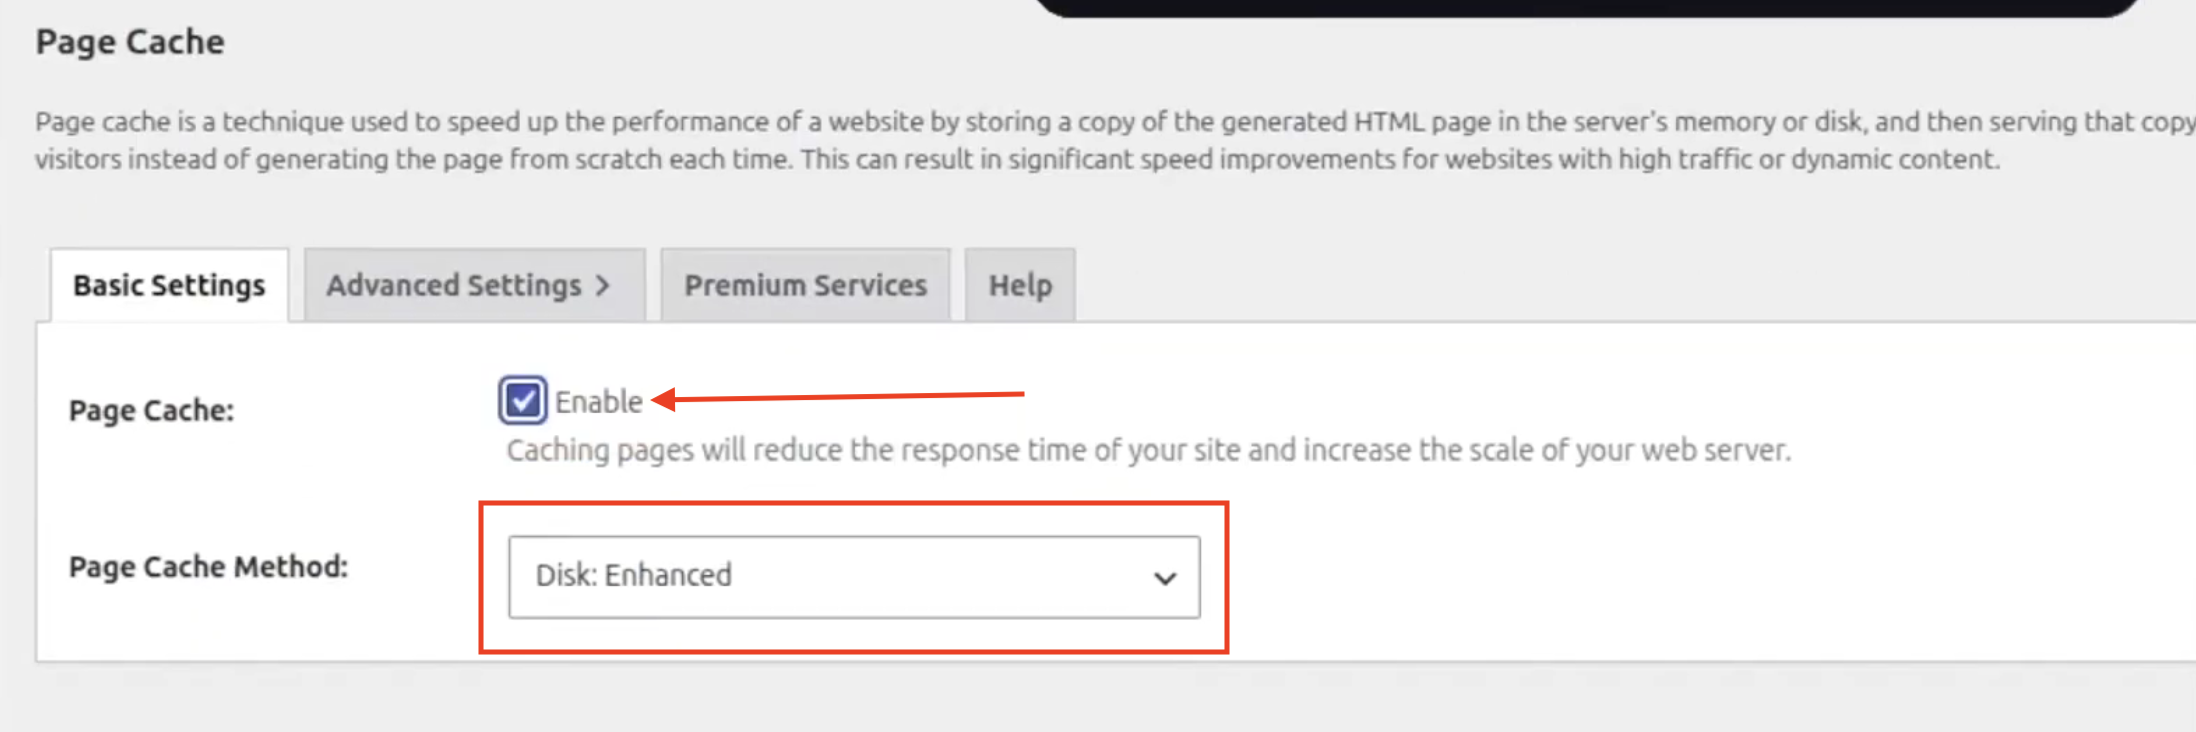
In the “Browser Cache” segment, go ahead and Check “Enable” option. Make sure to “Save Settings”.
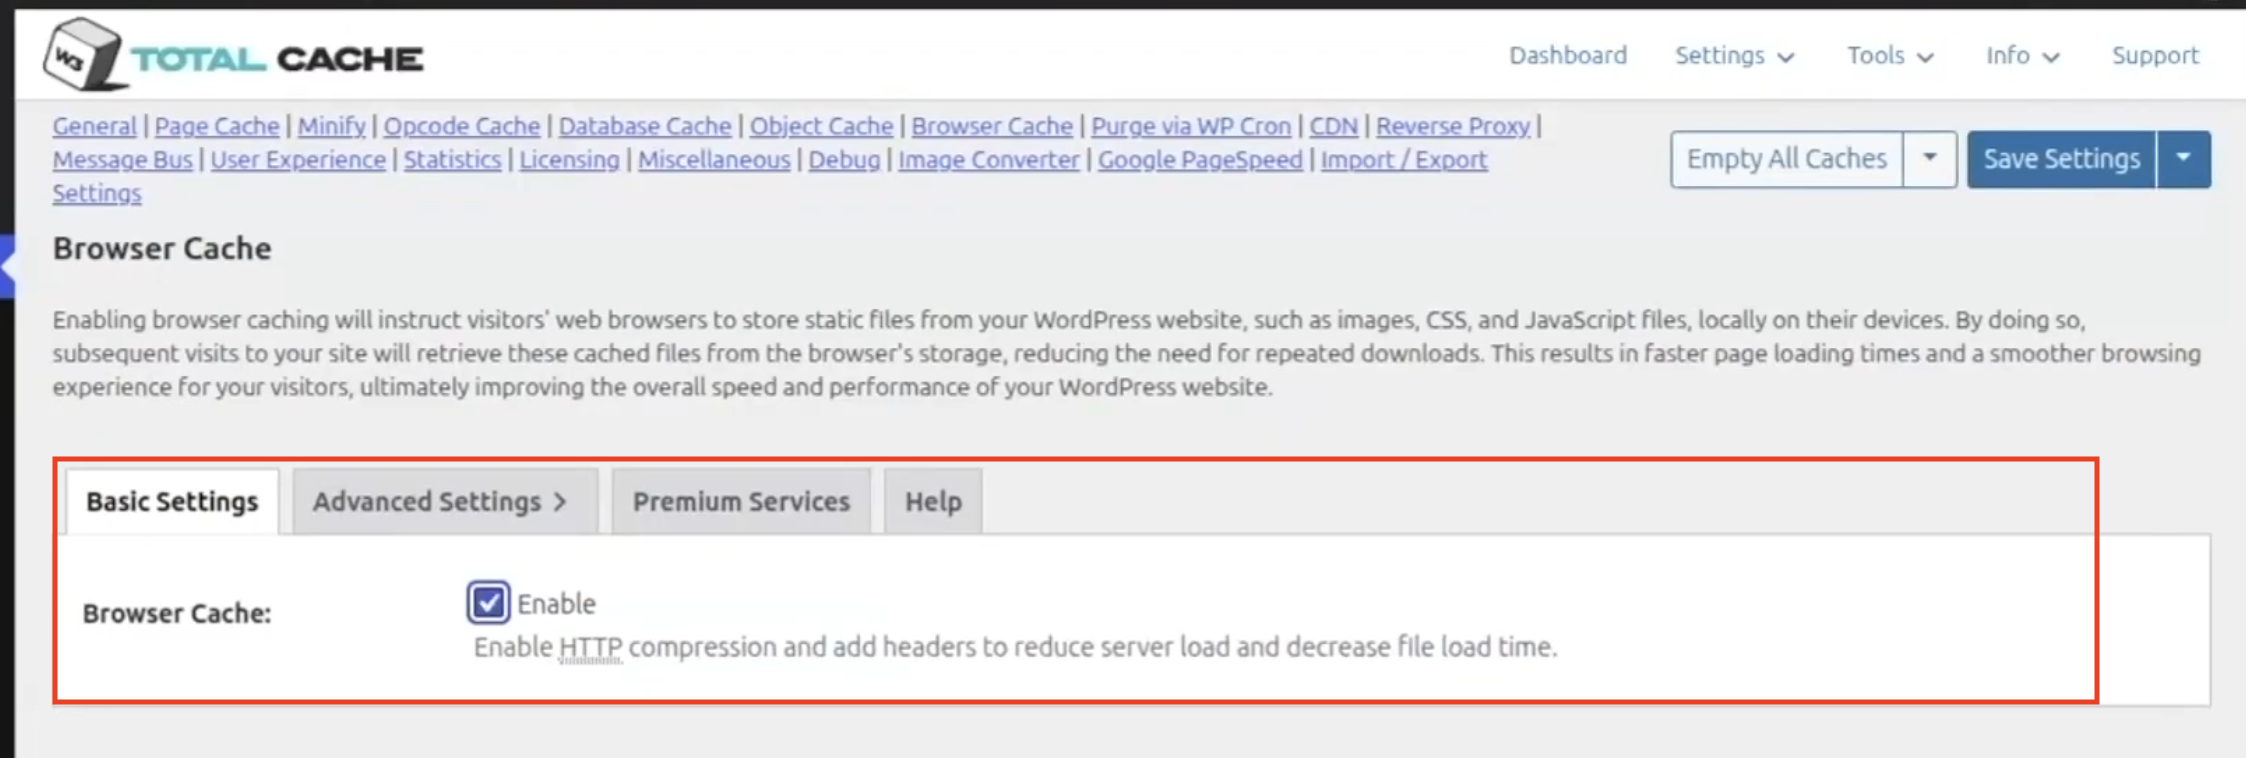
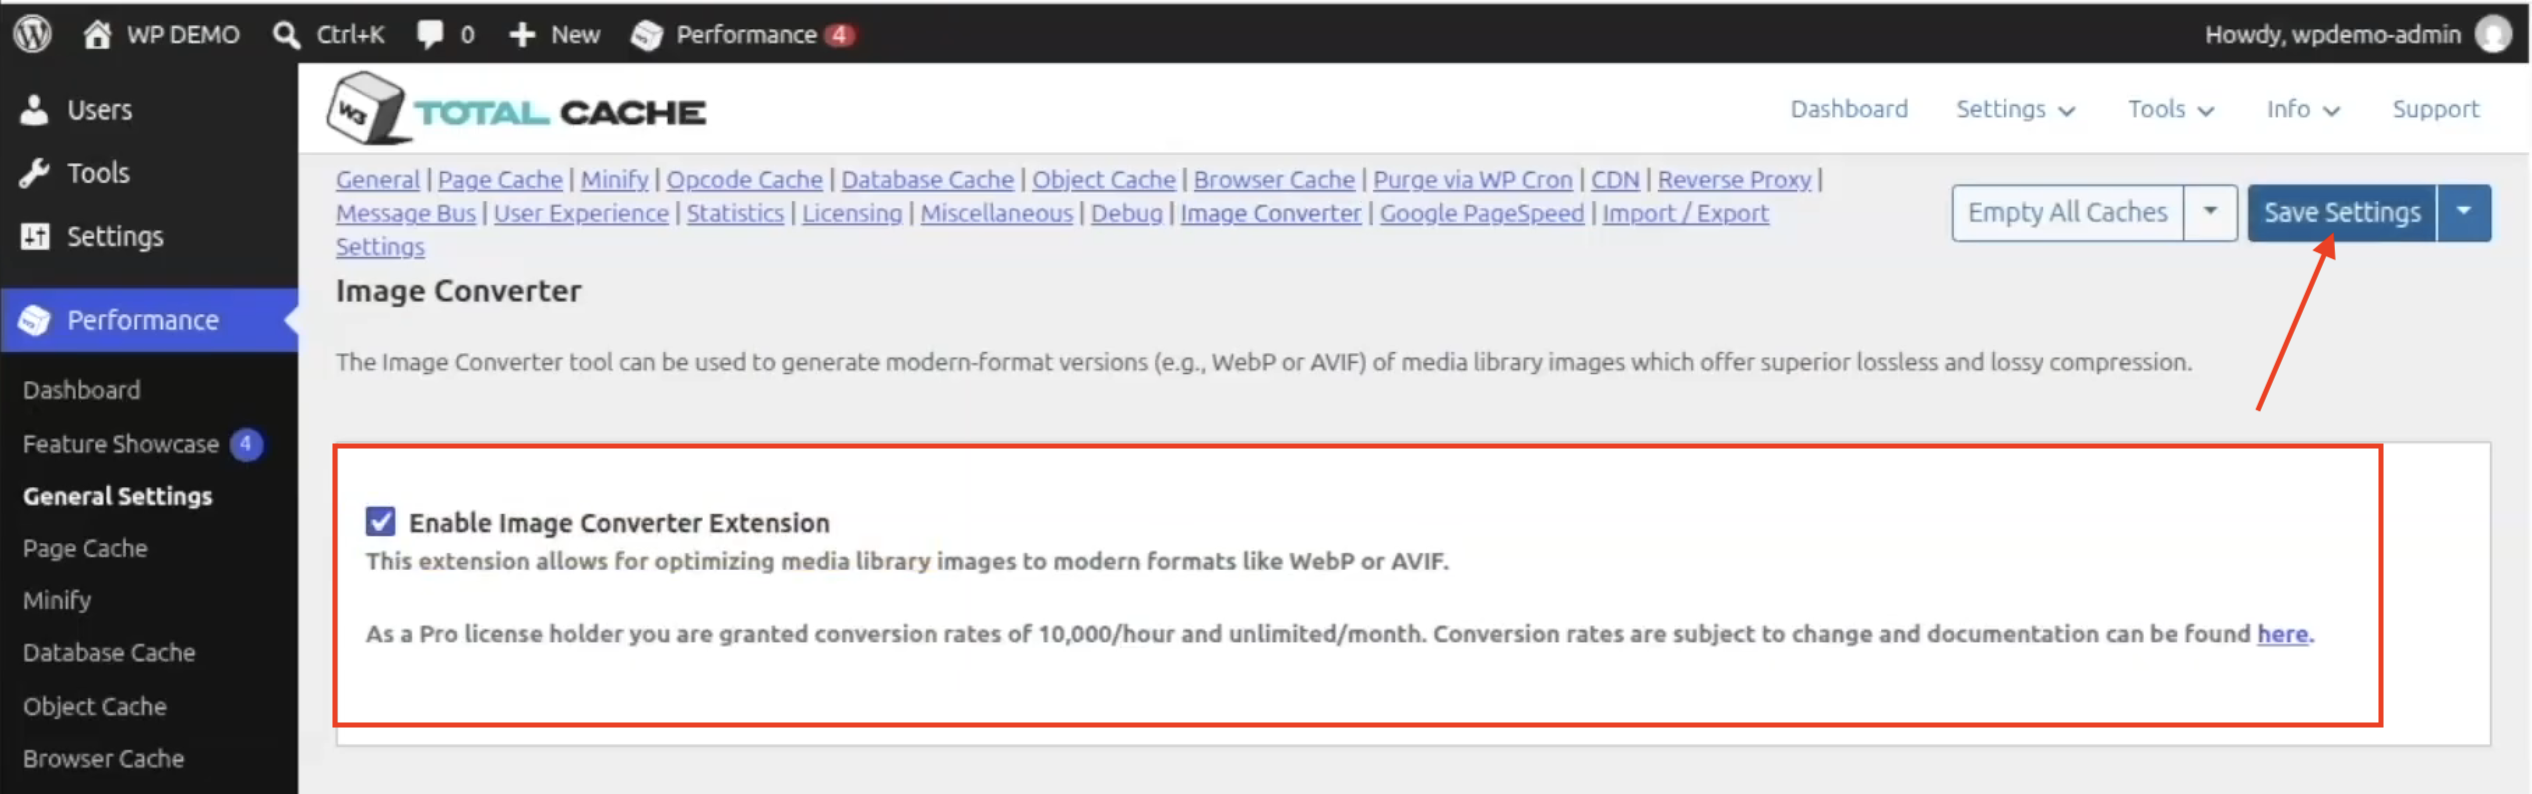
Now everything is set but the biggest issue that speed test identified was the image delivery, it was heavy and was taking time to load. We can fix that by converting the image to WebP or AVIF formats. I went to “Image Converter” and then clicked and checked on “Enable Image Converter Extension”. Now “Save Settings” and click on “Empty All Caches”.
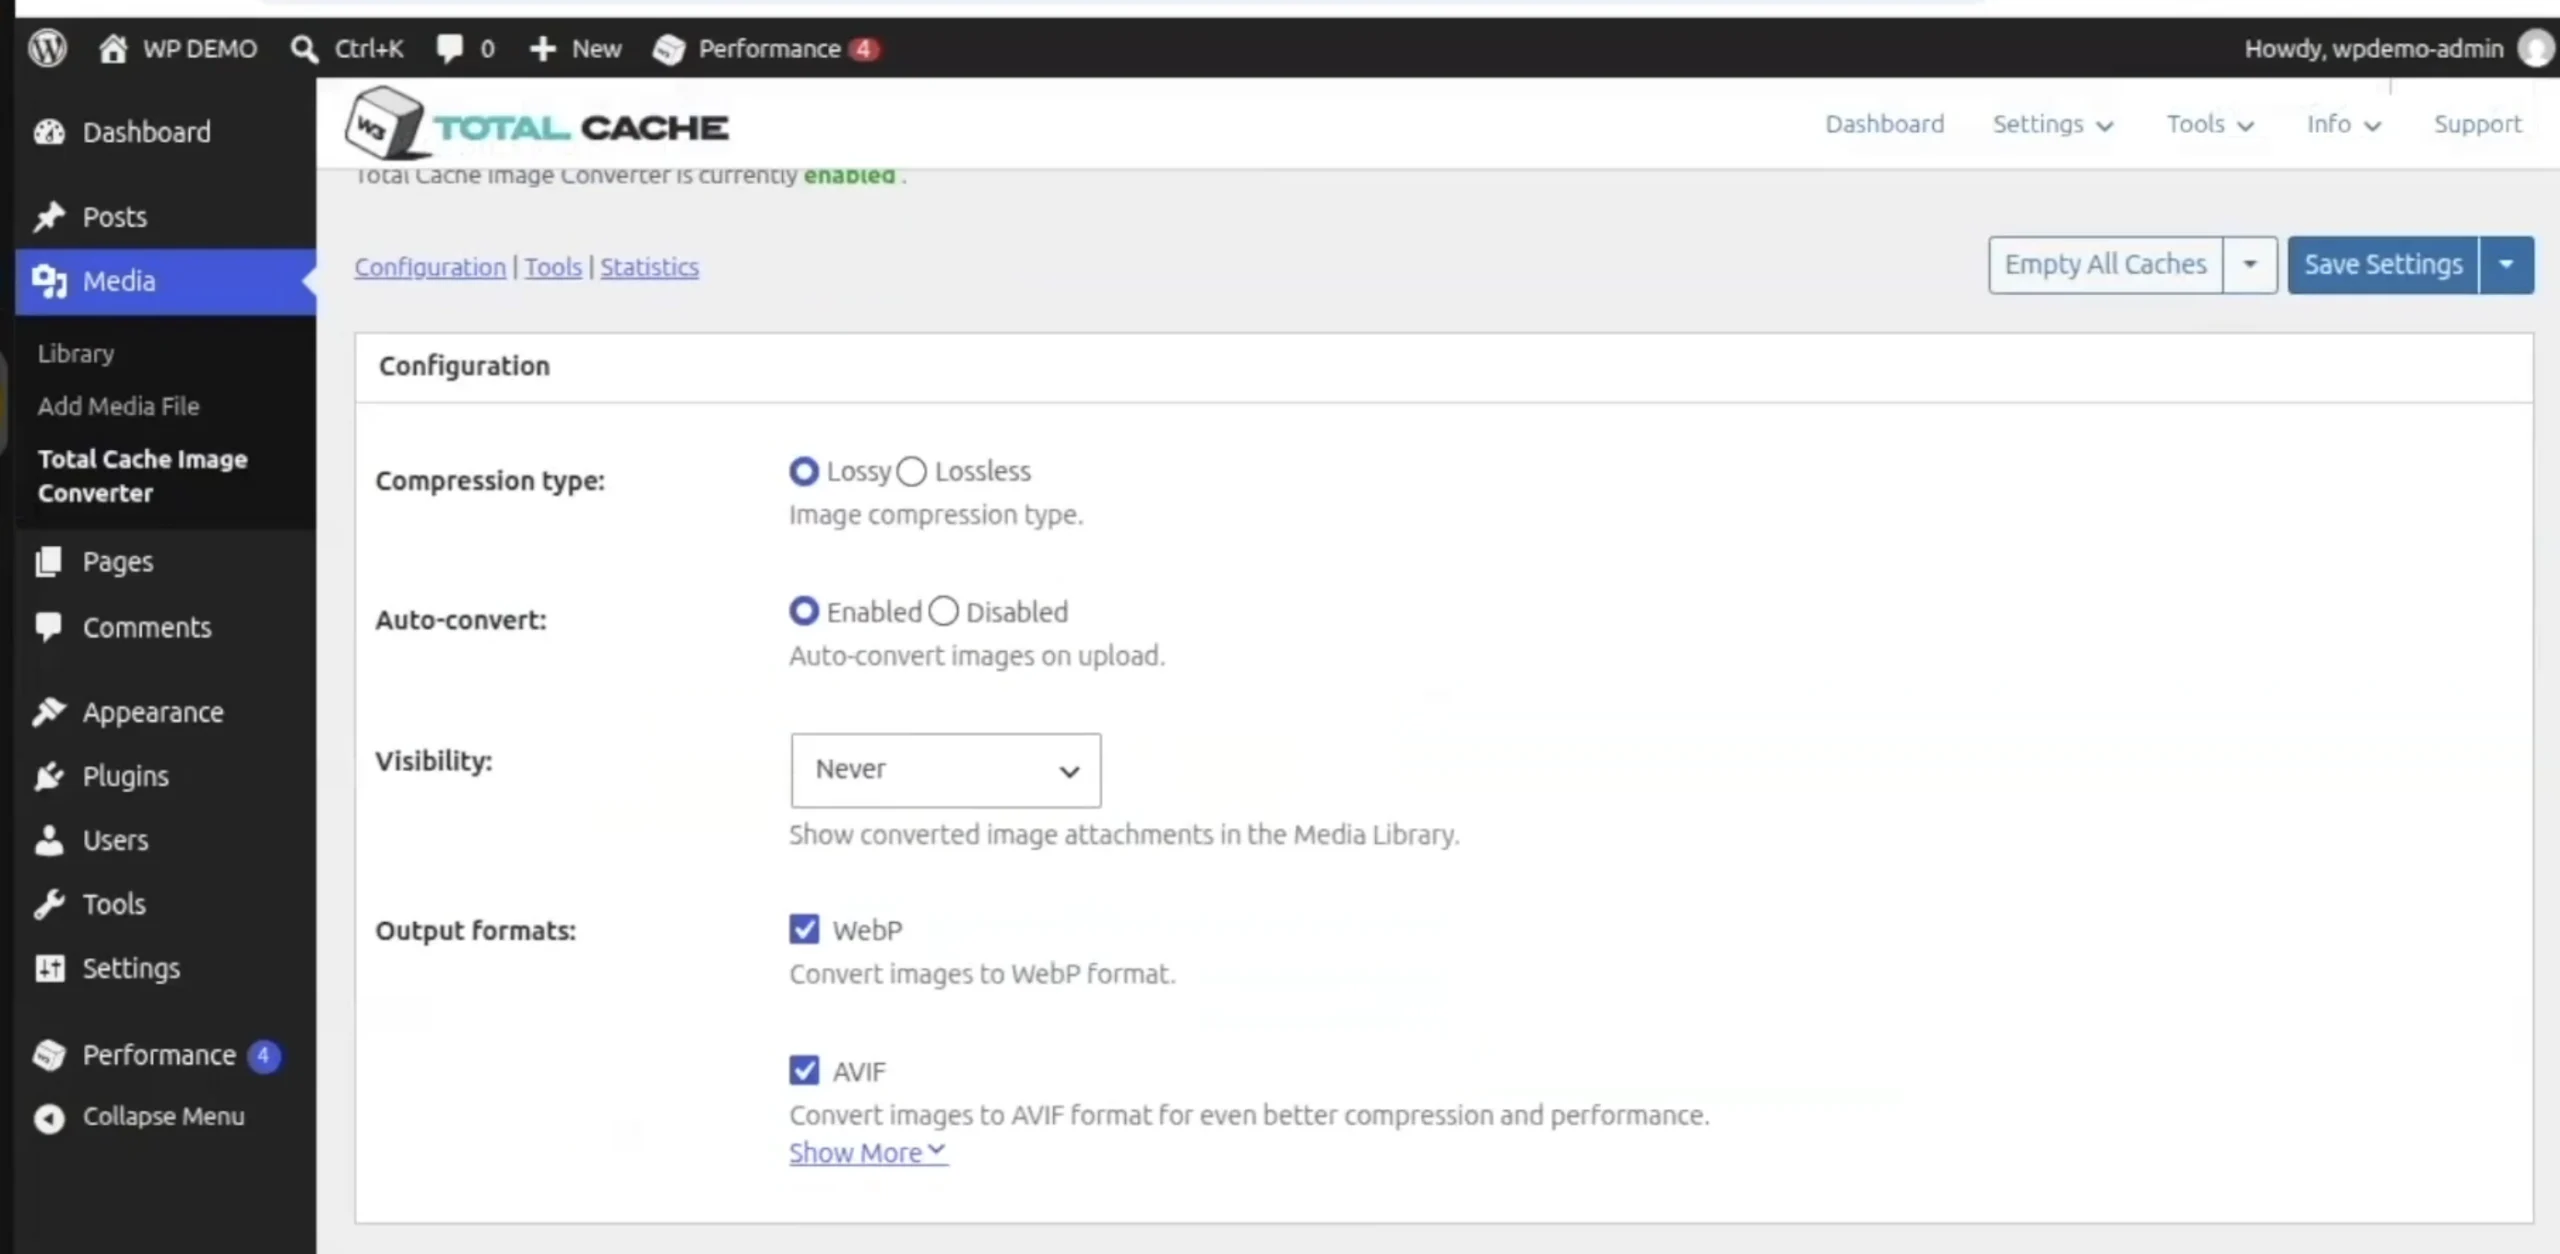
Now I went to “Total Cache Image Converter” and kept the options such as Output formats as it is:
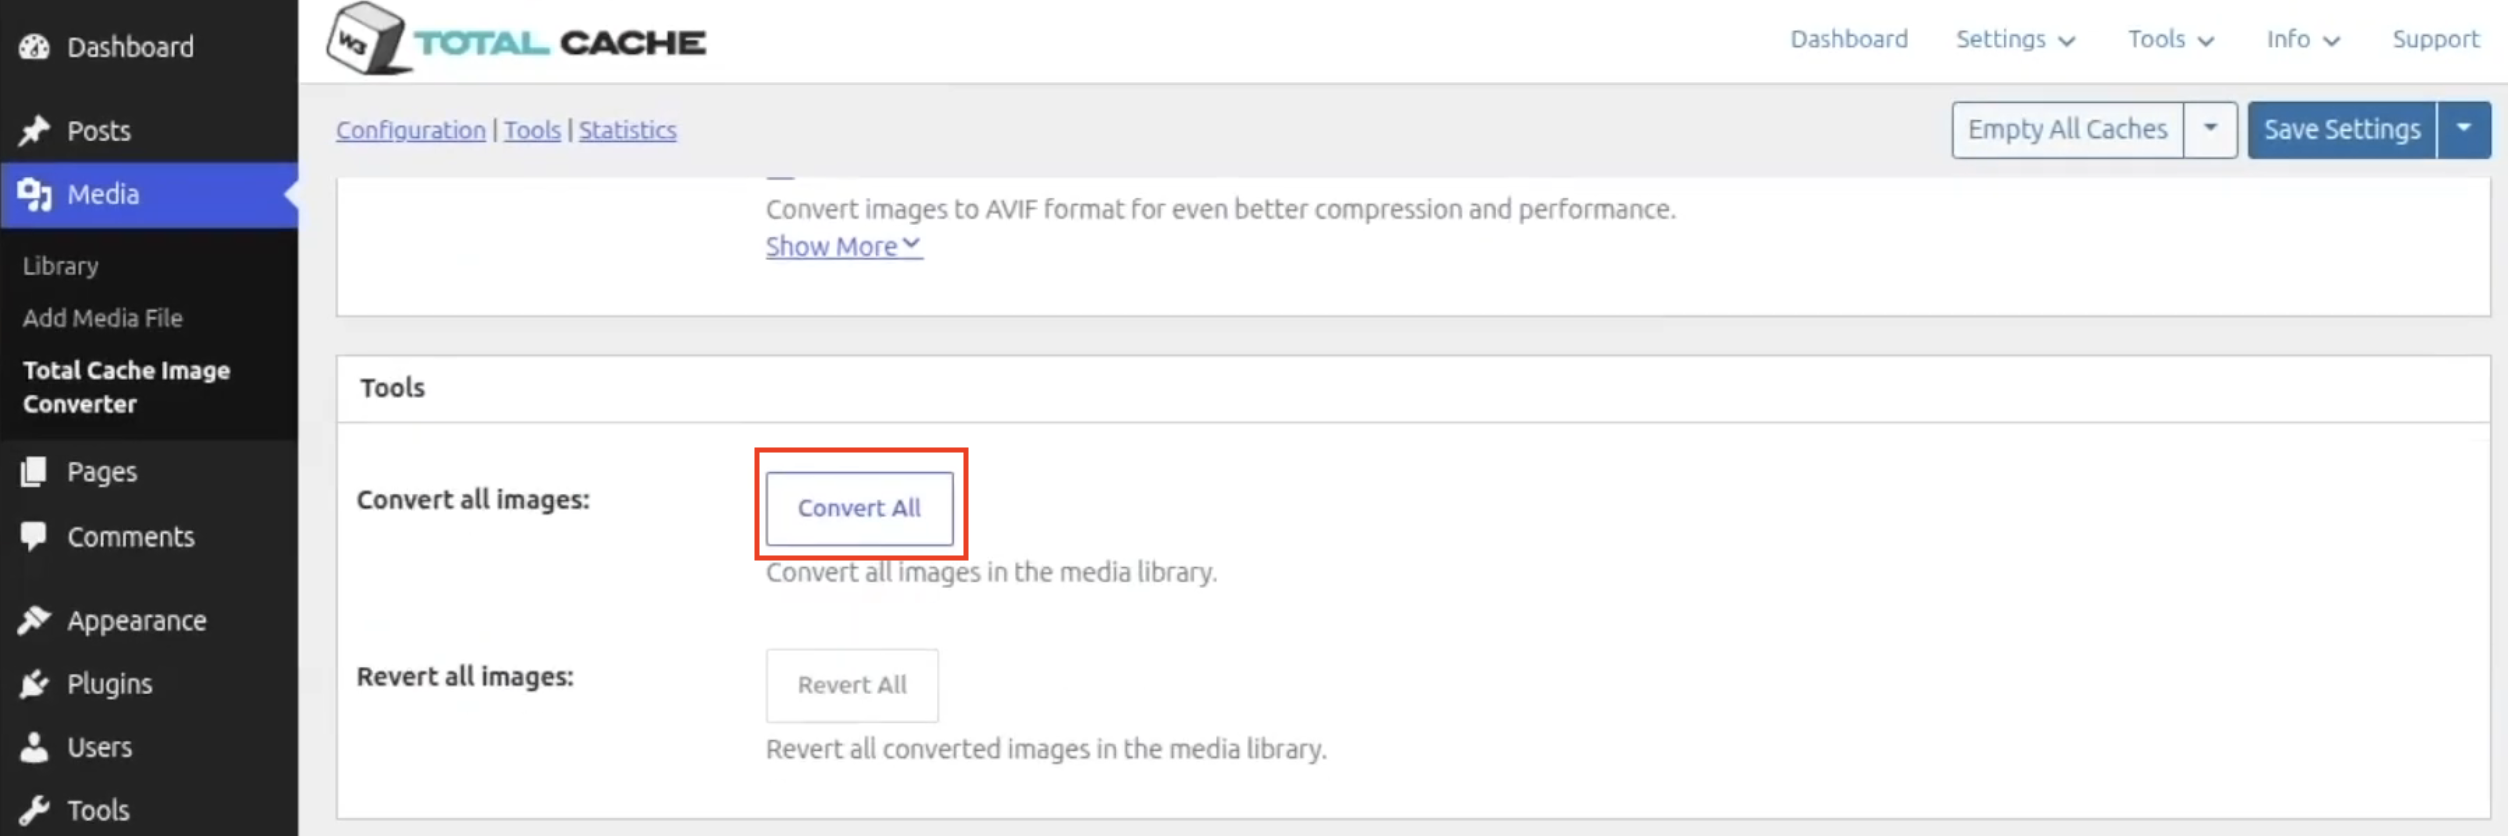
I click on “Convert All” and this would pass all the images through the W3 Total Cache Pro and deliver the resulting compressed images in the media library.
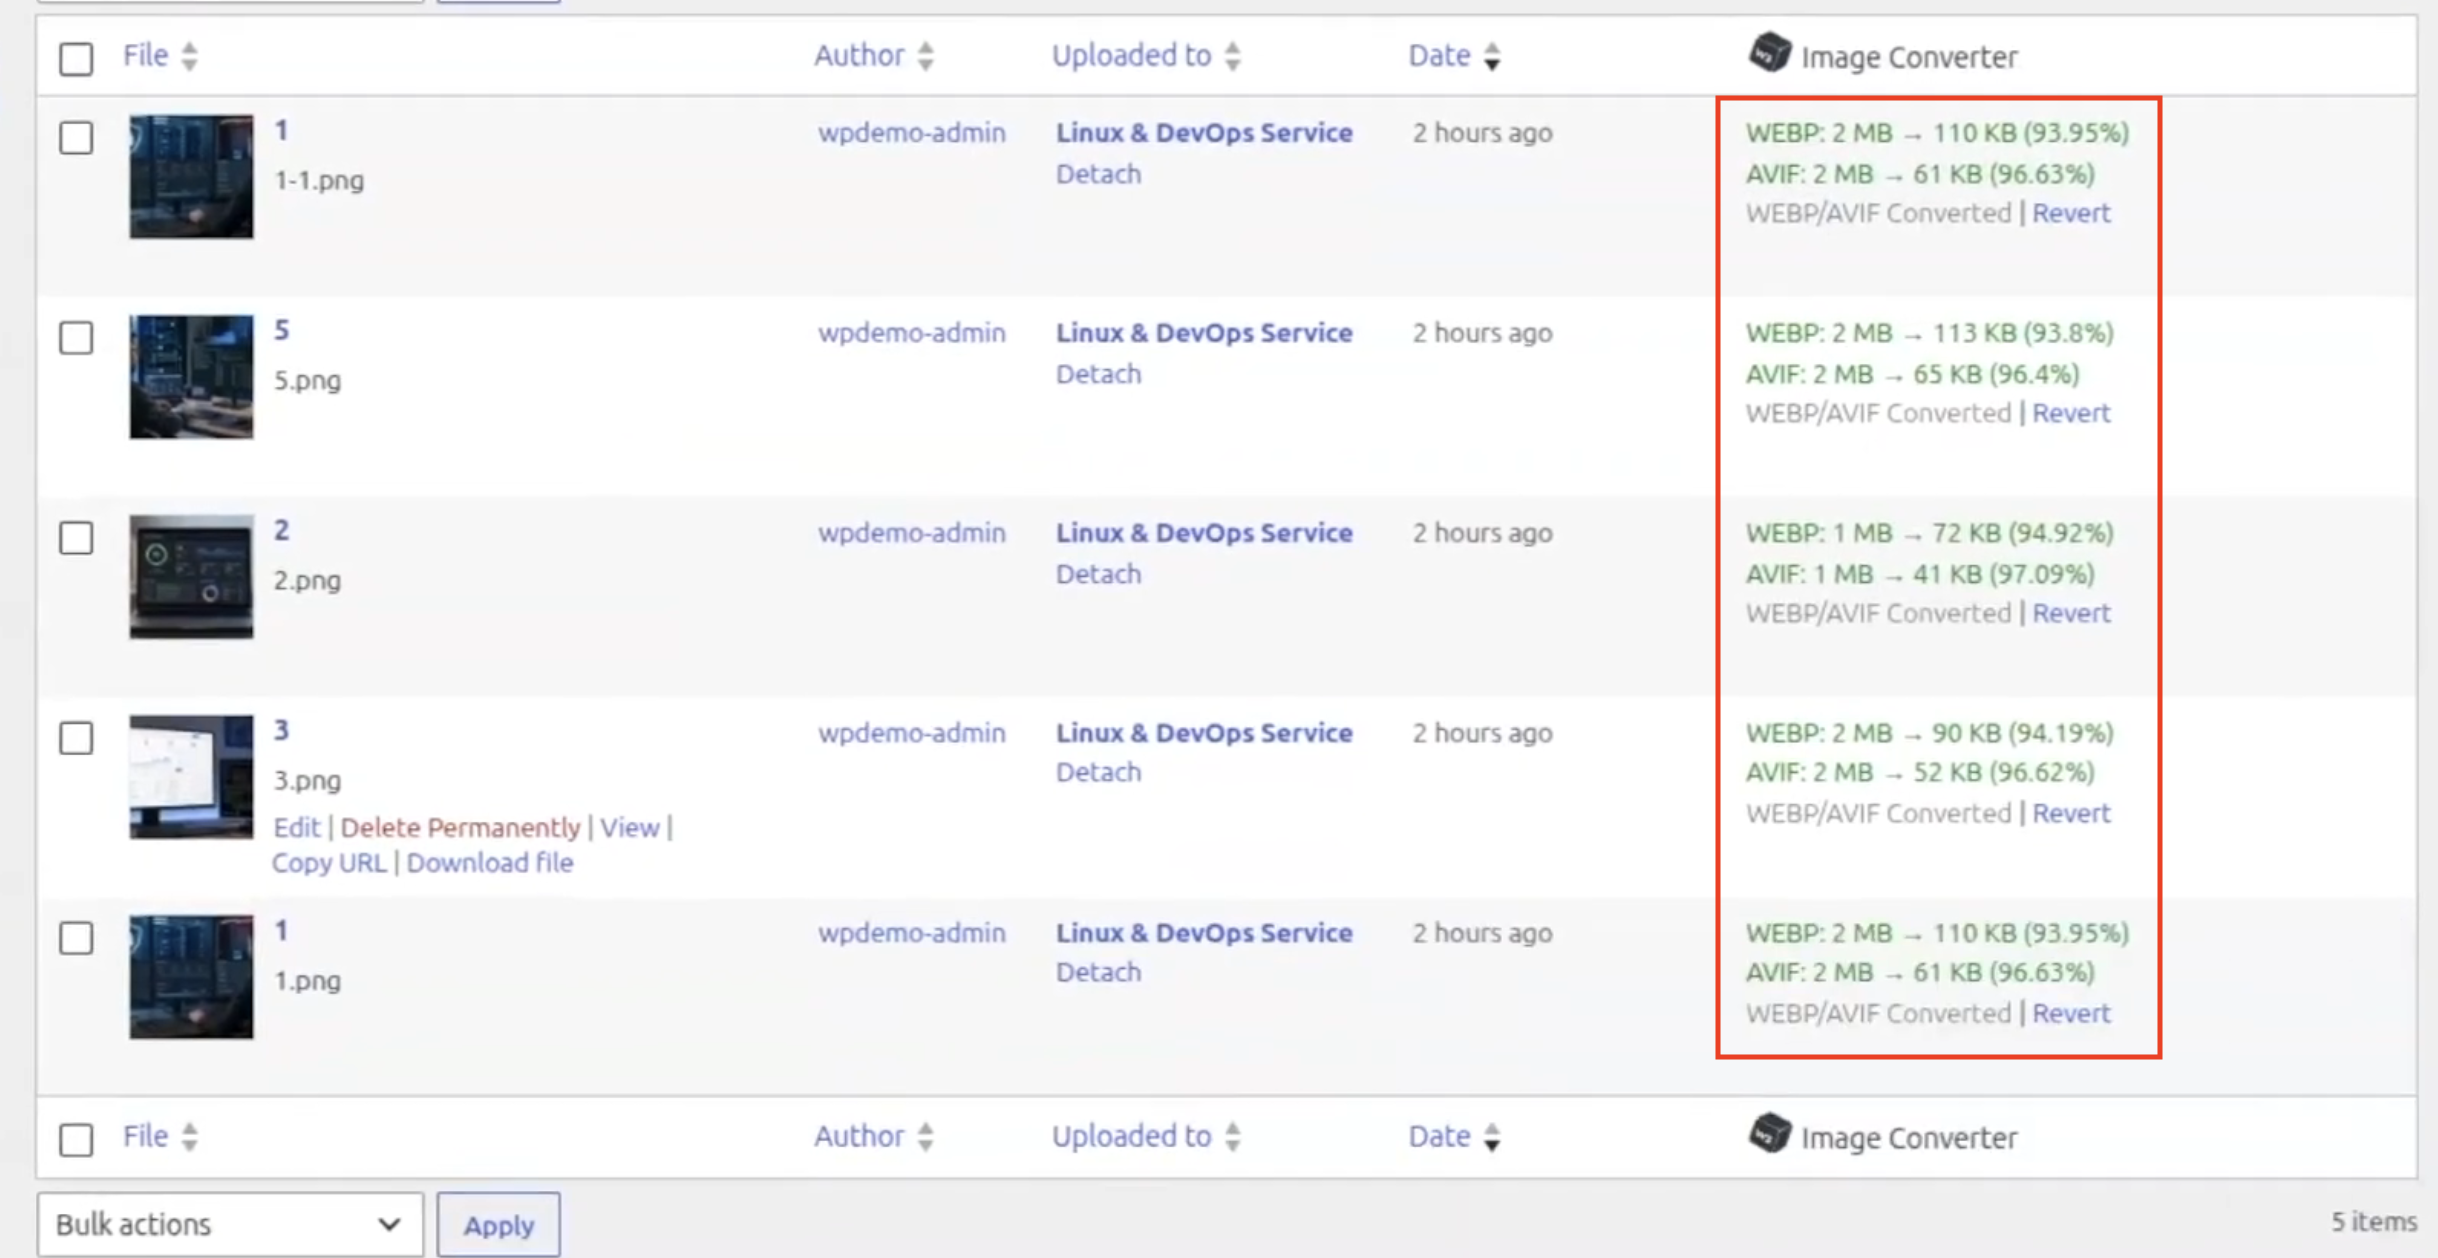
I was able to see these images in the media library with 94%-97% reductions in the image size for each image which is huge and will increase performance by a ton.
7- Testing the Image Delivery on the Website
I loaded the website and everything was working fine, however, I want to ensure that image delivery is in the new formats so I will open incognito mode in my browser and type the url of my website. I went to the Network tab in the inspect element bar(you can access it by pressing the “F12” key or by right clicking on the page and by clicking “Inspect”) and noticed that upon refresh, Nginx was still serving the old .png images.
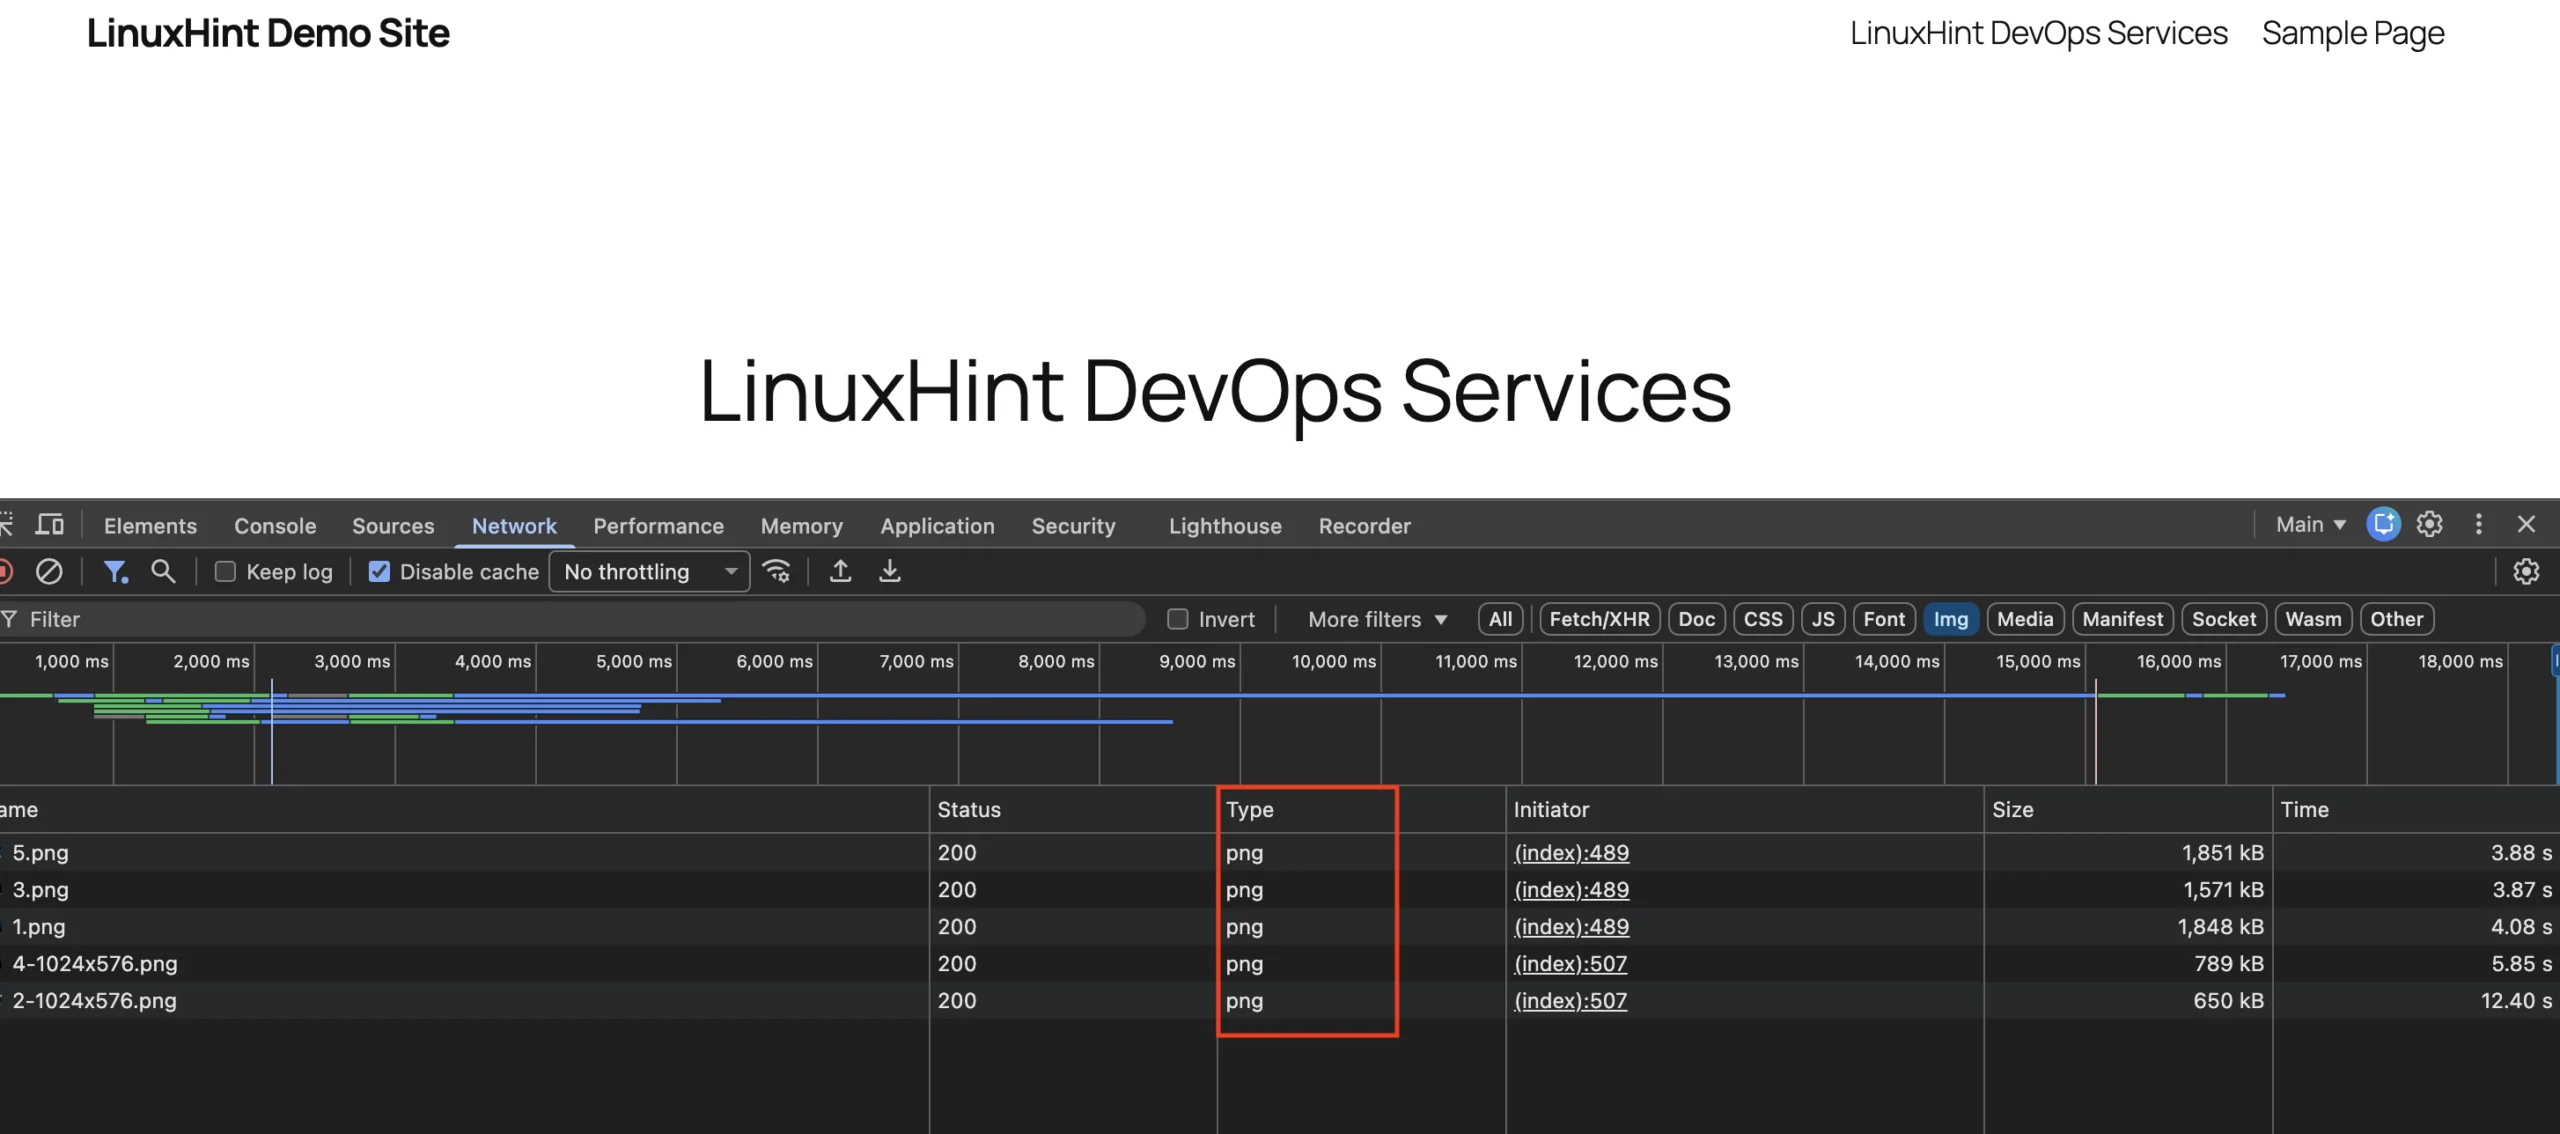
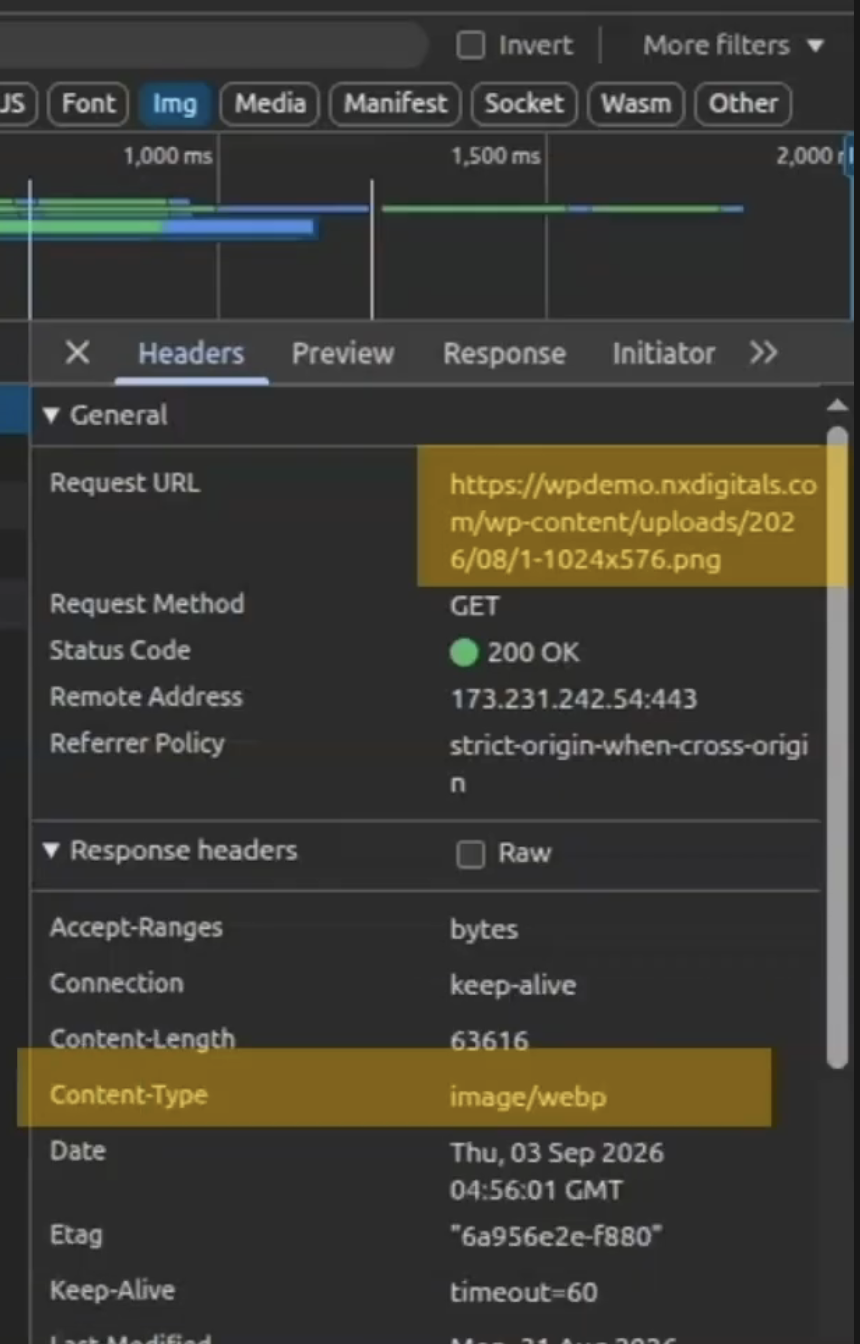
Apache never got a chance to apply W3 Total Cache Pro’s .htaccess rules. Here I contacted InMotion Hosting’s support team and they helped me trace the issue and they updated the Nginx virtual host configuration which resulted in the desired result. So when I refreshed my URL, the URL still ends with .png but the actual image which is delivered is in WebP format.
8- Speed Testing the Website After Optimization
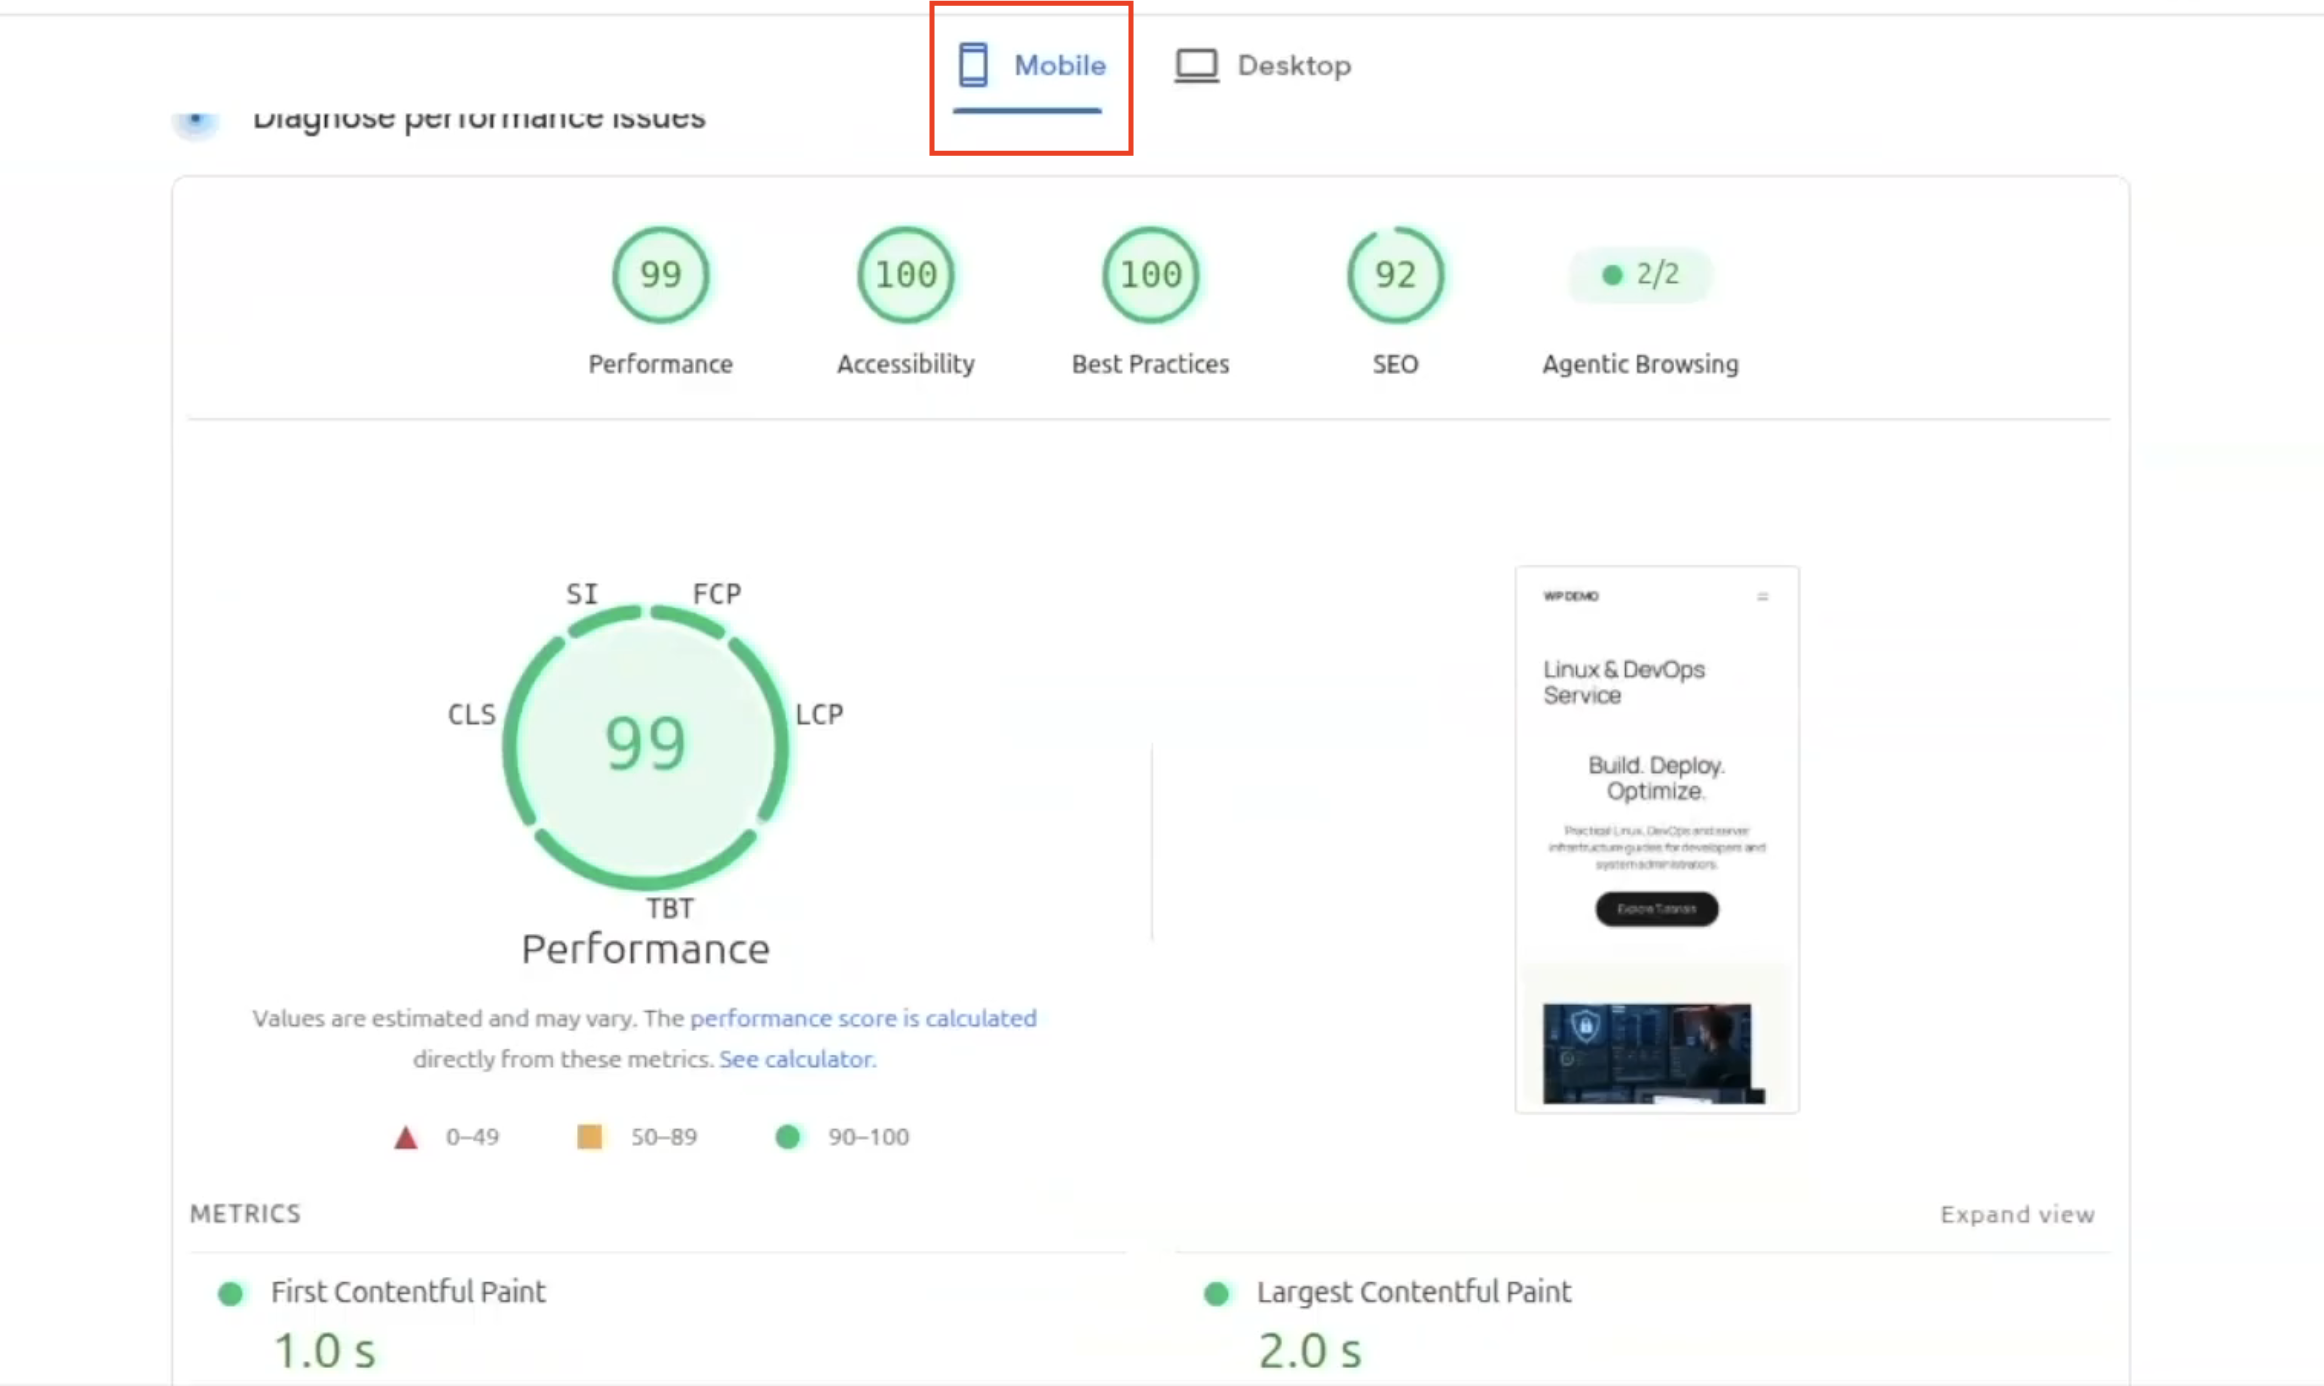
I went to Google’s page speed test and then I again put the URL in and I got 99 performance score for mobile with FCP 1s and LCP down to 2s which is a phenomenal improvement.
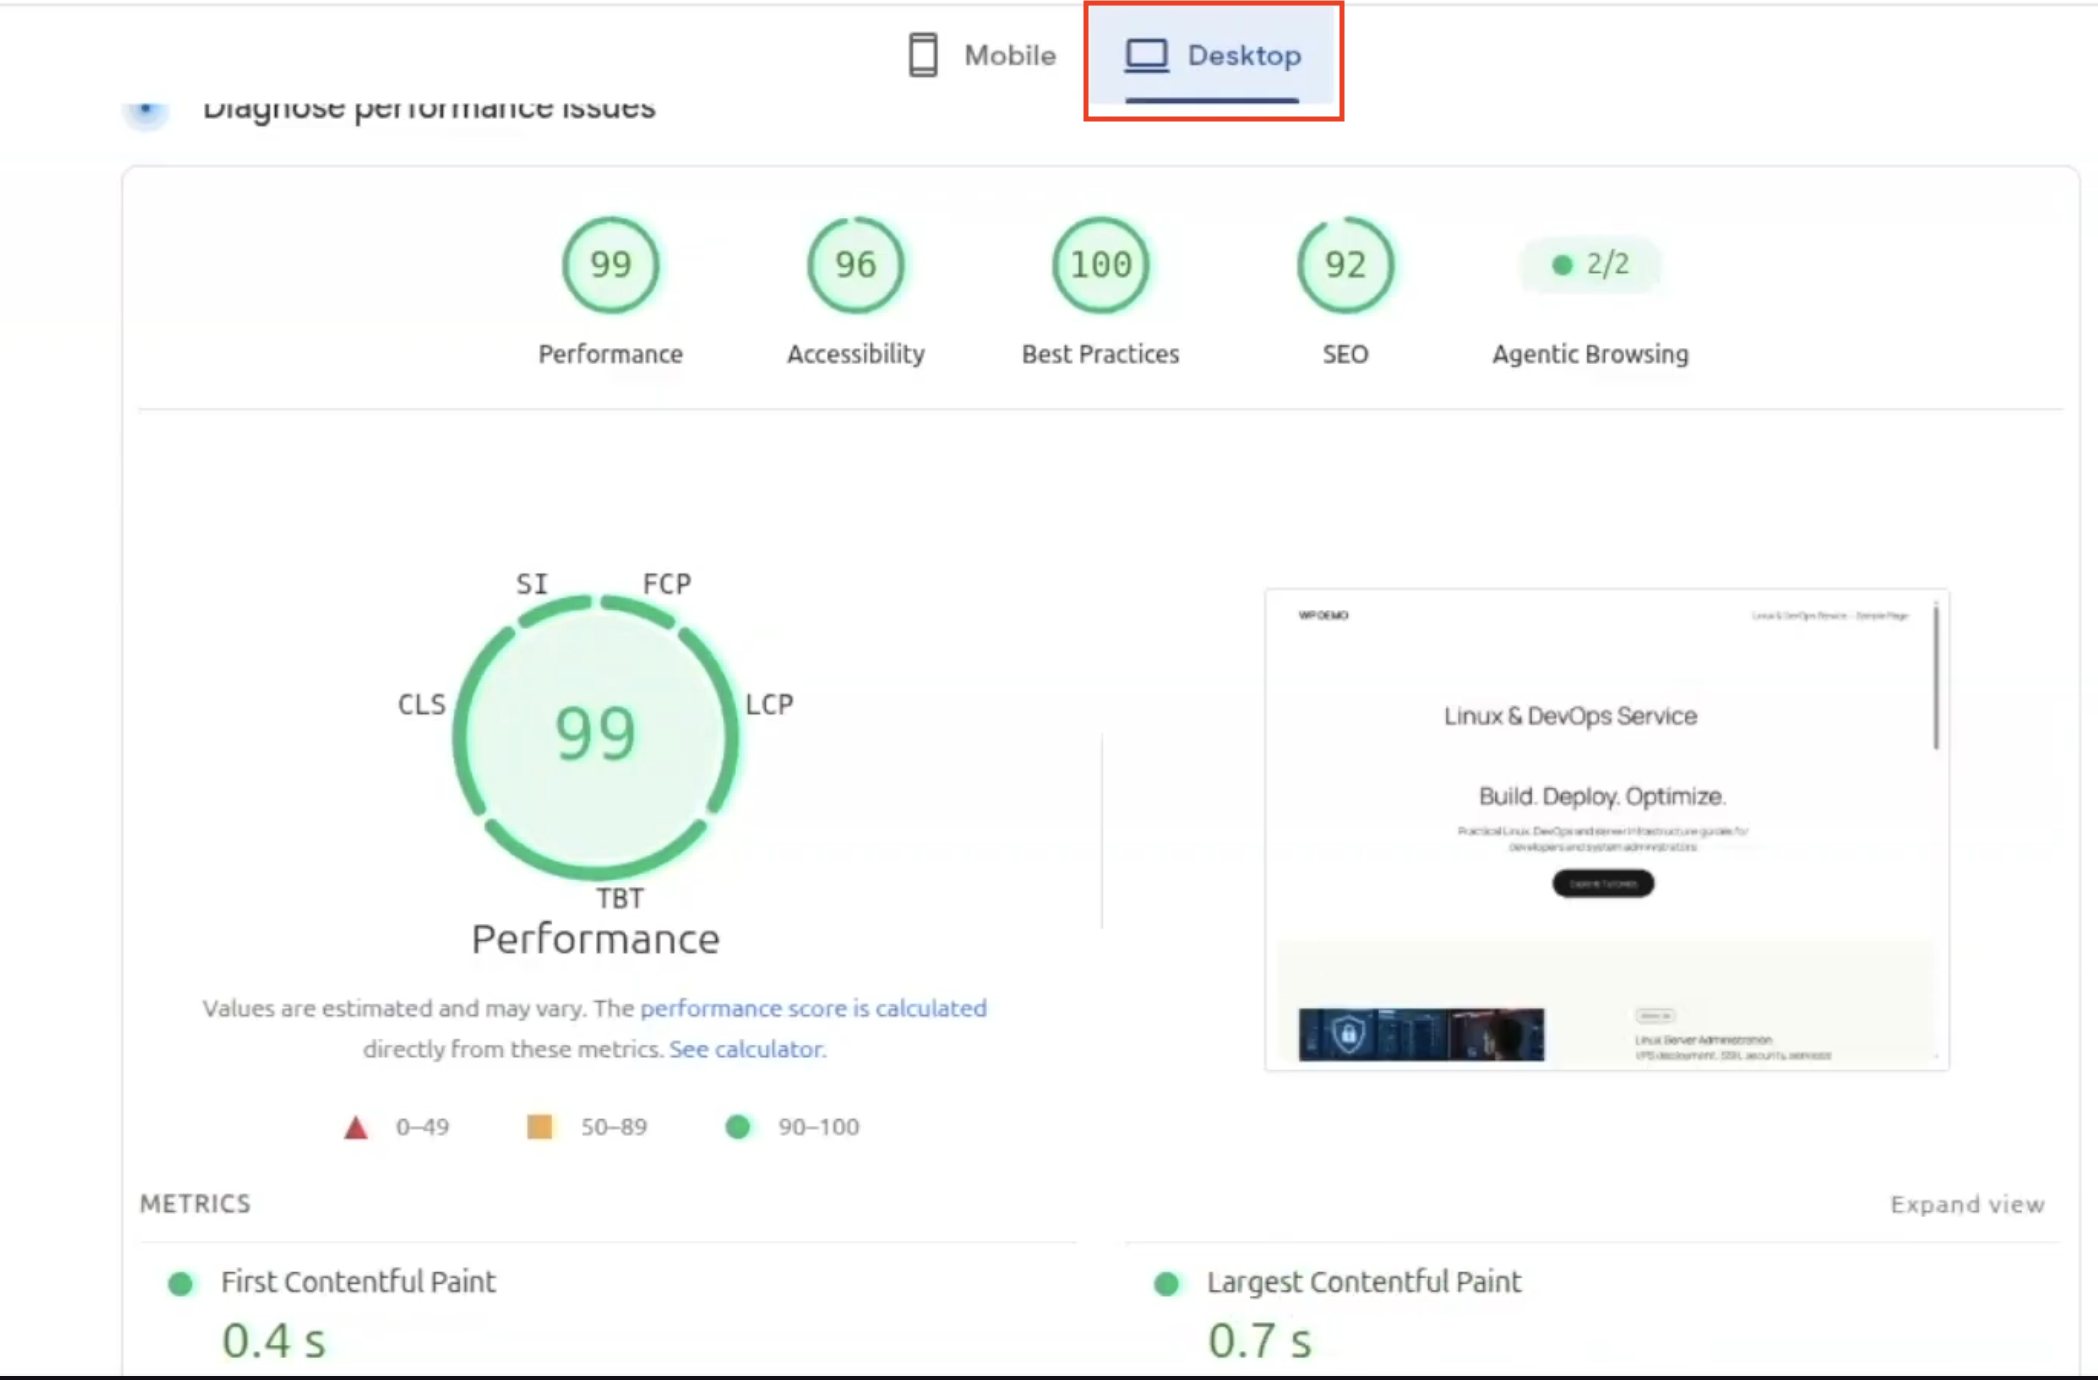
For desktop, the performance score also went up to 99 and FCP came down to 0.4s and LCP came down to 0.7s. Impressive improvements, thanks to W3 total cache plugin.
Conclusion
Initially, I decided that I am going to host my wordpress website on a Linux VPS only but after looking at the performance score, I adjusted the direction of this topic and decided to improve the performance of my website with W3 Total Cache Pro plugin which did a phenomenal job and improved my website performance scores for both mobile and desktop by phenomenal margins. I used InMotion Hosting’s VPS and their plans are competitive and their service and support is also very quick and responsive in my experience. I also created a YouTube video doing all of this process and explained every step along the way.