This post will cover the following approaches:
Method 1: Scaling an Image Using Percentage Values
The developers can apply the CSS “height” and “width” properties on the HTML “<img>” element and define any number of percentages in the CSS style element to set the horizontal and vertical length of the image accordingly.
Example
Let’s check out an example of resizing or scaling the image using the CSS properties. Suppose, we have the following container, on which the CSS properties need to be applied:
In the above HTML code snippet:
- A “div” container element has been added with the class declared as “containerImage”.
- Inside the “div” tag, there is the “img” tag with the “id” declared as “myid” and the “src” attribute.
- The exact image address from the system has been added as the value of the “src” attribute. This will add the selected image from the system in the div container in the output.
Now, it is required to apply the CSS properties on the above HTML element to scale the added image:
width : 50%;
height: 40%;
}
In the above CSS style element:
- The “id” declared in the “img” element is added to refer to the “<img>” element.
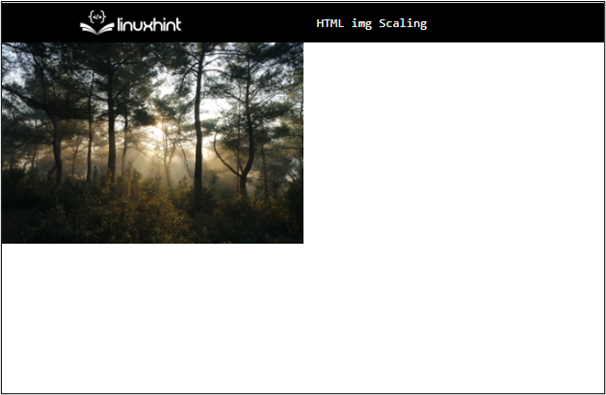
- Inside the div, the “width” property is defined as “50%”. This adjusts the width of the image on the screen to cover half of the horizontal area of the screen.
- After that, the “height” property has been set to “40%” to cover the “40%” area of the whole vertical screen in the output.
This will generate the following output interface:
Method 2: Scaling an Image Using Pixel Values
When the CSS resizing properties, i.e., “height” and “width” are applied by defining values for them in pixels, it resizes the image in the output according to the exact pixel value rather than adjusting the size of the image according to the whole area of the screen.
Example
Let’s apply the CSS “height” and “width” properties by defining their values in “px” (pixels) to exactly the same HTML snippet added in the previous section of this post:
height : 250px;
width: 550px;
}
In the above CSS code snippet:
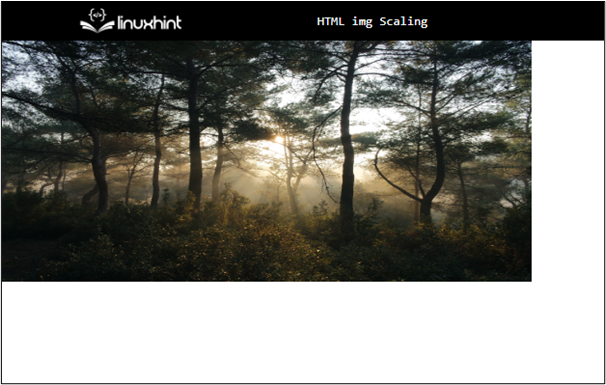
- The “height” property has been set to “250px”. This will set the height of the image to exactly 250 pixels.
- The “width” property has been set to “550px” to set the width to exactly 550 pixels in the output.
According to the above code, the added image will be scaled as follows:
That’s how to scale an image in HTML.
Conclusion
The images can be scaled or resized in an HTML document using the CSS “height” and “width” properties. To utilize them, declare an “id” or a “class” for the HTML “<img>” element, add the respective selector in the CSS style element and define the CSS height and width properties for the “<img>” element. The “height” and “width” can be defined by adding values in either the percentage or pixels. This blog discussed the approaches for scaling images in HTML.