A div may contain several other divisions and each div contains various styling properties. The primary purpose of a div is to make a group of similar kinds of elements so that they can be styled easily. Due to its extended functionality, it is referred to as the key tag while developing a web page using HTML. In this article, we have demonstrated the working of the div tag, and a few examples are illustrated to show the usage of the div tag.
How HTML div tag works
The div tag comprises starting and closing tags and the following syntax is used to create a div in HTML.
Anything written between these tags will adopt the values that are set for this div. For a basic understanding, a div is created using the following code.
<html>
<head>
<meta charset="utf-8">
<meta name="viewport" content="width=device-width, initial-scale=1">
<title> Div Tag </title>
</head>
<body style="background-color: lightseagreen;">
<h3> A div is created on the web page </h3>
<div style="background-color: yellow;">
<p> this is div </p>
</div>
</body>
</html>
The code is described as follows:
– the title of the page will be “Div Tag”
– background of the body is set to “light sea green”
– a div is created and its background color is set to “yellow”
– a paragraph is created in div tag
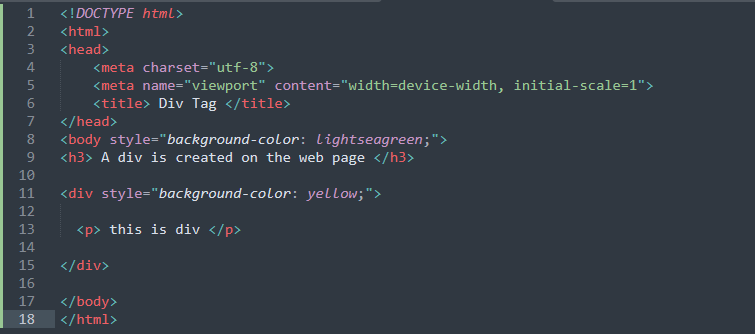
The image of the code is provided below:
The output of the web page is shown below:
The following observations can be made from the above output:
– the div tag creates a new line
– occupies the whole width(if the limit is not set) of the page
How to use HTML div tag
The basic working of the div tag is explained in the above section. However, this section explains the usage of the HTML div tag in various scenarios. As stated earlier, multiple elements are contained in a div to style all these elements in a similar way. As the styling is possible with CSS so, it is recommended to use an inline or external CSS class.
Example 1: Using an HTML div tag with multiple CSS classes
A div tag can be used with multiple CSS classes. To practice this functionality, the following HTML code is used:
<html>
<head>
<meta charset="utf-8">
<meta name="viewport" content="width=device-width, initial-scale=1">
<title> Div Tag </title>
<style type="text/css" >
.color {
background-color: darkslategray;
color: white;
}
.misc {
width: 75%;
padding: 2px;
font-style: italic;
}
</style>
</head>
<div class="color misc">
<h3> The Div using two CSS classes </h3>
<p> Welcome to linuxhint </p>
<small> a valley of tech </small>
</div>
</body>
</html>
The code is described below:
– two CSS classes are created named “color” and “misc”.
– the color class defines “background color” and “font color”, whereas the misc class contains the “width”, “padding”, and “font style”
– a div is created with a class attribute and used the name of both classes in it
– three HTML elements <h3>, <p> and <small> are used in the div
Note: When using multiple classes names in a class attribute of div tag, you must add a space between class names to differentiate both classes.
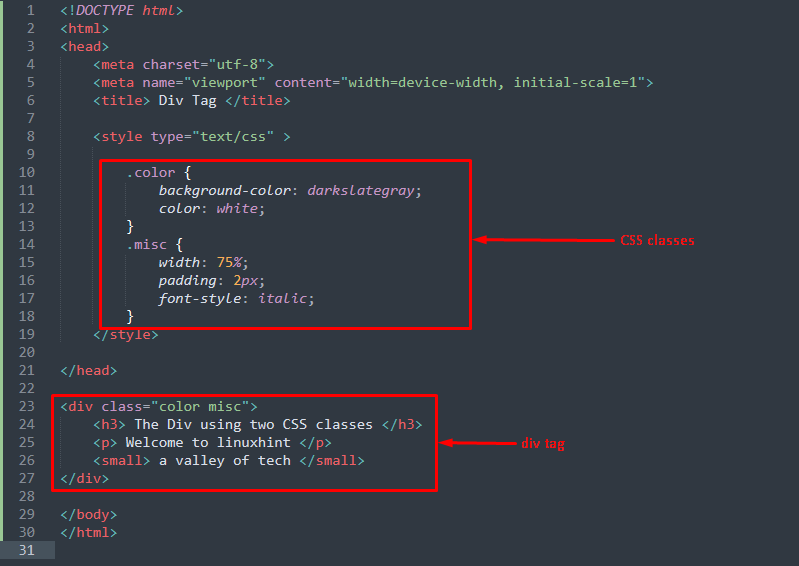
The image of the code is provided below:
The output of the HTML code on a web page is shown below:
Example 2: Using multiple div tags
Using multiple div is the confusing part of the HTML div tag. The following HTML code refers to using multiple div’s with various
<html>
<head>
<meta charset="utf-8">
<meta name="viewport" content="width=device-width, initial-scale=1">
<title> Div Tag </title>
<style type="text/css" >
.first {
background-color: darkslategray;
color: white;
width: 50%;
float: left;
}
.second {
background-color: lightseagreen;
width: 50%;
float: left;
</style>
</head>
<div class="first">
<h3> First Div </h3>
<p> Welcome to linuxhint </p>
</div>
<div class="second">
<h3> Second div </h3>
<p> leading content provider </p>
</div>
</body>
</html>
The code is described as:
– created two CSS classes named “first” and “second”
– the “first” class defines “background-color”, “color of font”, width, “float”
– the “second” class has properties like “background-color”, “width”, “float”
– a div is initialized with a class attribute and “first” as the value of the attribute
– another div is created with “second” as a value of the class attribute
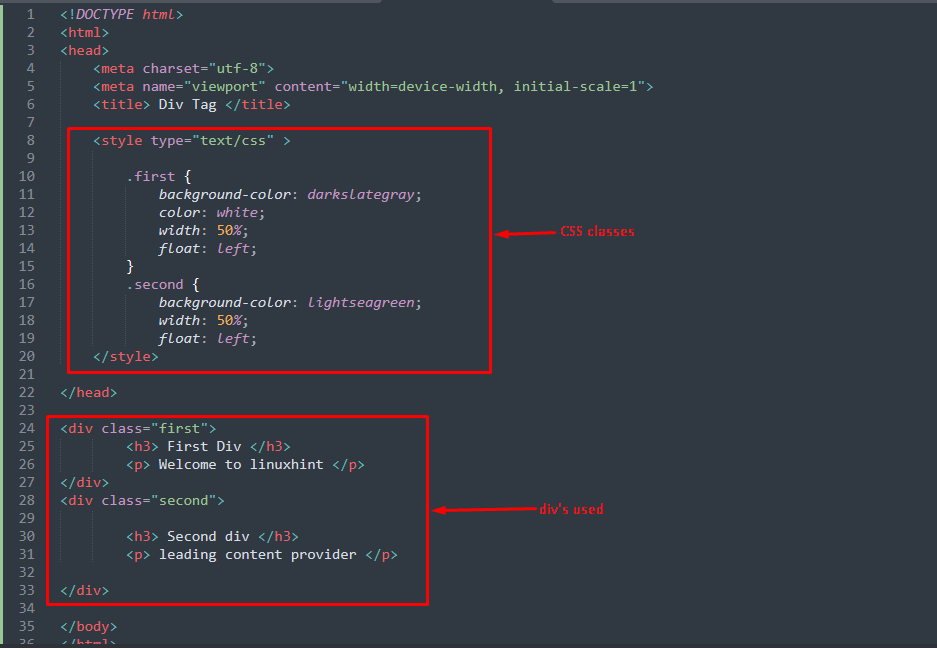
The image of the code is shown below:
The web-page output is shown below:
Conclusion
The div tag in HTML refers to creating a container that enables you to make a group of HTML elements that can be styled in the same way. This article demonstrated the working mechanism of the div tag. Additionally, several examples are stated that show how an HTML div tag can be used in various scenarios.


