Raspberry Pi 4 firmware supports USB boot. You can easily boot your favorite operating system on your Raspberry Pi 4 from a USB HDD, SSD, or a USB thumb drive instead of the traditional microSD card. There are many benefits of USB boot:
1) Cheaper Storage
USB HDD or USB SSD is cheaper than the same capacity microSD card. So, the cost of storage can be reduced.
2) Faster Boot Time
USB SSDs are a lot faster than the traditional microSD card. The operating system will boot faster from a USB SSD than a traditional microSD card.
3) Longevity
USB SSD or USB HDD has a much longer lifespan than a microSD card. There is a lower chance of hardware failure compared to a microSD card. Again, a USB SSD or USB HDD can handle heavy I/O workloads, unlike a microSD card.
In this article, I am going to show you how to enable USB boot on Raspberry Pi 4 and boot Raspberry Pi OS from a USB SSD/HDD/thumb drive. So, let’s get started!
Things You Will Need:
To follow this article, you will need the following things:
- Raspberry Pi 4 single-board computer
- USB Type-C power supply for Raspberry Pi 4
- MicroSD card with Raspberry Pi OS image flashed
- Internet connectivity on the Raspberry Pi 4
- Laptop or desktop computer for VNC remote desktop access or SSH access to the Raspberry Pi 4
NOTE: If you don’t want to access your Raspberry Pi 4 remotely via SSH or VNC, you need to connect a monitor, keyboard, and mouse to your Raspberry Pi as well. I won’t need any of these as I will be connecting my Raspberry Pi 4 remotely via VNC remote desktop protocol. My setup is also called the headless setup of Raspberry Pi 4.
If you need any assistance on flashing the Raspberry Pi OS image on the microSD card, check my article How to Install and Use Raspberry Pi Imager.
If you’re a Raspberry Pi beginner and you need any assistance on installing Raspberry Pi OS on your Raspberry Pi 4, check my article How to Install Raspberry Pi OS on Raspberry Pi 4.
Also, if you need any assistance on the headless setup of Raspberry Pi 4, check my article How to Install and Configure Raspberry Pi OS on Raspberry Pi 4 Without External Monitor.
Enabling USB Boot on Raspberry Pi 4:
In this section, I am going to show you how to enable USB boot on Raspberry Pi 4.
Before you can enable USB boot on your Raspberry Pi 4, you must update all the existing packages of your Raspberry Pi OS. So that we can update the firmware and enable USB boot.
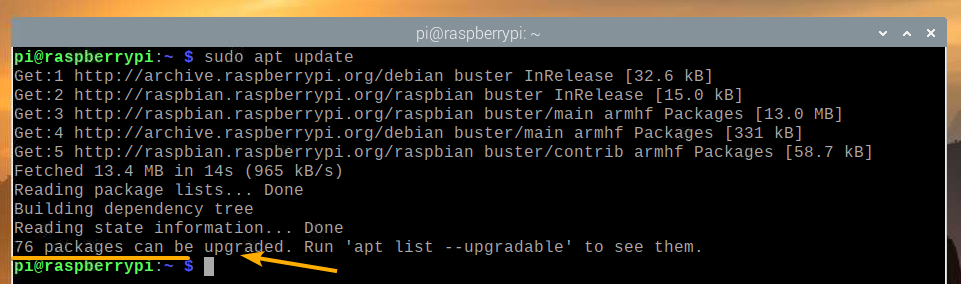
First, update the APT package repository cache with the following command:

The APT package repository cache should be updated.
As you can see, I have some updates available.
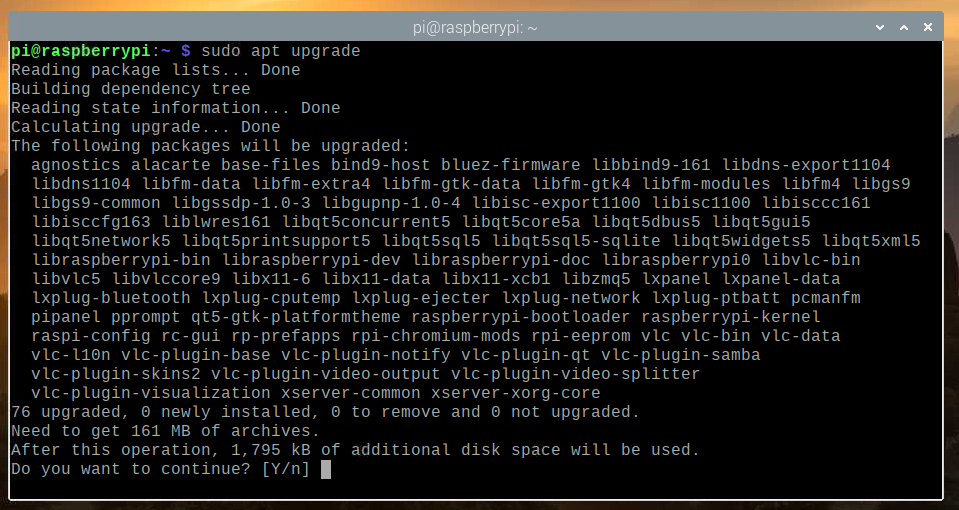
To update all the existing packages, run the following command:

To confirm the update, press Y and then press <Enter>.
The APT package manager will download and install all the required updates from the internet. It may take a while to complete.
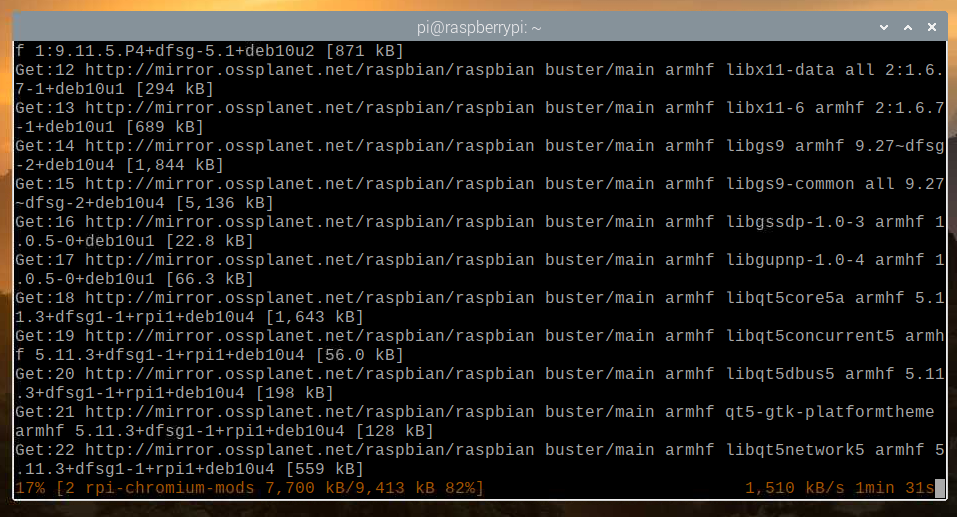
At this point, all the existing packages should be installed.

For the changes to take effect, reboot your Raspberry Pi 4 with the following command:
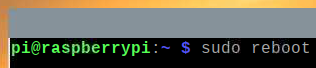
Now, you have to update the firmware of your Raspberry Pi 4.
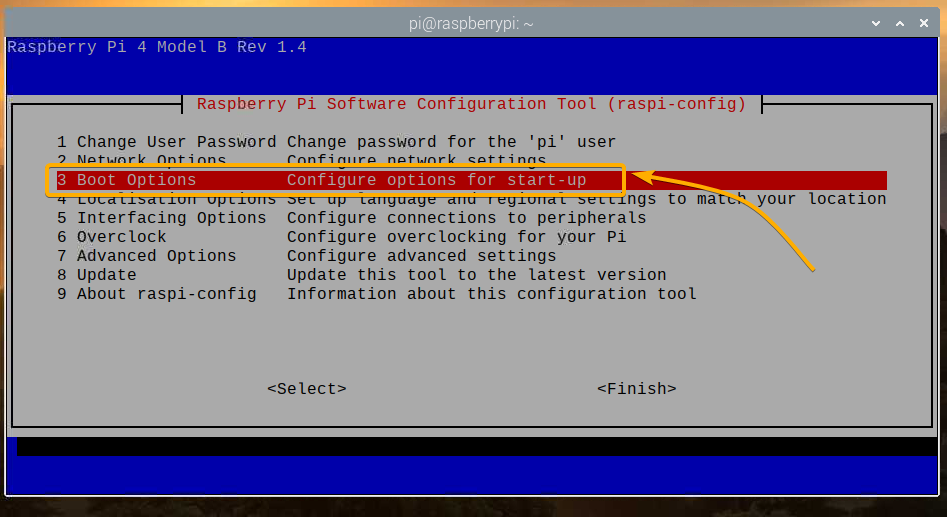
Once your Raspberry Pi 4 boots, open a Terminal and run raspi-config Raspberry Pi configuration tool as follows:

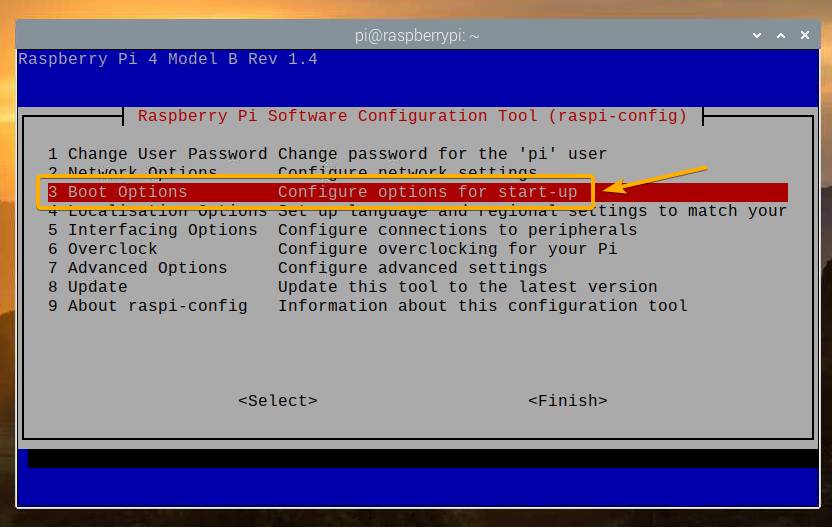
From here, select Boot Options and press <Enter>.
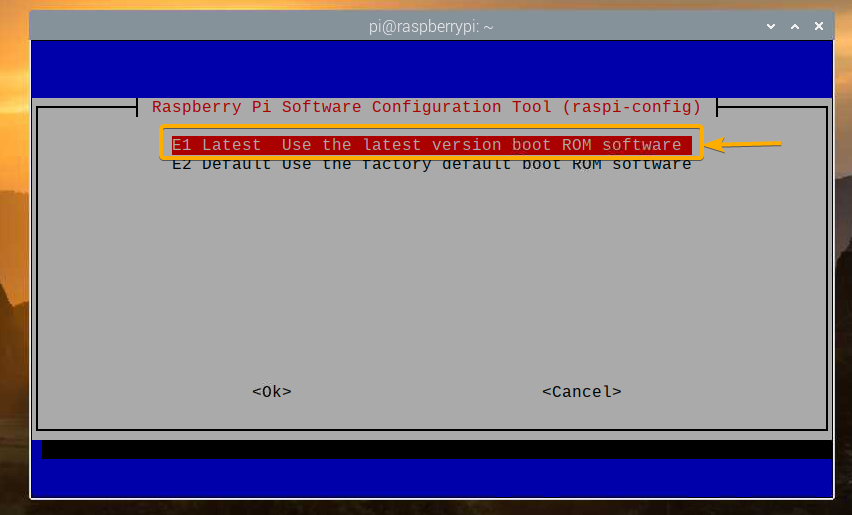
Select Boot ROM Version and press <Enter>.

Select Latest Use the latest version boot ROM software and press <Enter>.
Select <Yes> and press <Enter>.
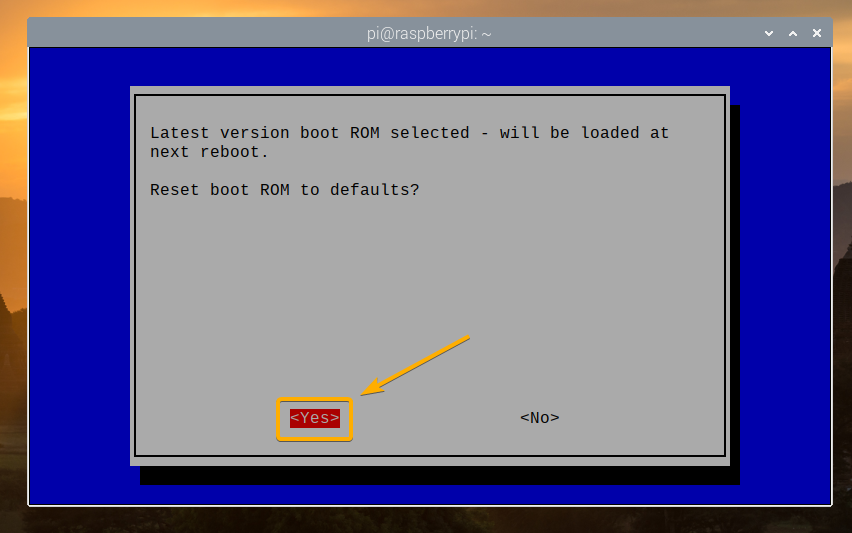
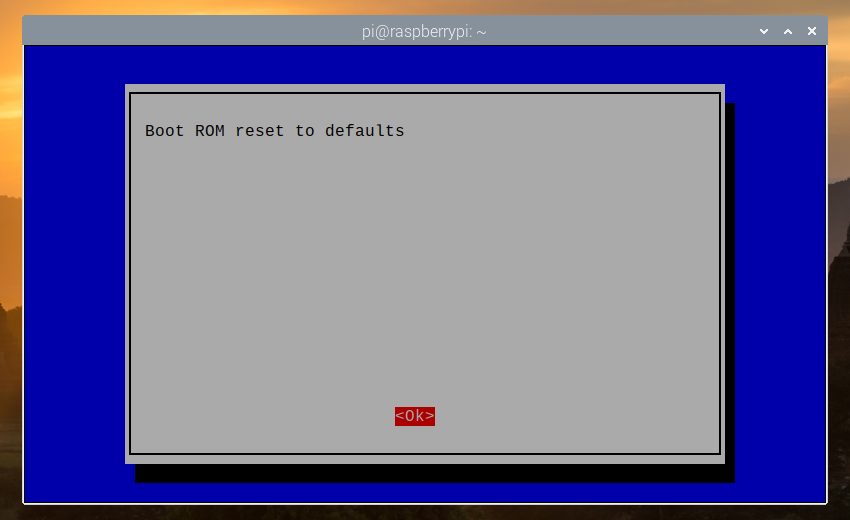
Press <Enter>
Select <Finish> and press <Enter>.

Select <Yes> and press <Enter>. Your Raspberry Pi 4 should reboot. Once it boots, the firmware should be updated.

Now, you can enable USB boot on your Raspberry Pi 4.
Once your Raspberry Pi 4 boots, open a Terminal and run raspi-config as follows:

Select Boot Options and press <Enter>.
Select Boot Order and press <Enter>.

Select USB Boot and press <Enter>.

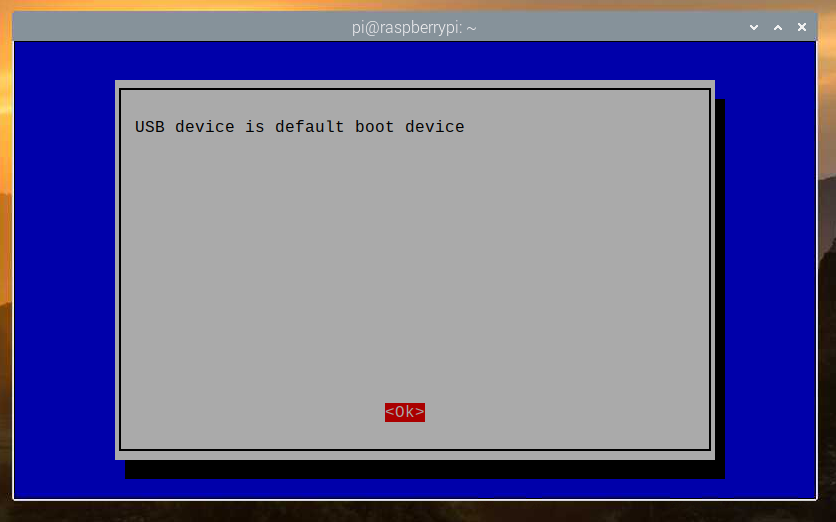
Press <Enter>.
Select <Finish> and press <Enter>.

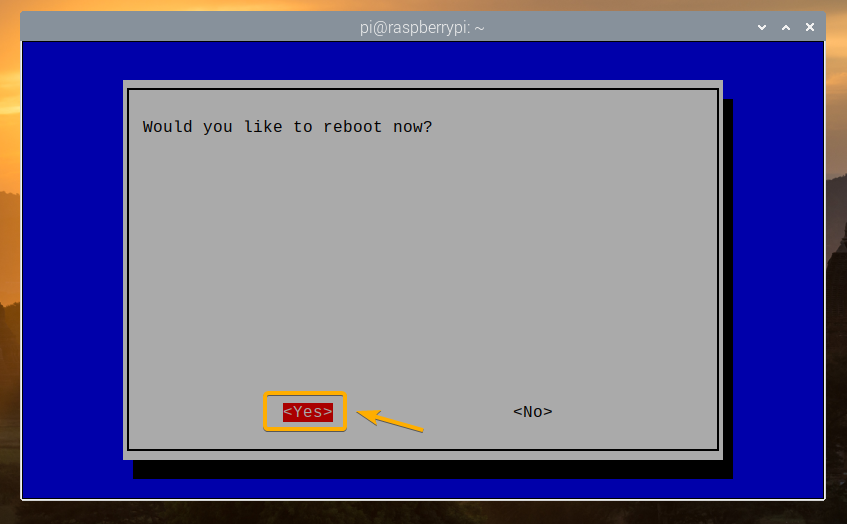
Select <Yes> and press <Enter>. Your Raspberry Pi 4 should reboot. Once it boots, you should have USB boot enabled.
Checking USB Boot Status:
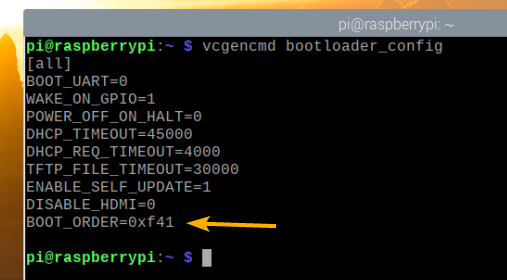
To check whether USB boot is enabled, open a Terminal and run the following command:

If you have 0xf41 as the BOOT_ORDER, then USB boot is successfully enabled on your Raspberry Pi 4.
Cloning the microSD Card to USB HDD/SDD/Thumb Drive:
You can simply flash your favorite operating system on your USB storage device using Balena Etcher or Raspberry Pi Imager. You can also clone the operating system from the microSD card to your USB storage device (i.e. HDD, SSD, or thumb drive). If you clone the operating system from the microSD card to your USB storage device, you can keep all the data and won’t have to reconfigure the operating system or reinstall the programs you use.
In this section, I am going to show you how to clone Raspberry Pi OS from your microSD card to the USB HDD/SDD/Thumb Drive using your Raspberry Pi 4.
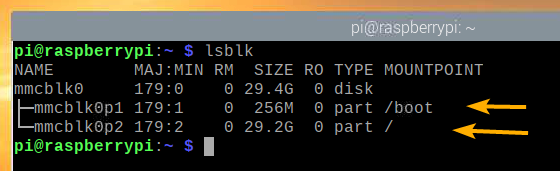
As you can see, currently, Raspberry Pi OS is installed in the microSD card mmcblk0.
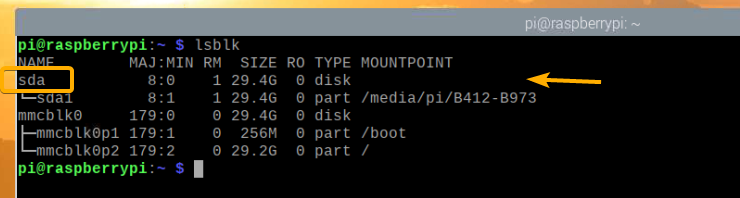
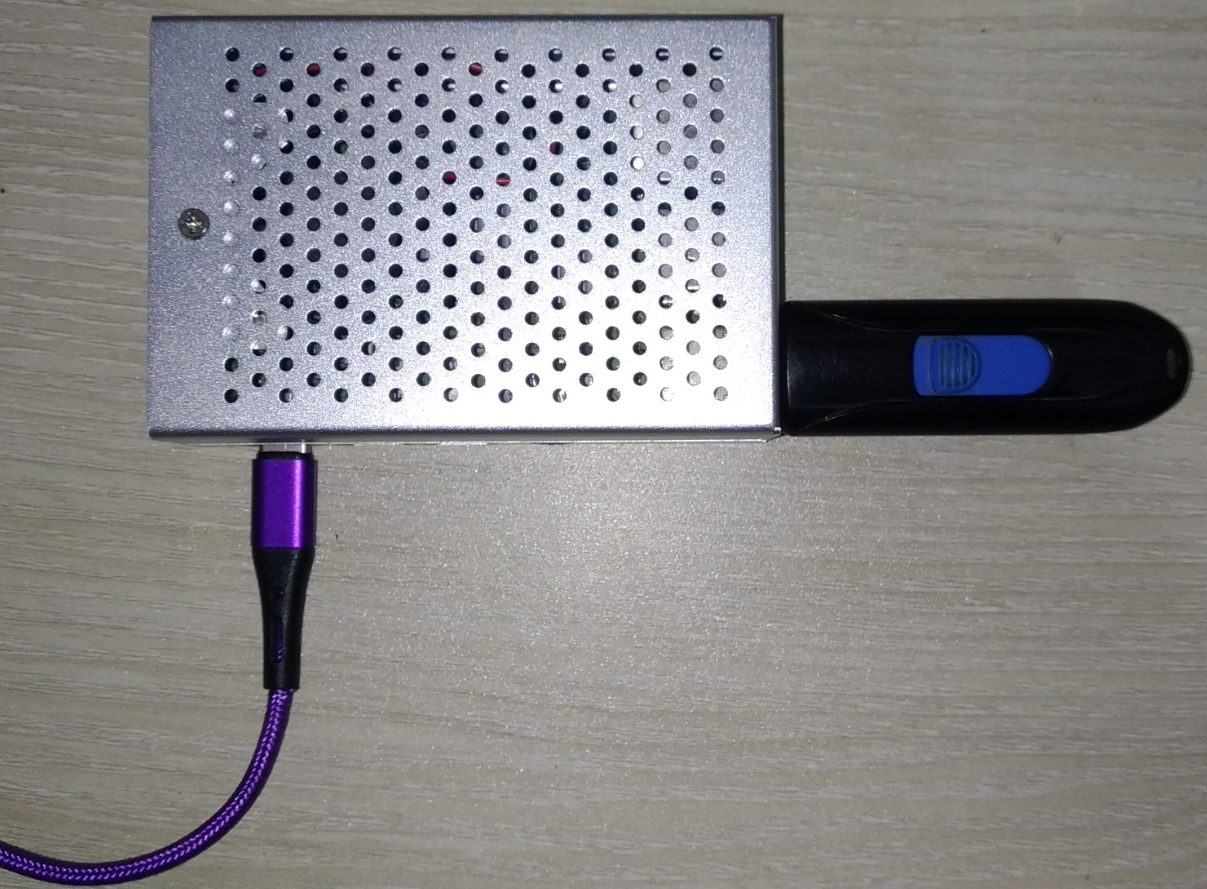
Insert the USB HDD/SSD/Thumb Drive in your Raspberry Pi 4.
It should show up in the storage/block device list, as you can see in the screenshot below.
From the Raspberry Pi OS menu, go to Accessories > SD Card Copier.
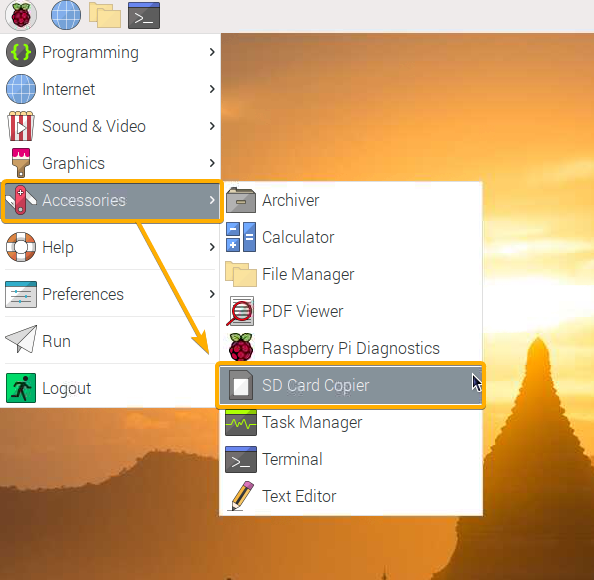
SD Card Copier should start.
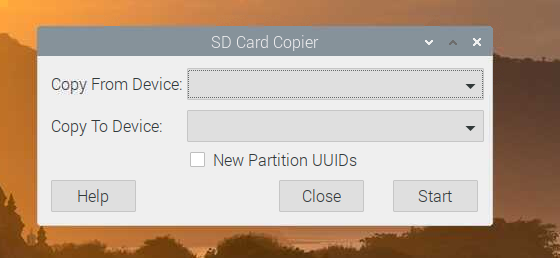
Select the microSD card (source) from the Copy From Device dropdown menu and select the USB HDD/SSD/Thumb Drive (target) from the Copy To Device dropdown menu. Once you’re done, click on Start.

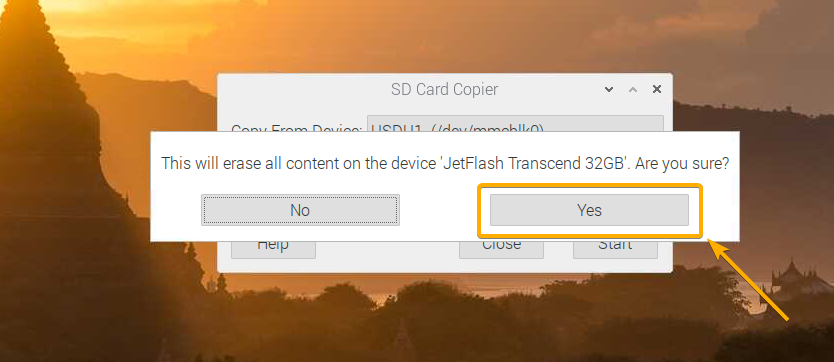
To confirm the clone operation, click on Yes.
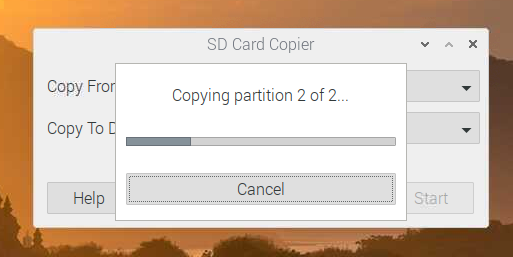
SD Card Copier should start copying the contents from the microSD card to the USB storage device. It will take a while to complete.
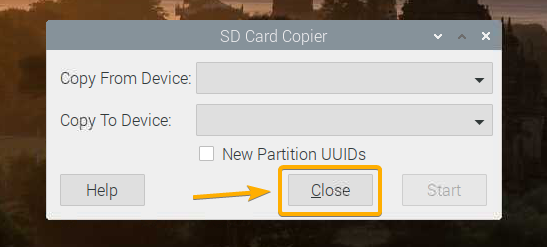
Once the clone operation is complete, click on OK.

Click on Close to close the SD Card Copier.
Now, power off your Raspberry Pi 4 with the following command:

Booting OS on Raspberry Pi 4 from USB HDD/SDD/Thumb Drive:
Now that the USB storage device is ready, take out the microSD card from the Raspberry Pi 4 and keep only the USB HDD/SSD/Thumb Drive. Then, power on your Raspberry Pi 4.
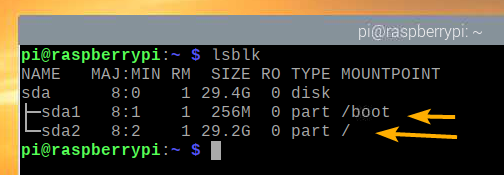
Your Raspberry Pi 4 should boot from the USB HDD/SSD/Thumb drive.

As you can see, the operating system booted from the USB HDD/SSD/Thumb Drive.
Conclusion:
In this article, I have shown you how to enable USB boot on Raspberry Pi 4 using the Raspberry Pi OS. I have also shown you how to clone the OS from the microSD card to the USB HDD/SSD/Thumb drive and boot from the USB storage device.