This article will explain the method to utilize the break-after in Tailwind.
How to Utilize the break-after in Tailwind?
Users can utilize the “break-after-<value>” utilities to control how a page or column break should behave after a particular element. The “break-after” takes different values, such as “auto”, “all”, “avoid”, “page”, “avoid-page”, or “column” to control the breaks.
For a practical demonstration, try out the following steps:
Step 1: Use break-after Utility in HTML Program
Make an HTML program and utilize the “break-after” class with the desired value to apply a break on a specific element. For instance, we have used the “break-after-column” class to apply a column break after the <p> element:
Here:
- “columns-2” class is utilized to divide the <div> into two columns.
- “bg-yellow-500” class sets the yellow color to the background of the <div>.
- “break-after-column” class in the <p> element indicates that a column break should occur after this specific <p> element.
Step 2: Verify Output
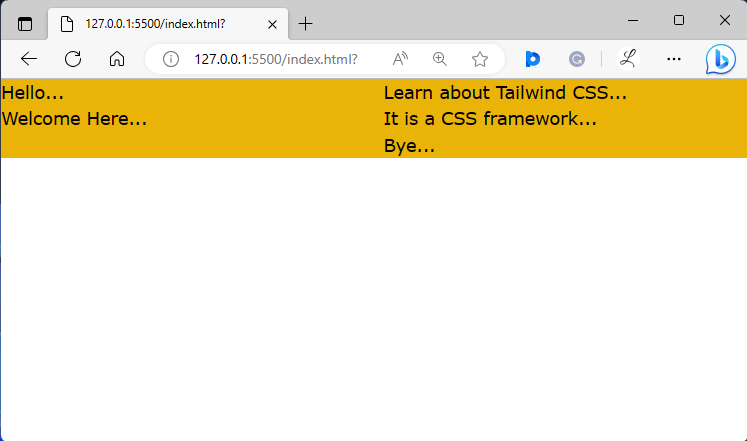
View the HTML web page to verify whether the break-after has been applied or not:
The above output indicates that the break-after has been applied successfully as it was defined.
Conclusion
To utilize the “break-after” in Tailwind, make an HTML program and add the “break-after” utility with the desired value. It controls how a page or column break should behave after certain elements. The value of “break-after” can be “auto”, “all”, “avoid”, “avoid-page”, or “column” to control the breaks. This article has explained the method to utilize the break-after in Tailwind.

