This write-up will demonstrate how to use “apt install” correctly in Dockerfile.
How to Use “apt install” Correctly in Dockerfile?
The Dockerfile is a instruction file that defines the commands to generate a Docker image. The “apt install” command is used in Dockerfile to install the required dependencies or packages for building the Docker image. Here, “apt” is the Ubuntu repository that stands for “Advance Packaging tool” used to install dependencies.
Here is the syntax to add the “apt install” command in Dockerfile:
apt-get clean && \ rm -rf /var/lib/apt/lists/*
For the proper guide-line to utilize the “apt-install” command for package installations, follow the provided instructions.
Step 1: Make Dockerfile
First, make a Dockerfile. Keep in mind that the file’s name must be “Dockerfile”. Then, paste the below-coded commands into the file:
RUN apt-get update && apt-get install -y --no-install-recommends \
python3-setuptools \
python3-pip \
python3-dev \
python3-venv \
git \
&& \
apt-get clean && \
rm -rf /var/lib/apt/lists/*
EXPOSE 8000
CMD python -c "print('Docker is more simple Deployment Tool')"
In the above code-block:
- The “FROM” statement is utilized to define the base image.
- “RUN” command is utilized to execute the specified command. In the “RUN” statement, we have used the “apt install” command to install required packages, such as “python3-setuptools”, “python3-pip”, “python3-dev”, and “git”.
- “\” is used as a default escape character to span multiline instructions in Dockerfile.
- “apt-get clean” cleans out the cache
- “rm -rf” command deletes or removes the files or directory.
- “EXPOSE” is used to specify the container exposing port.
- “CMD” specifies the entry point or defaults for containers. In our scenario, we have executed the Python code:
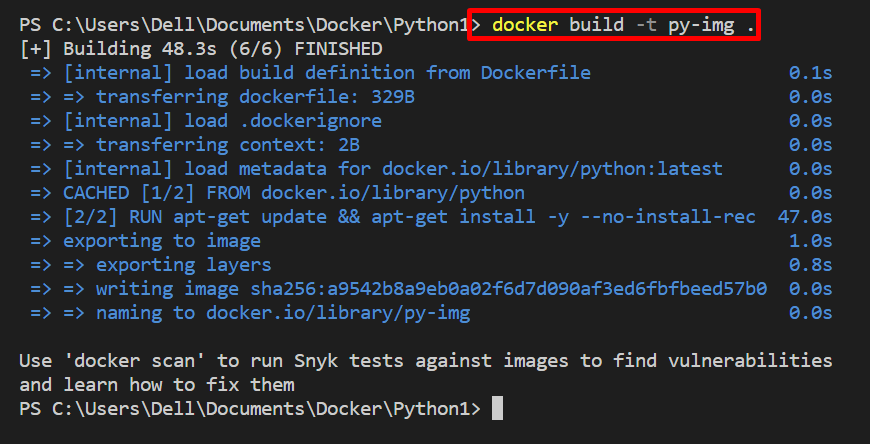
Step 2: Build Docker Image
In the next step, create the Docker image through the mentioned command. Here, “-t” specifies the tag or name of the image:
Step 3: Execute Image
In order to generate and execute the container, run the image through the “docker run <image-name>” command:
We have elaborated on how to use “apt-install” in Dockerfile.
Conclusion
To use apt install into Dockerfile, first, create a simple Docker file. Then, provide the base or parent image in the “FROM” instruction. After that, specify the “RUN” command to use the “apt install” command. For this purpose, utilize the “RUN apt update && apt install -y <PACKAGE>\ <Package>\ && \
apt-get clean && \ rm -rf /var/lib/apt/lists/*” syntax. This write-up has demonstrated how to use “apt install” in Dockerfile.


