How to Setup Tailwind CSS with React Project?
To set up a new React project with Tailwind CSS, users can easily style their React components with Tailwind CSS to make them responsive and eye-catching. Follow the steps enlisted below to set up Tailwind CSS with React Project:
Step 1: Check Prerequisites
To begin with this blog, users must have Node JS installed in their system and a preferred code editor (VS Code). In case they are not already available in your system, utilize Node Js and VS Code official websites to install them.
Step 2: Creating a React Project
After fulfilling the prerequisites, open any blank directory using the code editor. After that, press the “Ctrl+Shift+`” keys to open the terminal and execute the provided command for creating a new react project with the name “linuxhint-react”:
The above command creates a new react project with the name “linuxhint-react” in this directory.
Output
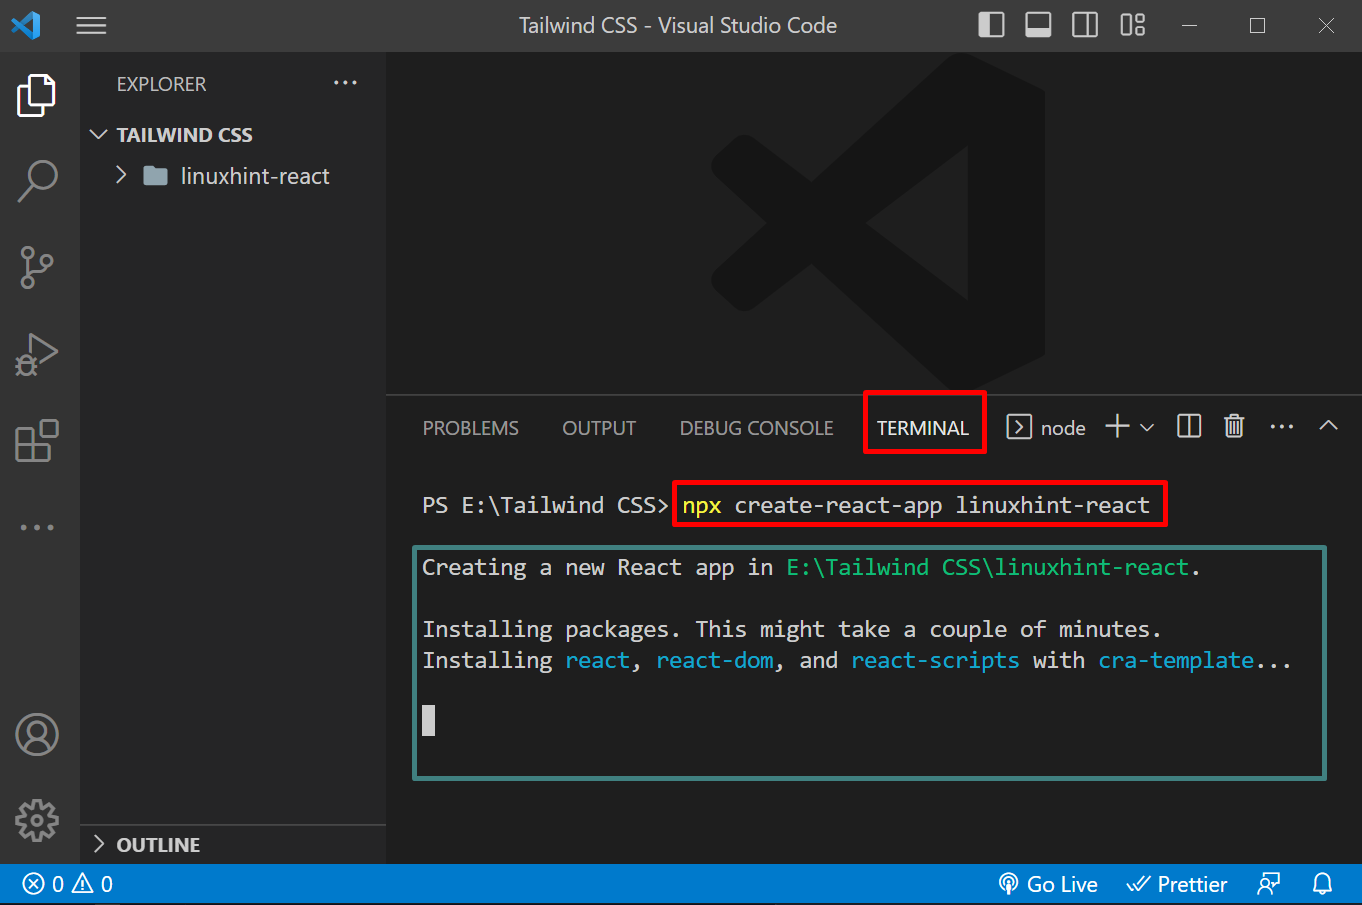
The output shows that the creation of the project is consuming some time. Now wait for the procedure to complete.
After the creation of the react project, new files appear in the explorer tab:
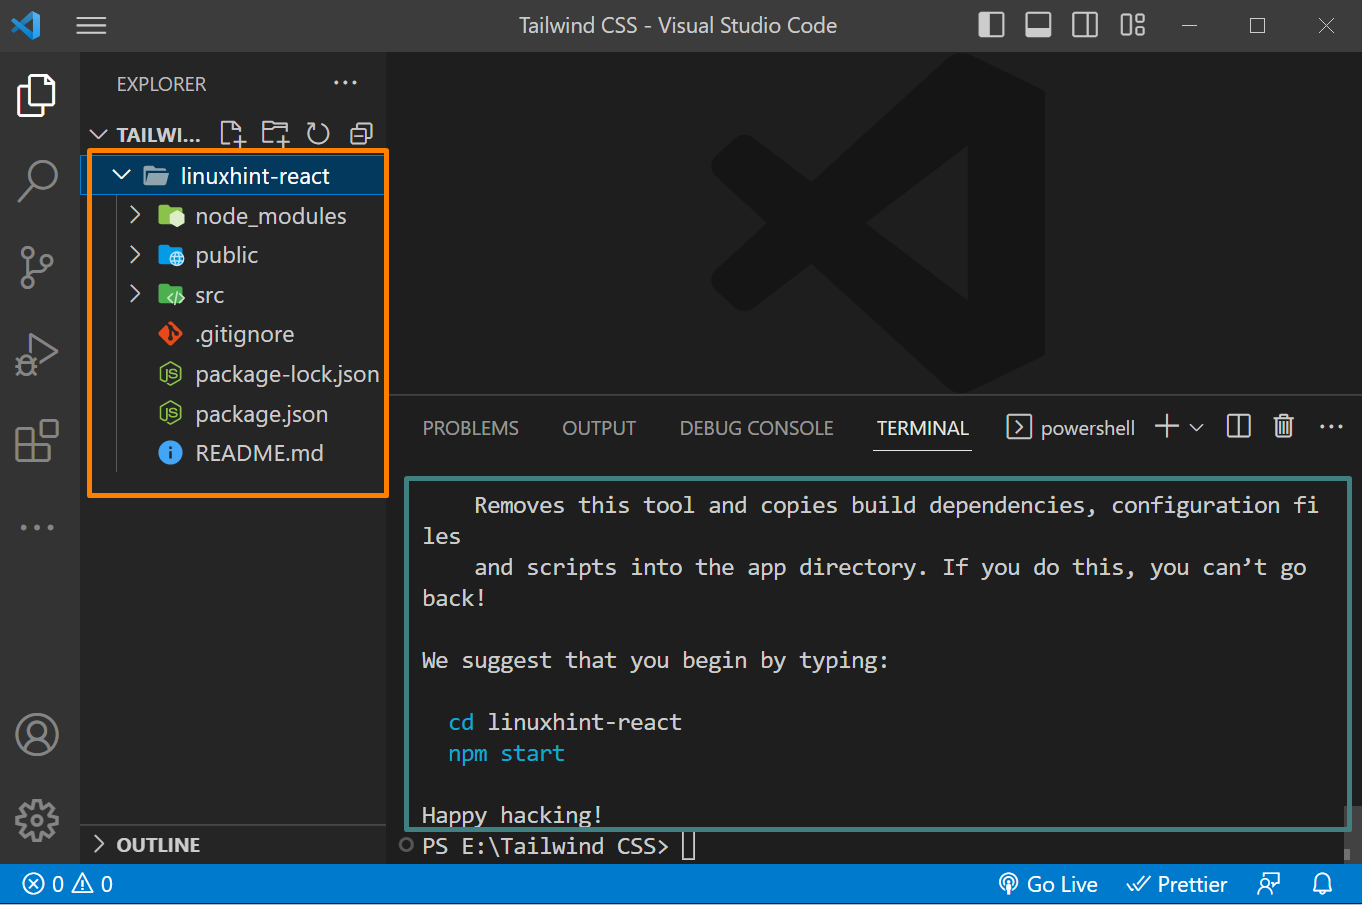
The react project is created successfully.
Step 3: Navigate to React Project
Navigate to the newly created project directory using the “cd” command:
The above command changes the current working directory.
Output

The above output clearly shows that the directory is changed.
Step 4: Install Tailwind CSS in the React Project
To install the Tailwind CSS in this project, execute the command given below:
This command will install the Tailwind CSS in your React project.
Output
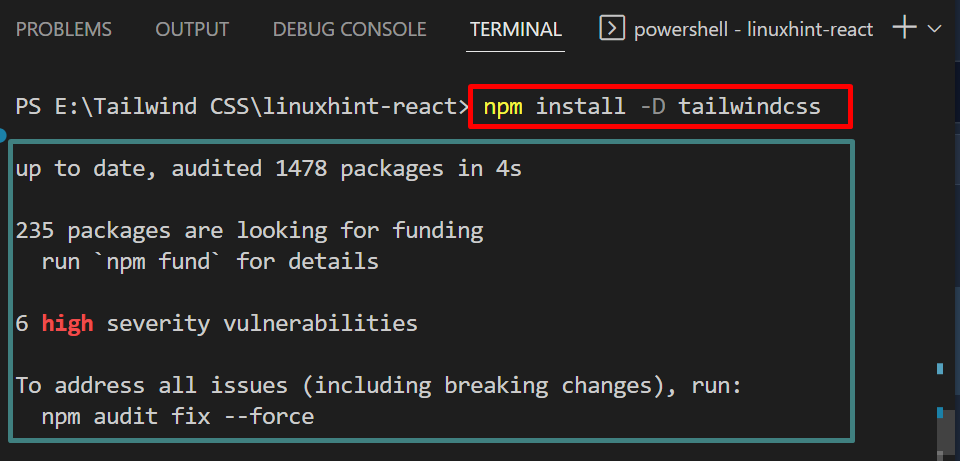
The Tailwind CSS is installed successfully in the above output.
Step 5: Configure Tailwind CSS in the React Project
Let us configure the Tailwind CSS in this react project by typing the given command:
This command creates a “tailwindcss.config.js” configuration file.
Output

In the above output, a message is displayed after the creation of the “tailwindcss.config.js” file.
Open the “tailwindcss.config.js” file using the explorer tab and paste the given below provided value for the “content” parameter:
It is the source for Tailwind CSS, where the Tailwind CSS can be inserted possibly.
Output
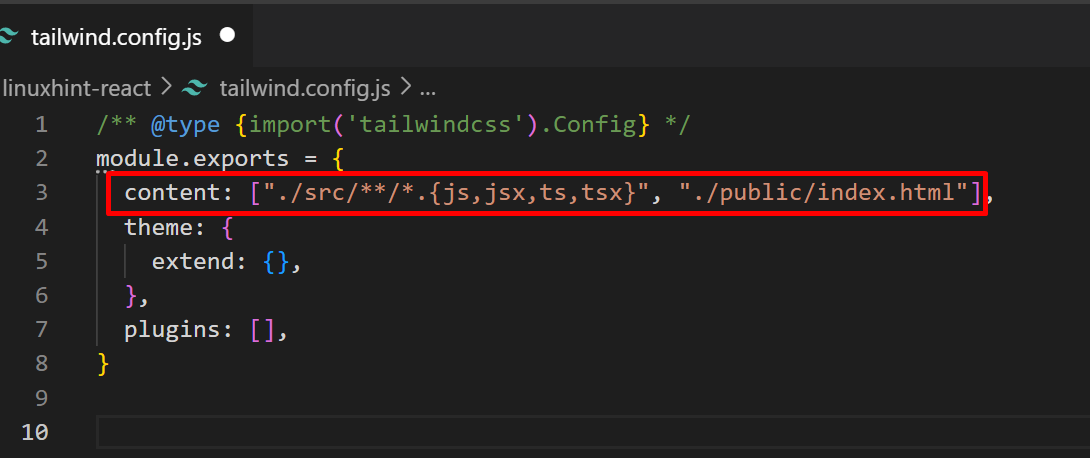
Save the file after making changes.
Step 6: Replace CSS File Content with Tailwind CSS Directives
Now open the “index.css” file from the “src” directory. Select and clear all the data from the file:
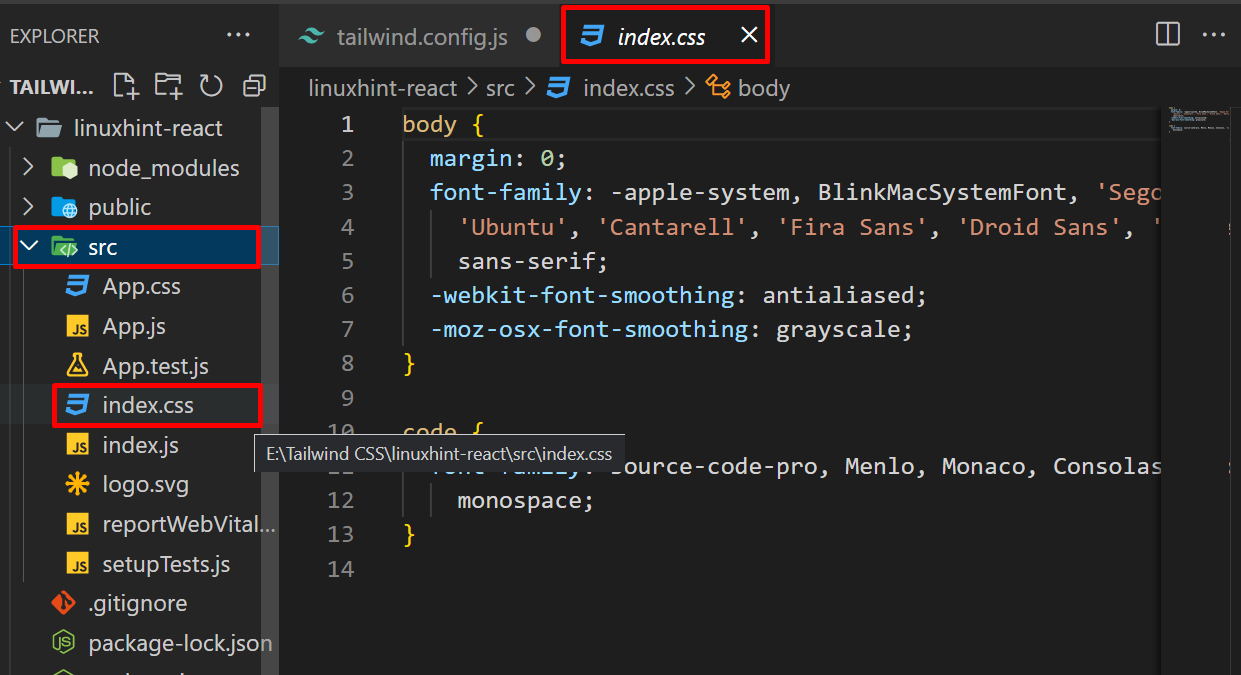
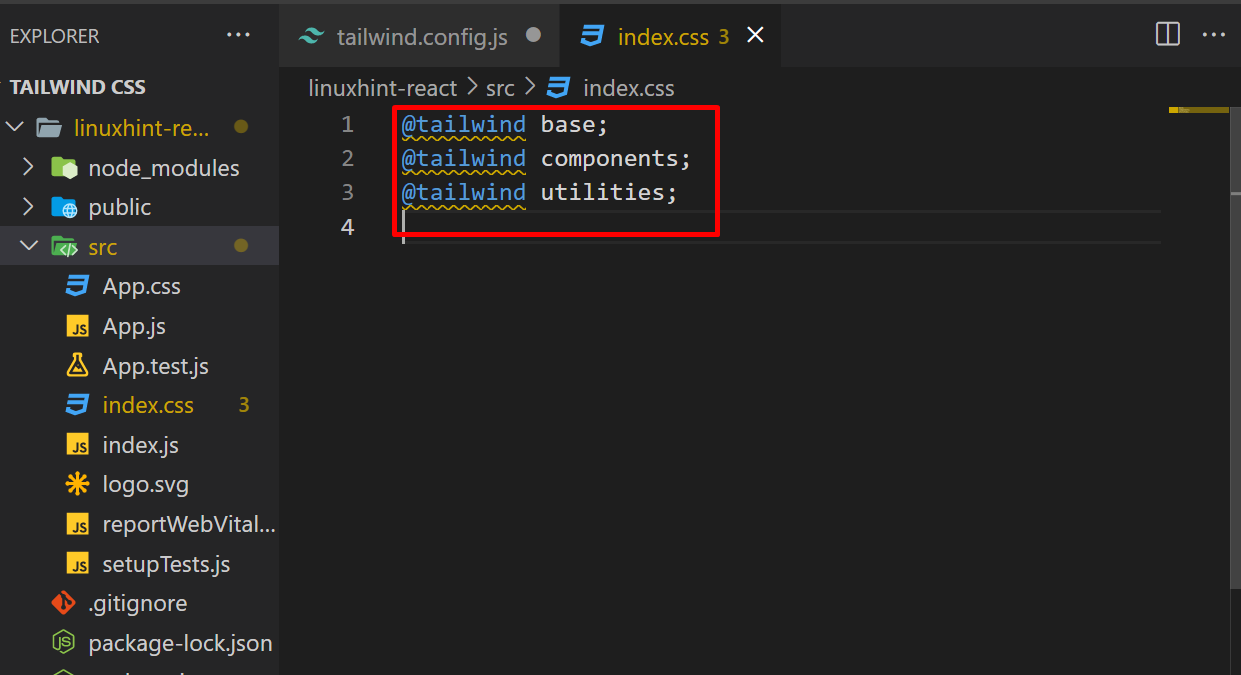
In the “index.css” file paste this code:
@tailwind components;
@tailwind utilities;
The above piece of code adds the Tailwind CSS base styles, pre-designed components, and utility classes.
Output
Save the “index.css” file.
Step 7: Write Simple React Code with Tailwind CSS Styling
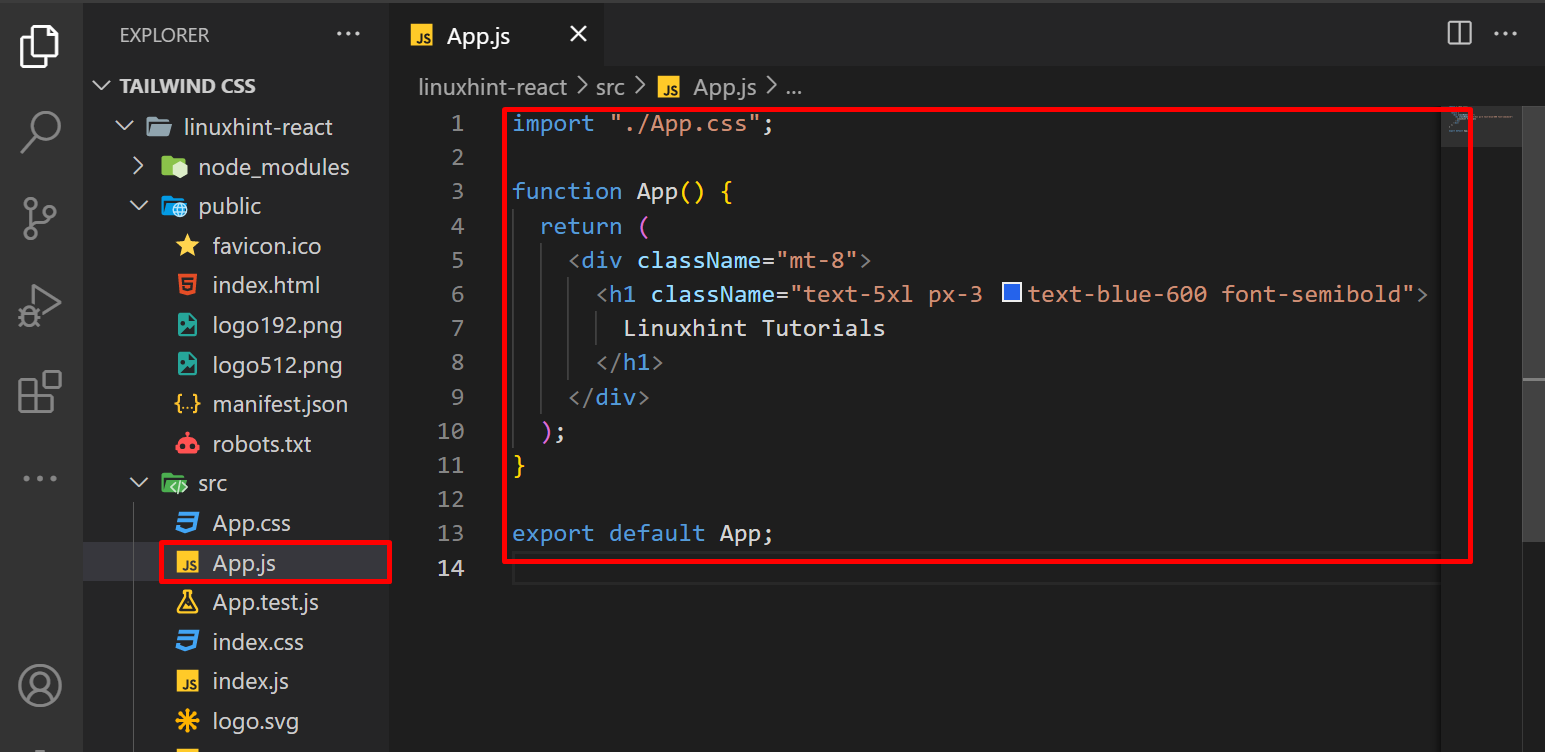
Write the simple react code in the “App.js” file or users can copy the given below code for the testing purpose:
function App() {
return (
<div className="mt-8">
<h1 className="text-5xl px-3 text-blue-600 font-semibold">
Linuxhint Tutorials
</h1>
</div>
);
}
export default App;
The above React code creates a heading on a webpage and styles it with Tailwind CSS.
Output
Save the “App.js” file by pressing the “CTRL+S” keys.
Step 8: Build the React Project
Lastly, build the react project with Tailwind CSS styling by running the given command in the terminal:
This command uses the node package manager to run this project.
Output
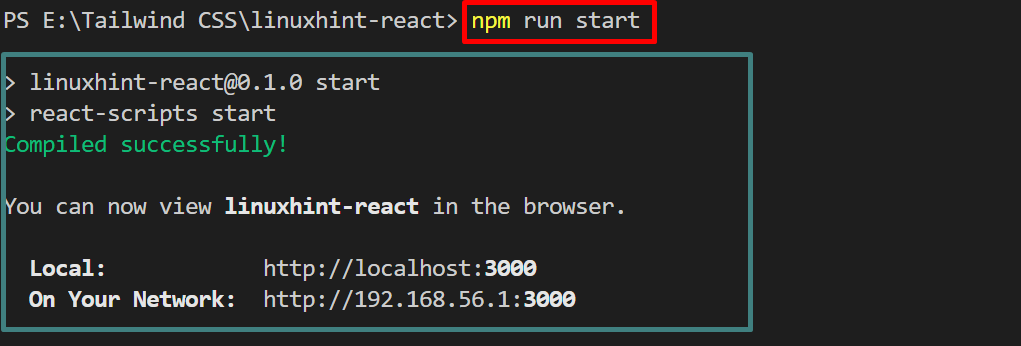
The above output shows that the project is built successfully and running on localhost.
Verification: React Project with Tailwind CSS
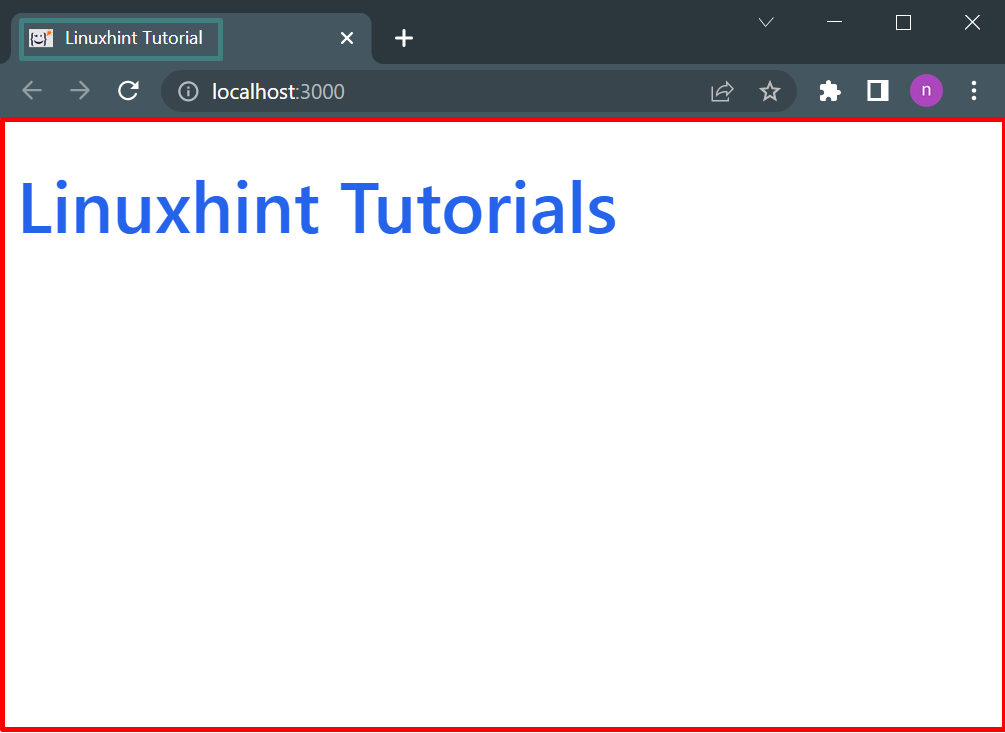
This output returns a react project with Tailwind CSS styling. Here, users see a title and an icon in the title bar. How you can add them to your project is mentioned in the “bonus” step as given below.
Bonus: Change the Logo and Title of React Project
To change the logo in the title bar in the file named “index.html” in “src” and replace the “.ico” file:
Here this icon is added.
To modify the title of the project, define it in the “index.html” file:
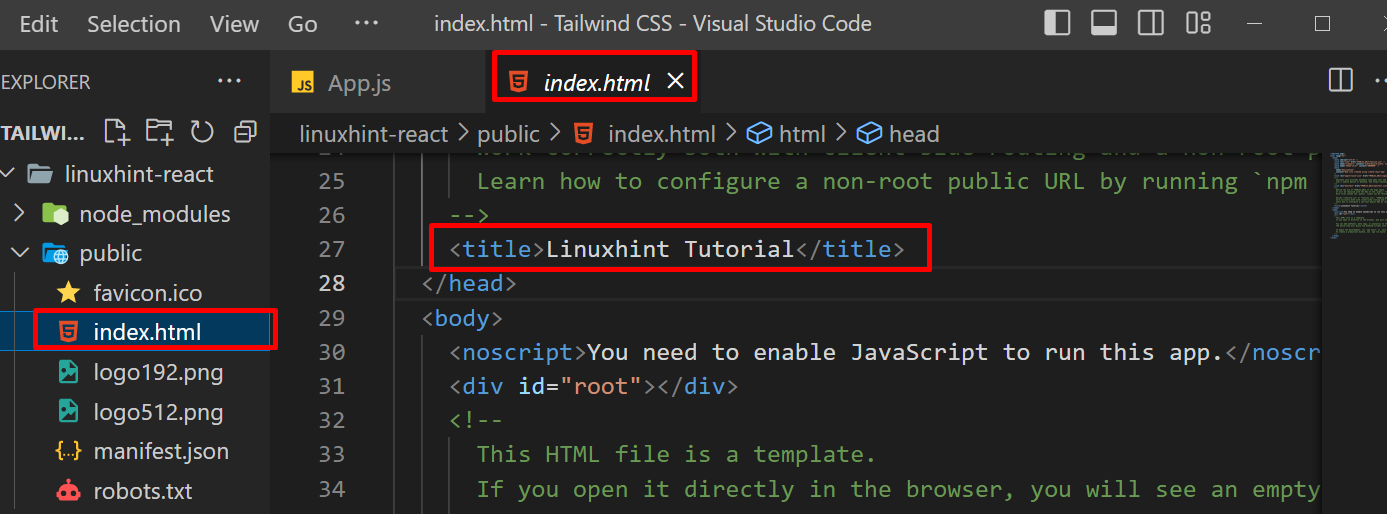
Save the “index.html” file after making changes.
Conclusion
To set up Tailwind CSS with React, users must have a node and code editor in their system. Create and navigate to the new React project using Vs Code. Install Tailwind CSS in the React project and configure the “index.css” file with its directives. Write a simple React project with Tailwind CSS and build it using the node package manager. This blog has demonstrated the steps to set up Tailwind CSS with the React project.