How to Set the Helvetica Font?
There are many free websites available where the font can be downloaded easily. The below steps demonstrate to download and set fonts in a perfect manner:
Step 1: Choose the Website
In our case, the link from where the font is going to download is freefontsfamily.com:
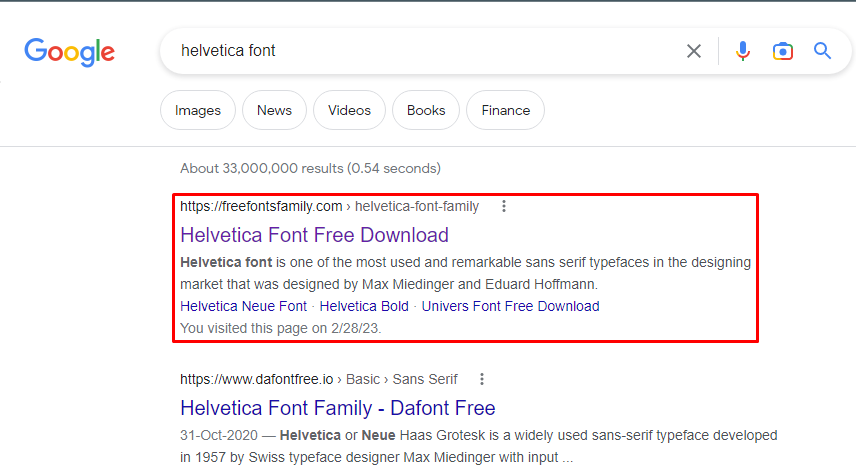
Step 2: Downloading Font
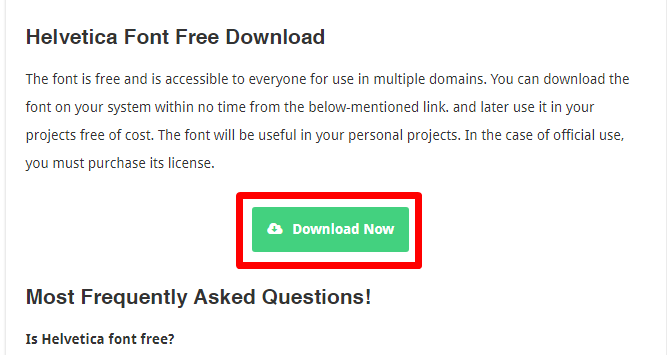
After clicking on that link, the “freefontsfamily.com” website opens, scrolling down to find the download button, and then clicking on it. The download starts instantly:
Step 3: Installation of Fonts
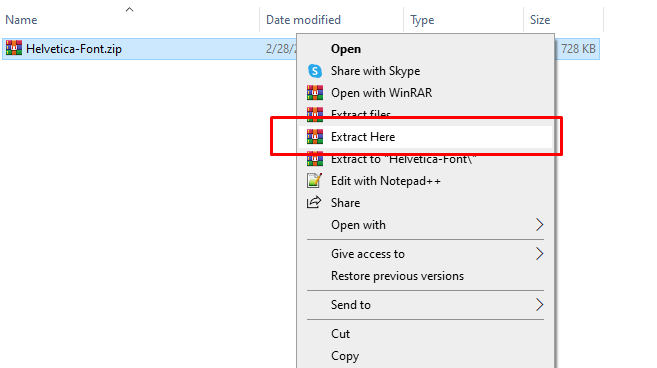
Now extract the zip file that is downloaded as shown below snapshot:
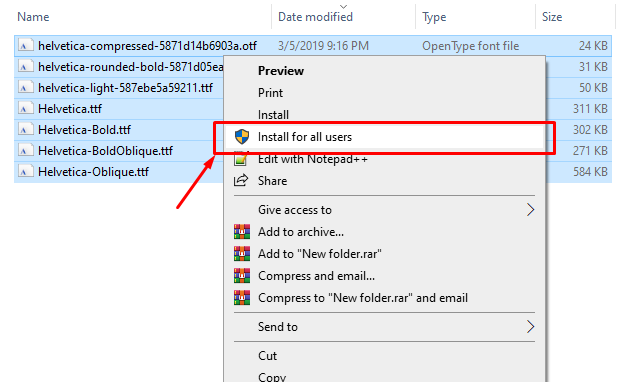
After extracting the fonts files appear, select all of them, press right-click from the mouse, and click on “Install for all users”. By clicking it the font is installed in your system and this font can easily access from any software:
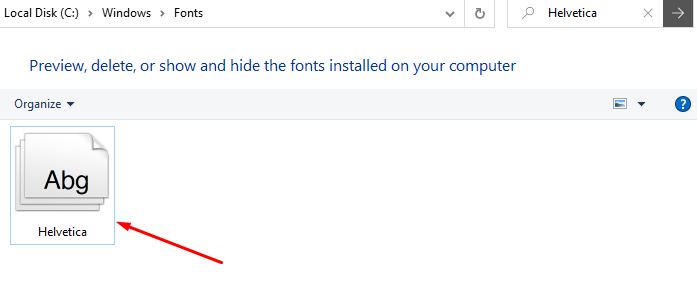
Now users can recheck whether the font is installed or not, by following “Step 1”. When the font name is searched, the file appears with that name:
Step 4: Create an HTML Element
First, create an HTML element on which styles are applied:
Step 5: Apply CSS Properties
Assign CSS properties of “font-family” and “color” to the “font” class:
color: seagreen;
font-family: Helvetica;
}
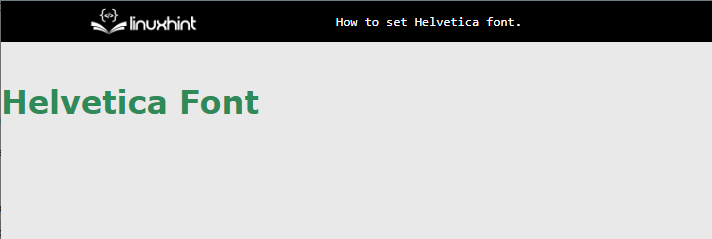
After implemented the script, the webpage as below:
The figure represents that the Helvetica font has been applied.
Conclusion
To set the “Helvetica font”, first check its availability on the “fonts” folder of C-Drive. If this font is not available in the operating system, then install it by searching the font name on the web browser. Then, download the specific file and install it in the system. After that, use the CSS “font-family” property to insert in the HTML file. This guide has explained how to set the “Helvetica font”.

