How to Select a Radio Button by Default?
By default “checked” attribute is utilized for selecting the radio button. If this attribute is used on multiple radio buttons then the most recent radio button gets selected by default. Follow the step-by-step blog to select the radio button by default:
Step 1: Create Radio Buttons
In the HTML file, create three radio buttons and attach labels with them:
<h3>Select your experience level:</h3>
<div>
<input type="radio" id="beginner" name="experience" value="beginner">
<label for="beginner">Beginner</label>
</div>
<div>
<input type="radio" id="intermediate" name="experience" value="intermediate">
<label for="intermediate">Intermediate</label>
</div>
<div>
<input type="radio" id="advance" name="experience" value="advance">
<label for="advance">Advance</label>
</div>
</center>
In the above code snippet:
- The radio button is formed by creating simple “<input>” tags and setting its type to “radio”.
- Assign each radio button with the “name”, “id”, and “value”.
- In the end, use the “id” of the input field to attach the “<label>” tag using the “for” attribute.
After executing the script the output as below:
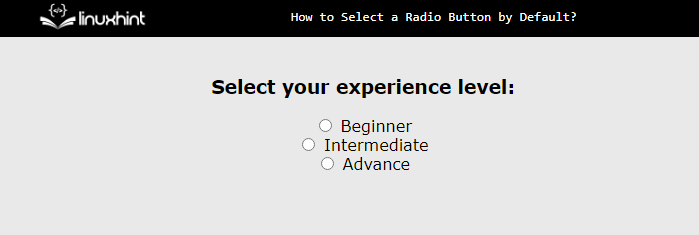
The figure represents that the radio buttons are displayed but none of them are selected by default.
Step 2: Select By Default
The “checked” attribute is utilized to auto-select the radio button. It selects only one option. That’s why it is a better approach to select one radio button by default. It restricts the user to selecting the right option:
In the above code, the checked attribute is used and it is assigned to the first input field only.
Now after executing the above code webpage looks like this:
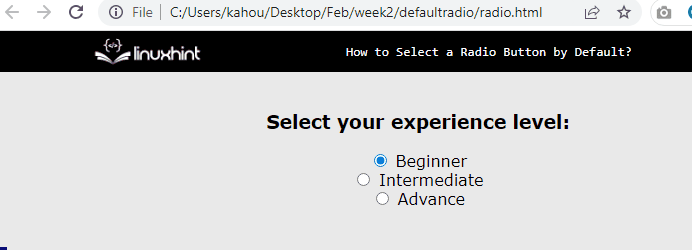
The output illustrates that the first radio button is selected by default on every refresh of the page.
Bonus Tip: Using JavaScript to Select the Radio Button by Default
To select a radio button by default using JavaScript, access the radio button using id. Then, select its checked attribute and set its Boolean value set to “true” as in the below code:
In this code, the “beginner” is the id of that radio button which is selected by default.
After compiling the script the output as below:
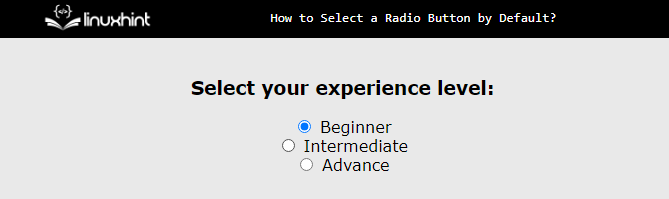
In the above snapshot, the first radio button is selected by default using JavaScript.
Conclusion
For selecting a radio button, users can utilize the “checked” attribute. If the checked attribute is used in more than one radio button, then the radio button gets the most recent “checked” attribute value. To select a radio button by default using JavaScript, access the radio button using id. This blog has successfully demonstrated how to select the radio button by default.