While publishing research papers, inline images with the text data are used for a better understanding of the user. Inline images are utilized for conveying value and information. It also supports a broad range of data formats, including “GIFs”, “JPG”, “PNG”, and “SVG”. Furthermore, users can also utilize this format for making the webpage. To do so, HTML/CSS provides different properties to add the image inline with the text.
This write-up will explain:
Method 1: How to Put an Image inline With Text in HTML?
To put an image inline with text in HTML, utilize inline styling in HTML. To do so, follow the given instructions.
Step 1: Add an Image
Initially, add an image with the help of the “<img>” tag. Then, apply inline styling by utilizing the “style” attribute. The description of the attribute is mentioned below:
-
- The HTML “style” tag contains several CSS properties and value pairs that can be utilized directly. To do so, the value of this attribute is set as “vertical-align: middle”.
- The “vertical-align” property is applied to control the element’s vertical alignment.
- “src” is used for inserting a media file inside the element.
Step 2: Make a “div” Container
Next, use the “<div>” element to make a div container in the HTML page. Then, insert the “style” attribute with the following values:
-
- “vertical-align: middle” is set for inline styling and setting the container alignment.
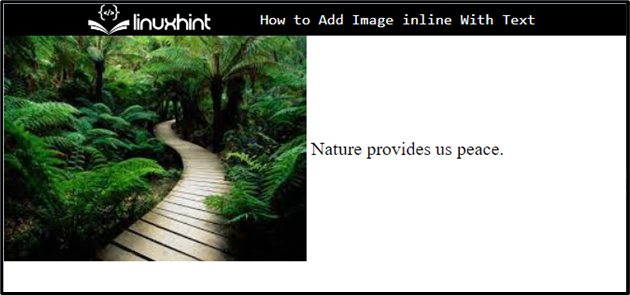
- “display: inline” tells the element to fit itself on the same line.
- After that, embed the text in between the “div” tag:
<div style= “vertical-align:middle; display:inline;”>
Nature provides us with peace.
</div>
It can be noticed that the image has been added inline with the text on the HTML page:
Method 2: How to Put an Image Inline With Text Using CSS Properties?
To put an image inline with the text, the CSS “vertical-align” property with the value “middle” and “display” as “inline” can be applied.
Step 1: Create Main div Container
First, create a div container using the “<div>” tag and add an id attribute with a specific name.
Step 2: Create a Nested div Container
Next, create a next container between the first “div” container and insert a “class” attribute with a particular name. Then, embed text in between the “div” tag.
Step 3: Add an Image
After that, add an image by utilizing the “<img>” tag. Then, add the below-listed attributes in the image tag:
-
- “src” is used to add the media file. To do so, we have set the file name as this attribute value.
- “width” and “height” determines the size of the added image element:
<div class= "main-content" >
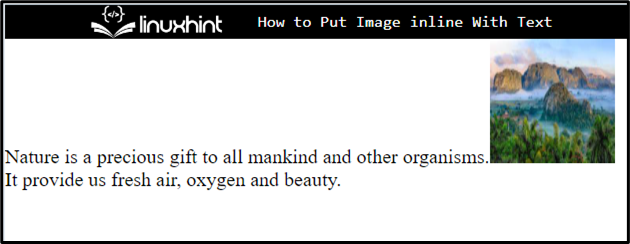
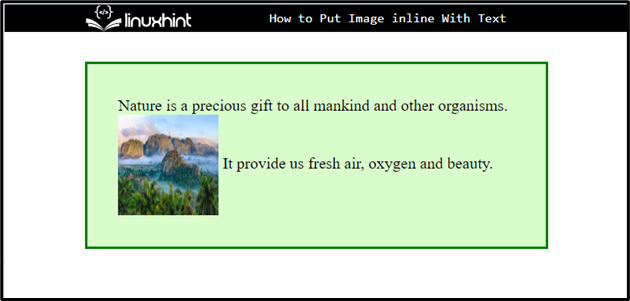
Nature is a precious gift to all mankind and other organisms.
<img src="download (2).jpg" height="100px" width="100px" alt="Image"/>
It provides us fresh air, oxygen and beauty.
</div>
</div>
Output
Step 4: Style “div” Container
Access the div element with the help of the value of the id as “#main”:
margin: 30px 80px;
background-color: rgb(217, 252, 203);
border: 3px solid green;
padding: 30px;
}
Then, apply the CSS properties mentioned in the above code snippet:
-
- “margin” defines a space outside of the defined boundary.
- “background-color” property allocated the color at the backside of the defined element.
- “border” determines a boundary around the element.
- “padding” is used for adding the space inside of the defined border.
Step 5: Make Image Inline With Text
Access the nested div container with the class name “.main-content” and apply the listed CSS properties:
height: 100px;
width: 200px;
vertical-align: middle;
display: inline;
}
Here:
-
- “height” and “width” properties are utilized for setting the element’s size.
- “vertical-align” is used for setting the vertical alignment as “middle”.
- “display” controls how an element is handled as a block or inline component, as well as the arrangement of its children.
Output
That’s all about putting an image inline with the text.
Conclusion
To put the image inline with the text, first, add an image and text in the div container. Then, the user can utilize the inline styling in HTML and apply CSS properties. To do so, apply the “vertical-align” CSS property with the value “middle” and “display” set as “inline” to put the image in line with the text. This post explained the method to put the image inline with the text.


