This article will demonstrate the method to make flex items grow or shrink on hover in Tailwind CSS.
How to Make Flex Items Grow or Shrink on Hover in Tailwind?
To make flex items grow or shrink on hover in Tailwind, make an HTML program and use the “hover” property with the desired “flex-grow” and “flex-shrink” utilities in the HTML program. These utilities will make flex items grow and shrink on hover. Then, view the web page and move the mouse over desired flex items to ensure changes.
Check out the below-provided steps for its practical implementation:
Step 1: Use Hover Property With the Flex Items in HTML Program
Create an HTML program and use the “hover” property with the specific “flex-grow” and “flex-shrink” utilities. For instance, we have used the “hover:flex-grow-0” and “hover:flex-shrink-0” utilities in our HTML program:
Here:
- “flex-grow-0” class prevents the flex item from growing and taking extra space when space is available.
- “flex-shrink-0” class prevents the flex item from shrinking and reducing when space is insufficient.
- “hover:flex-grow” class allows the flex item to grow and occupy available space within the flex container when the mouse hovers over it.
- “hover:flex-shrink” class allows the flex item to shrink if there is not enough space within the flex container when the mouse hovers over it.
Step 2: Verify Output
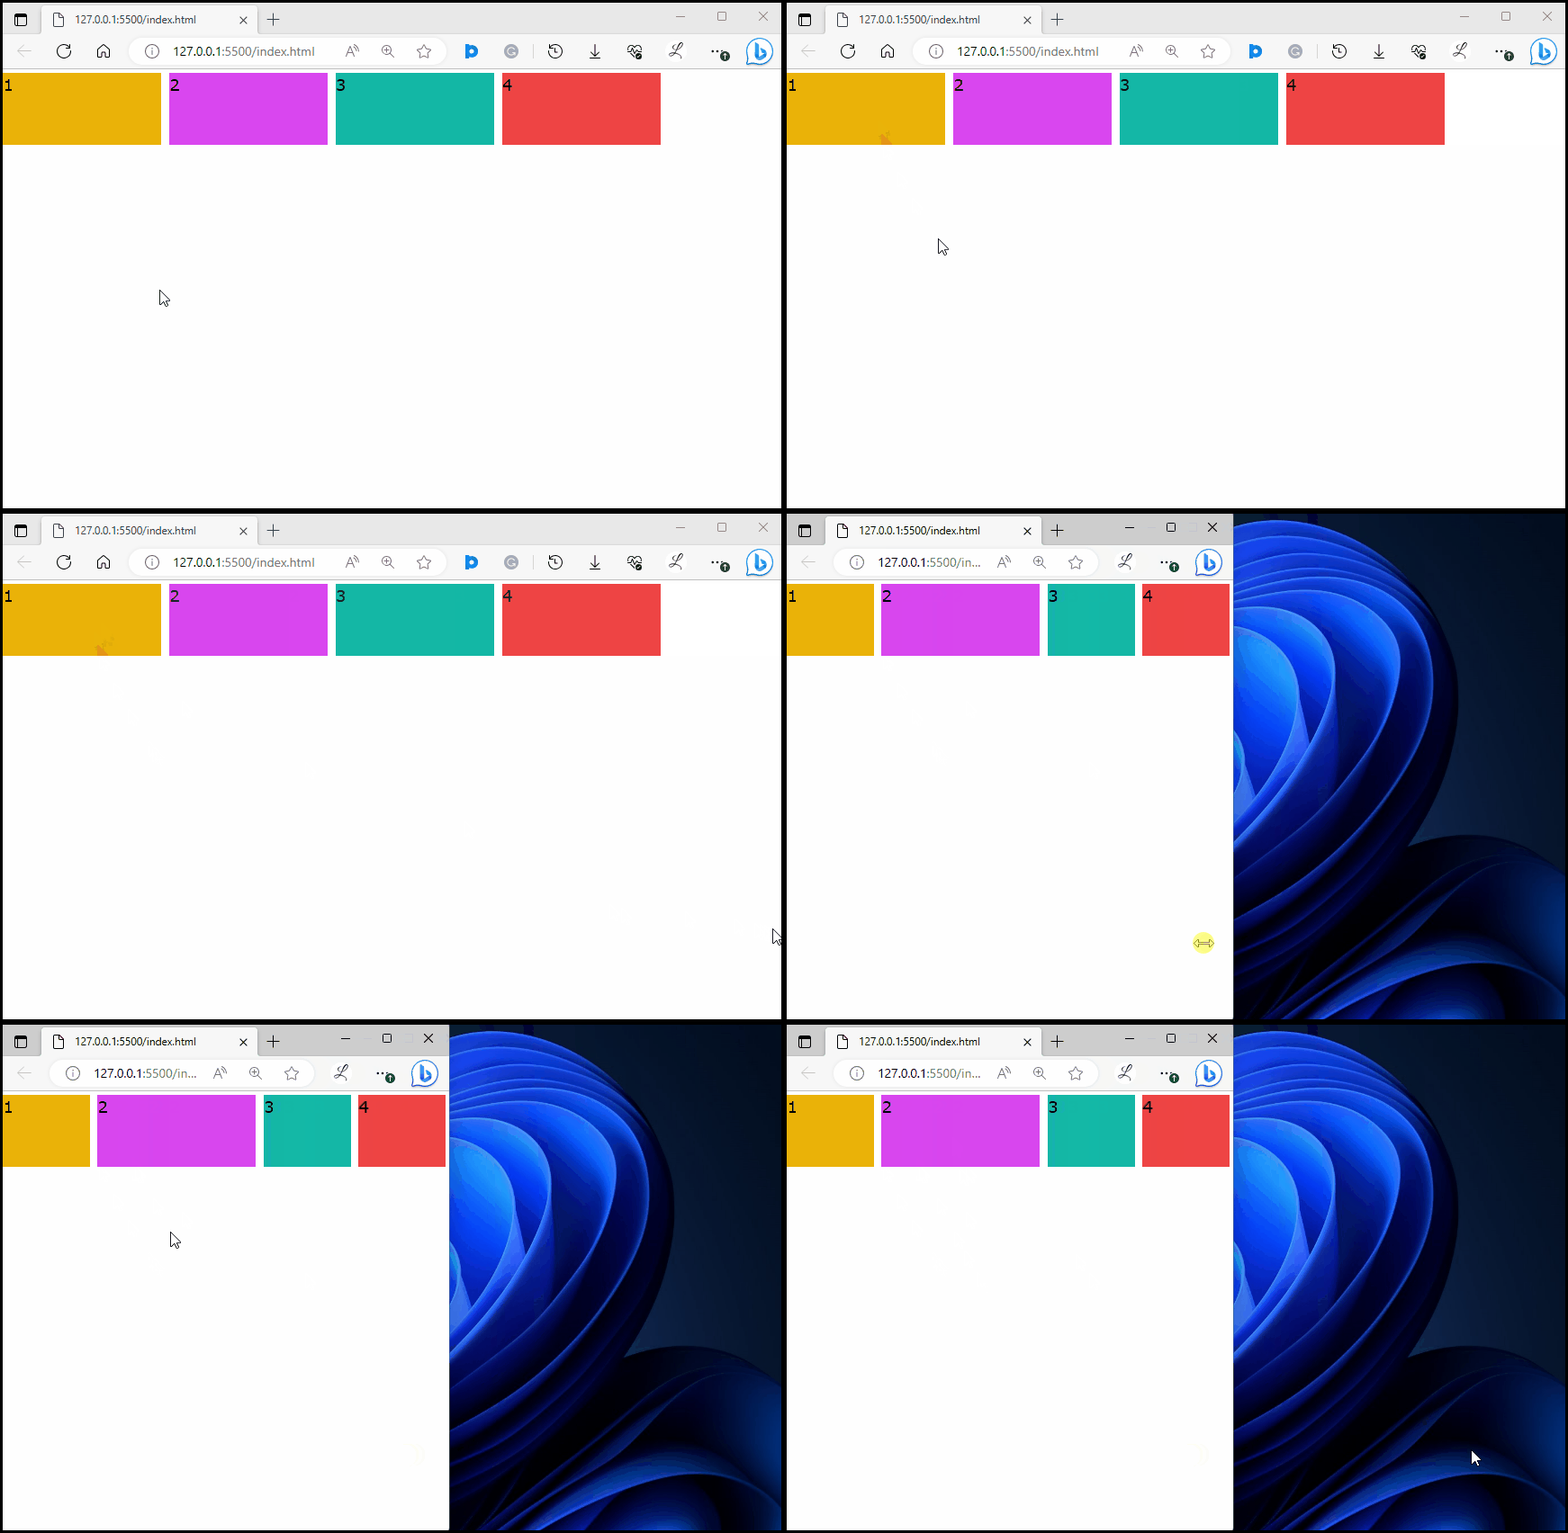
To ensure that the flex items are growing and shrinking on hover, view the HTML web page and hover the mouse on desired flex items:
It can be seen that item “1” is growing and item “2” is shrinking successfully on hover.
Conclusion
To make flex items grow or shrink on hover in Tailwind, use the “hover” property with the particular “flex-grow” and “flex-shrink” utilities in the HTML program. To verify changes, view the web page and move the mouse over desired flex items. This article has demonstrated the method to make flex items grow or shrink on hover in Tailwind CSS.

