The checkbox is the element of HTML form, it is widely used to select multiple items or options from the list. In HTML, various attributes allow developers to make interactive forms. These attributes come with different functionality and can be used according to the situation. This guide explains methods to enable or disable checkboxes in HTML.
How to Enable or Disable Checkbox in HTML?
HTML, CSS, and JavaScript are utilized to make the checkbox enabled or disabled. Some other methods are also described below:
Method 1: Use of “disabled” Attribute
In the HTML file, first, create a “<form>” tag and add multiple checkboxes inside it. For instance, four checkboxes are created along with “<labels>” tags:
<h1> Linuxhint Enable Disable Checkbox</h1>
<hr><br>
<p>Select the programming languages you can offer: </p>
<label for="dotNet"> Dot Net: </label> <input name="dotNet" type="checkbox" ><br>
<label for="nodejs"> React/Node Js: </label> <input name="nodejs" type="checkbox" checked ><br>
<label for="python"> Python: </label> <input name="python" type="checkbox" ><br>
<label for="angular"> Angular/PHP: </label> <input name="angular" type="checkbox" checked ><br>
</form>
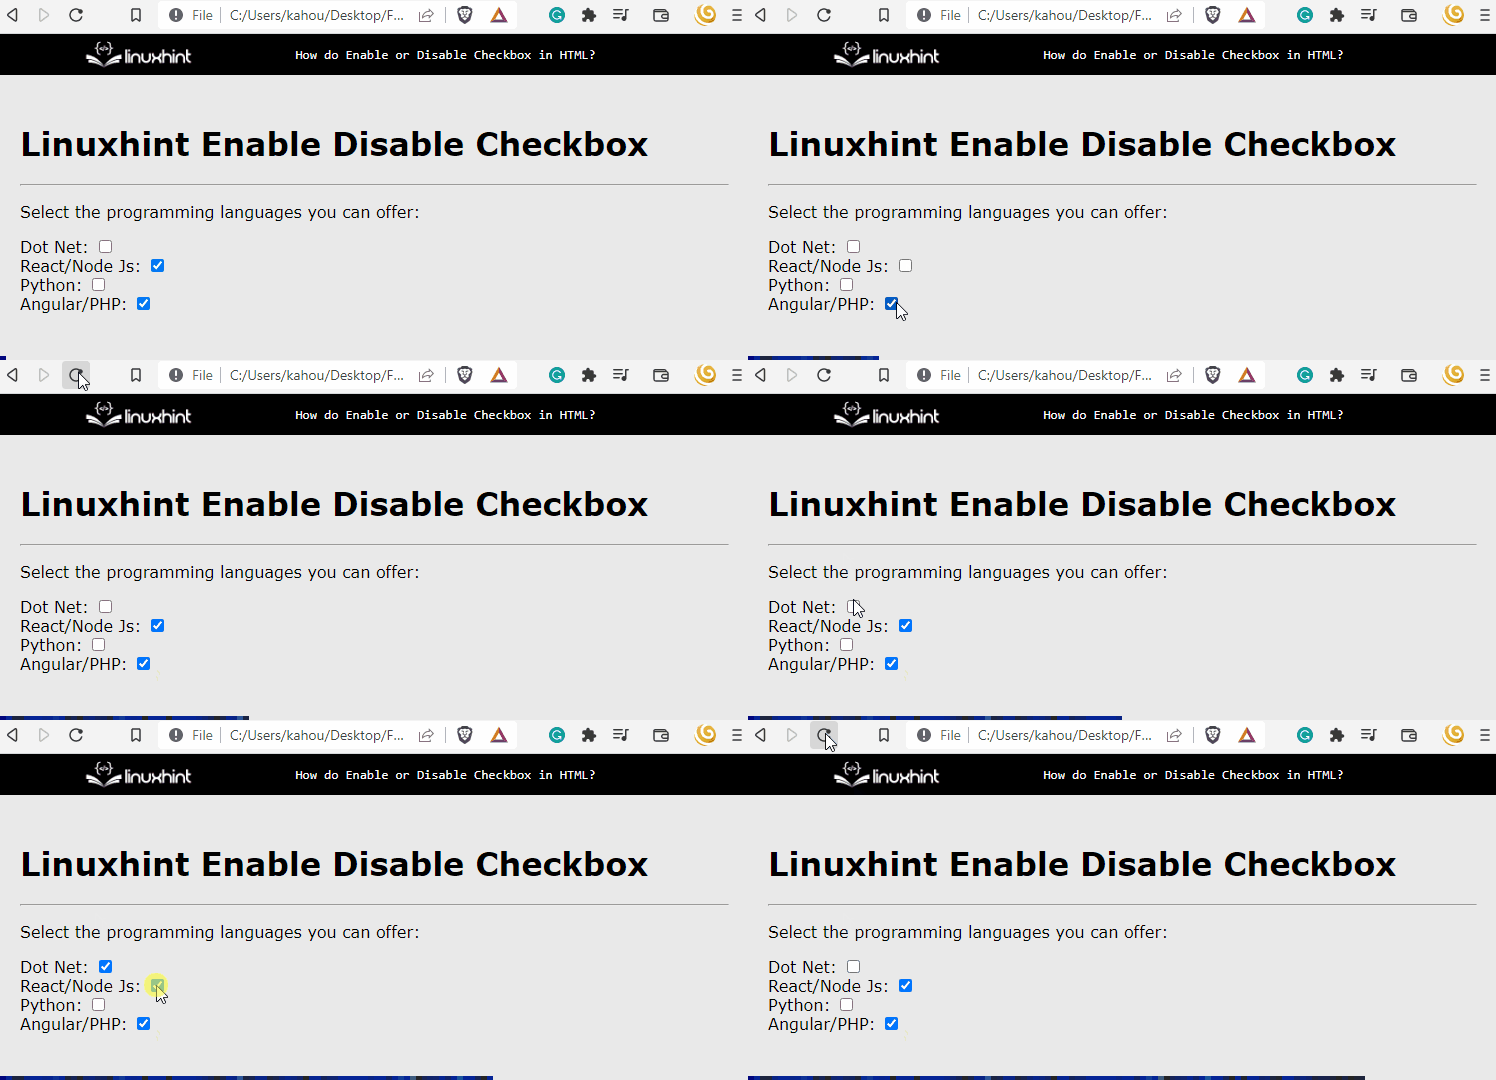
After executing the above code, the webpage looks like this:
The output displays two checkboxes that are auto-selected on the screen.
Disable the Checkbox
To disable the checkbox, the “disabled” attribute is utilized. The developer can simply type the “disabled” attribute or set its value to “disabled”:
<label for="dotNet"> Dot Net: </label> <input name="dotNet" type="checkbox" disabled="disabled"> <br>
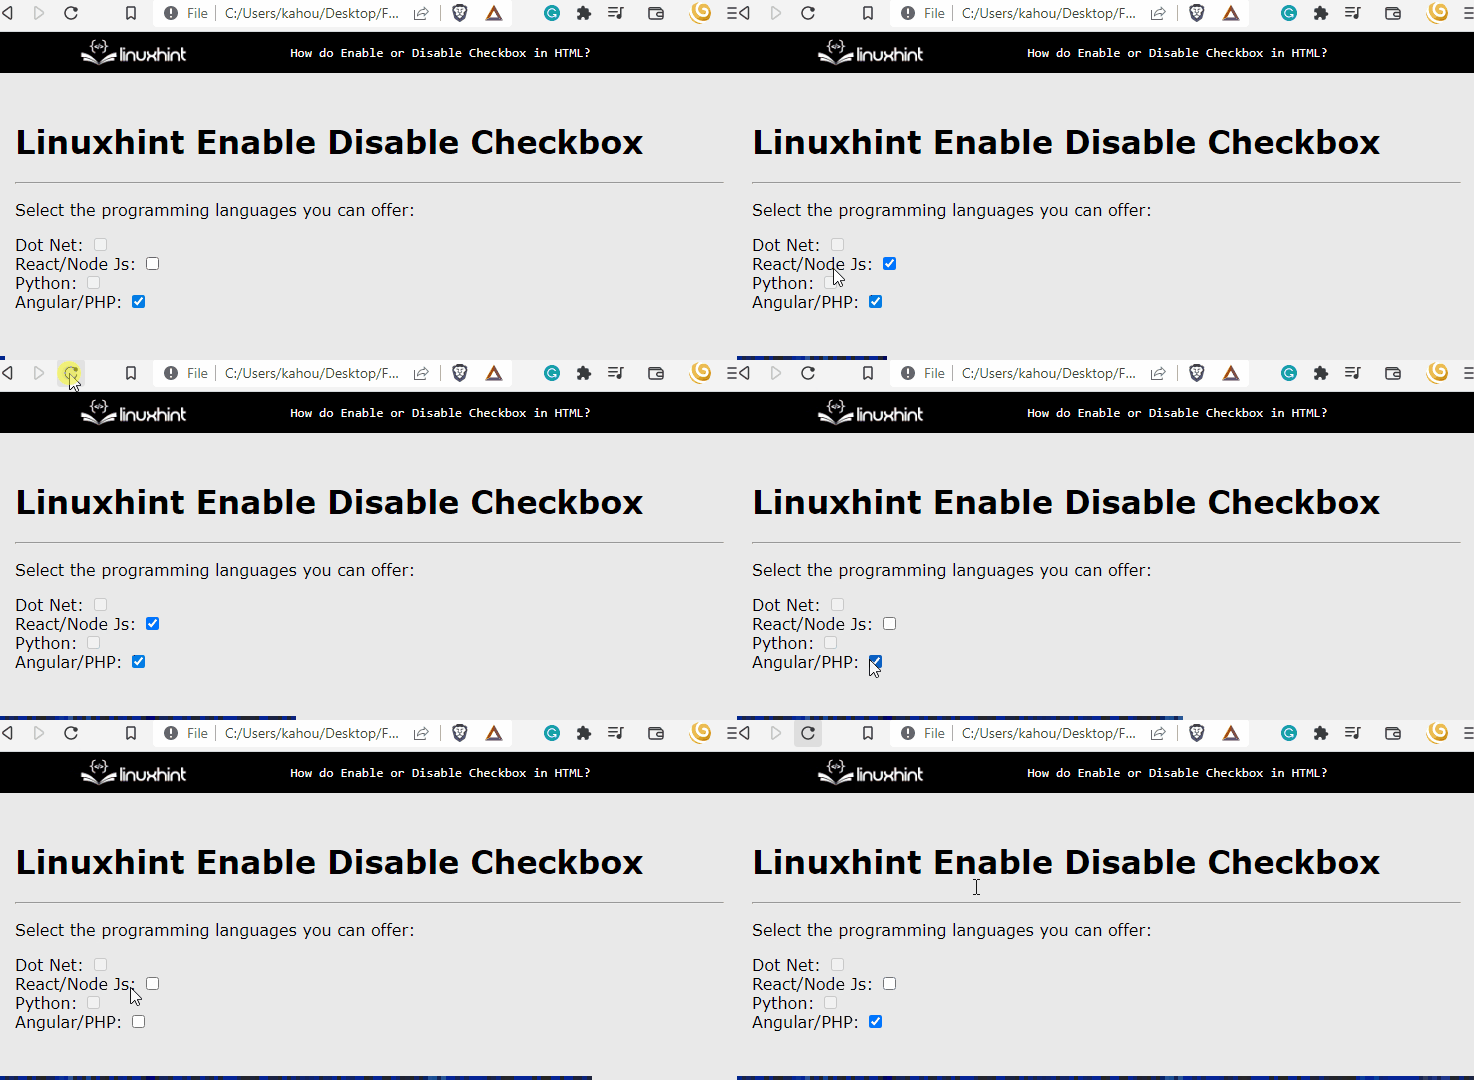
After executing the updated code, the webpage looks like this:
The output displays that, the checkboxes are disabled using the “disabled” attribute.
Method 2: Use of “pointer-events” CSS Property
The checkbox can be disabled by adding the “pointer-events” CSS. This makes the checkbox look disabled because now it cannot be selected by the pointer:
<input name="python" type="checkbox" style="pointer-events:none;"><br>
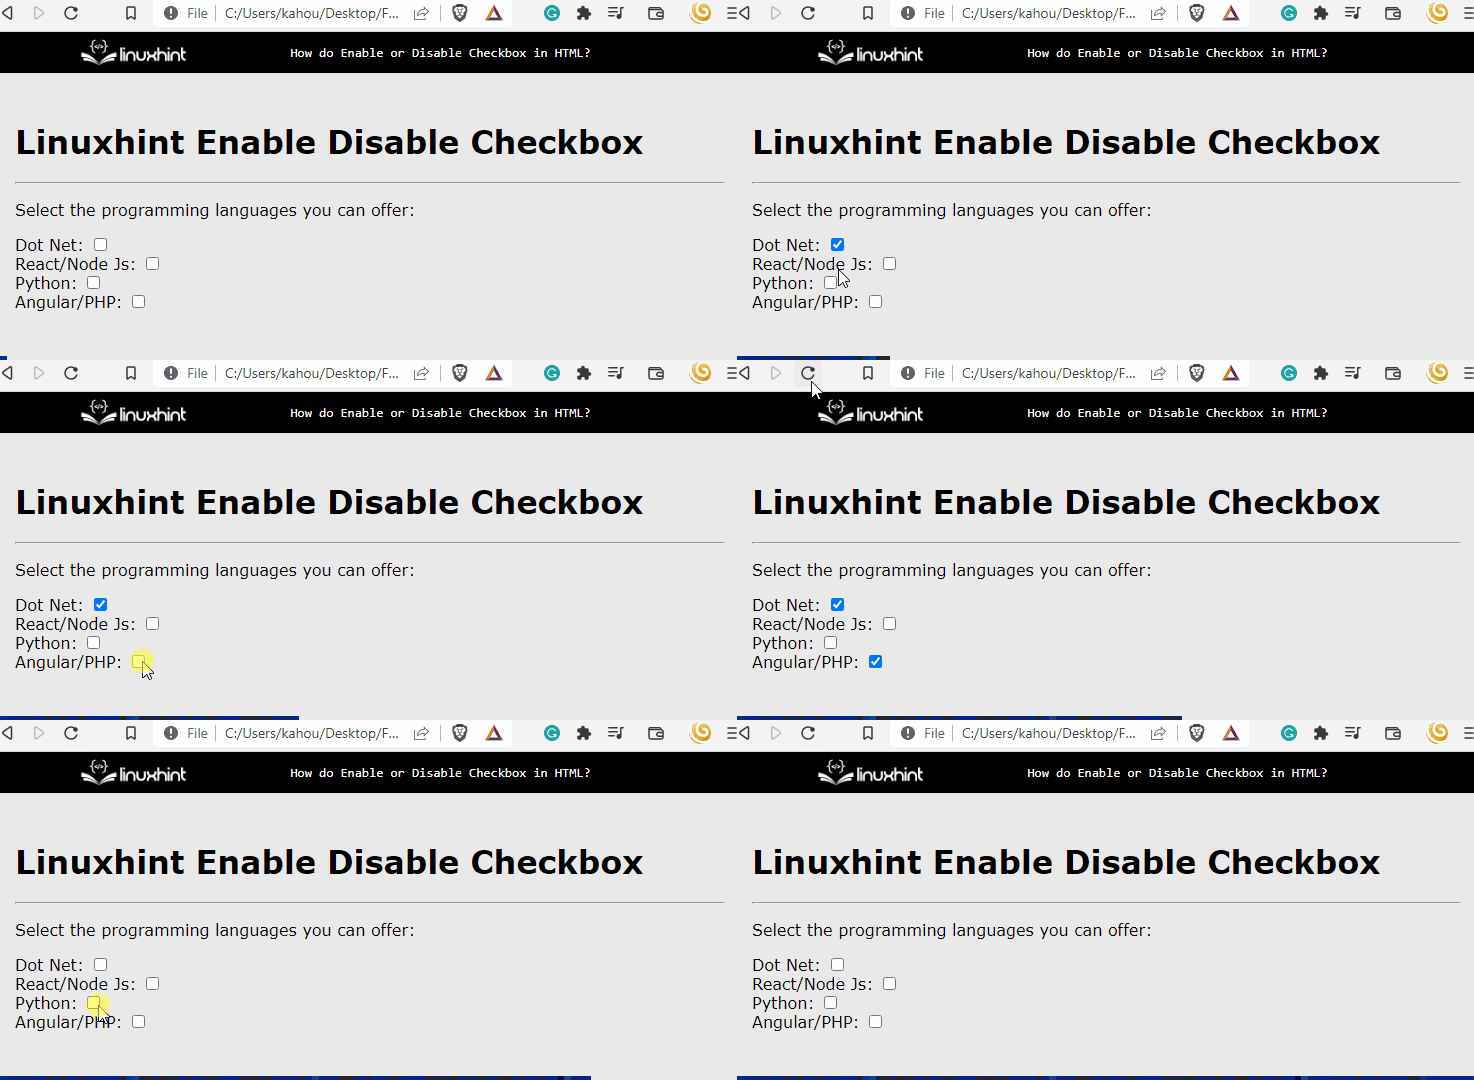
After updating the code, the webpage looks like this:
The output confirms that the “python” checkbox is not working due to the use of the “pointer-events” CSS property:
Method 3: Using Custom JavaScript Function
In the HTML file, first, create one checkbox by setting the “<input>” tag type to “checkbox” inside the “<form>” tag. Then, assign it with a “<label>” tag and provide a unique id of “testChk”. After that, add two “<button>” tags. It calls the function “enableDisable()” on user click and assigns them a value:
<button type=button value='Disable' onclick="enableDisable('dsbl')">Disable checkbox</button>
<button type=button value='Enable' onclick="enableDisable('enbl')">Enable checkbox</button>
In the end, define the body of the function “enableDisable()” in the “<script>” tag. It examines the button that the user has selected. And set the “disabled” attribute value accordingly:
function enableDisable(str) {
if(str=='dsbl')
{document.getElementById('testChk').disabled=true;}
else
{document.getElementById('testChk').disabled=false;}
}
</script>
After executing the above code, the webpage looks like this:
The above output illustrates that the checkbox is changing its state from enable to disable and vice versa after clicking on the buttons.
Method 4: Use of jQuery “attr()” Method
jQuery is a lightweight JavaScript framework and holds a wide range of plugins. The “attr()” method of jQuery is utilized to change the value of the “disabled” attribute on user click.
<input type="checkbox" id="testChk" name= "testChk" value="testChk" disabled="disabled"/>
<br><br>
<input type="button" id="button1" value="Disable/ Enable" />
The “<script>” tag calls the function when the user clicks on the button. In the end, select the checkbox using id. And use the “attr()” method that changes the value of the “disabled” attribute:
$(document).ready(function() {
$("#button1").click(function() {
$("#testChk").attr('disabled', !$("#testChk").attr('disabled'));
});
});
</script>
After executing the code, the webpage looks like this:
The output confirms that the checkbox is changing its state using the jQuery attr() method.
Conclusion
For enabling or disabling the checkbox in HTML, the “disabled” attribute, the CSS “pointer-events” property, and the jQuery “attr()” method is utilized. The same task can be accomplished using JavaScript and jQuery “attr()” method. It truly depends on the situation which method suits you best. This article has successfully demonstrated how to enable or disable checkboxes in HTML.


