This guide demonstrates a step-by-step procedure to create and customize an HTML video player.
How to Customize an HTML Video Player With CSS?
To customize an HTML video player with CSS, the HTML attribute, CSS properties, and JavaScript code are utilized. Follow the below detailed steps to create and customize an HTML video player:
Step 1: Create HTML Structure for Video Player
To create the structure of a video player, insert the HTML code inside the “<body>” tag. Its description is stated below:
<video onclick="play(event)" src="sea.mp4" id="video"></video>
<div class="playerControls">
<button onclick="play(event)">
<i class="fa fa-play"></i><i class="fa fa-pause"></i>
</button>
<button onclick="reverse(event)">
<i class="fa fa-fast-backward"></i>
</button>
<div class="playerTimeline">
<div class="timeline-bar">
<div class="innerBar"></div>
</div>
</div>
<button onclick="forward(event)">
<i class="fa fa-fast-forward"></i>
</button>
<button onclick="fullScreen(event)">
<i class="fa fa-expand"></i>
</button>
</div>
</div>
In the above code snippet:
- First, the wrapper “<div>” tag is utilized having a value of “root” to its “class” attribute.
- Next, utilize a “<video>” tag and provide the path of the resource as a value of the “src” attribute along with providing the value of “video” to its “id” attribute.
- Also, utilize the “onclick” event listener that invokes the “play()” function and provide this “video” element data to this function as a parameter.
- Then, create a nested “<div>” tag that holds a class of “playerControls”. In it, utilize a couple of button elements that store the icon of “play”, “pause” and “reverse” which are obtained by the font impressive library. The buttons invoke “play()” and “reverse()” functions, respectively.
- In addition, it creates a “<div>” tag with a value of “playerTimeline” for its class attribute. Inside it creates two nested “div” elements having a class of “bar” and “innerBar”.
- In the end, two more buttons are created inside the “control” class div element. These calls the “forward()” and “fullScreen()” functions also utilize the related font impressive icons using the “<i>” tag.
After the compilation of the above-stated code block, the customized media player appears like this:
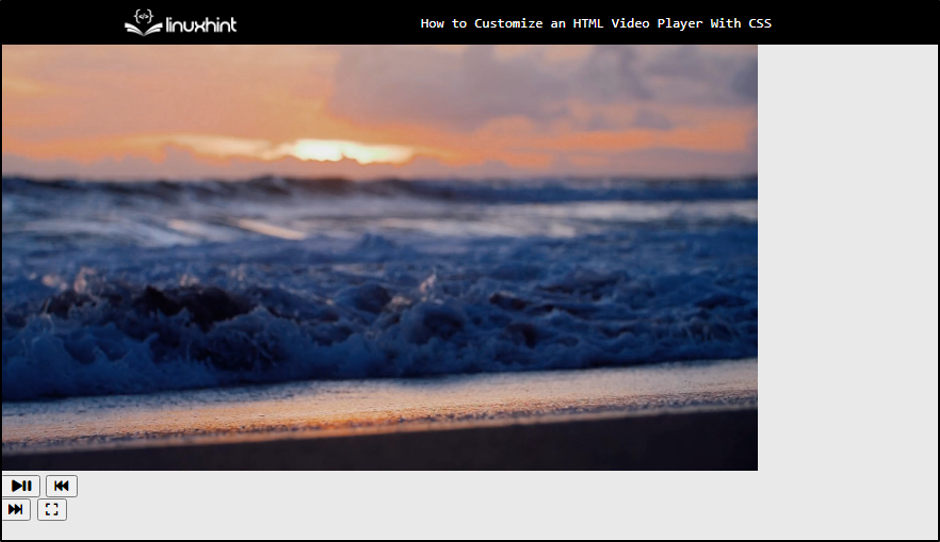
The above snapshot shows the button, and the video is displayed on the webpage.
Step 2: Setting Up Custom Style Video Player
To add custom CSS styling, utilize the following properties inside the CSS file or the “<style>” tag. A brief explanation of these properties is stated in the below bullet points:
position: relative;
display: flex;
width: max-content;
height: max-content;
justify-content: center;
}
#video {
width: 800px;
height: 600px;
}
.playerControls {
position: absolute;
bottom: 40px;
width: 100%;
display: flex;
opacity: 0.2;
transition: opacity 0.4s;
}
.root:hover .playerControls {
opacity: 1;
}
In the above code snippet:
- First, select the “root” class and set its position to “relative”.
- Along with it, set the “max-content” as a value to the “width” and “height” properties and align the content to the center.
- Next, select the “video” id and set the value of “800px” and “600px” to the “width” and “height” properties, respectively.
- In addition, select the “playerControls” class and provide the values of “absolute”, “40px”, “100%”, and “flex” to the “position”, “bottom”, “width”, and “display” properties. These are utilized for setting the size of controls and for positioning them on the webpage.
- Moreover, set the value of “2” to the “opacity” property and utilize the “transition” property to set the “opacity” of “0.4s”.
- In the end, assign the “:hover” selector on the “root” and “playerControls” classes to set the “opacity” to “1”.
Now, insert the following CSS properties to apply styles on the video player controls:
background: transparent;
color: white;
text-shadow: 2px 1px 2px black;
cursor: pointer;
}
.playerTimeline {
flex: 1;
display: flex;
align-items: center;
border-right: 3px solid gray;
border-left: 3px solid gray;
}
.timeline-bar{
background: white;
height: 10px;
flex: 1;
}
.innerBar{
background: gray;
width: 0%;
height: 100%;
}
In the above code snippet:
- First, select the “button” HTML elements inside the “playerControls” class. And utilize the “color”, “background”, “cursor” and other CSS properties according to the requirements for styling the button.
- Next, select the “playerTimeline” class and set it to display as a “flex”. Also, assign the border from the left and right direction.
- After that, select the “timeline-bar” and “innerBar” classes and set their background, height, width, and position by utilizing the “background”, “height”, “width”, and “flex” properties.
After the execution of the above code snippets, the media player now looks like this:
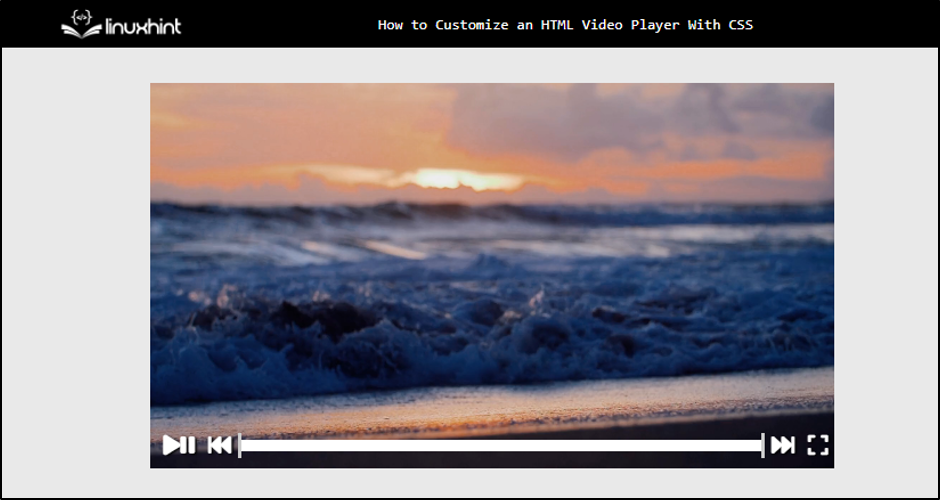
The above snapshot of the webpage shows the video player is now custom-styled using CSS properties.
Step 3: Setting Up Video Player Functionality Using JavaScript
To custom set the functionality for the controls apply the following code blocks that are being explained in this step. The “<script>” is closing in the last code block:
const customplayer = document.querySelector("#video")
document.querySelector(".fa-pause").style.display = "none"
customPlayer.addEventListener("timeupdate", () => {
let current= (customplayer.currentTime / customplayer.duration) * 100
if(customplayer.ended){
document.querySelector(".fa-play").style.display = "block"
document.querySelector(".fa-pause").style.display = "none"
}
document.querySelector('.innerBar').style.width = `${current}%`
})
In the above code block:
- Initially, the “querySelector()” method selects the HTML element having an id of “video”. And store it in a “const” type variable named “customplayer”.
- Next, select the “fa-pause” class and provide the value of “none” for the CSS display property. It sets the “pause” icon invisible by default.
- Then, add the “timeupdate()” event listener with the “customplayer” variable that calls the anonymous “arrow” function which stores the percentage of the video that has been played so far.
- After that, the “if” statement is used to hide or display the “play” and “pause” icons by checking if the video is ended or not.
- In the end, the “current” variable is utilized to update the width of the bar displayed in the “innerBar” class element.
After compiling the above code, the media player looks like this:
The above gif shows the timeline of the video duration that has been set.
After adding the functionality of the timeline, now add the following code for the working of the play and pause buttons:
if(customplayer.paused){
document.querySelector(".fa-play").style.display = "none"
document.querySelector(".fa-pause").style.display = "block"
customplayer.play()
}
else{
document.querySelector(".fa-play").style.display = "block"
document.querySelector(".fa-pause").style.display = "none"
customplayer.pause()
}
}
const fullScreen = (e) => {
e.preventDefault()
customplayer.requestFullscreen()
}
The above code snippet deals with the play and pause buttons:
- First, the “play” arrow function is created. It takes an argument that holds the data about the video player.
- Then, the “if” condition is utilized that checks if the video is “paused”. It displays the “pause” button and hides the “play” button, also starts the video by calling the “play()” function with the “customplayer” variable.
- In the “else” section, the “play” button is displayed and the “pause” button gets hidden. And the “pause()” function is called along with the “customplayer” variable.
- After that, the “fullScreen” arrow function has been created. It utilizes the “preventDefault()” function with the parameter “e” to prevent the default behavior.
- And display the “customplayer” variable on the full screen by calling the “requestFullscreen()” function.
After the execution of the above code snippet, the media player works like this:
The above output shows that the pause and play button is now working along with the full-screen button.
Now, set the “rewind()” arrow function to add the functionality of rewind for the media player:
customplayer.currentTime = customplayer.currentTime - ((customplayer.duration/100) * 5)
}
const forward = (e) => {
customplayer.currentTime = customplayer.currentTime + ((customplayer.duration/100) * 5)
}
</script>
In the above code snippets:
- First, the functions utilized in the above code block enable both the “rewind” and “forward” functionality for the customized media player.
- After that, the “rewind()” function decreases the value of the “currentTime” property assigned with the “customplayer” variable by “5%” of the total duration and vice versa in the case of the “forward()” function.
After the compilation of the above code block, the media player now looks like:
The above gif displays that a fully customized video player has been generated successfully.
Conclusion
To customize an HTML video player with CSS, utilize the “timeupdate()” event listener that calculates the time duration, sets the play, and pause buttons accordingly. Next, the “preventDefault()” function is used to prevent the default behavior of the browser and the “requestFullscreen()” method sets the video to full screen. In the end, the currentTime property is decreased and increased by “5%” of the overall video duration for the creation of “rewind” and “forward” functionality.