Docker is a well-liked open-source project development platform that introduces the containerization concept. It uses the Docker containers to develop, store, deploy and manage projects and their relevant dependencies and packages. With the help of containers, developers can install and deploy projects on any other machine or server as they encapsulate all the essential modules and dependencies.
This blog will teach how to containerize an application.
How to Containerize an Application?
Containerization is a process used to encapsulate the application source code and its packages in a Docker container. To containerize the application, build a simple Dockerfile that will automatically install the required dependencies in a container. Then the Docker image is generated that will instruct the container how to deploy an application.
To create and containerize an application, go through the given instructions.
Step 1: Open Project Folder
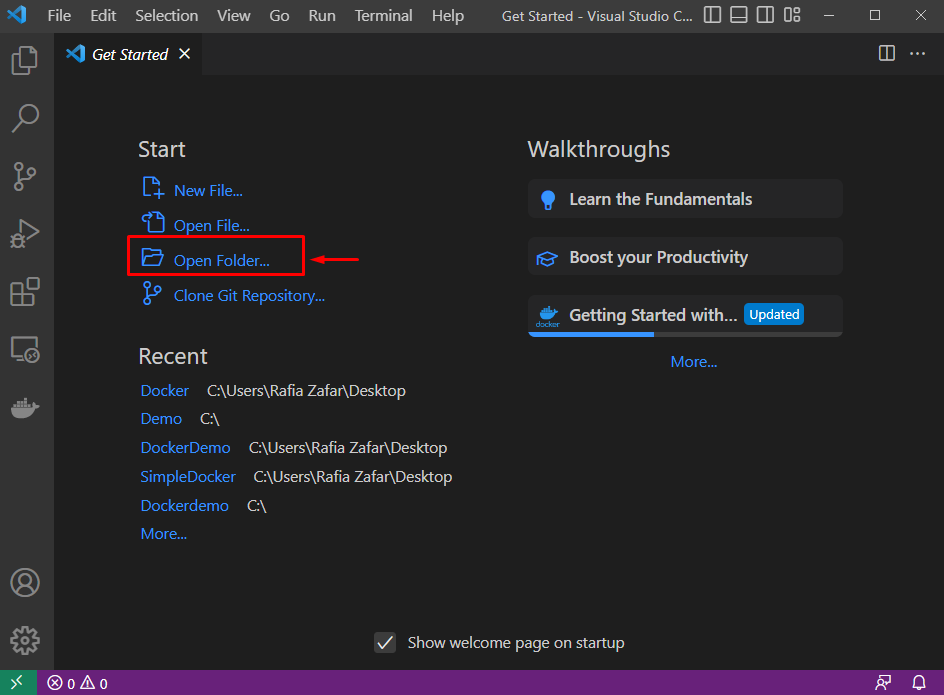
First, launch the Visual Studio Code Editor via Windows “Startup” menu. Then, open the Project folder:
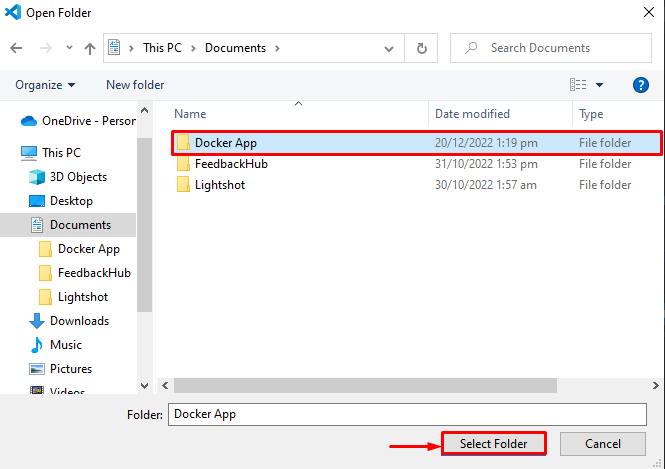
Select the project folder and hit the “Select Folder” button:
Step 2: Create Dockerfile
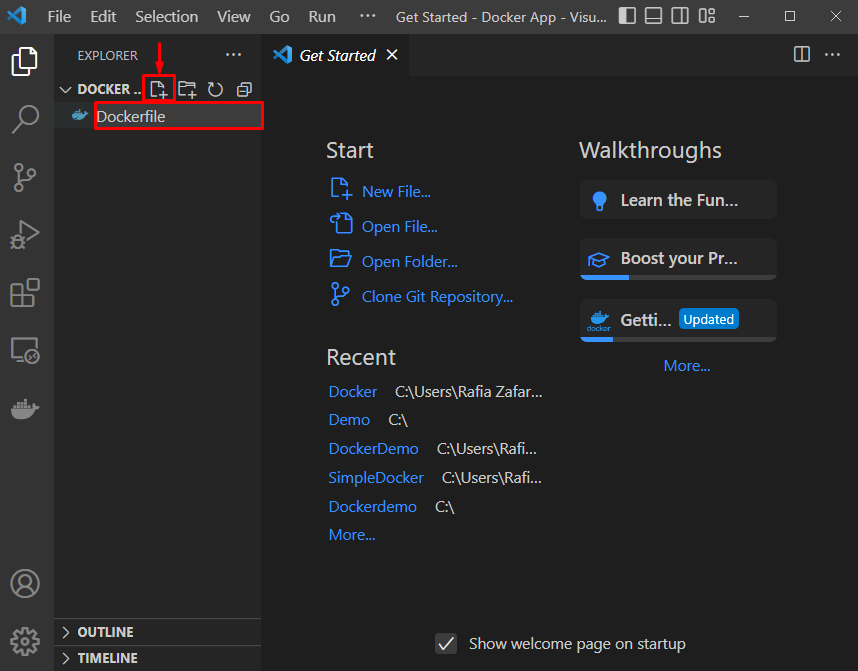
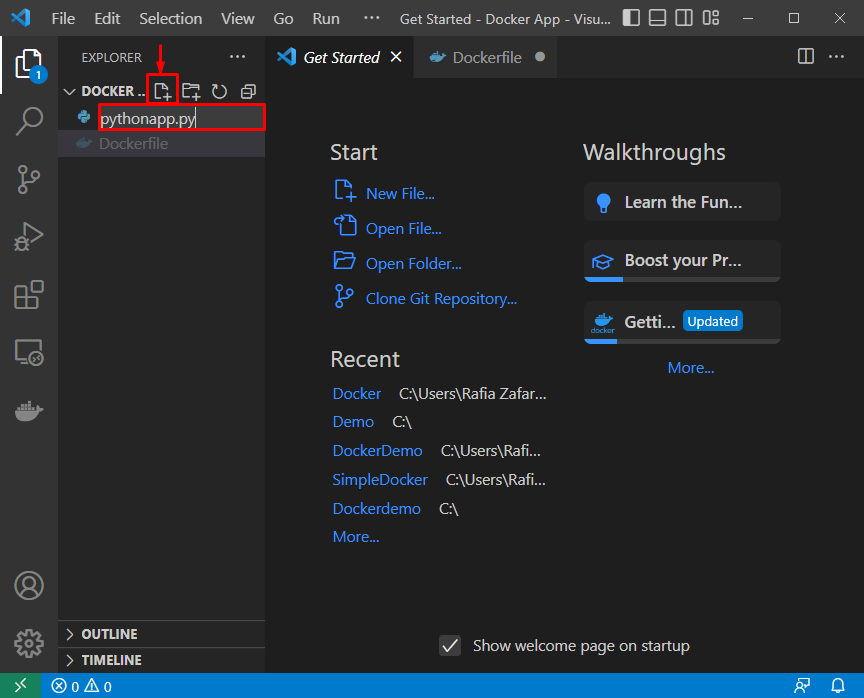
Create a new Docker file by clicking the below-highlighted icon and name the file as “Dockerfile”:
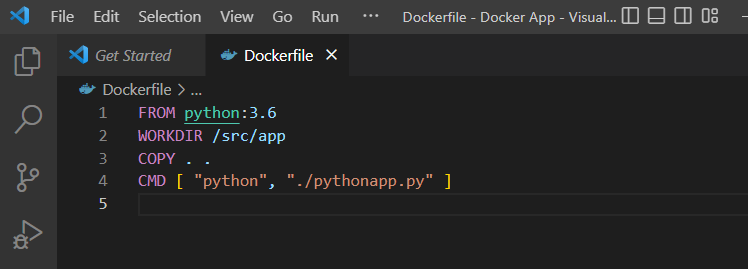
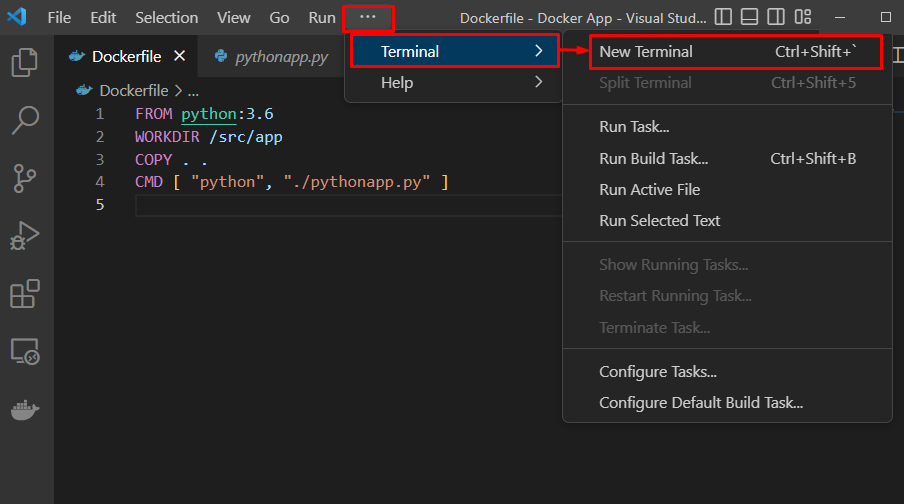
Paste the provided code inside the Dockerfile. This will execute the “pythonapp.py” Python program file:
WORKDIR /src/app
COPY . .
CMD [ "python", "./pythonapp.py" ]
Step 3: Create Program File
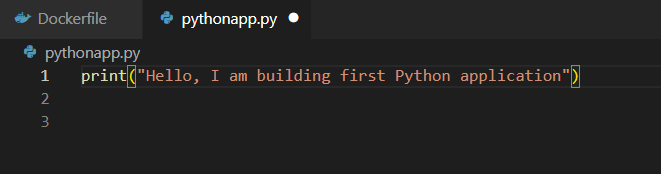
Generate a new Python file and set the file name as “pythonapp.py”:
Next, add the given code to the “pythonapp.py” file. This code will display the “Hello, I am building first Python application”:
Step 4: Open Docker Terminal
Open the Visual Studio Code Editor terminal by clicking on the “Terminal” menu:
Step 5: Build Docker Image
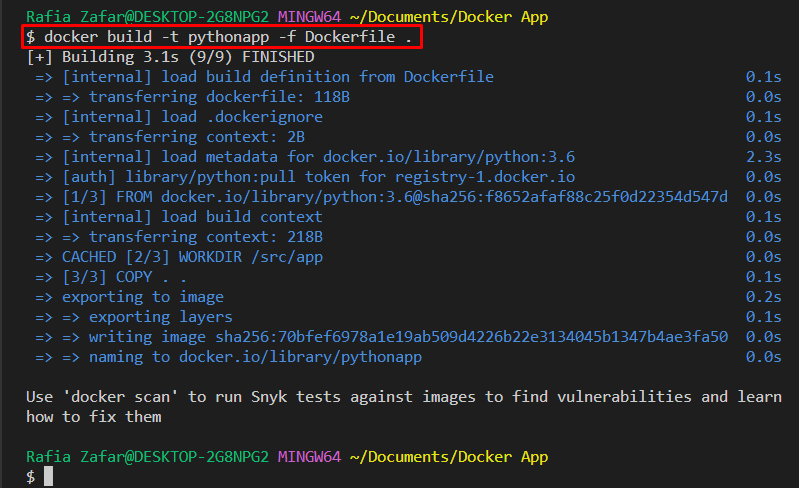
Generate the new Docker image that will be used to containerize the application. For this purpose, utilize the provided command. Here, the “-t” option refers to the image name, and “-f” is used to read the Dockerfile forcefully:
Step 6: Run Docker Container
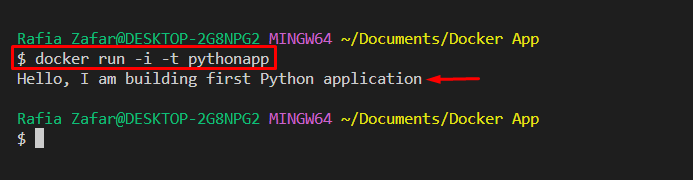
Now, containerize an application by executing it in the container. To do so, run the Docker image to deploy the project in the container. Here, “-i” is used to run the container in an interactive way, and “-t” is used to assign “TTY-pseudo” terminal:
It can be observed that we have successfully deployed and containerized a Python application:
This tutorial is all about how to containerize an application.
Conclusion
To containerize an application, first, create a simple Dockerfile with instructions or commands that will install the required dependencies. Then, generate a Docker image that instructs the container related to deploying the application. After that, run the image to deploy the program in a Docker container. This blog has demonstrated how to build or run applications through Docker containerization.