In Tailwind CSS, “overflow” utilities are utilized to control the overflow behavior of an element. It has various utility classes, such as “overflow-auto”, “overflow-scroll”, “overflow-hidden”, “overflow-visible” and many more. In addition, users can also utilize the hover property on the “overflow” utilities to control the specific element’s overflow behavior when the user hovers the mouse over it.
This post will demonstrate the example to apply the hover effect on “overflow” utilities in Tailwind.
How to Apply Hover on “overflow” Utilities in Tailwind?
To apply the hover on the “overflow” utilities in Tailwind, create an HTML structure and add the “hover” utility class with the specific “overflow-<value>” utility in the container. Next, navigate to the HTML web page and hover the mouse on the specified element to verify changes.
Syntax
Replace <value> with one of the following options: “auto”, “hidden”, “visible”, “scroll”, etc.
Example:
In this example, we will use the “overflow-auto” utility in the <div> container and apply the “overflow-scroll” effect when a mouse will hover over it:
<div class="overflow-auto hover:overflow-scroll bg-purple-300 p-4 mx-16 mt-5 h-36 text-justify">
Tailwind CSS provides various “overflow” utilities, such as
“overflow-auto”, “overflow-scroll”, “overflow-hidden”, “overflow-visible”
etc. These utilities determine how a specific element handles the content
that exceeds the container size. Each utility offers unique functionality,
however, their end goal remains the same, i.e. to control the overflow
behavior of the selected element.
</div>
</body>
Here:
- “overflow-auto” class is used to add the scrollbars to the <div> container and show them only when scrolling is necessary.
- “hover:overflow-scroll” class adds the scrollbars and always shows them when a user hovers the mouse over them.
Output
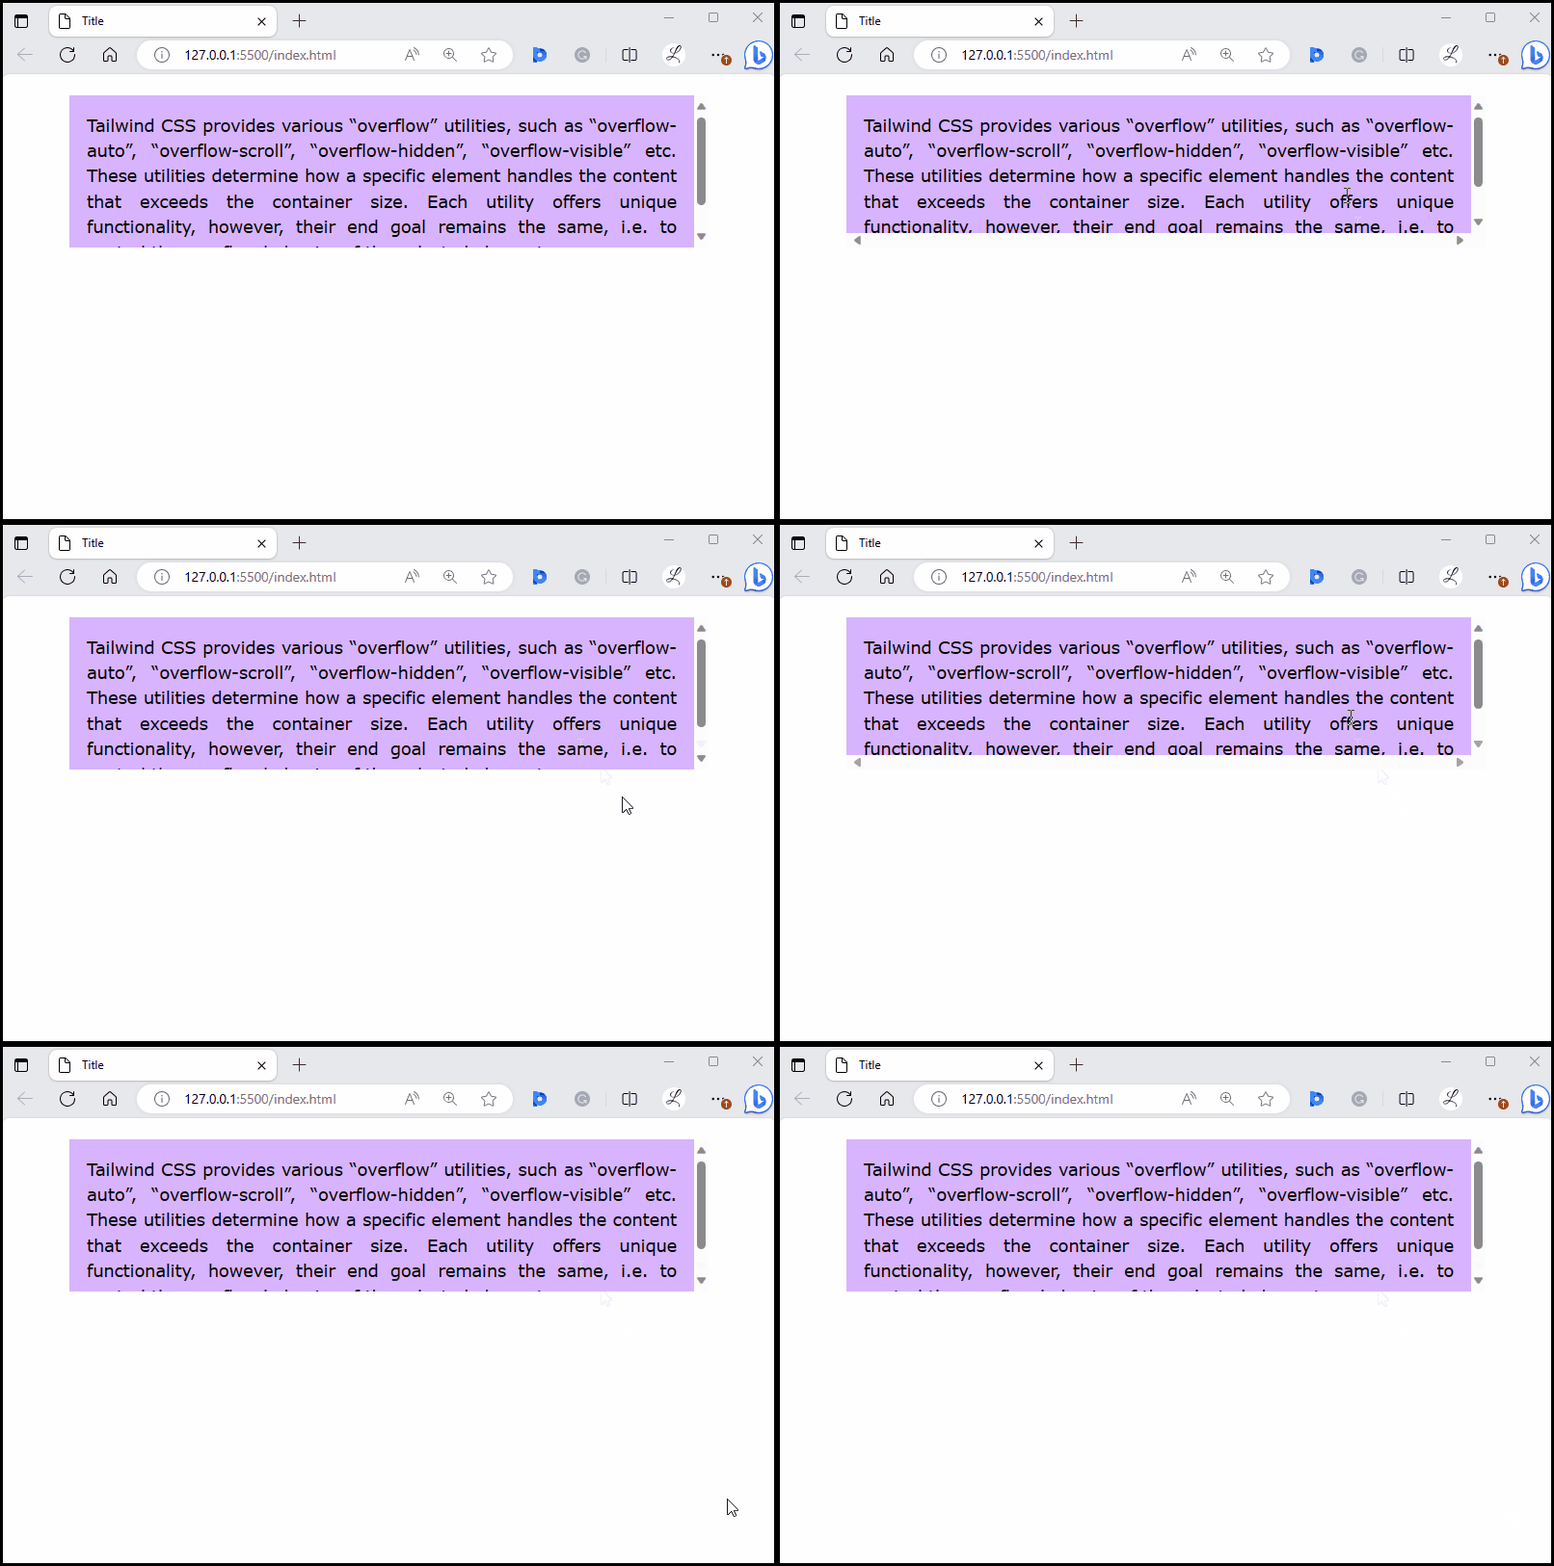
It can be observed that the behavior of the container is changing when the mouse hovers over it. This specifies that the hover effect has been successfully applied to the “overflow” utilities.
Conclusion
To apply the hover on the “overflow” utilities in Tailwind, add the “hover” utility class with the desired “overflow-<value>” utility in the HTML program. For verification, move the mouse over the specified element on the web page. This post has demonstrated the example to apply the hover effect on “overflow” utilities in Tailwind.

