This article demonstrates adding a new line in the “textarea” element.
Method 1: Use of Entity Name
To display some data of the “textarea” element in the new line, the HTML entity names are used. The “
” entity name helps us to break the line and display data into the new line. For instance, visit the below code snippet:
After executing the above code, the webpage looks like this:
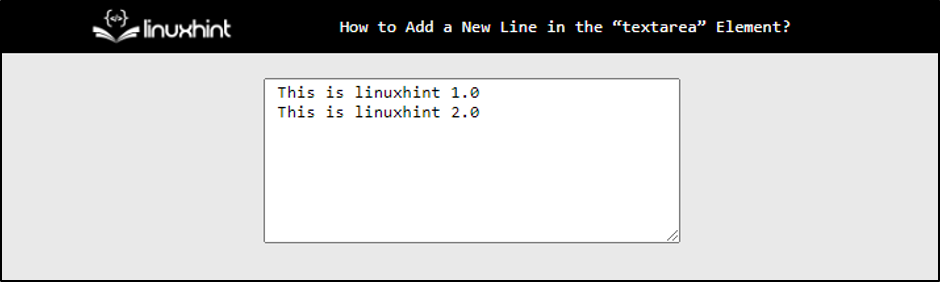
The above output displays that the new line is created, and data is displayed on it.
Method 2: Use of Entity Code
The entity code can also be used for adding a new line in the “textarea” element. The code which can be used for this purpose is “ ”. This code adds directly to the HTML element. It can also be placed multiple times according to need:
After executing the above code webpage looks like this:
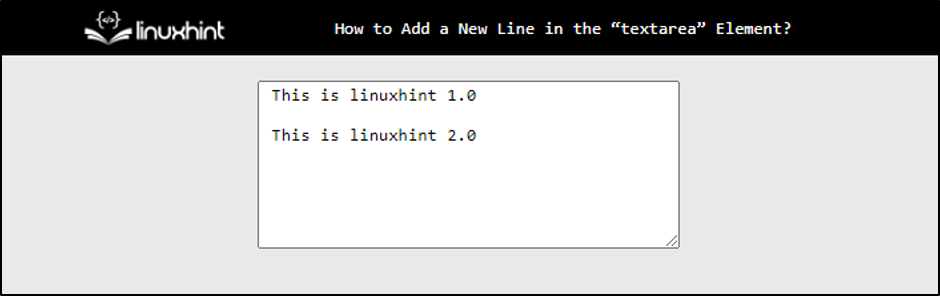
The output displays that the new line is generated using entity code.
Method 3: Use of Escape Sequences
The escape sequence can also be utilized with the help of javascript to break the line in the “textarea” element. The escape sequence “\n” breaks the line and “\t” provides an extra space from the boundary. In the below code snippet, both escape sequences are utilized:
In the above code snippet, the “textarea” is accessed using the id “newLine”. Then a couple of escape sequences are placed to break and add extra space to the new line:
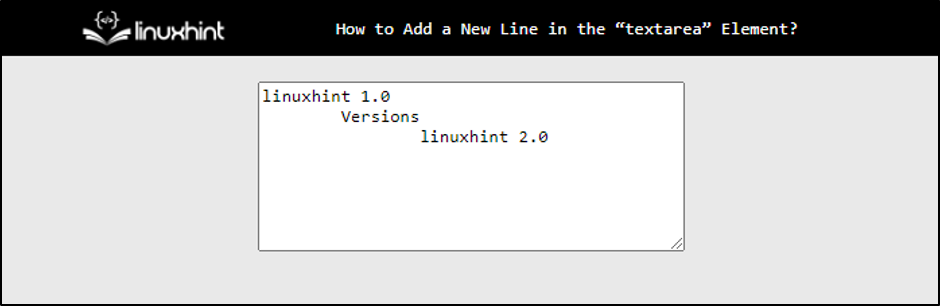
The above output illustrates that the new line is created along with extra space.
Method 4: Use of split() and join() Functions
The “split()” and “join()” functions are utilized to add a new line. For instance, the split() function splits the data available in the “textarea” element. Then, the join() function joins the “<br>” tag with the split data to make it appear on the new line:
var nLine;
nLine = document.getElementById('newLines').value;
var data = nLine.split(".");
var nLineData = data.join('.</br>');
document.write(nLineData);
}
In the above code, the “textarea” is accessed using its id and the data is placed on the screen with the help of the “document.write()” method. After executing the above code, the webpage looks like this:
The output displays that after pressing the submit button each line data till period(.) is displayed in the new line.
Conclusion
To add a new line in the “textarea” element, the HTML entity names, entity numbers, escape sequences, and javascript functions are used. First, the entity name and numbers for a new line are “
” and “ ”. The escape sequence “\n” can also be utilized using javascript. In the end, the javascript functions of “split()” and “join()” can be used for the same process.