This post will describe how system prune works to free up space in Docker.
How Does System Prune Work in Docker?
In Docker, “system prune” is a basic command that is utilized to remove unused data and files. Docker users can remove dangling Docker containers, images, volume, and network with the help of this command. This command can work in multiple ways, such as removing Docker volume using the “system prune” command along with the “–volumes” option.
To understand how system prune works in Docker, look at the provided instructions.
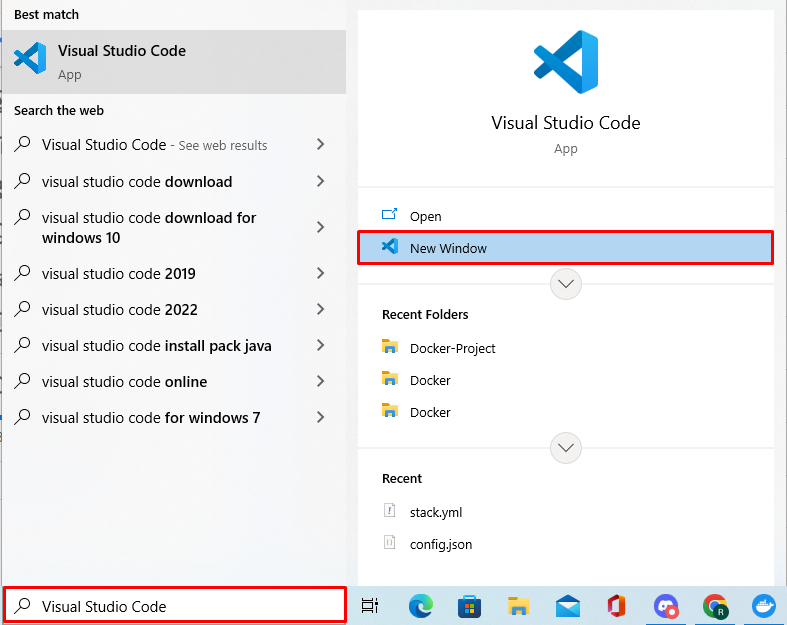
Step 1: Open Visual Studio Code
First, launch the Visual Studio Code Editor from the Windows “Startup” menu:
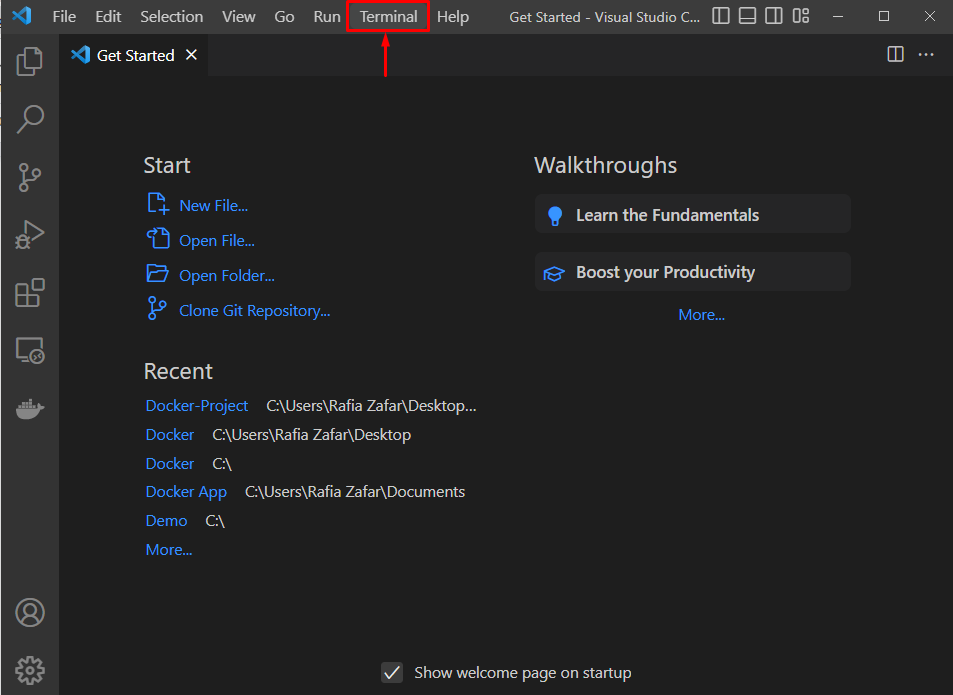
Step 2: Open Terminal
Next, open the command line terminal from the Visual Studio “Terminal” menu:
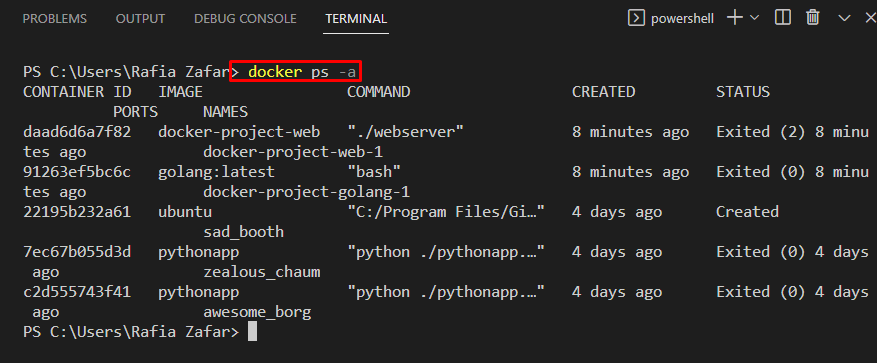
Step 3: List All Containers, Images, and Volume
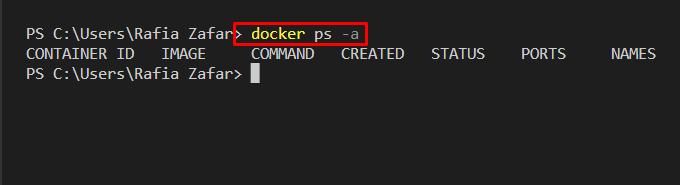
To list down Docker containers, utilize the “docker ps -a” command. Here, the “-a” option is used to display all containers:
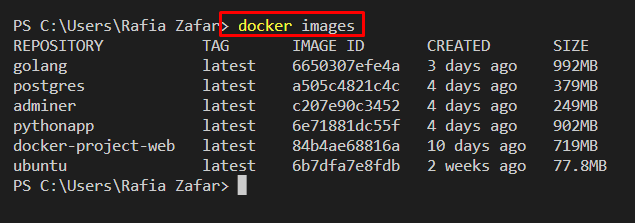
To list Docker images, use the “docker images” command:

The Docker volumes are listed with the help of provided command:
Step 4: Use System Prune to Remove Dangling Components
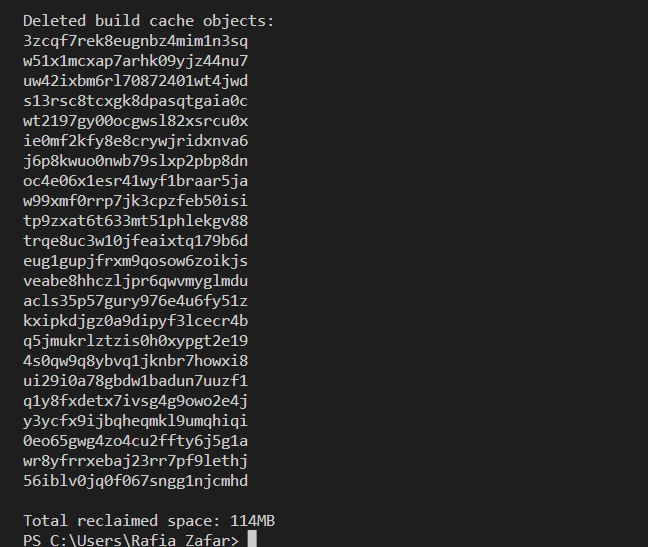
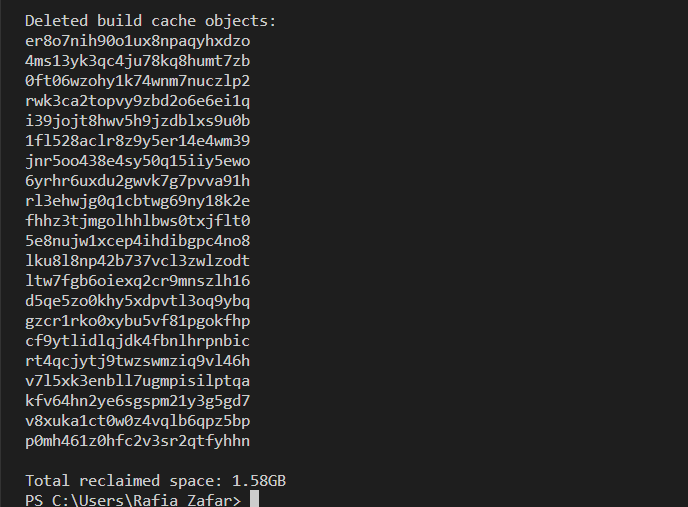
Next, prune all dangling or unused Docker components, such as Docker containers, images, and networks utilizing the “docker system prune” command:

Step 5: Verification
Verify if the dangling containers are removed or not:
It can be observed that we have successfully pruned Docker containers:
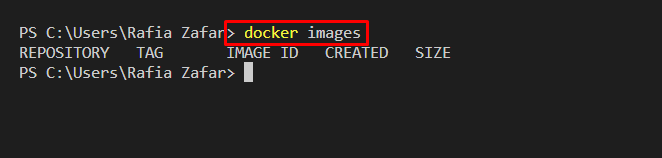
Next, list down Docker images using the “docker images” command:
You can see that all unused images are removed:
Step 6: Use System Prune to Remove Stopped Components
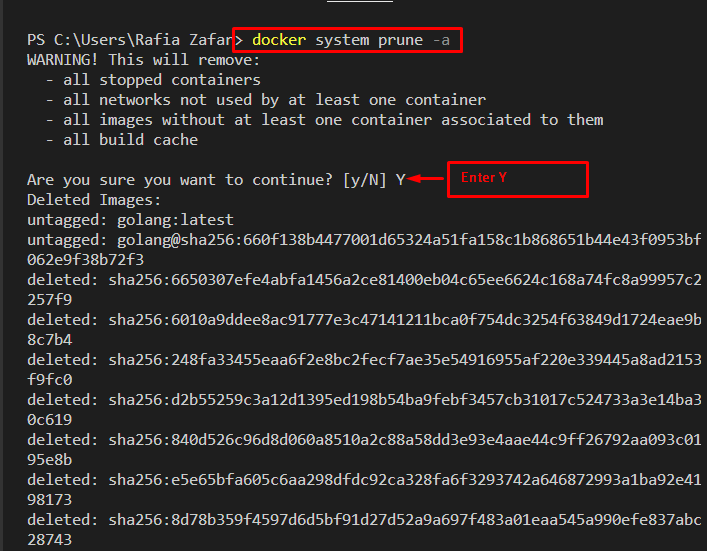
In order to remove all dangling as well as stopped components, such as images and containers, utilize the “docker system prune” command along with the “-a” option:
Now, again list down Docker images for verification:
You can see that all unused and stopped images have been removed successfully:
Step 7: Prune Docker Components Along With Volumes
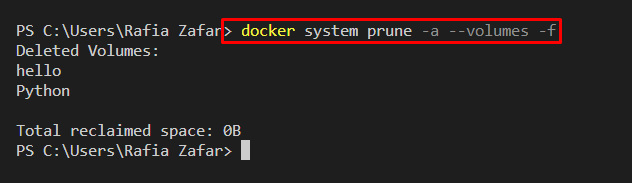
Docker volume can not be pruned directly by the “system prune” command. Users are required to specify the “–volumes” option with the mentioned command. For this purpose, go through the provided command:

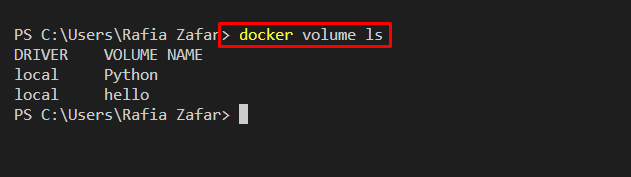
Next, list down all volumes using the “docker volume ls” command:
It can be observed that we have removed the Docker volumes:

Alternatively, to prune the system without getting a confirmation alert, utilize the “-f” option:
We have demonstrated how system prune works in Docker.
Conclusion
System prune is a basic command used to remove unused Docker containers, images, volume, and associated networks. To remove all unused and stopped Docker containers, images, and networks, utilize the “docker system prune -a” command. In order to remove volume as well, utilize the “–volumes” option along with the “docker system prune” command. This blog has demonstrated how system prune works in Docker.