This article demonstrates the different methods to remove CSS from a div using jQuery.
How to Remove CSS From a Div Using jQuery?
To remove CSS styles from the div, use the jQuery built-in attributes. There are two methods through which users can add or remove styles, inline and using classes.
Method 1: Remove Inline CSS From a Div
To remove inline styles that are applied to the HTML element, the “removeAttr()” method is utilized.
It is used when little styling of an element is needed. Follow the below steps to deal with it:
Step 1: Create a Structure
In the HTML file, create a “<div>” tag and add multiple HTML elements inside it. For instance, “<h1>”, “<h2>” and “<p>” tags are used in the below code:
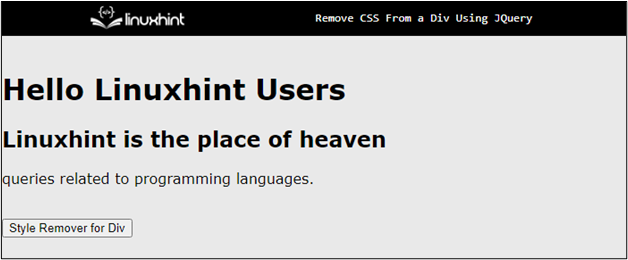
After executing the above code, the webpage looks like this:
The output shows the HTML structure of the div and a button.
Step 2: Add Inline Styling
Inside the div opening tag, utilizes the “style” attribute and apply some CSS properties to make elements prominent and appealing:
The output of the above code is:
The output confirms that the inline styles are applied to the div element only.
Step 3: Using jQuery to Remove Inline CSS
To remove style attributes, the parent function calls when the “document” is “ready”. In the below code, the inner function calls when user clicked the “button”. After that, this function selects all div elements that reside on the page and use the “remove.Attr()” method:
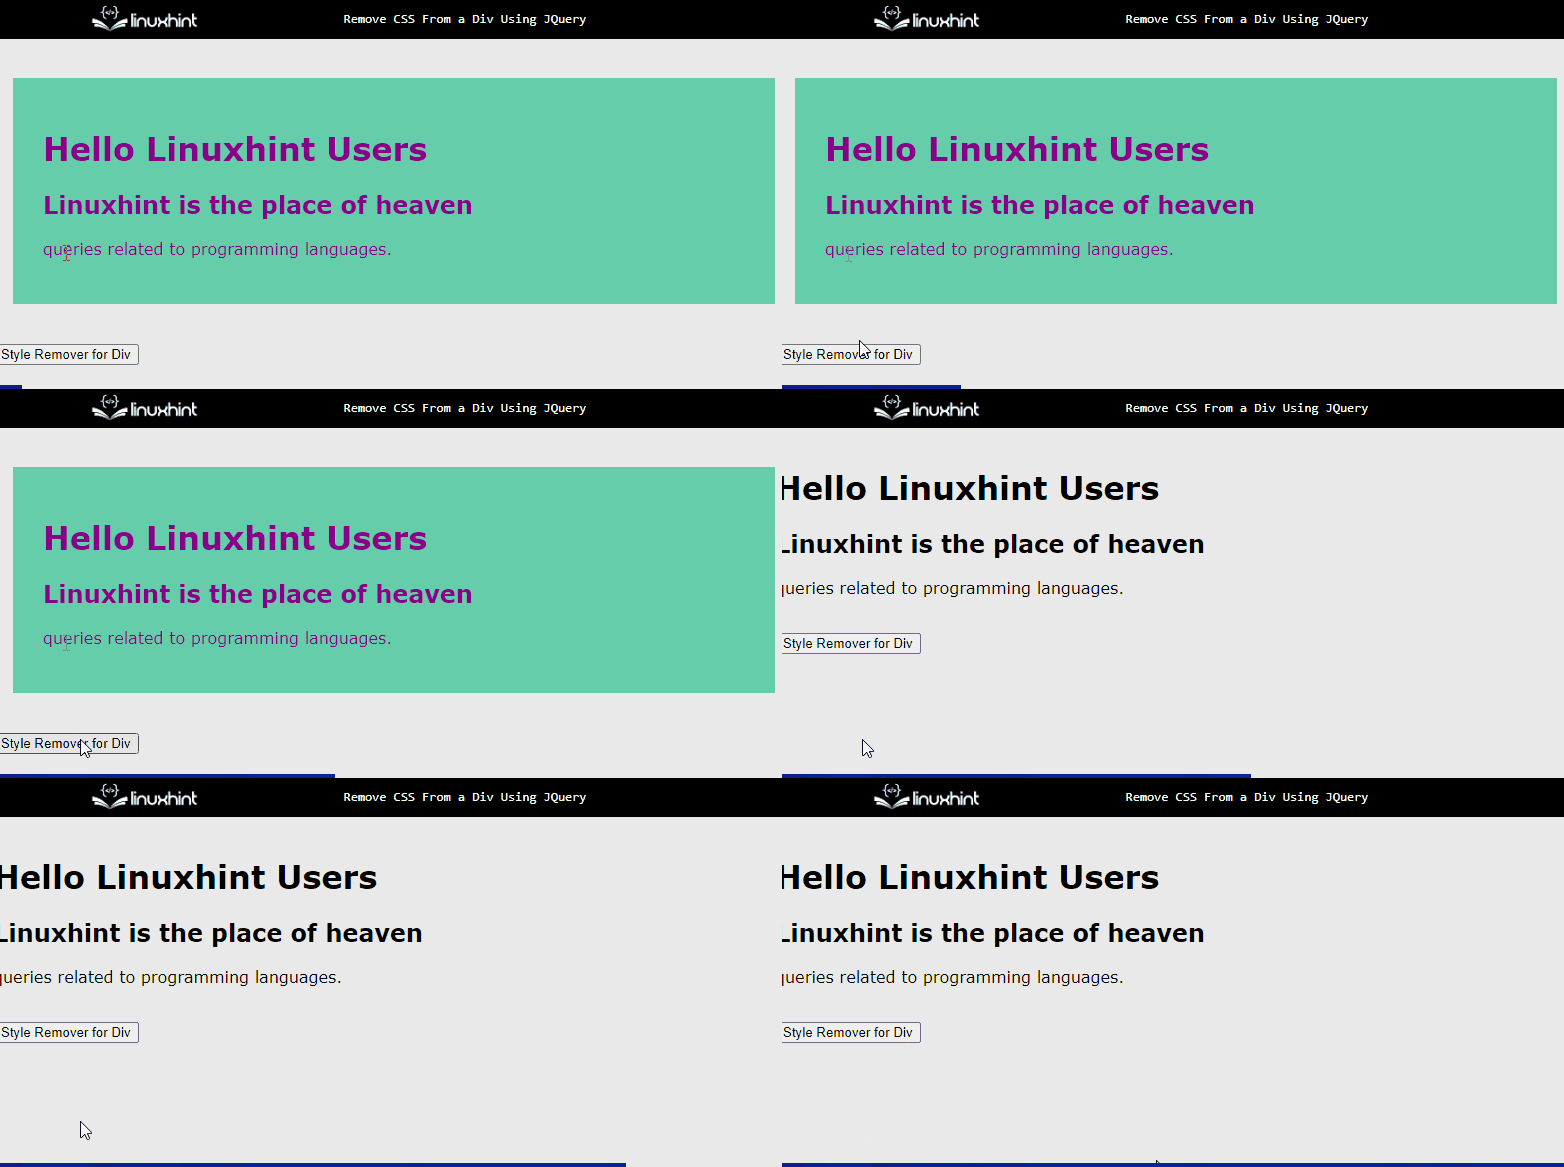
After adding the jQuery code, the webpage works like this:
The above “gif” illustrates that the applied styles on the div are removed by clicking on the button.
Method 2: Remove Class CSS from a Div
The second way of styling the HTML element is by assigning them a “class”. Then, add CSS in that class portion inside the “<style>” tag or in a separate “CSS file”. These styles can also be removed using jQuery. Follow the below steps:
Step 1: Assign a Class to Div Element
In the HTML file, assign a class attribute to the “<div>” element. Also, assign an id of “remover” to the “<button>” tag:
Next, go to the “<style>” tag and select the div class name “styling” and type CSS properties that are applied to the div element:
After executing the above code, the webpage looks like this:
The output displays that the styles are applied on the div element.
Step 2: Add jQuery To Remove CSS Styling
In the “<script>” tag add jQuery code same as stated in the above method. The jQuery “removeClass()” method removes the “styling” class that is assigned with the “div” element when the button is clicked:
After adding the above code, the webpage works like this:
The above “gif” illustrates that the styles typed in the class are removed with a button click.
Conclusion
To remove the CSS from a div, the “remove.Attr()” and “removeClass()” methods can be used. The “remove.Attr()” removes the “style” attribute from the element which is selected. On the other hand, the “removeClass()” removes the selected element class that was being utilized for applying styles on that element. This article has successfully demonstrated how to remove CSS from a div using jQuery.


