This write-up will state:
- How to Add an Image in HTML?
- How to Add/Insert a Border to an Image in HTML?
- How to Add/Insert a Border to an Image in CSS?
How to Add an Image in HTML?
To add an image in an HTML document, follow the listed instructions:
- First, utilize any heading tag “<h1>” to “<h6>” to embed the heading. For instance, we have embedded the heading of level two with the help of the “<h2>” tag.
- Next, insert an “<img>” element along with “class”, “src”, and “alt” attributes.
- “<img>” tag is used to add an image to an HTML document.
- The “class” attribute is utilized to point the class in CSS.
- “src” is used to specify the URL or source of the image.
- “alt” specifies a name or alternative text for the image:
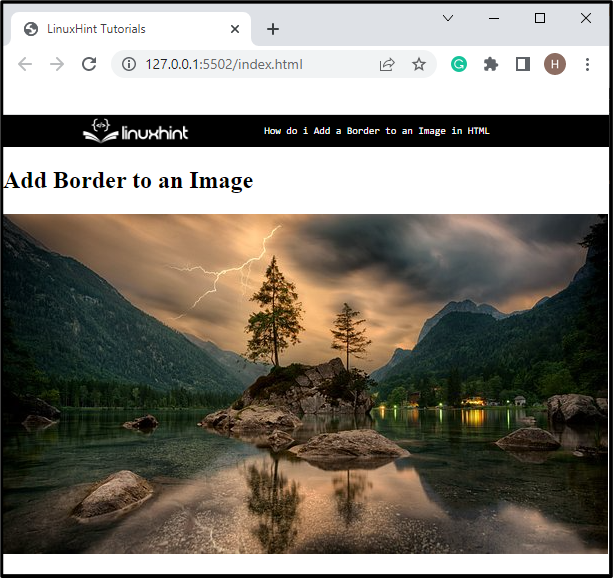
It can be observed that the image has been added successfully to an HTML page:
How to Add/Insert a Border to an Image in HTML?
To add a border to an image in HTML, utilize the inline CSS directly in the image source with the help of provided instructions:
- In the “<img>” tag, specify the “style” attribute. The value of “style” defines the properties of CSS for styling the defined element.
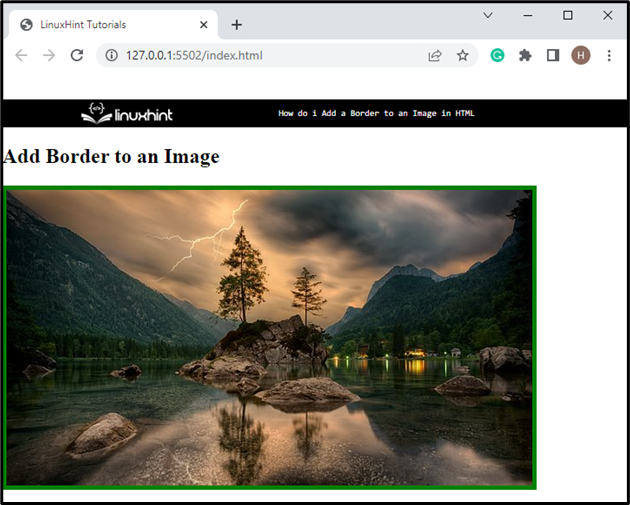
- In order to apply a border around the image, use the style value “border: 5px solid green;”, where “border” is the CSS property utilized for adding the boundary around the element, according to the specified style:
Output
How to Add/Insert a Border to an Image in CSS?
Users can also add a border to an image in HTML using embedded CSS. To add a border outside the image utilizing the CSS, go through the provided steps.
Step 1: Style Heading in CSS
First, style the heading by utilizing the tag name “h2” and apply the below-mentioned CSS properties:
text-align: center;
color: blue;
font: bold;
}
Here:
- The “text-align” property is utilized for setting the alignment of the text.
- “color” specifies the particular color for the text.
- “font” is used to allocate the style for the font.
Step 2: Add Border to an Image
To add a border around the image, first, access the image in CSS with the help of the “.img-container” class. Then, apply the following properties to it:
height: 400px;
background-size:contain;
width: 350px;
border: 7px solid rgb(63, 11, 253);
margin: 20px 150px;
}
The description of the above-given properties is as follows:
- “border” property is utilized to specify the border around the element.
- “height” is used for setting the height of the defined element.
- “background-size” CSS property is utilized to set the element’s size.
- “width” defines the width size of an element.
- “margin” specifies the blank space around the element boundary:

It can be noticed that a blue border has been added around an image.
Conclusion
To add a border to an image in HTML, first of all, add an image using the “<img>” tag. Then, the user can utilize the “style” attribute inside the “<img>” tag and set its value as per requirements. Furthermore, users can also use the embedded CSS to apply the “border” property to an image. This post has explained the procedure for adding the border to an image in HTML.