There are multiple CSS properties for styling the elements of HTML. The “display” property is one of them, which is utilized for setting the element that is managed as an inline element or block element. Furthermore, the layout utilized for its children, such as flow, flex, or grid. Moreover, this property allocates the inner and outer types to display an element.
This post will explain:
How to Use “display: table-cell” in CSS?
To use the “display” property with the value “table-cell”, try out the given instructions.
Step 1: Make Nested div Containers
First, create the main div container with the help of the “<div>” tag and insert the “id” attribute inside the div tag. Then, in between the div tag, add more containers and add a “class” attribute in each div:
<div class="tr-div">
<div class="td-div">Herry</div>
<div class="td-div">Html/CSS</div>
</div>
<div class="tr-div">
<div class="td-div">Edward</div>
<div class="td-div">Docker</div>
</div>
<div class="tr-div">
<div class="td-div">Jack</div>
<div class="td-div">Git</div>
</div>
</div>
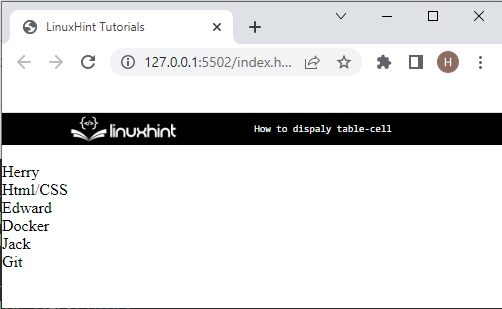
It can be noticed that data has been added successfully:
Step 2: Style “table-content” Container
To access the main div, utilize the “#table-content”, where “#” is a selector used for accessing the specified “id” attribute of the div container. Then, apply the following properties:
display: table;
padding: 7px;
}
Here:
-
- The “display” property defines and determines how an element looks. To do so, the value of this property is set as “table” for making the table.
- “padding” allocates the space inside the container.
Step 3: Style “tr-div” Container
Now, style the “tr-div” container as follows:
display: table-row;
background-color: rgb(164, 241, 215);
padding: 7px;
}
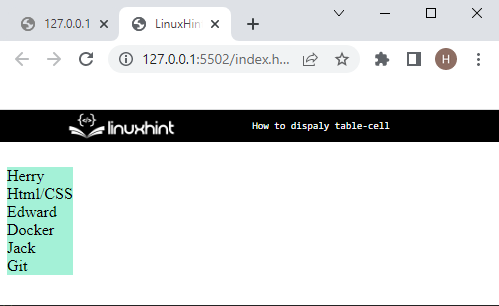
According to the above-code block, the “display” property value is set as “table-row” which means data is set in the form of rows in a table, “background-color” property is utilized for specifying the color at the backside of the element, and lastly, “padding” is applied:
Step 4: Apply “display: table-cell” Property on “td-div” Container
display: table-cell;
width: 150px;
border: #0f4bf0 solid 1px;
margin: 5px;
padding: 7px;
}
Access the third div with the help of “.td-div” dot selective and the respective id, and apply the CSS properties given below:
-
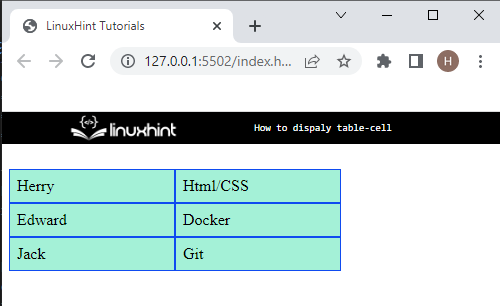
- The value of the “display” property is set as “table-cell” which is utilized for making the cell and adding data to the cell.
- “width” specifies the size of the table cell horizontally.
- “border” defines a boundary around the cells.
- “margin” property allocates the space outside of the defined border.
- “padding” specifies the space inside of the boundary.
Output
Why Use “display: table-cell” in CSS?
The “display: table-cell” CSS property is used for setting a display to data that makes the element behave like a table. So, users can create a duplicate of a table in HTML without utilizing the table element and other elements, Including td and tr. More specifically, his property defines the data in the form of a table.
Conclusion
To use the “display: table-cell” CSS property, create nested div containers and insert a class in each container with a specific name. Then, access the div container in CSS, and apply the “display: table-cell” property, where the “display” property is utilized for setting the data in the table cells. This post demonstrated the method for utilizing the display:table-cell CSS property.


