Homebridge is a free and open-source project that aims to provide a bridge or middleware between the various smart home devices and Apple’s Homekit ecosystem.
Homebridge is comprised of various components that allow for the integration of smart devices with the Homekit framework.
Overview
The following is a basic overview of how the Homebridge framework works.
The first part is the bridge which is a virtual bridge that is used to translate the communication protocols between the non-Homekit smart devices and the Homekit framework. As you can guess, the Homekit framework requires the devices to communicate using a specific standard such as HAP or Homekit Accessory Protocol. The role of the bridge is to take the protocols that are used by most smart devices such as Z-Wave, Zigbee, Wi-Fi, etc. and translate them to Homekit-compatible protocols.
Homebridge also supports plugins that allow for communication for specific types of smart devices. This enables it to support the devices that would otherwise not work with Homekit.
In this tutorial, we will learn how to quickly run a Homebridge instance on your local machine or remote server using the Docker Engine.
Requirements:
To follow along with the following tutorial and run Homebridge on Docker, you need to ensure that you have the following:
- A Linux host (required)
- Installed Docker Engine on the Linux host (version 20.0 and above is recommended)
- Amd64, arm32v6 , and arm64v8 host architectures
Remember that Homebridge cannot be installed on Docker that runs on Windows or macOS hosts.
Ensure that You Have the Docker Compose Installed
The first step is to ensure that you have the Docker Compose installed. This is a required utility as we use the Dockerfile to configure Homebridge.
Depending on the version of the Docker Engine that you installed, you can install it as a standalone unit, or it will come bundled with the Docker Engine.
Run the following command to check the installed Docker Compose version:
Docker Compose version v2.19.1
The command should print the installed version as shown in the given example.
Create the Docker Compose Manifest
Once you have everything set up, we can define the configuration for the Homebridge container and the running services.
We can do this by defining a new Dockerfile as shown in the following command:
Next, edit the file and add the configuration file as follows:
Add the Dockerfile configuration as shown the following:
services:
homebridge:
image: homebridge/homebridge:latest
restart: always
network_mode: host
volumes:
- ./volumes/homebridge:/homebridge
logging:
driver: json-file
options:
max-size: "10mb"
max-file: "1"
In the example file, we tell the Docker Compose to set up a new Homebridge service using the latest version of the homebridge/homebridge Docker image.
We run the container in the host network mode and map a local directory to a directory in the container. Finally, we configure the logging options, including the logging driver, to be a json-file. This outputs the logs in JSON format. We also limit the log file size to 10MB and keep only one copy of the log file.
You can check the image documentation for more configuration options as shown in the following resource:
https://github.com/homebridge/docker-homebridge
Save the changes to the “docker-compose.yml” file and close your editor.
Start the Homebridge
Once you have everything set, run the following command to start the Homebridge Docker container:
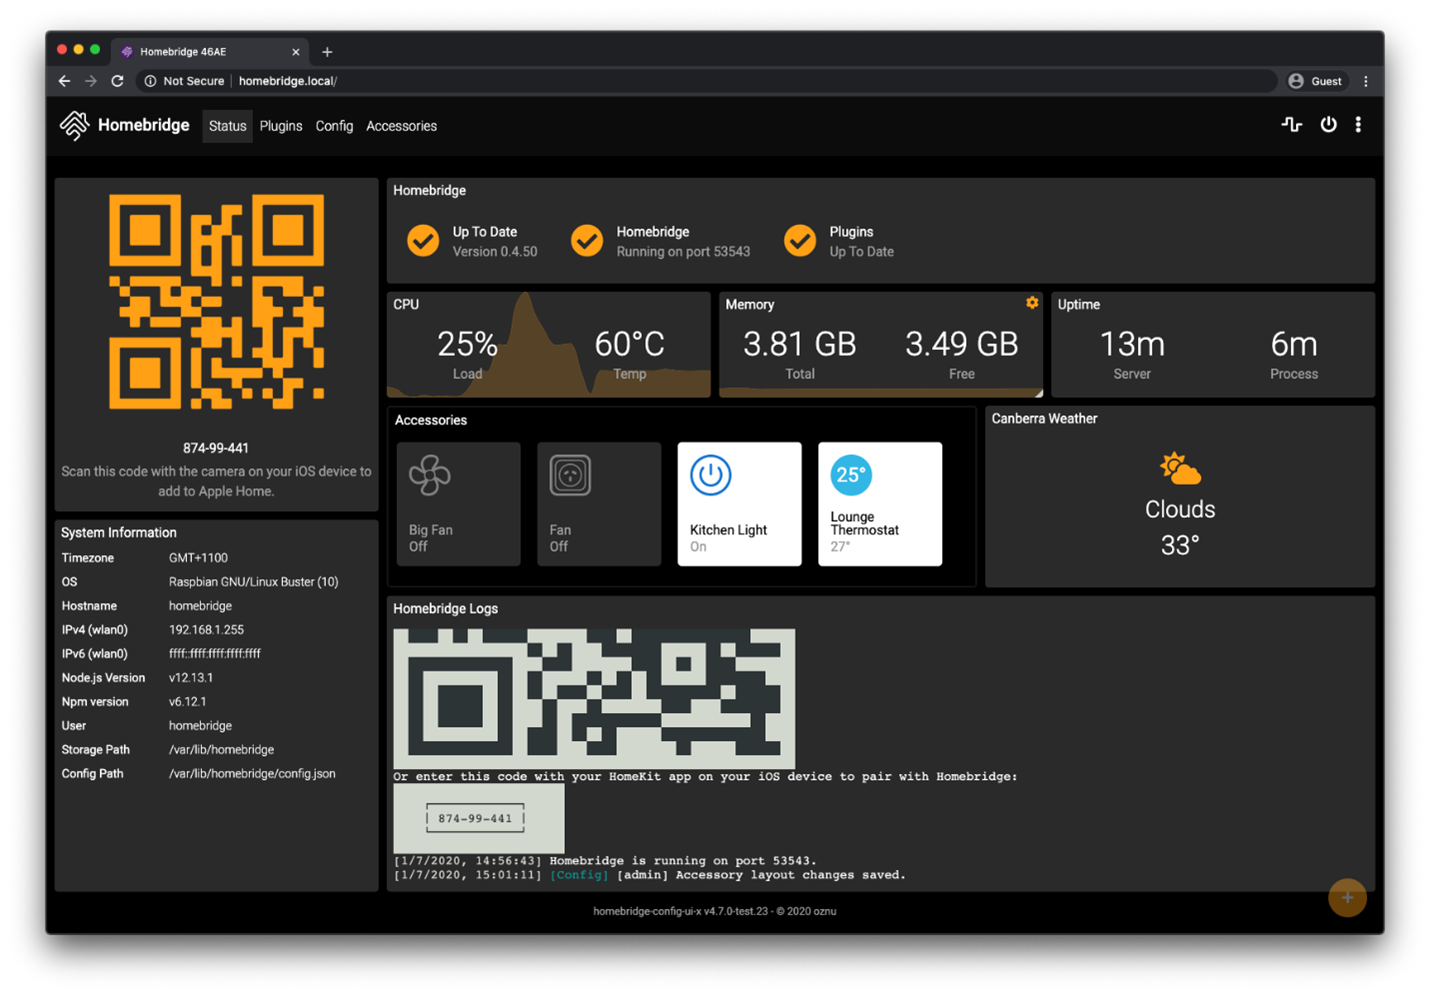
Login to the Homebridge UI
Once the container is started, you must log into the Homebridge web interface which allows you to install, remove, and update any plugins. It also provides a simple and intuitive interface to configure your Homebridge service.
Login to the web interface by going to http://<ip address of your server>:8581.
Conclusion
This short tutorial provides the fundamental steps of configuring the Homebridge framework using the Docker images.