While making changes on your Chromebook, if you have mixed up the display settings and you are unable to revert back to the original default screen settings, then it’s not a big deal, and you don’t have to take your Chromebook to a repair shop. Follow this guide to get your Chromebook’s screen back to normal.
Get Your Chromebook Screen Back to Normal
The quickest way to get back to the normal settings is using the keyboard shortcut. Press Ctrl+Shift+Refresh until you get your Chromebook screen back to normal.

There are some other methods also to change the screen settings in the Chromebook, let’s discuss them:
Get Back to Normal Screen Through Accessibility Features of Chromebook
You can access the screen features in the Chromebook and change or modify the settings according to you from the Manage Accessibility Features options in the Chrome browser. To make changes in the accessibility options, follow these steps:
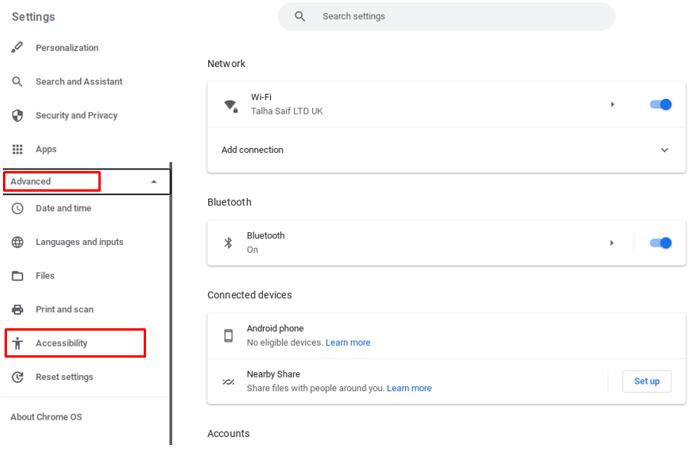
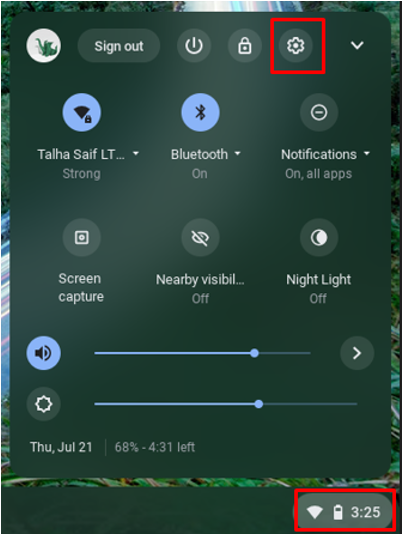
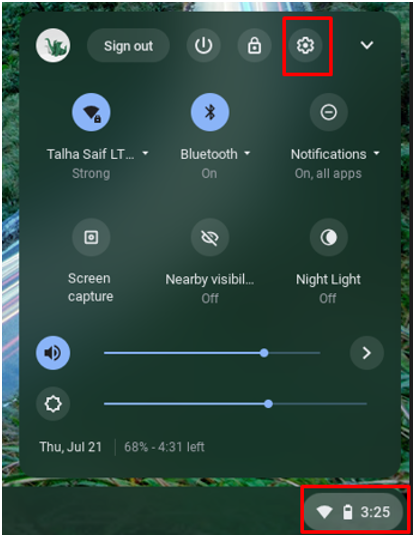
Step 1: Open the Chromebook’s settings by Clicking on the display time:

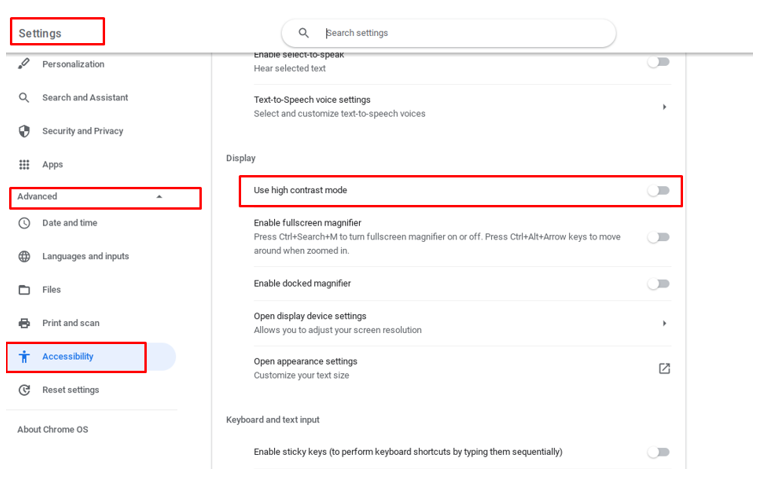
Step 2: Click on Advanced Options, and select Accessibility:
In the Accessibility section, enable or disable the following options to get your Chromebook screen back to normal:
-
- Turn Off The Full Screen
- Turn Off The Docked Magnifier
- Turn Off High Contrast Mode
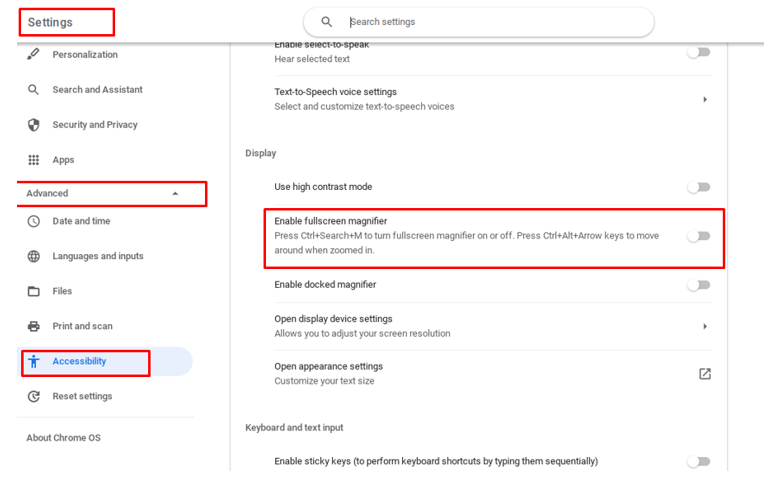
1: Turn Off The Full Screen
If the screen is zoomed in so much that it moves along with your cursor, that means you are on a magnified screen. To disable the magnified function, click on the Manage Accessibility feature and disable the full-screen magnifier or press Ctrl+Search+M to exit the magnified screen.
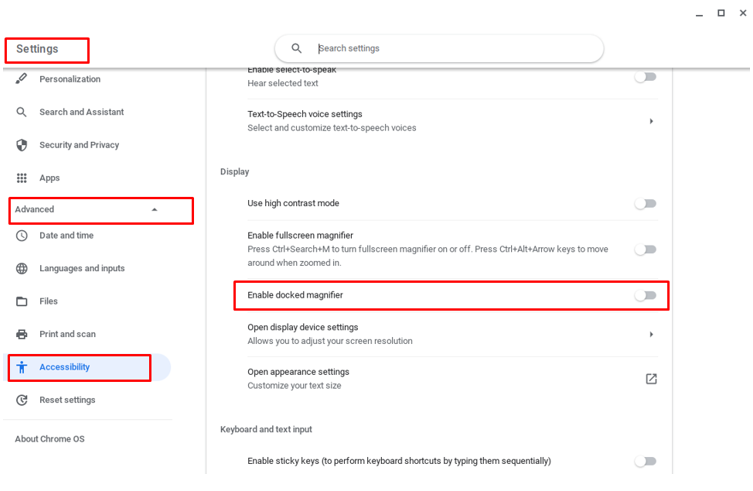
2: Turn Off The Docked Magnifier
In the docked magnifier, your bottom screen’s part is magnified and displayed on top of your screen. Press the Ctrl+Search+D to disable the docked magnifier. Or, In the Accessibility section, click on the Manage accessibility feature, and disable the docked magnifier.
3: Turn Off High Contrast Mode
If you have accidentally enabled the high contrast mode on your Chromebook, then press the Ctrl+Search+H to disable the high contrast mode on Chromebook. Or, in the Accessibility section, click on the Manage accessibility feature, and disable the high contrast mode.
Get Back to Normal Screen Through the Display Settings of Chromebook
You can also change other options from Chromebook settings to get back your original screen:
-
- Turn off the night light
- Change screen rotation
- Turn off the split screen
- Change display size
- Increase the brightness of your Chromebook
1: Turn Off Night Light
The Night Light option is good for reading books or work in the dark environment, this could make your screen look a bit different. To turn off the Night Light mode follow the steps given below:
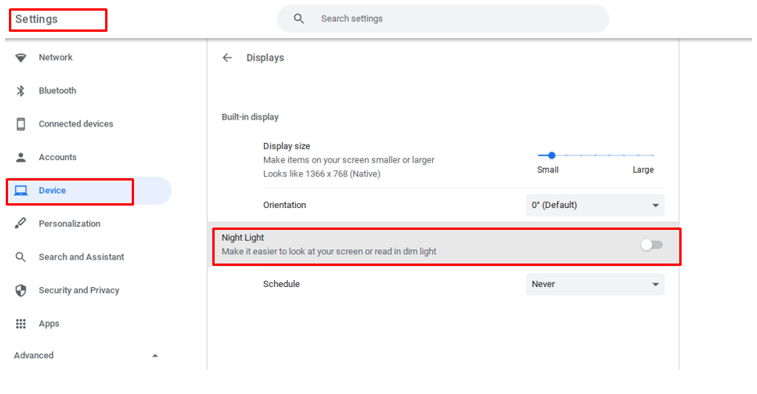
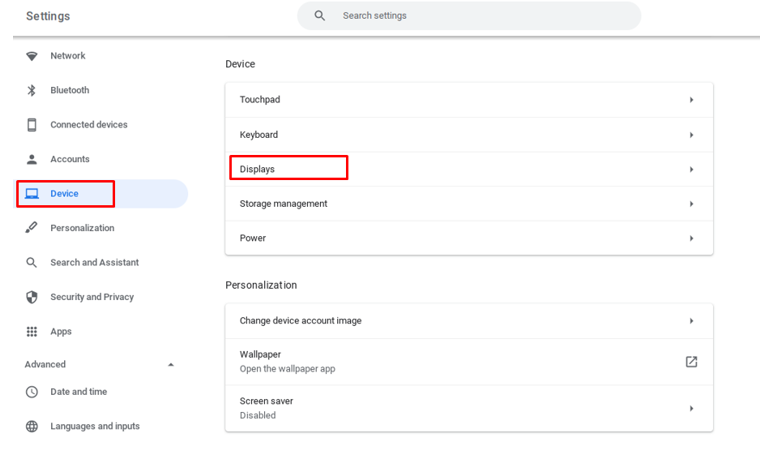
Step 1: Open the settings, click on the Device and then Displays option:

Step 2: Turn off the toggle of the Night Light:
2: Change the Screen Rotation
If your Chromebook seems to be rotated, press the Ctrl+Shift+Refresh button to change the orientation. Or you can also change it from the settings:
Step 1: Launch the Chromebook’s settings:
Step 2: Click on the Device and then Displays option:
Step 3: Under the Built-in display, Choose Default from the drop-down menu in front of the orientation:

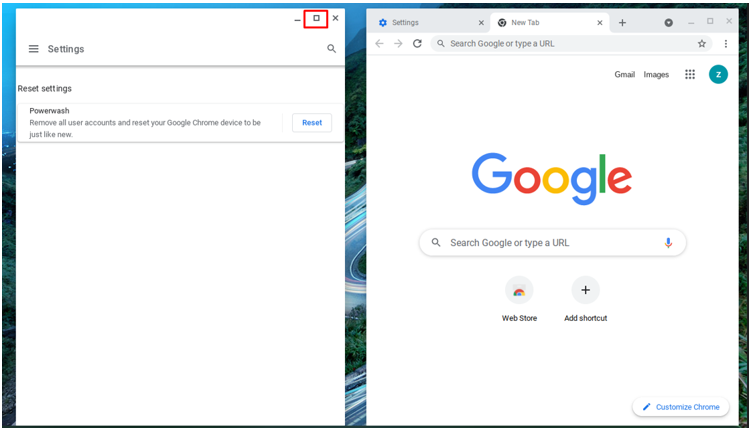
3: Turn Off the Split Screen
The split screen helps you to multitask and if you want to exit the split screen option, simply maximize any of the windows to exit the split screen option.
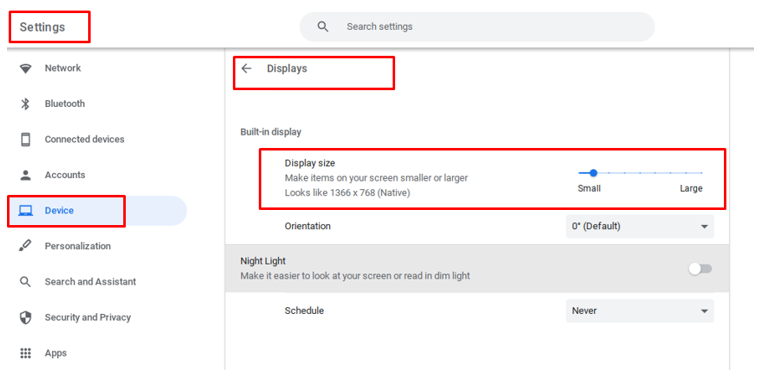
4: Change Display Size
If the text and the content on your Chromebook display are larger or smaller than usual, then change the size from the settings you will find this option in the Device > Displays:
5: Increase the Brightness of Chromebook
While decreasing the brightness of the Chromebook, you might have decreased the brightness level to a very low level that your screen turns black then don’t worry about that, just click the brightness function button on your Chromebook to increase the brightness back.
Change the Font Size of your Chromebook
Chromebook’s default appearance is set to a specific and universal size and color, and if you want to modify or revert back to the modified appearance, then follow these steps:
Step 1: Open the Chrome browser on your Chromebook:

Step 2: Click on the three dots menu to open the Settings:
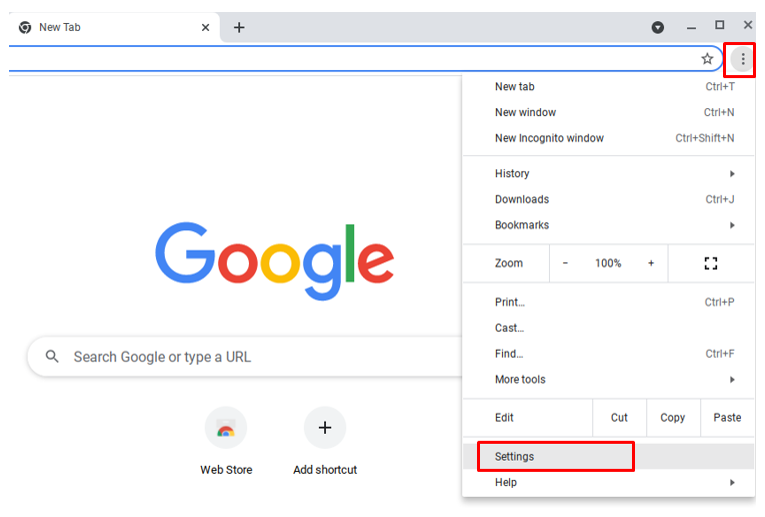
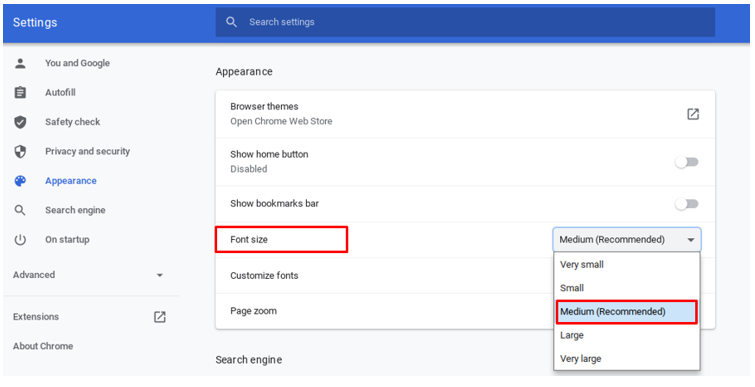
Step 3: Select the Appearance option present on the left side of the settings:

Step 4: Click on the arrow in front of Font size; Select the preferred level of font size from the drop-down menu:
Reset your Chromebook
After trying all of the above-mentioned methods, if you still did not get the original screen back, then the last option you have is to go for the reset, which is also called powerwashing. You can easily reset your Chromebook by properly following these steps:
Step 1: Click on display time to open Chromebooks settings:
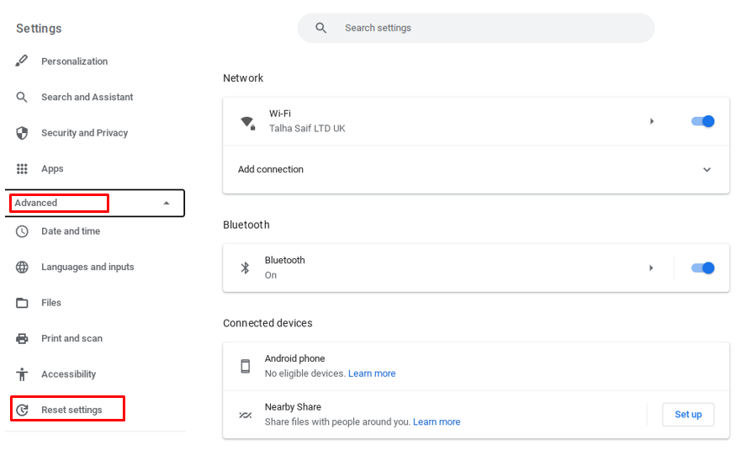
Step 2: Click on Advanced and select the Reset settings:
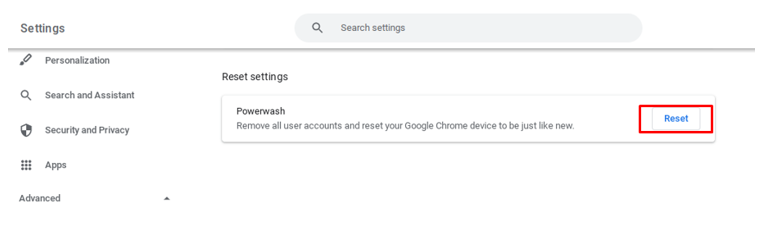
Step 3: Select Reset option in front of the Powerwash.
Conclusion
If you find that your Chromebook is not normal at its original screen settings, then you don’t have to worry about it, nor do you have to take your Chromebook to a repair shop. Simply follow the above-mentioned methods to revert back to the original settings and if any of the methods do not work, simply go for resetting your Chromebook.