
Outline to this article is given below:
- 1: How to Install esptool.py in Computer
- 2: How to Download MicroPython Firmware for ESP32
- 2.1: How to Find the Serial Port of ESP32
- 3: How to Flash MicroPython Firmware in ESP32
- 3.1: Finding Your MicroPython .bin File
- 3.2: Erasing ESP32 Flash Memory
- 3.3: Flashing MicroPython Firmware on ESP32 with esptool.py
1: How to Install esptool.py in Computer
There are multiple ways of flashing MicroPython in ESP32. Some of them are installing firmware using MicroPython IDE such as Thonny IDE or uPyCraft. But today we will be downloading and flashing MicroPython firmware using esptool.py.
Following are some steps to install esptool.py:
Step 1: Before we continue first, we need to install esptool.py on our PC. So install an updated version of Python 3 on the PC. To get Python 3, visit their download page or click here. Here it is 3.11.0.

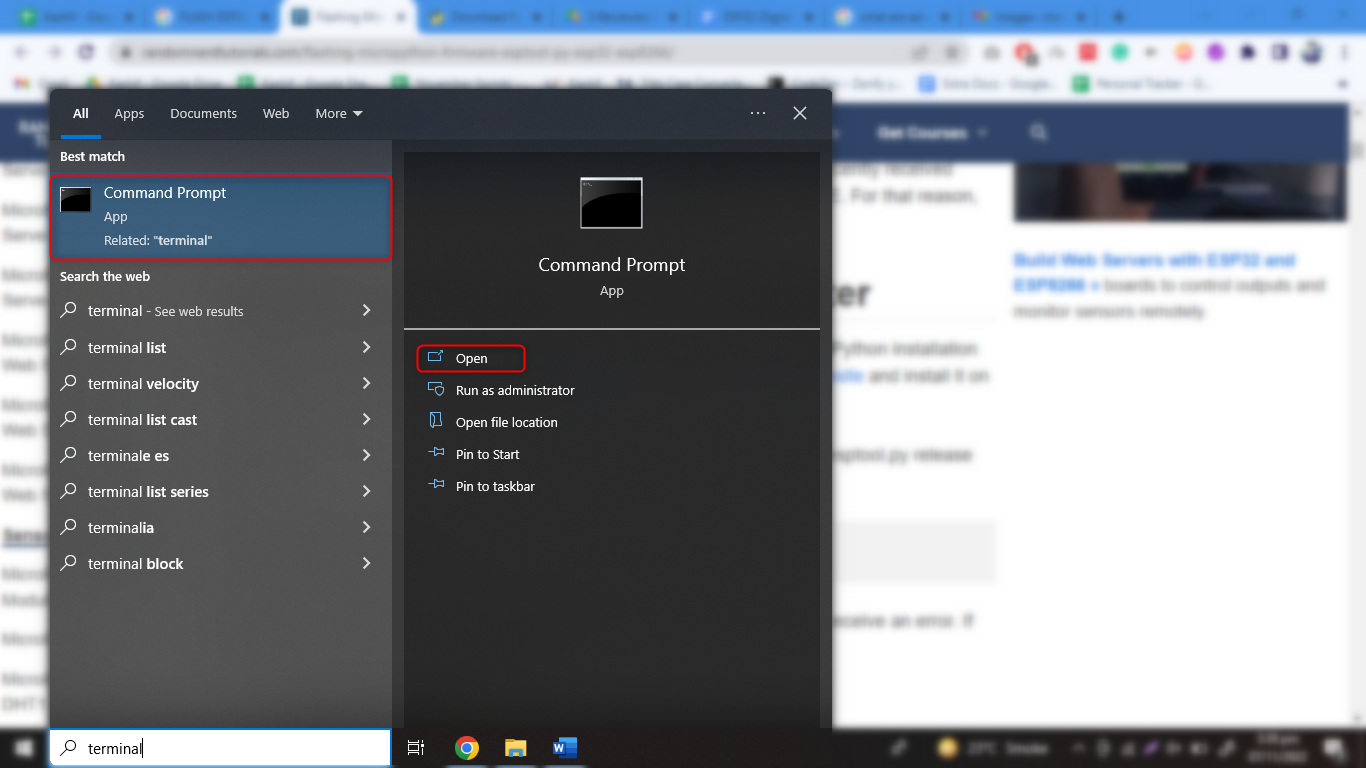
Step 2: Once Python is installed on the PC, open the command prompt.
Step 3: After opening cmd now type the below mentioned command to install the latest version of esptool.py with pip:
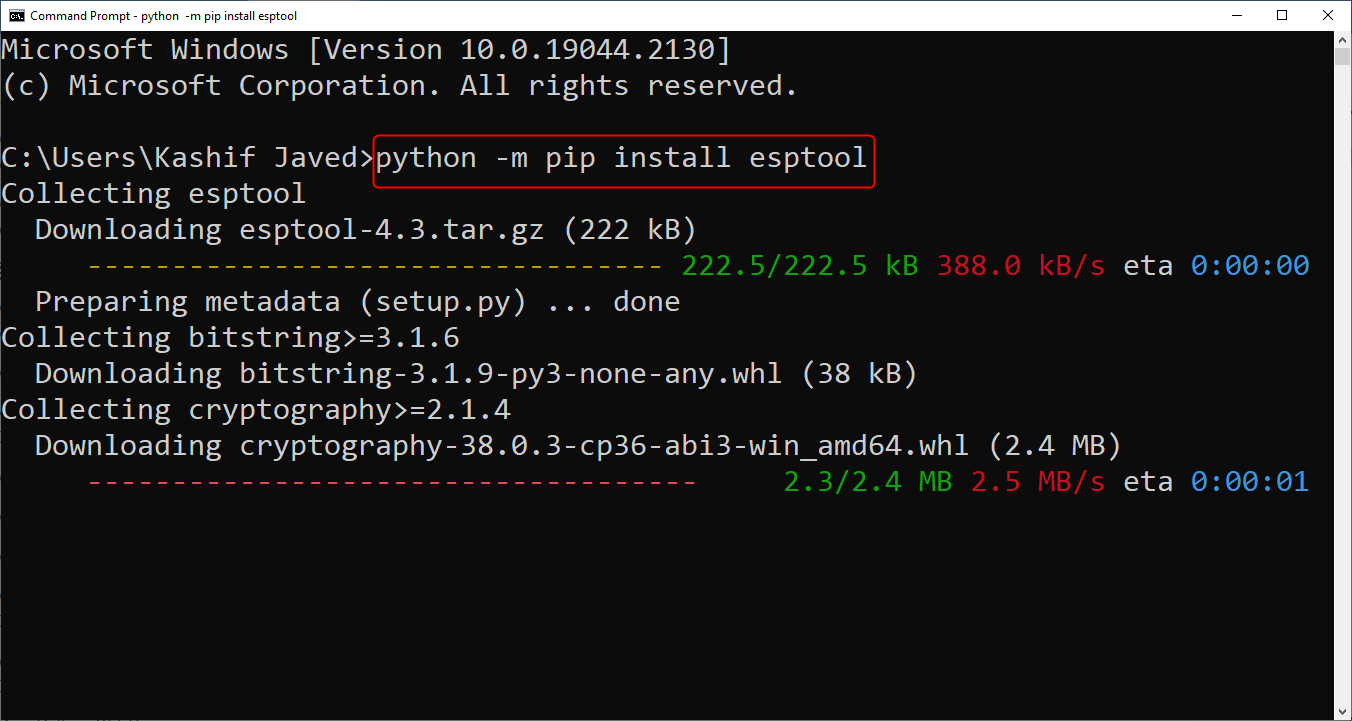
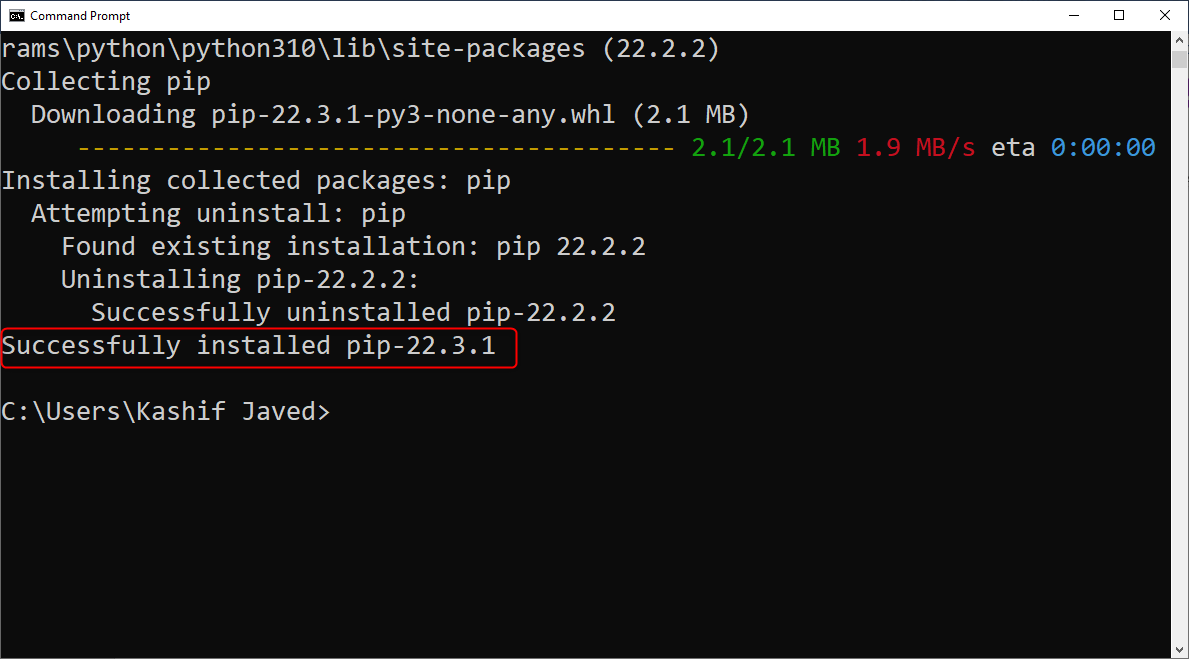
Once the installation is finished a message with successfully installed pip and version number will appear.
Step 4: Use the pip to install esptool:
For some Python installation this command might not work, try any of below given commands to install esptool.py into PC.
pip2 install esptool
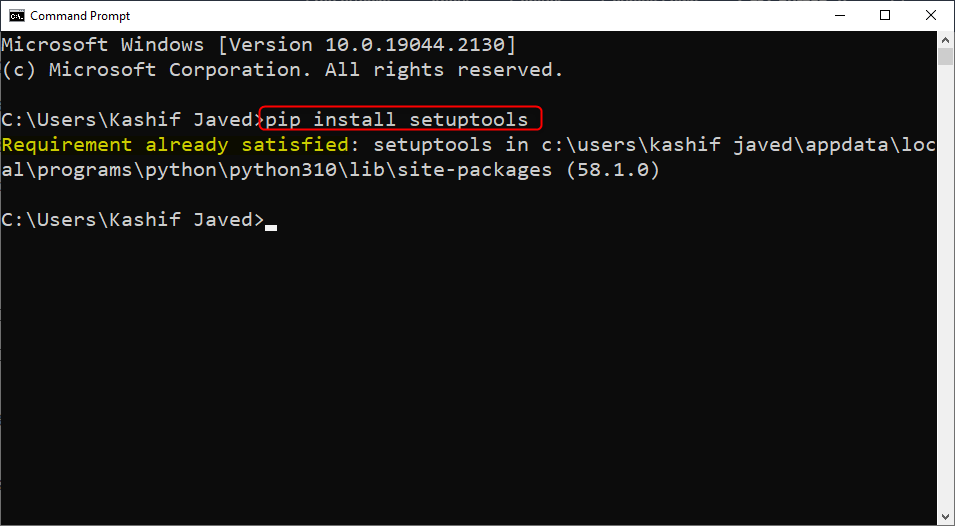
By default setuptools is not installed on some systems. Run following command to install the setuptools:
If already installed the following window will appear.
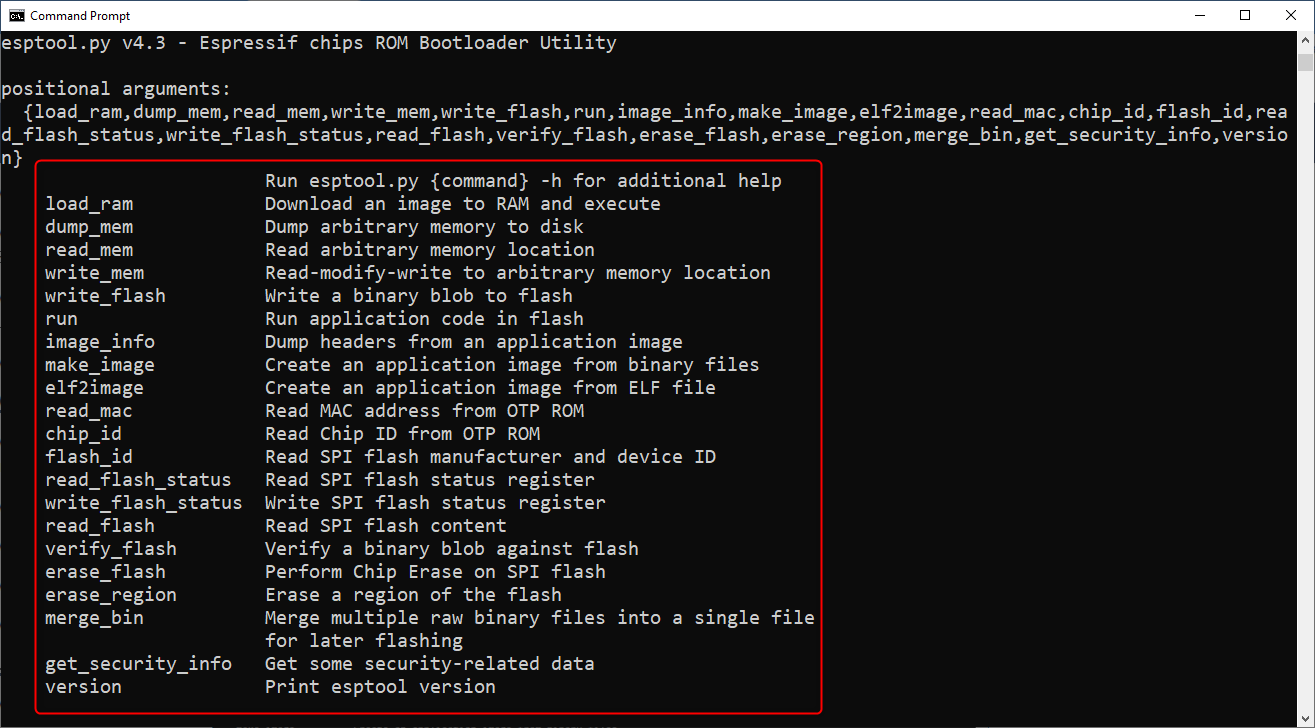
Step 5: As of now we are done with esptool.py installation. The next step is to check the installation. Run the given command.
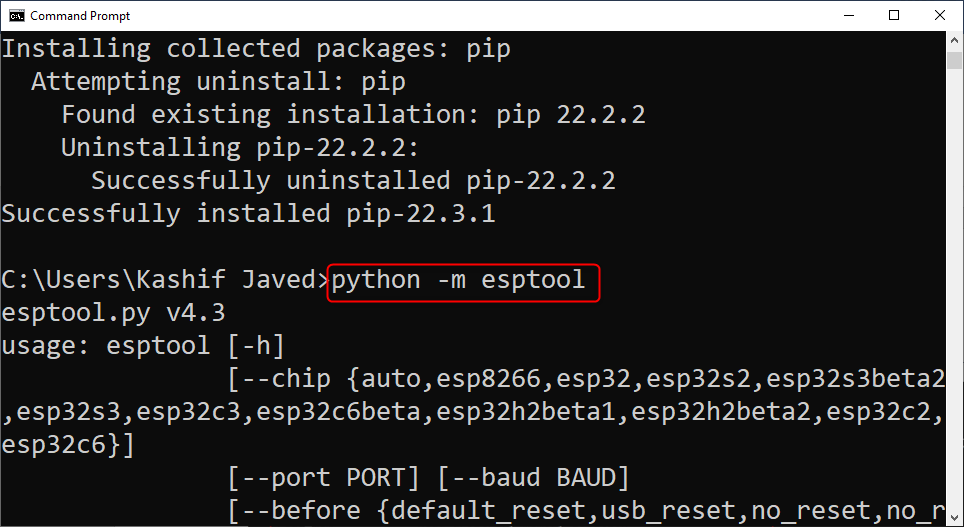
If the installation is successful a message similar to shown below will appear.
2: How to Download MicroPython Firmware for ESP32
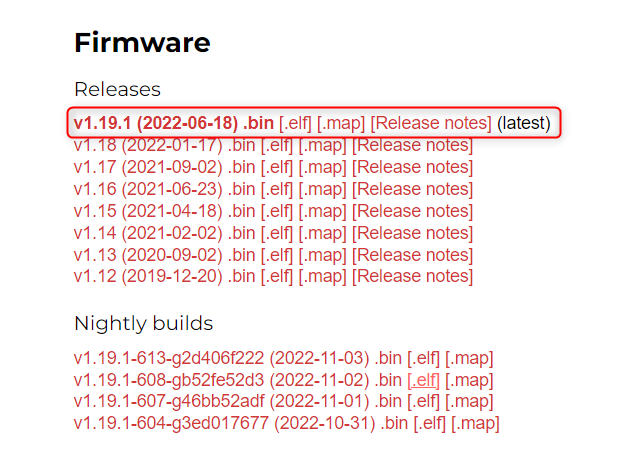
Now we have installed esptool in our system. So download the updated MicroPython firmware. Visit MicroPython download page and search for the ESP32 MicroPython firmware.
Download the latest released version available for ESP32 board and remember not to download the nightly build version as it mostly targets advanced programmers.
In case if you are using any other board such as PyBoard, WiPy go to MicroPython download page and search for respective board firmware.
2.1: How to Find the Serial Port of ESP32
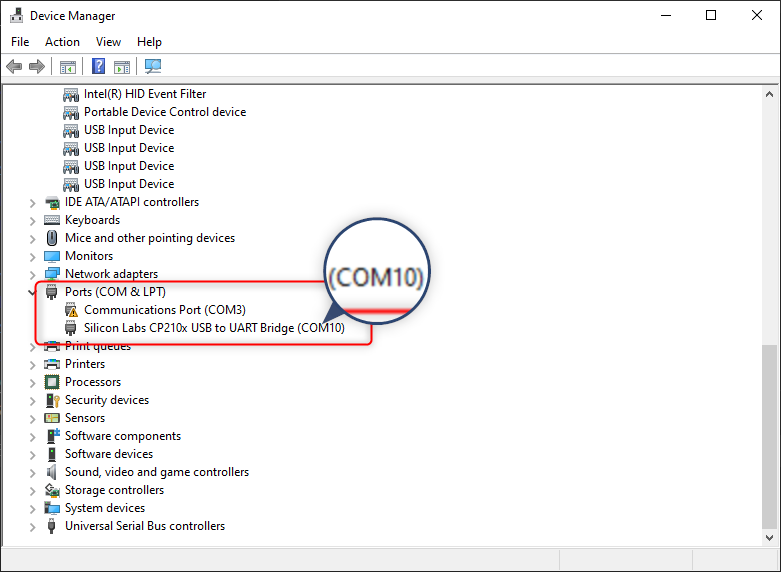
Next important thing on our way is to search for the COM port at which the ESP32 board is connected. To do this open device manager and search for ESP32 COM port under COM & LPT section. Here in our case it is COM10.
Another way to know COM port is open Arduino IDE connect ESP32 with PC and Go to: Tools>Ports>Serial ports

Incase if there is no COM port available for ESP32 then following are the two main reasons for missing ESP32 COM port:
- ESP32 CP2102 chip drivers missing
- Normal USB charging cable rather than data cable
1: To install the ESP32 CP2102 chip driver search for the driver in Google search bar.
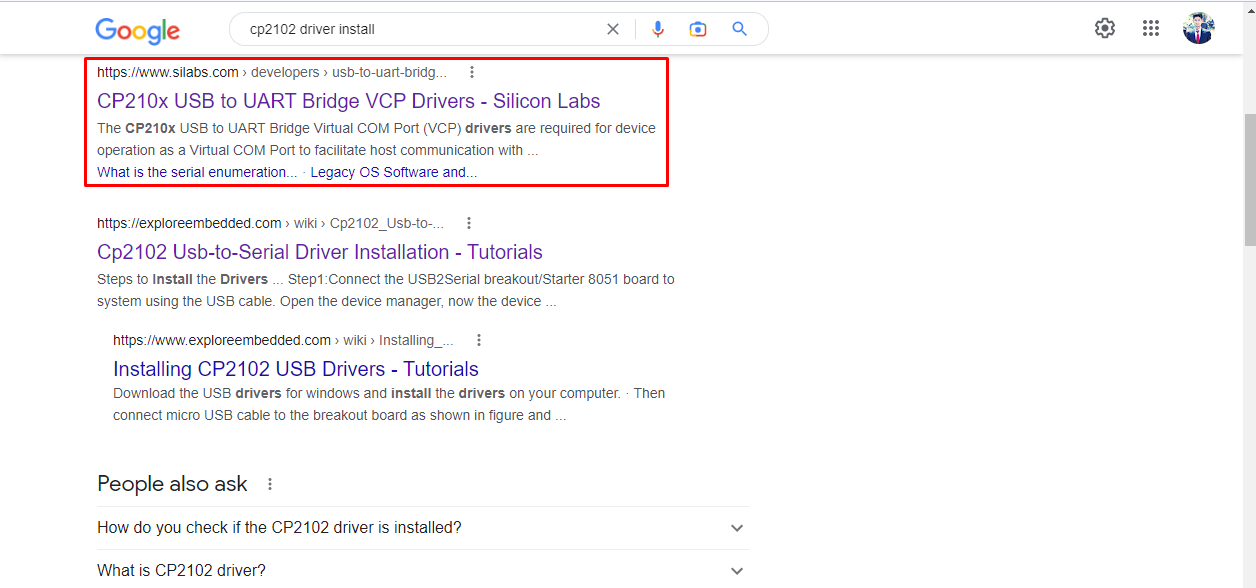
Or simply click here to visit Silicon Labs website for latest CP2102 drivers.

Once the drivers are successfully installed, restart the Arduino IDE, and connect the ESP32 board with the PC, now the COM port for ESP32 board will be visible. You can also see the COM port in device manager.
2: If drivers are installed but still you cannot see the ESP32 COM port then double check the USB cable you are using. There are multiple cables that cannot establish serial communication as their sole purpose is charging and most of these cables are missing the data wires.
3: How to Flash MicroPython Firmware in ESP32
Now we will flash the downloaded firmware file into the ESP32 board. To do this again we have to open the command terminal in the window. Follow the steps mentioned to complete firmware installation in ESP32.
- Finding MicroPython .bin File
- Erasing ESP32 Flash Memory
- Flashing MicroPython Firmware on ESP32 with esptool.py
3.1: Finding MicroPython .bin File
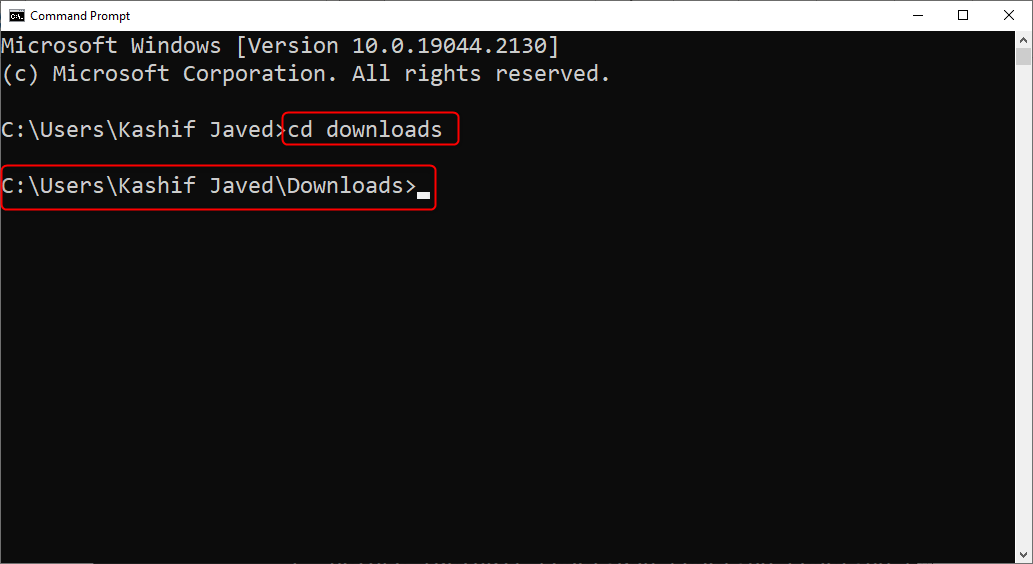
Once the ESP32.bin file is downloaded it will be somewhere in the download’s directory. To access the download directory, type the command below:
Now to list all the files of download directory type following command:
After dir commands all the files inside the download directory here, we can see the ESP32.bin file for MicroPython firmware. Copy the name of the file we will need later. In our case it is:

3.2: Erasing ESP32 Flash Memory
Now we found the file. Before flashing it into the serial monitor first, we need to clear ESP32 flash memory.
With ESP32 connected to PC press and hold the “BOOT/FLASH” button in ESP32 board:
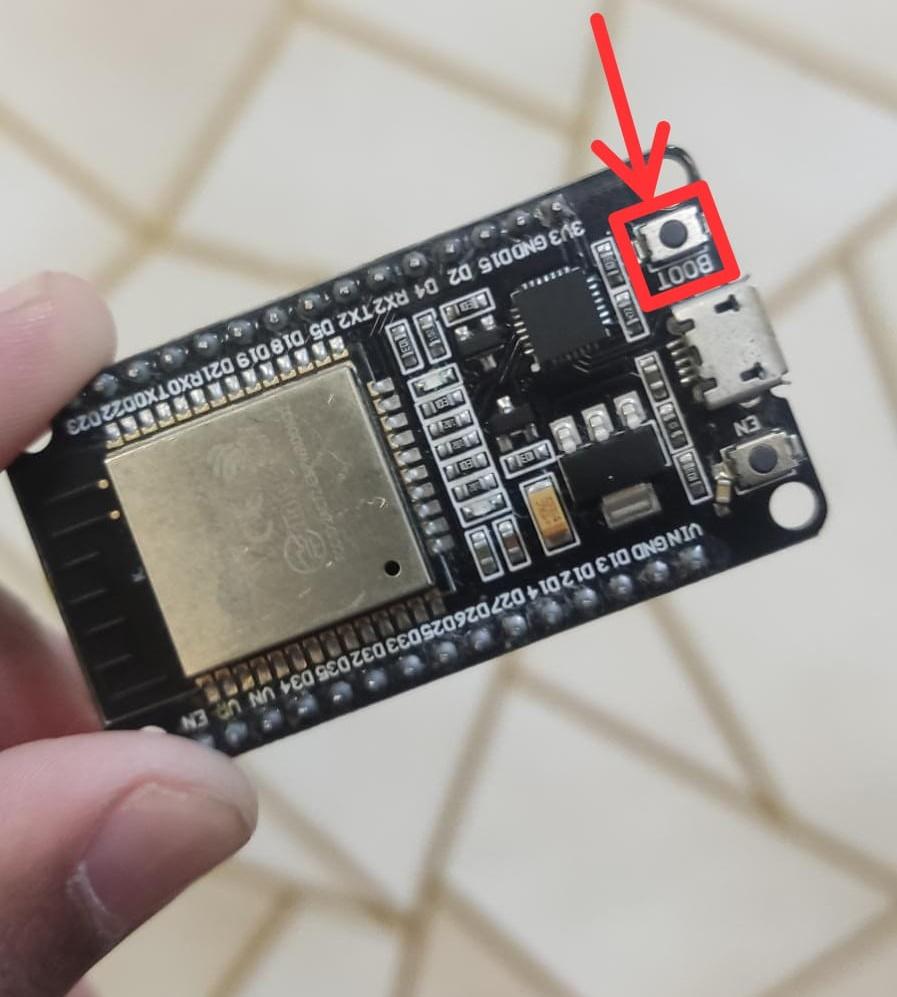
While holding the “BOOT/FLASH” button, run below written command to erase ESP32 memory:
Once the Erasing process begins now one can release the BOOT button. Wait for a few seconds and the ESP32 memory will clear.

Note: If the erasing process doesn’t begin and the terminal keeps on printing the dot lines then repeat the process while holding the BOOT button of ESP32.
3.3: Flashing MicroPython Firmware on ESP32 with esptool.py
After the ESP32 board memory is erased, the last step towards installation of MicroPython firmware is to type the below command. For this command we need to know the COM port which in our case is COM10 and the file name of the firmware file we downloaded. Change the COM port and bin file name in following command:
This is how our commands look after defining COM port and firmware file.
After writing the command now again hold the BOOT button and run the above command.

If all steps go with normal the following result will appear.

We have successfully added MicroPython firmware in the ESP32 board.
Important Note: After installing MicroPython firmware in ESP32 board one can also program ESP32 by just uploading the code using the Arduino IDE, but if you want to use MicroPython again with ESP32 we need to flash MicroPython firmware again into ESP32 board because IDE will replace its firmware over MicroPython firmware.
Conclusion
In this article we flashed the MicroPython firmware in the ESP32 board. Multiple ways are there to flash MicroPython esptool is one of them. To download esptool latest version of Python 3 is required. Using this article’s guidelines ESP32 can be flashed with MicroPython firmware.