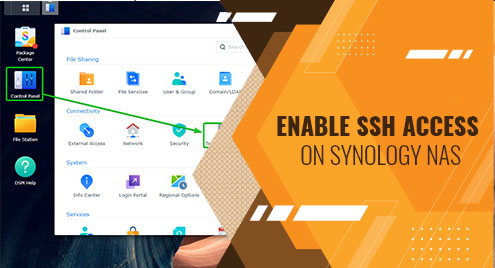
In this article, I am going to show you how to enable SSH access on your Synology NAS and access the terminal from your computer. So, let’s get started.
Table of Contents:
- Enabling the SSH Service
- Finding the IP Address of Synology NAS
- Accessing the Synology NAS via SSH
- Conclusion
Enabling the SSH Service:
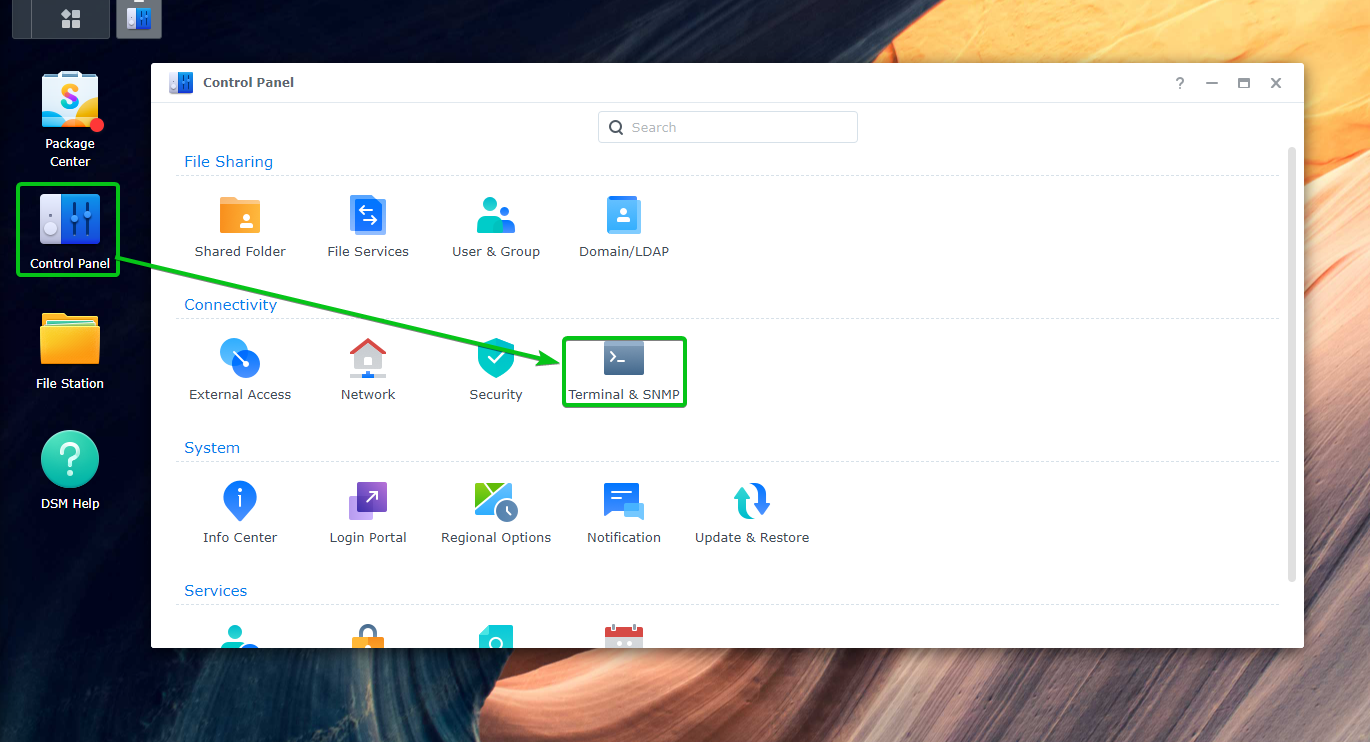
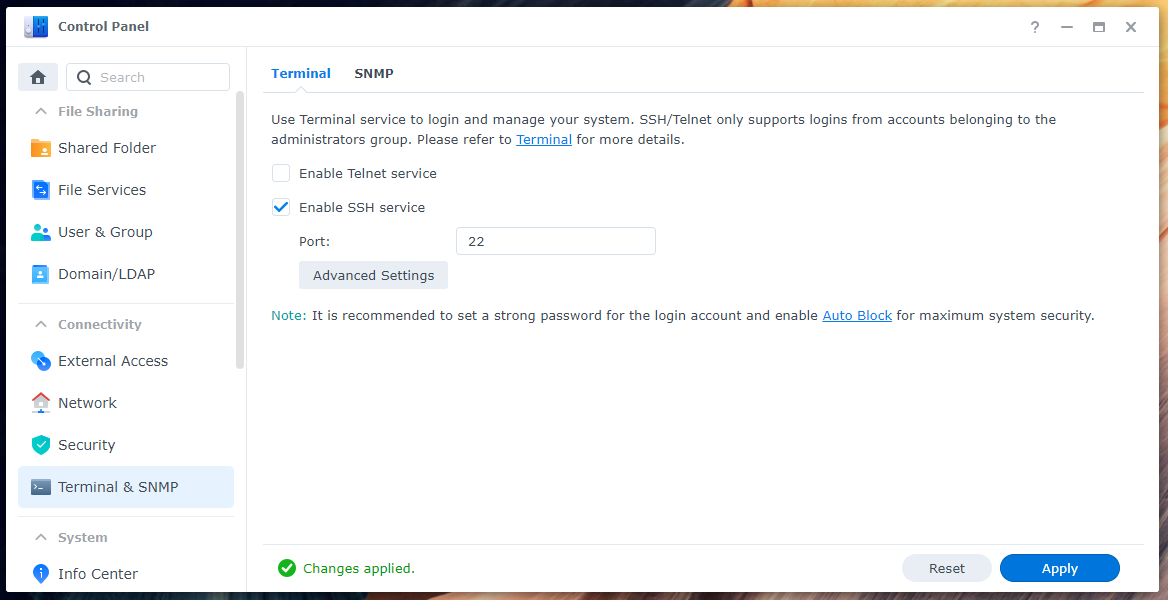
To enable the SSH service, navigate to Control Panel > Terminal & SNMP from the DSM web management interface of your Synology NAS as marked in the screenshot below.
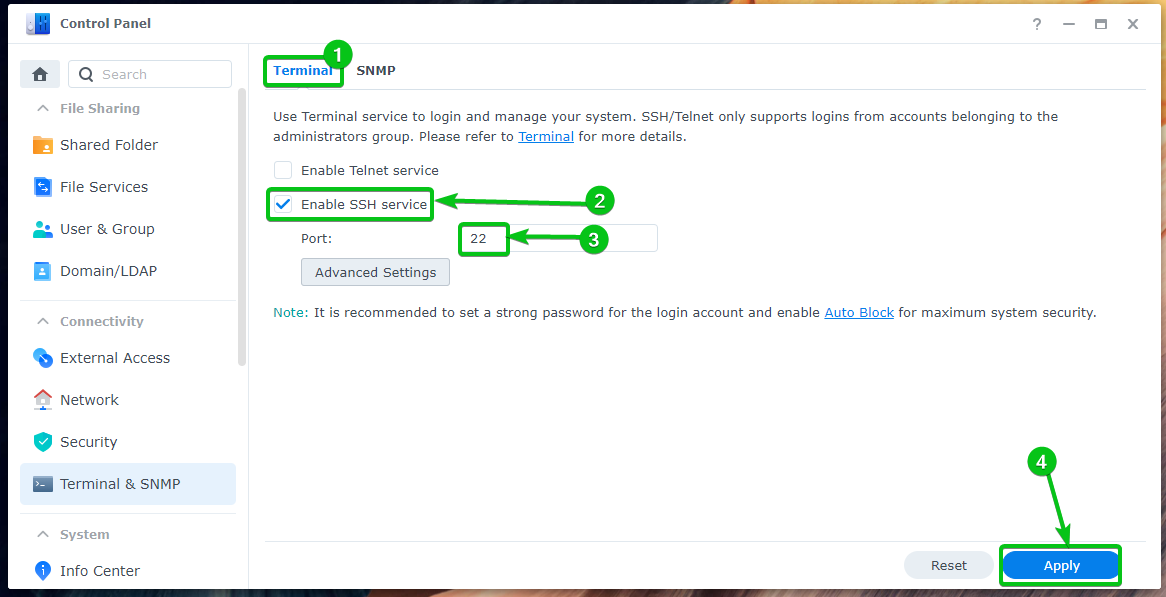
From the Terminal tab1, check the Enable SSH service checkbox2.
You can also change the SSH port to something like 8022 or 2222 for security if your Synology NAS is exposed to the internet3. I will leave it as it is.
Once you’re done, click on Apply4.
Click on OK.
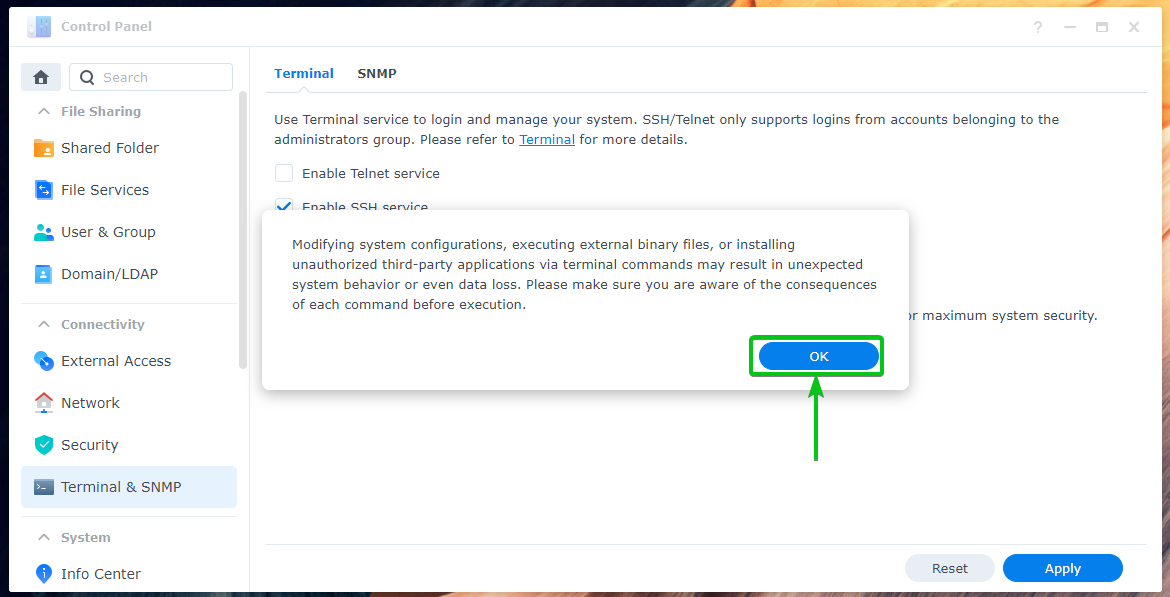
The SSH service should be enabled.
Finding the IP Address of Synology NAS
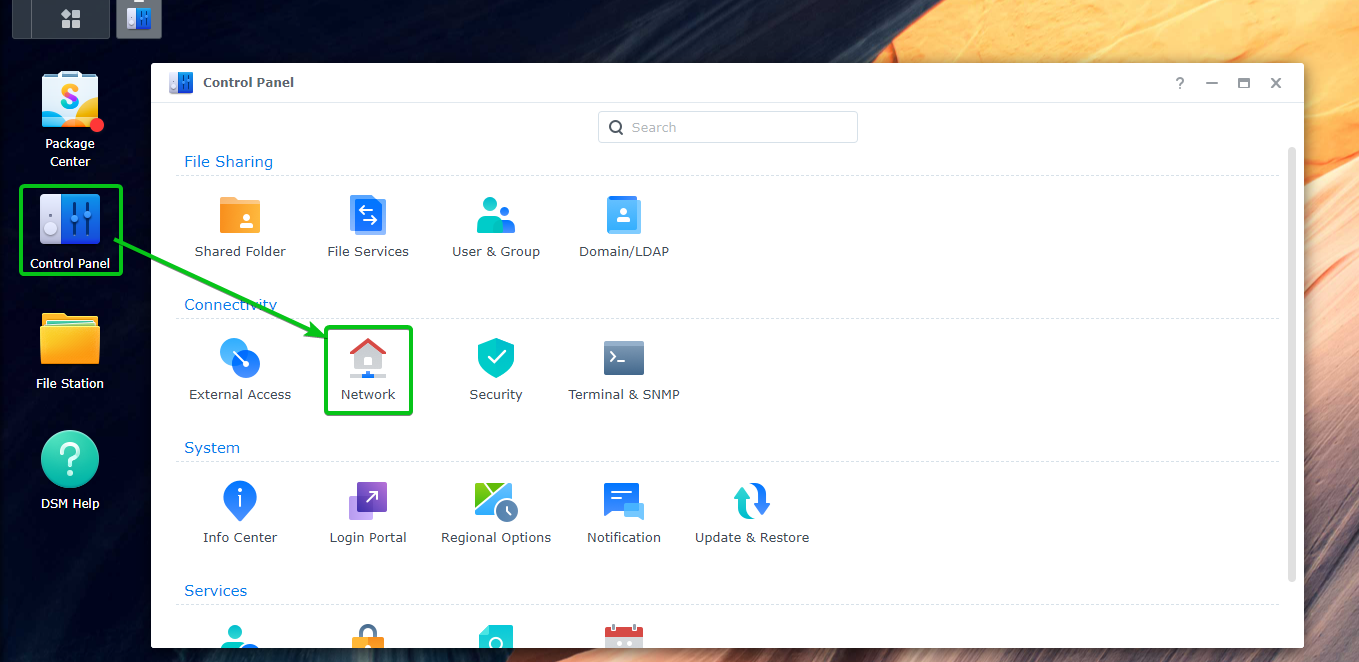
To find the IP address of your Synology NAS, navigate to Control Panel > Network from the DSM web interface of your Synology NAS as marked in the screenshot below.
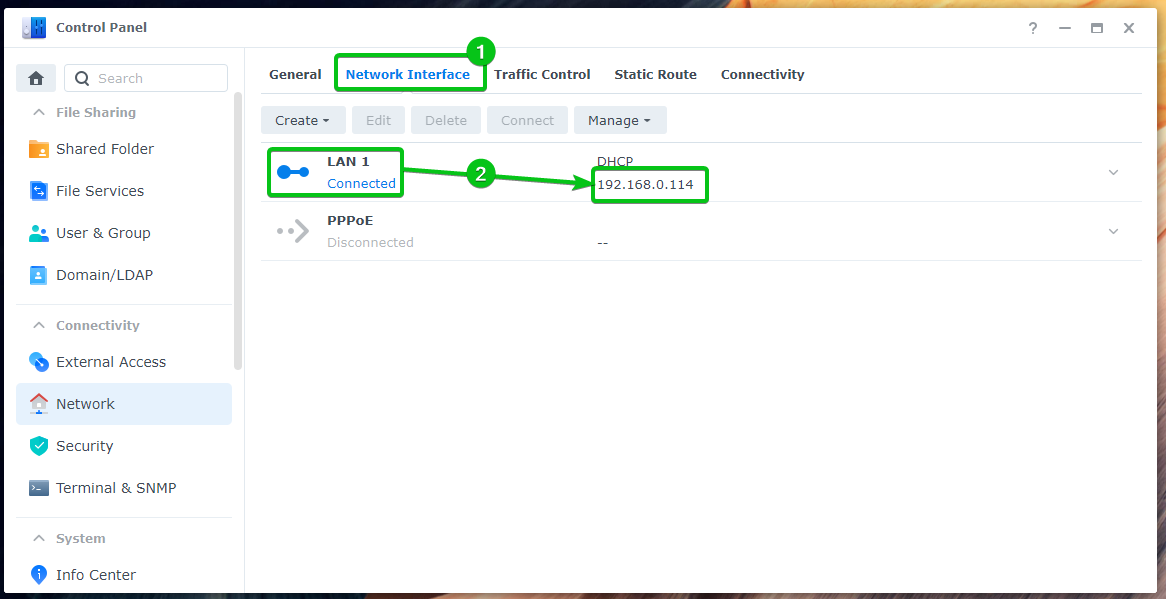
You can find the IP address of each connected network interfaces2 of your Synology NAS from the Network Interface tab1 as marked in the screenshot below.
In this case, the IP address of the LAN 1 interface of my Synology NAS is 192.168.0.114. It will be different for you. So, make sure to replace it with yours from now on.
This is one way to find the IP address of your Synology NAS. There are many other ways to find the IP address of your Synology NAS. For more information on this, read the article How Do I Find the IP Address of My Synology NAS?.
Accessing the Synology NAS via SSH:
To access your Synology NAS via SSH, open a terminal program on your computer and run the following command:
If you’ve changed the port to something other than 22, then the command would be,
NOTE: Here, <login-username> is the login username of your Synology NAS that you want to log in to the SSH server as. <ip-address> is the IP address of your Synology NAS. <port-number> is the port number of the SSH server running on your Synology NAS.
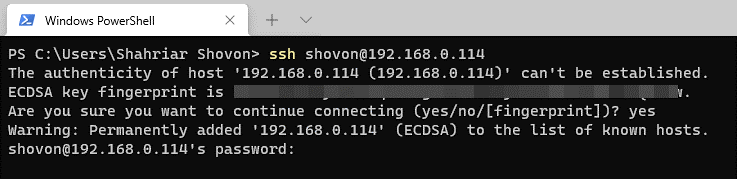
As I am logging in to the Synology NAS as the user shovon and the IP address of my Synology NAS is 192.168.0.114, and I haven’t changed the default SSH port, the SSH command for me is:

To confirm the fingerprint, type in yes and press <Enter>.

Type in the password of your login user and press <Enter>.
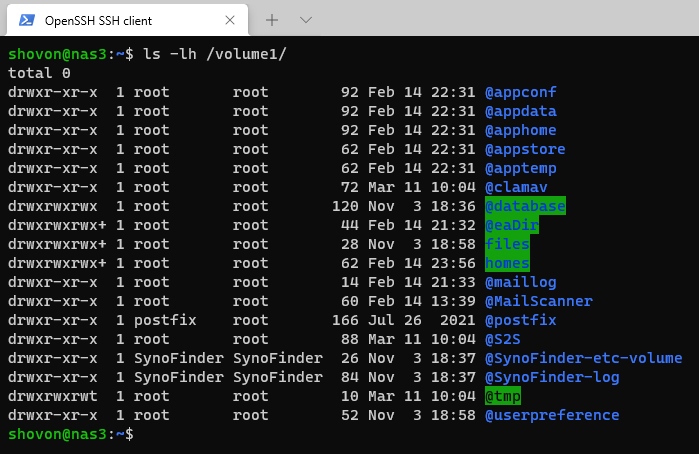
You should be logged in to the terminal of your Synology NAS via SSH.

Now, you can run any command on the terminal as you want.

Once you’re done working with the terminal, you can close the SSH connection with the following command:

Conclusion:
In this article, I have shown you how to enable the SSH service on your Synology NAS. I have also shown you how to access the terminal of your Synology NAS via SSH.