Installation of VirtualBox Guest Addition Image
To install guest additional image in your Virtual Machine, follow the procedure given below:
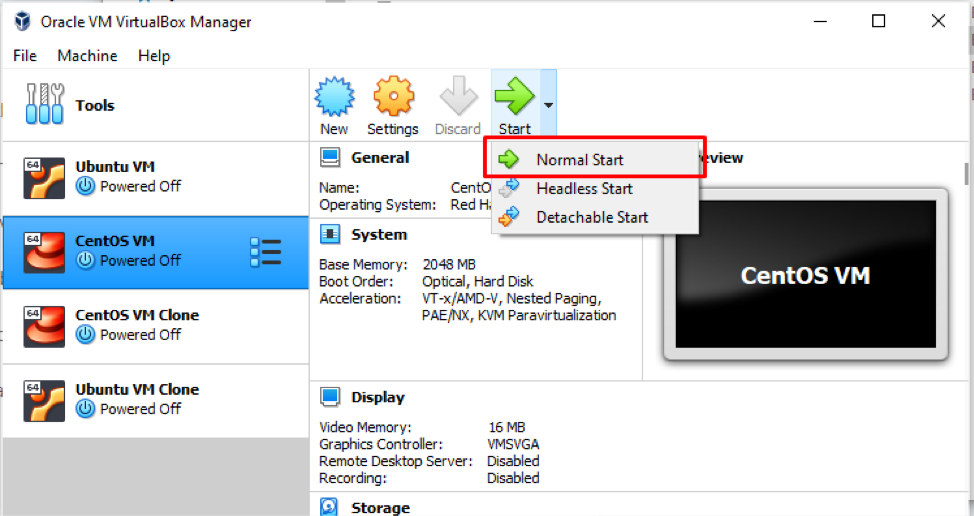
Open up the Virtual box and select the machine in which you want to enable the clipboard sharing feature, and start the machine.
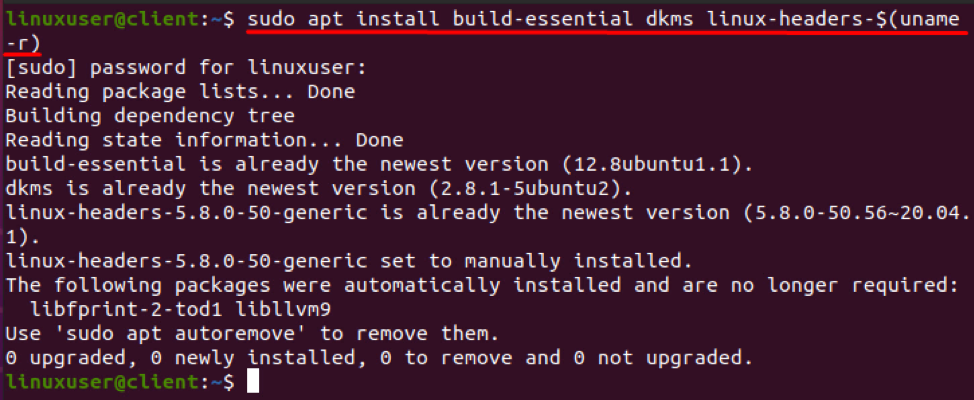
Once the machine is started, open the terminal of the Operating system and execute the command provided below to install some necessary packages for installing Guest Addition Image:
For Ubuntu or Debian based operating systems:
For CentOS or RHEL based operating systems:

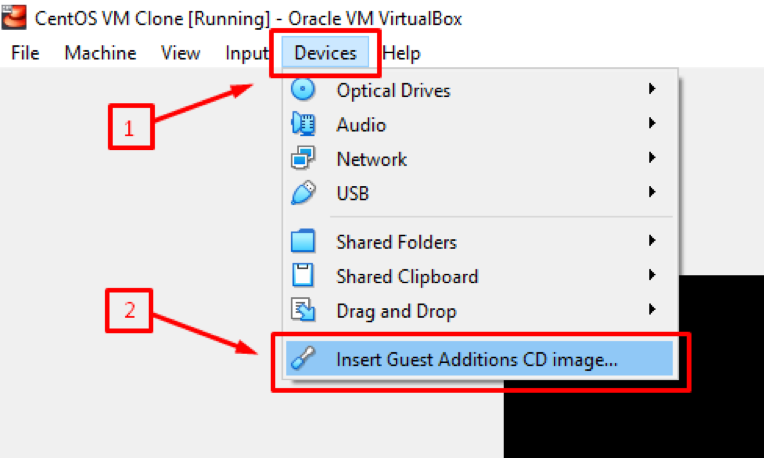
After installing the required packages as well, insert the Guest Addition CD image by clicking on the “Devices” in the menu bar of the Virtual machine and selecting “Insert Guest Addition CD image” from the “Devices” menu:
The installation will complete in a while.
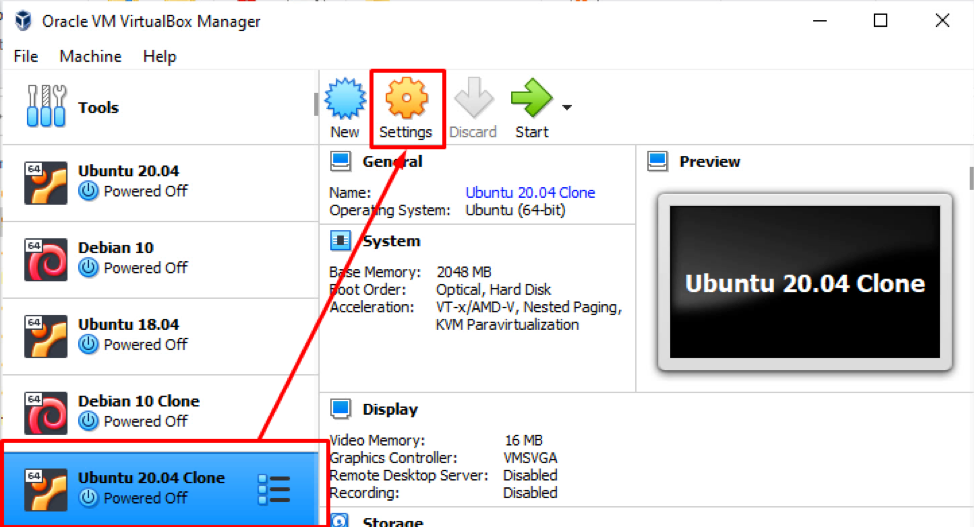
Once it is completed, it will ask to reboot the system. So, shut down the machine and go to the settings of that machine by right-clicking on the machine and selecting the settings icon or select the machine and click on the settings icon as shown in the screenshot attached below:
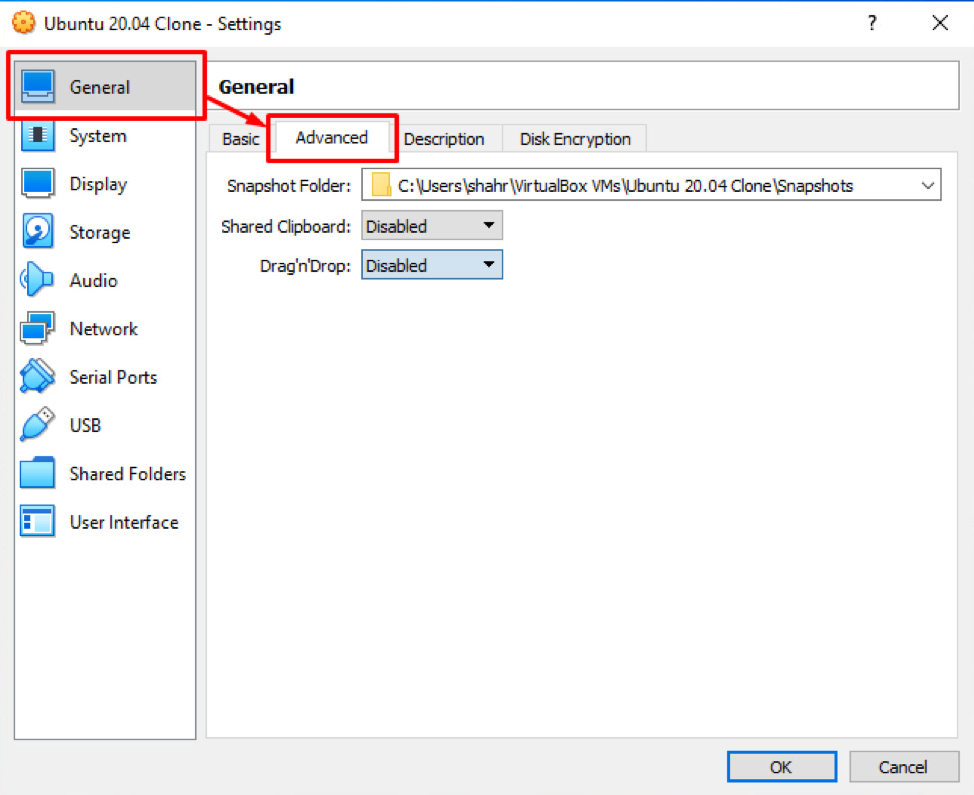
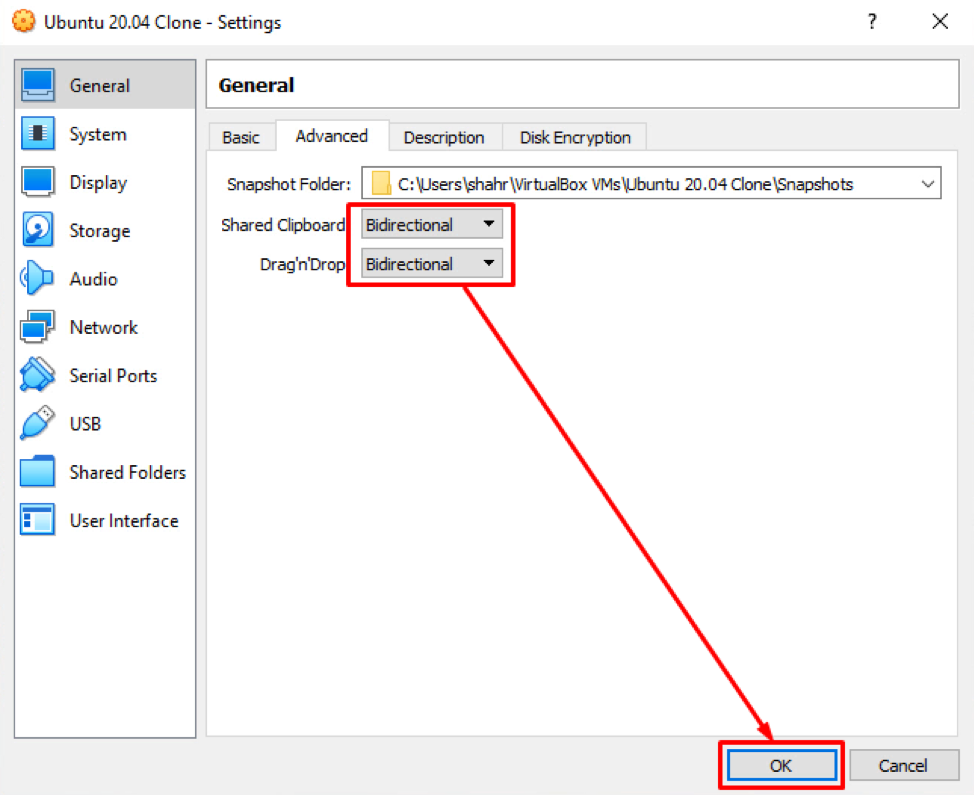
In the settings window of the machine, go to the “General” tab from the left sidebar and select the “Advanced” tab as shown in the picture given below:
In the “Advanced” tab, you can see the two dropdowns named “Shared Clipboard” and “Drag’n’Drop.”
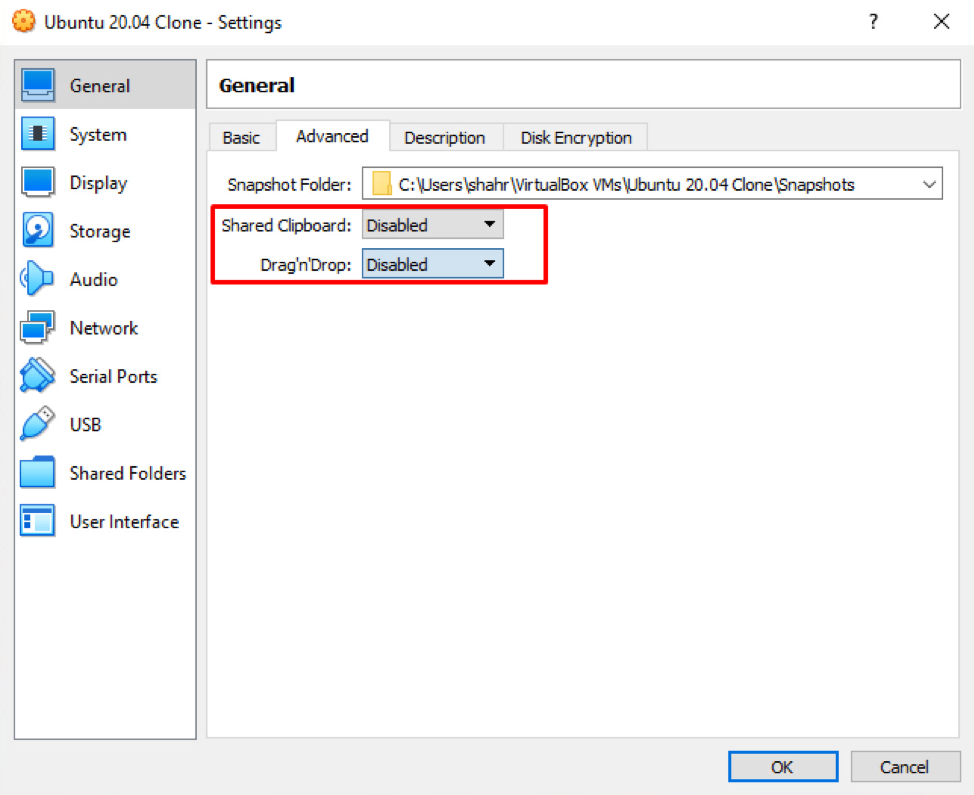
Select each dropdown menu and choose the “Bidirectional” option to enable the machine’s clipboard sharing and drag-drop features.
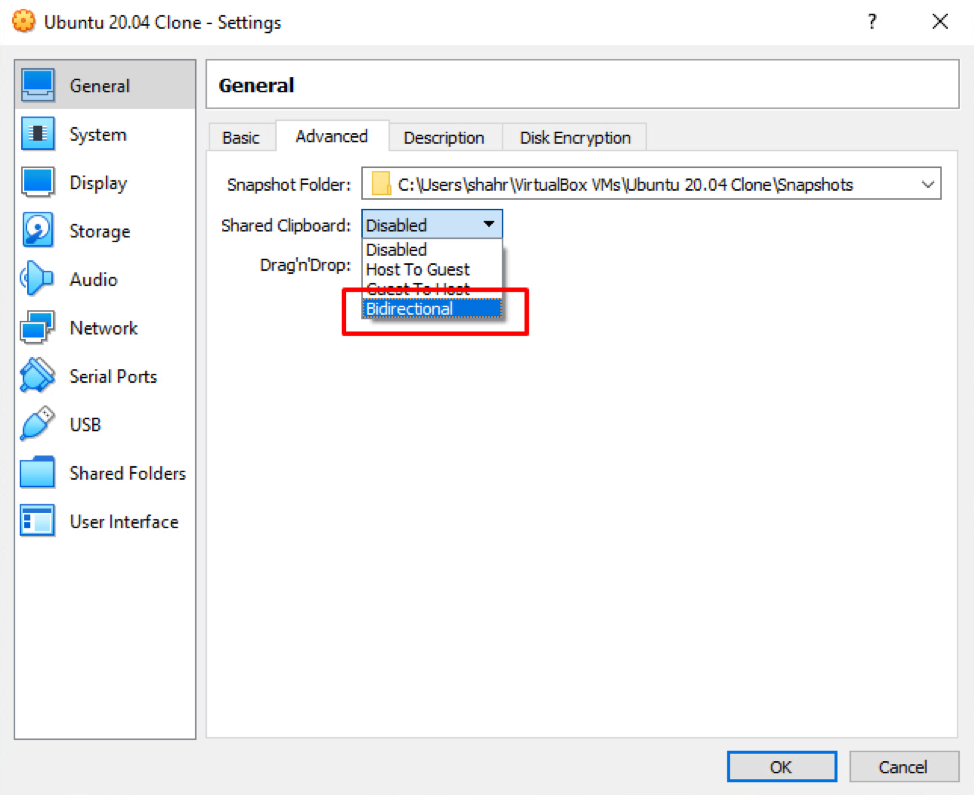
After changing both options, click the “ok” button shown in the bottom right corner of the settings window to save all the settings done.
Now, just start the machine to enable copy and paste between VirtualBox and host.
But if it is not working for you, then it means that the guest Addition Image is not inserted successfully. You have to insert it manually.
Insert Guest Addition CD Image Manually
First, create a new /mnt/cdrom directory:

After creating, mount the image to the /mnt/cdrom:

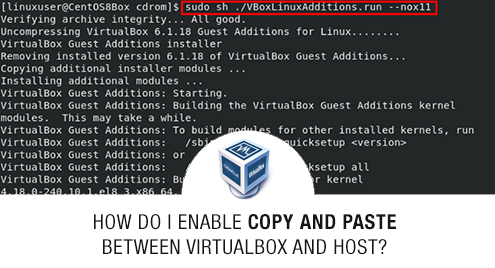
Change directory to the /mnt/cdrom and execute the “VBoxLinuxAddition.run” script:


Once the script has finished the execution. Reboot the system using the command mentioned below:
After rebooting the machine, retry to copy and paste something between the host and Virtual machine. It will definitely work perfectly fine now.
Enable Shared Clipboard Option
There is another way to enable the shared clipboard option to bidirectional by going to the “Devices” in the menu bar, “shared Clipboard,” and clicking on the “Bidirectional” option as shown in the screenshot provided below:

After enabling it, you can easily copy and paste anything between host and Virtual Machine
Conclusion
This post has covered all the basic to pro-level concepts and methods to install the Guest Addition CD Image to enable the copy and paste between VirtualBox and host. We have learned to share the clipboard between the host and the virtual machine and enable the drag-drop features between them by installing the Guest Addition Image in the virtual machine using the simple method and manually from the terminal.