Docker image is the main component of Docker. While working on Docker, developers create/build multiple Docker images. However, sometimes, they might need to edit a particular Docker image. In this situation, developers are allowed to edit any Docker image whenever they want.
This article will cover the following aspects:
Prerequisite: Create/Build a Docker Image
To create a Docker image, first, create a program file and a Docker file. After that, run the “docker build -t <image-name> .” command to create a Docker image.
Step 1: Create a Program File
First, create an “index.html” program file and paste the given-below code into it:
<html>
<body>
<h2>Hello LinuxHint</h2>
<p>This is LinuxHint Website</p>
</body>
</html>
Step 2: Create Dockerfile
After that, create a new file “Dockerfile” and paste the below-provided instructions:
COPY index.html /usr/share/nginx/html/index.html
ENTRYPOINT ["nginx", "-g", "daemon off;"]
Step 3: Create Docker Image
Now, utilize the “docker build” command along with the “-t” option to specify the image name. For instance, we specified the “html-img” name for the image:
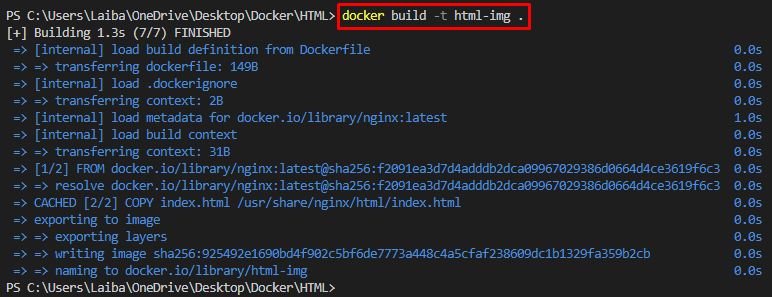
Step 4: Verify Created Image
To ensure that the image has been created successfully, run the below-stated command:
In the below output, the newly created “html-img” image can be seen:

Step 5: Build Docker Container
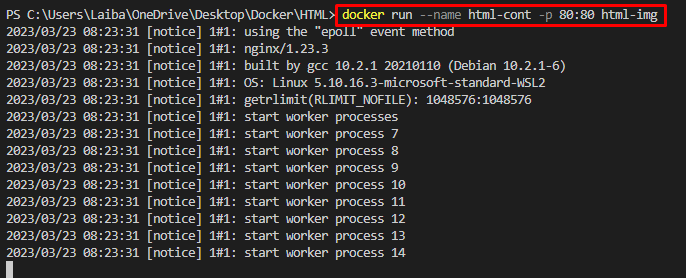
Next, build the Docker container using the provided command along with image name, “–name” option to specify the container name and “-p” option to allocate the port:
Here, “html-cont” is the name of the container and “html-img” is the Docker image:
Step 6: View Deployed Application
Navigate to the allocated port on the browser and view the deployed application:
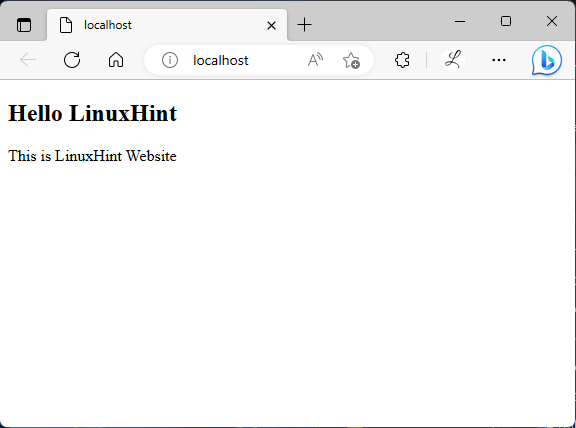
It can be seen that the application has been deployed successfully.
Edit an Existing Docker Image
As the Docker image is built from the Docker file, to edit the Docker image, it is required to make changes in the Dockerfile or in the program file. To do so, follow the provided steps.
Step 1: Make Changes in Program File
Now, make some modifications to the program file. For instance, we have added one new line in the program file:
<html>
<body>
<h1>LinuxHint</h1>
<h2>Hello LinuxHint</h2>
<p>This is our new Website</p>
</body>
</html>
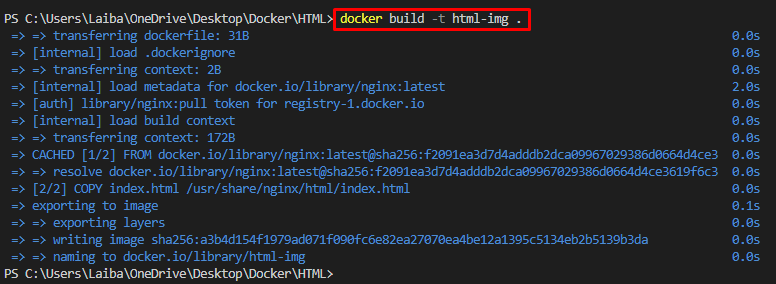
Step 2: Build Docker Image
Then, utilize the below-listed command to create/build the Docker image with the same name and new modifications:
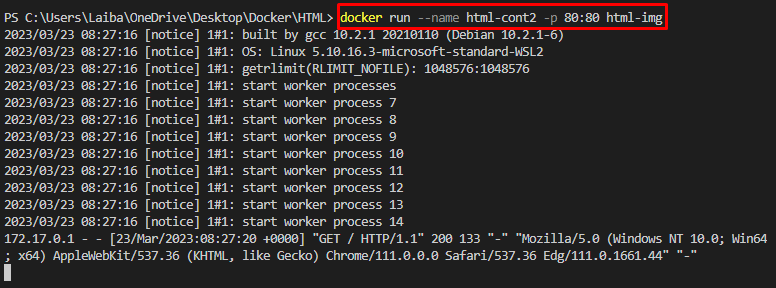
Step 3: Build Docker Container
Next, build and run the new container with the same Docker image:
Here, “html-cont2” is the new container name:
Step 4: Verification
Finally, view the new changes on the browser:
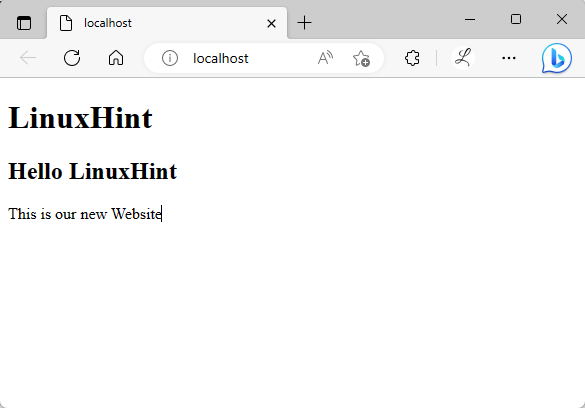
After modifying the Docker image, new changes can be seen in the application which indicates that the Docker image has been modified successfully.
Conclusion
To edit an existing Docker image, it is required to make changes in the Dockerfile or in the program file. After that, execute the “docker build -t <image-name> .” command to create the Docker image with the same image name and new modification. Then, build and run the new Docker container. Lastly, view changes on the browser. This article explained the method to edit a Docker image.